1.1 项目目录 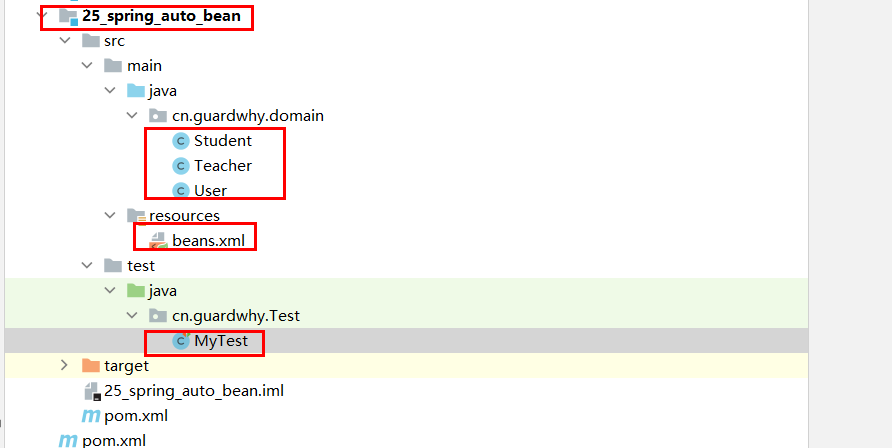
1.2 自动装配概念
- 自动装配是使用spring满足bean依赖的一种方法。
- spring会在应用上下文中为某个bean寻找其依赖的bean。
Spring中bean有三种装配机制,分别是:
- 在xml中显式配置;
- 在java中显式配置;
- 隐式的bean发现机制和自动装配。
Spring的自动装配需要从两个角度来实现,或者说是两个操作:
- 组件扫描(component scanning):spring会自动发现应用上下文中所创建的bean。
- 自动装配(autowiring):spring自动满足bean之间的依赖,也就是我们说的IoC/DI。
注意:组件扫描和自动装配组合发挥巨大威力,使的显示的配置降低到最少。
1.3 代码示例
新建两个实体类,Student Teacher 都有一个function的方法。
package cn.guardwhy.domain;

public class Student {


    public void function(){


        System.out.println("学生学习!!!");
    }
}
package cn.guardwhy.domain;

public class Teacher {


    public void function(){


        System.out.println("老师教导学生学习!!");
    }
}
新建一个用户类 User
package cn.guardwhy.domain;

import lombok.AllArgsConstructor;
import lombok.Data;
import lombok.NoArgsConstructor;

@Data
@NoArgsConstructor
@AllArgsConstructor
public class User {


    private Student student;
    private Teacher teacher;
    private String str;
}
编写Spring配置文件
<?xml version="1.0" encoding="UTF-8"?>
<beans xmlns="http://www.springframework.org/schema/beans"
       xmlns:xsi="http://www.w3.org/2001/XMLSchema-instance"
       xsi:schemaLocation="http://www.springframework.org/schema/beans
       http://www.springframework.org/schema/beans/spring-beans.xsd">

    <bean id="student" class="cn.guardwhy.domain.Student"/>
    <bean id="teacher" class="cn.guardwhy.domain.Teacher"/>

    <bean id="user" class="cn.guardwhy.domain.User">
        <property name="student" ref="student"/>
        <property name="teacher" ref="teacher"/>
        <property name="str" value="guardwhy"/>
    </bean>
</beans>
测试代码
package cn.guardwhy.Test;

import cn.guardwhy.domain.User;
import org.junit.Test;
import org.springframework.context.ApplicationContext;
import org.springframework.context.support.ClassPathXmlApplicationContext;

public class MyTest {


    @Test
    public void testMethodAutowire(){


        ApplicationContext context = new ClassPathXmlApplicationContext("beans.xml");
        User user = (User) context.getBean("user");
        user.getTeacher().function();
        user.getStudent().function();
    }
}
1.4 byName
autowire byName (按名称自动装配)
由于在手动配置xml过程中,常常发生字母缺漏和大小写等错误,而无法对其进行检查,使得开发效率降低。
采用自动装配将避免这些错误,并且使配置简单化。
测试代码
修改bean配置,增加一个属性 autowire=“byName”
<!--byName:会自动在容器上下文中查找,和自己对象set方法后面的值对应的beanid-->
<bean id="user" class="cn.guardwhy.domain.User" autowire="byName">
     <property name="student" ref="student"/>
</bean>
总结
当一个bean节点带有 autowire byName的属性时。
- 将查找其类中所有的set方法名,例如setStudent,获得将set去掉并且首字母小写的字符串,即student。
- 去spring容器中寻找是否有此字符串名称id的对象。
- 如果有,就取出注入;如果没有,就报空指针异常。
1.5 byType
autowire byType (按类型自动装配)
测试代码
使用autowire byType首先需要保证:同一类型的对象,在spring容器中唯一。如果不唯一,会报不唯一的异常。
<!--byType:会自动在容器上下文中查找,和自己对象属性类型相同的bean!!-->
<bean id="user" class="cn.guardwhy.domain.User" autowire="byType">
     <property name="student" ref="student"/>
</bean>
1.6 总结
- byname的时候,需要保证所有的bean的id唯一,并且这个bean需要和自动注入的属性的set方法的值一致。
- bytype的时候,需要保证所有的bean的class唯一,并且这个bean需要和自动注入的属性的类型一致。