生命周期:官方文档:
- 生命周期函数通俗的讲就是组件创建、组件更新、组件销毁的时候会触发的一系列的方法。
- 当 Angular 使用构造函数新建一个组件或指令后,就会按下面的顺序在特定时刻调用这些生命周期钩子方法。
- constructor() 构造函数中除了使用简单的值对局部变量进行初始化 之外,什么都不应该做。 (非生命周期函数)
Angular 中的生命周期函数

生命周期示例:
1. 创建1个组件:lifecycle
ng g component components/lifecycle
2. 定义组件
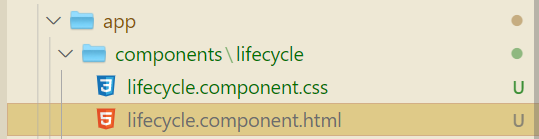
lifecycle.component.html
<h2>{

    {

    msg}}</h2>
<br>
<button (click)="changeMsg()">改变msg的值</button>
<input type="text" [(ngModel)]="userinfo" />
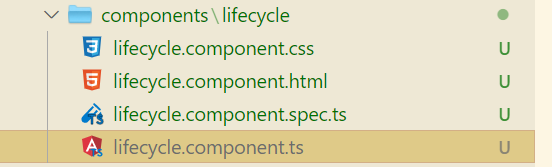
lifecycle.component.ts
import {

     Component, OnInit, Input } from '@angular/core';

@Component({


  selector: 'app-lifecycle',
  templateUrl: './lifecycle.component.html',
  styleUrls: ['./lifecycle.component.css'],
})
export class LifecycleComponent implements OnInit {


  @Input('title') title: string;
  public msg: string = '我是一个生命周期演示';
  public userinfo: string = '';
  public oldUserinfo: string = '';
  constructor() {


    console.log(
      '00构造函数执行了---除了使用简单的值对局部变量进行初始化之外,什么都不应该做'
    );
  }
  ngOnChanges() {


    console.log(
      '01ngOnChages执行了---当被绑定的输入属性的值发生变化时调用(父子组件传值的时候会触发)'
    );
  }
  ngOnInit() {


    console.log('02ngOnInit执行了--- 请求数据一般放在这个里面');
  }
  ngDoCheck() {


    //写一些自定义的操作
    console.log(
      '03ngDoCheck执行了---检测,并在发生 Angular 无法或不愿意自己检测的变化时作出反应'
    );
    if (this.userinfo !== this.oldUserinfo) {


      console.log(`你从${

      this.oldUserinfo}改成${

      this.userinfo}`);
      this.oldUserinfo = this.userinfo;
    } else {


      console.log('数据没有变化');
    }
  }
  ngAfterContentInit() {


    console.log('04ngAfterContentInit执行了---当把内容投影进组件之后调用');
  }
  ngAfterContentChecked() {


    console.log(
      '05ngAfterContentChecked执行了---每次完成被投影组件内容的变更检测之后调用'
    );
  }
  ngAfterViewInit(): void {


    console.log(
      '06 ngAfterViewInit执行了----初始化完组件视图及其子视图之后调用(dom操作放在这个里面)'
    );
  }
  ngAfterViewChecked() {


    console.log(
      '07ngAfterViewChecked执行了----每次做完组件视图和子视图的变更检测之后调用'
    );
  }

  ngOnDestroy() {


    console.log('08ngOnDestroy执行了····');
  }

  //自定义方法
  changeMsg() {


    this.msg = '数据改变了';
  }
}
3. 引入双向数据绑定模块

app.moudule.ts
import {

     NgModule } from '@angular/core';
import {

     BrowserModule } from '@angular/platform-browser';
//双向数据绑定必须引入
import {

     FormsModule } from '@angular/forms';
import {

     AppComponent } from './app.component';
import {

     LifecycleComponent } from './components/lifecycle/lifecycle.component';

@NgModule({


  declarations: [AppComponent, LifecycleComponent],
  imports: [BrowserModule, FormsModule],
  providers: [],
  bootstrap: [AppComponent],
})
export class AppModule {

    }
4. 根主键(父组件)定义方法
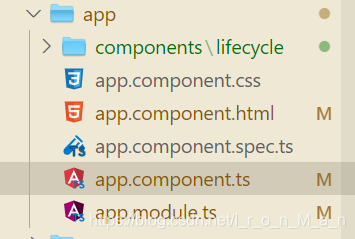
app.component.ts
import {

     Component } from '@angular/core';

@Component({


  selector: 'app-root',
  templateUrl: './app.component.html',
  styleUrls: ['./app.component.css'],
})
export class AppComponent {


  title = 'angulardemo07';

  public flag: boolean = true;

  changeTilte() {


    this.title = '改变后的title';
  }

  changeFlag() {


    this.flag = !this.flag;
  }
}
5. 引入组件
app.component.html
<app-lifecycle></app-lifecycle>
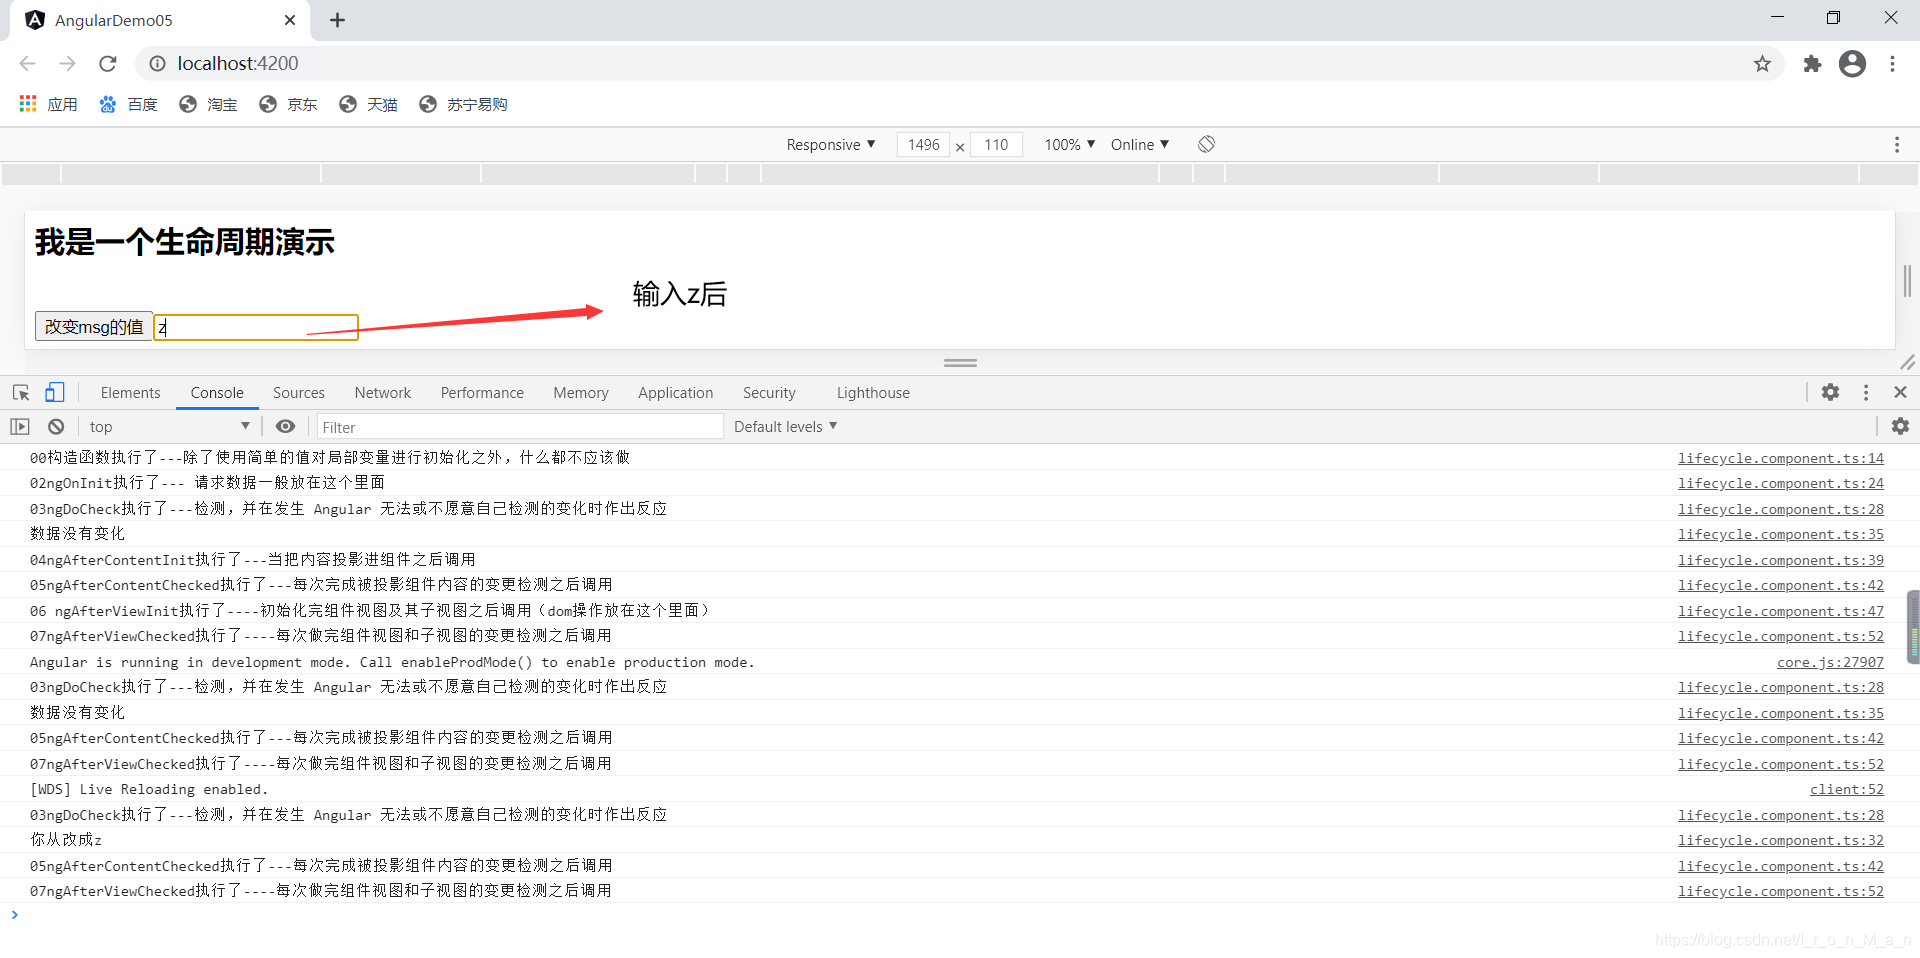
6. 运行程序
命令行输入:
ng serve --open
运行结果: