文章目录
零、学习目标
- 熟悉Spring Boot的默认缓存管理
- 熟悉Spring Boot的缓存注解及使用
一、缓存概述
(一)引入缓存管理的重要性
缓存是分布式系统中的重要组件,主要解决数据库数据的高并发访问。在实际开发中,尤其是用户访问量较大的网站,用户对高频热点数据的访问非常频繁,为了提高服务器访问性能、减少数据库的压力、提高用户体验,使用缓存显得尤为重要,Spring Boot针对这种实际需求,对缓存提供了良好的支持。
(二)Spring Boot的缓存管理
Spring框架支持透明地向应用程序添加缓存对缓存进行管理,其管理缓存的核心是将缓存应用于操作数据的方法,从而减少操作数据的执行次数,同时不会对程序本身造成任何干扰。Spring Boot继承了Spring框架的缓存管理功能,通过使用@EnableCaching注解开启基于注解的缓存支持,Spring Boot可以启动缓存管理的自动化配置。
二、Spring Boot默认缓存
(一)数据准备
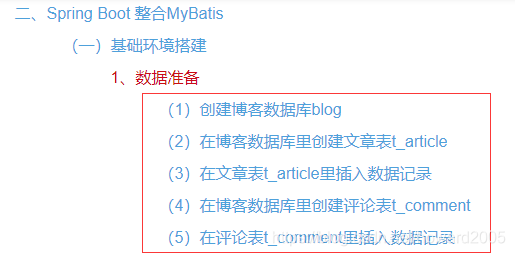
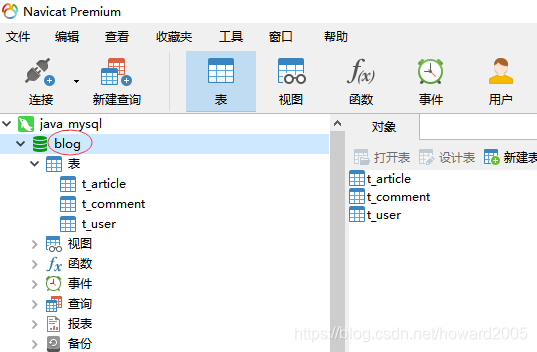
- 利用《Spring Boot基础学习笔记06:Spring Boot整合MyBatis》提供的SQL语句创建数据库与表。
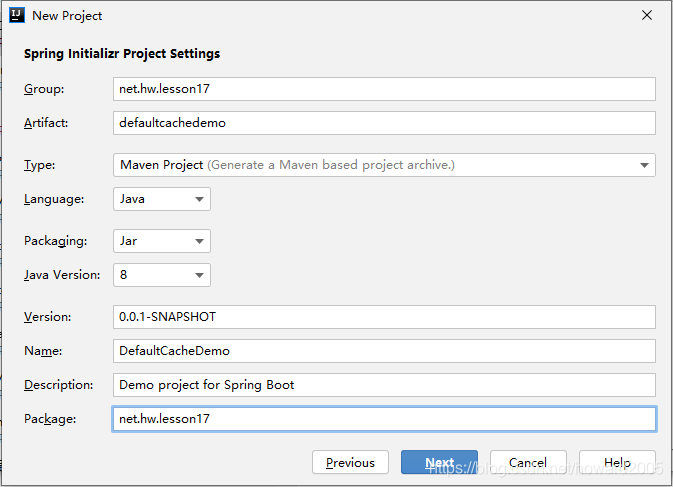
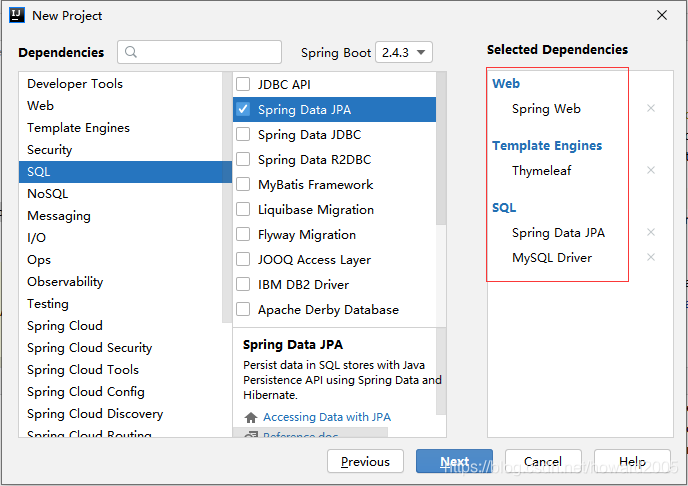
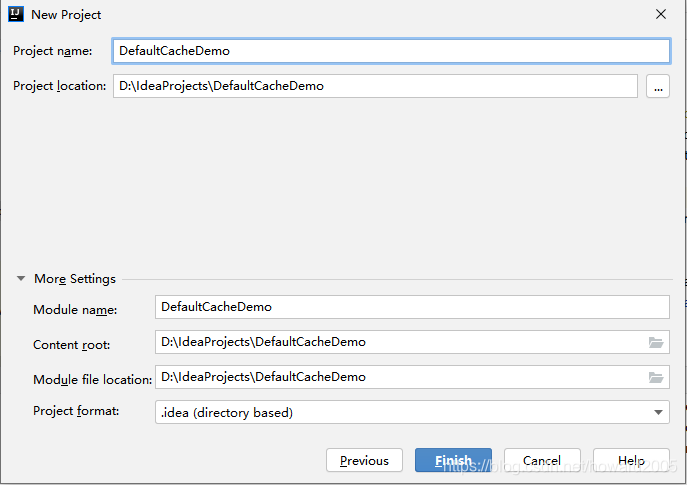
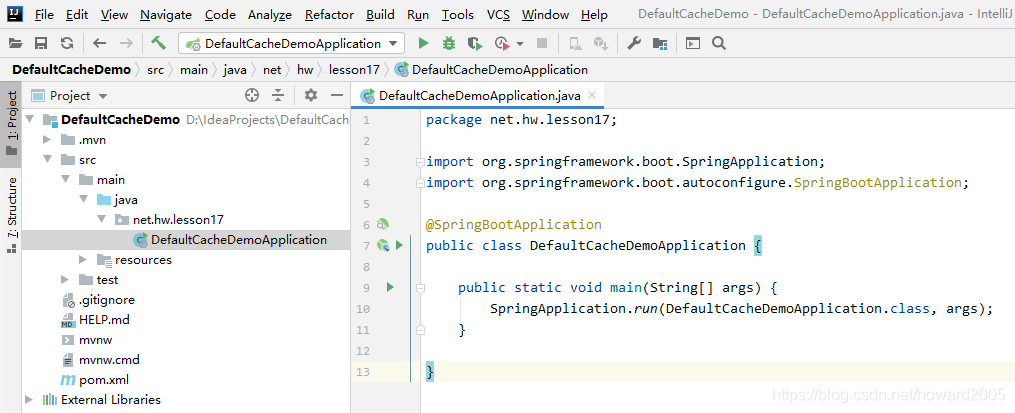
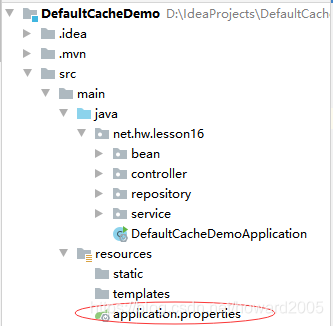
(二)创建Spring Boot项目 - DefaultCacheDemo
(三)创建数据库表对应的实体类
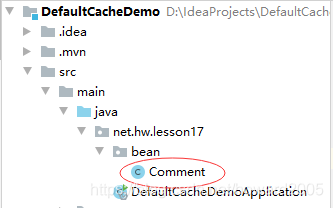
1、创建评论实体类 - Comment
package net.hw.lesson17.bean;

import javax.persistence.*;

/**
 * 功能:评论实体类
 * 作者:华卫
 * 日期:2021年03月01日
 */
@Entity(name="t_comment")
public class Comment {


    @Id
    @GeneratedValue(strategy = GenerationType.IDENTITY)
    private Integer id;
    @Column(name = "content")
    private String content;
    @Column(name="author")
    private String author;
    @Column(name="a_id")
    private Integer aId;

    public Integer getId() {


        return id;
    }

    public void setId(Integer id) {


        this.id = id;
    }

    public String getContent() {


        return content;
    }

    public void setContent(String content) {


        this.content = content;
    }

    public String getAuthor() {


        return author;
    }

    public void setAuthor(String author) {


        this.author = author;
    }

    public Integer getaId() {


        return aId;
    }

    public void setaId(Integer aId) {


        this.aId = aId;
    }

    @Override
    public String toString() {


        return "Comment{" +
                "id=" + id +
                ", content='" + content + '\'' +
                ", author='" + author + '\'' +
                ", aId=" + aId +
                '}';
    }
}
2、创建文章实体类 - Article

package net.hw.lesson17.bean;

import org.hibernate.annotations.Proxy;

import javax.persistence.*;
import java.util.List;

/**
 * 功能:文章实体类
 * 作者:华卫
 * 日期:2021年03月01日
 */
@Entity(name = "t_article")
@Proxy(lazy = false)
public class Article {


    @Id
    @GeneratedValue(strategy = GenerationType.IDENTITY)
    private Integer id;
    @Column(name = "title")
    private String title;
    @Column(name = "content")
    private String content;

    //查询时把子表一并查出来
    @OneToMany(fetch = FetchType.EAGER) // FetchType.LAZY 懒加载
    @JoinTable(name = "t_comment", joinColumns = {

    @JoinColumn(name = "a_id")},
            inverseJoinColumns = {

    @JoinColumn(name = "id")})
    private List<Comment> commentList;

    public Integer getId() {


        return id;
    }

    public void setId(Integer id) {


        this.id = id;
    }

    public String getTitle() {


        return title;
    }

    public void setTitle(String title) {


        this.title = title;
    }

    public String getContent() {


        return content;
    }

    public void setContent(String content) {


        this.content = content;
    }

    public List<Comment> getCommentList() {


        return commentList;
    }

    public void setCommentList(List<Comment> commentList) {


        this.commentList = commentList;
    }

    @Override
    public String toString() {


        return "Article{" +
                "id=" + id +
                ", title='" + title + '\'' +
                ", content='" + content + '\'' +
                ", commentList=" + commentList +
                '}';
    }
}
(四)创建Repository接口
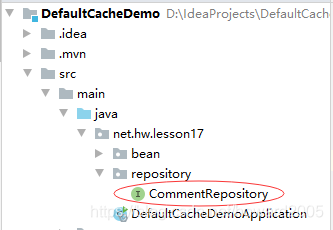
1、创建评论仓库接口 - CommentRepository
package net.hw.lesson17.repository;

import net.hw.lesson17.bean.Comment;
import org.springframework.data.jpa.repository.JpaRepository;

/**
 * 功能:评论仓库接口
 * 作者:华卫
 * 日期:2021年03月01日
 */
public interface CommentRepository extends JpaRepository<Comment, Integer> {


}
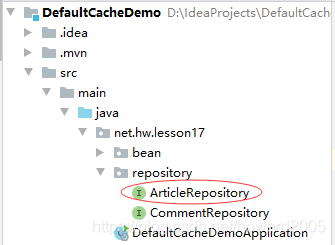
2、创建文章仓库接口 - ArticleRepository
package net.hw.lesson17.repository;

import net.hw.lesson17.bean.Article;
import org.springframework.data.jpa.repository.JpaRepository;

/**
 * 功能:文章仓库接口
 * 作者:华卫
 * 日期:2021年03月01日
 */
public interface ArticleRepository extends JpaRepository<Article, Integer> {


}
(五)编写Service类
1、创建CommentService类
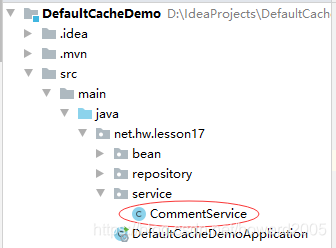
package net.hw.lesson17.service;

import net.hw.lesson16.bean.Comment;
import net.hw.lesson16.repository.CommentRepository;
import org.springframework.beans.factory.annotation.Autowired;
import org.springframework.data.jpa.repository.Modifying;
import org.springframework.stereotype.Service;
import org.springframework.transaction.annotation.Transactional;

import java.util.Optional;

/**
 * 功能:评论服务类
 * 作者:华卫
 * 日期:2021年03月01日
 */
@Service
public class CommentService {


    @Autowired
    private CommentRepository commentRepository;

    /**
     * 按编号查询记录
     *
     * @param id
     * @return
     */
    public Comment findById(Integer id) {


        Optional<Comment> optional = commentRepository.findById(id);
        if (optional.isPresent()) {


            return optional.get();
        } else {


            return null;
        }
    }

    /**
     * 更新记录
     *
     * @param comment
     * @return
     */
    @Transactional
    @Modifying
    public String updateComment(Comment comment) {


        Object com = commentRepository.save(comment);
        if (com != null) {


            return "评论更新成功";
        } else {


            return "评论更新失败";
        }
    }

    /**
     * 按编号删除记录
     *
     * @param id
     * @return
     */
    @Transactional
    @Modifying
    public String deleteById(Integer id) {


        commentRepository.deleteById(id);
        return "评论删除成功";
    }
}
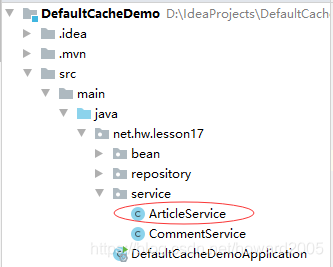
2、创建ArticleService类
(六)编写控制器
1、编写评论控制器 - CommentController

package net.hw.lesson17.controller;

import net.hw.lesson17.bean.Comment;
import net.hw.lesson17.service.CommentService;
import org.springframework.beans.factory.annotation.Autowired;
import org.springframework.stereotype.Controller;
import org.springframework.web.bind.annotation.PathVariable;
import org.springframework.web.bind.annotation.RequestMapping;
import org.springframework.web.bind.annotation.ResponseBody;

/**
 * 功能:评论控制器
 * 作者:华卫
 * 日期:2021年03月01日
 */
@Controller
@ResponseBody
public class CommentController {


    @Autowired
    private CommentService commentService;

    @RequestMapping("/find/{id}")
    public Comment findById(@PathVariable String id) {


        if (id != null) {


            return commentService.findById(Integer.parseInt(id));
        } else {


            return null;
        }
    }

    @RequestMapping("/delete/{id}")
    public String deleteById(@PathVariable String id) {


        if (id != null) {


            return commentService.deleteById(Integer.parseInt(id));
        } else {


            return null;
        }
    }

    @RequestMapping("/update")
    public String updateComment(Comment comment) {


        return commentService.updateComment(comment);
    }
}
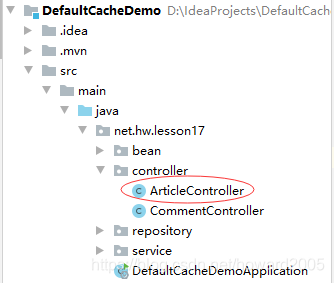
2、编写文章控制器 - ArticleController
(七)配置全局属性文件
spring.datasource.url=jdbc:mysql://localhost:3306/blog?serverTimezone=UTC&useUnicode=true&characterEncoding=UTF-8
spring.datasource.username=root
spring.datasource.password=root
#显示sql语句
spring.jpa.show-sql=true
(八)启动应用,测试效果
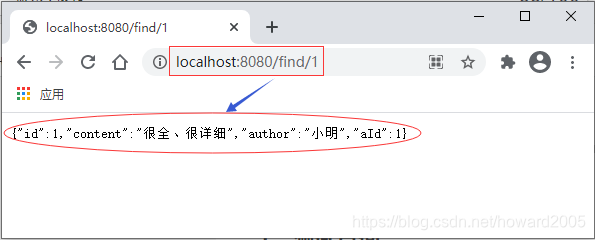
1、测试查询
- 查询编号为1的评论记录
- 访问
http://localhost:8080/find/1
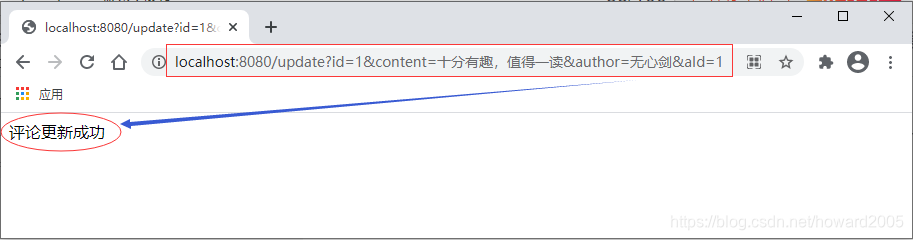
2、测试更新
- 修改编号1的评论记录,内容改为“十分有趣,值得一读”,作者改为“无心剑”
- 访问
http://localhost:8080/update?id=1&comment=十分有趣,值得一读&author=无心剑&aId=1
- 再次查询编号为1的评论记录
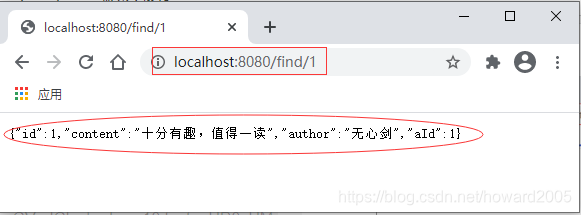
- 看,是不是评论的内容和作者都已经修改成功了?
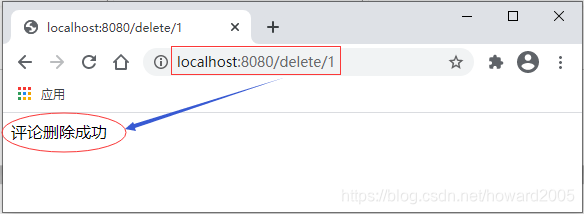
3、测试删除
- 删除编号为1的评论
- 访问
http://localhost:8080/delete/1
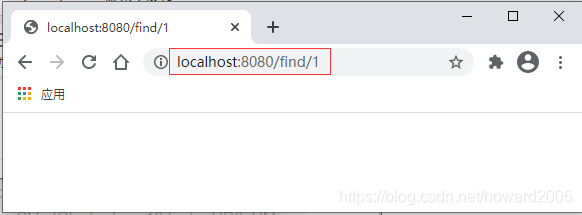
- 再次查询编号为1的评论记录
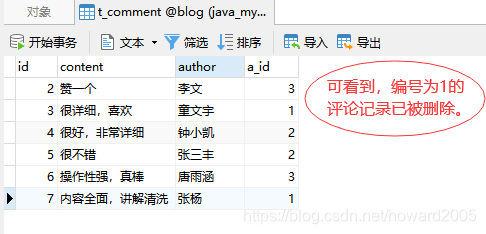
- 查看评论表 - t_comment
(九)课后拓展练习
- 完成ArticleService,ArticleController类并进行测试 - 查询、更新、删除
- 更新时如果给定的参数值中有中文,写入数据库是乱码,查询资料,解决乱码问题
(十)测试未启用缓存的效果
- 访问
http://localhost:8080/find/2,查看刷新页面效果
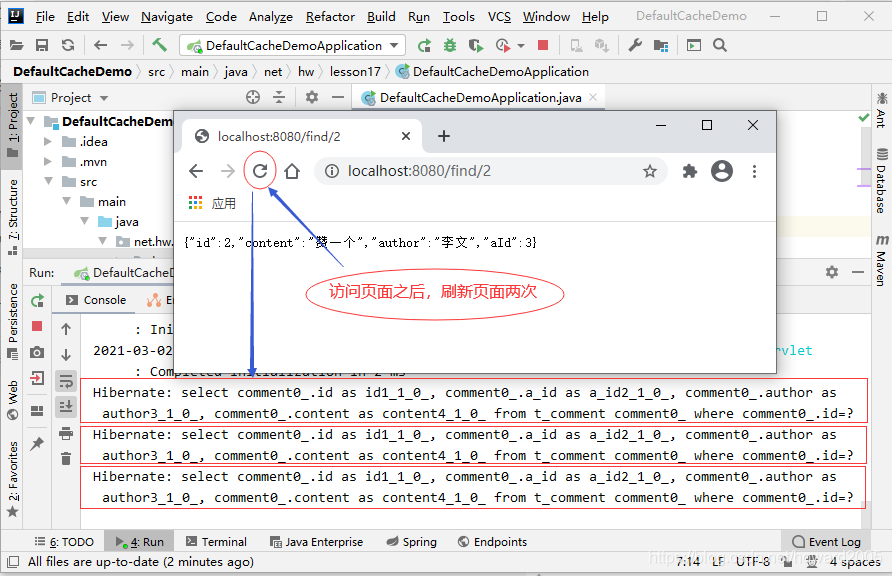
- 说明:页面每刷新一次,控制台会输出一次SQL语句,即每查询一次,就会访问一次数据库,大大增加了数据库的负担。
(十一)开启默认缓存
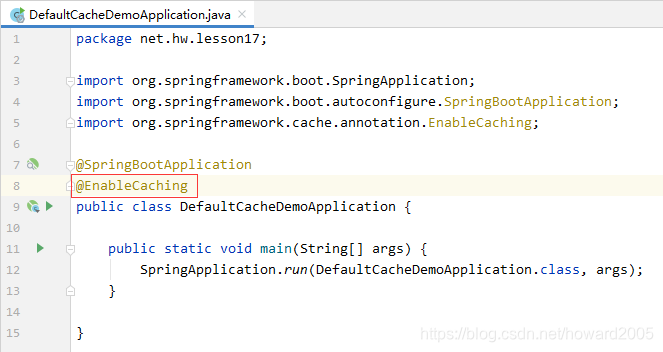
1、在入口类上加注释@EnableCaching
- 该注解一般使用在类上,通常使用在入口 类上
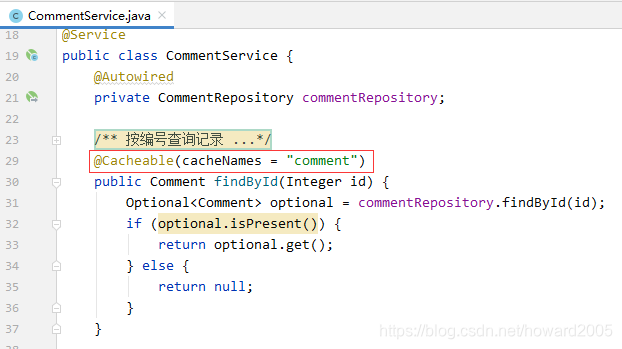
2、在服务类需要启用缓存的方法上加注解@Cacheable
@Cacheable注解既可用在方法上,也可用在类上
(十二)测试启用默认缓存后的效果
- 启动应用,访问
http://localhost:8080/find/2,并刷新页面查看效果
- 说明:第一次访问页面时控制台会有SQL语句输出,往后刷新时则不会继续输出SQL语句,即不再连接数据库取数据,而是从缓存中取数据。
三、Spring Boot默认缓存小结
(一)使用缓存的作用
- 缓存一般用在查询方法上,可以减轻数据库服务器的压力。
(二)常用注解
1、@EnableCaching注解
- 该注解一般使用在Spring Boot项目的入口类上,开启项目的缓存功能
2、@Cachable注解
Spring在缓存方法的返回值时是以键值对进行缓存的,值就是方法的返回结果。@Cacheable可以指定三个属性,value、key和condition。
(1)value属性
- value属性是必须指定的,其表示当前方法的返回值是会被缓存在哪个Cache上的,对应Cache的名称。其可以是一个Cache也可以是多个Cache。
(2)key属性
- key属性是用来指定Spring缓存方法的返回结果时对应的key的。该属性支持SpringEL表达式。当我们没有指定该属性时,Spring将使用默认策略生成key。
(3)condition属性
- 有的时候我们可能并不希望缓存一个方法所有的返回结果。通过condition属性可以实现这一功能。condition属性默认为空,表示将缓存所有的调用情形。其值是通过SpringEL表达式来指定的,当为true时表示进行缓存处理;当为false时表示不进行缓存处理,即每次调用该方法时该方法都会执行一次。
- 案例演示:只有当comment的id为偶数时才会进行缓存。
@Cacheable(value = "comments", key = "#id", condition = "#id % 2 == 0")
public Comment findById(Integer id) {


    Optional<Comment> optional = commentRepository.findById(id);
    if (optional.isPresent()) {


        return optional.get();
    } else {


        return null;
    }
}
3、@CachePut注解
- 在支持Spring Cache的环境下,对于使用@Cacheable标注的方法,Spring在每次执行前都会检查Cache中是否存在相同key的缓存元素,如果存在就不再执行该方法,而是直接从缓存中获取结果进行返回,否则才会执行并将返回结果存入指定的缓存中。
- @CachePut也可以声明一个方法支持缓存功能。与@Cacheable不同的是使用@CachePut标注的方法在执行前不会去检查缓存中是否存在之前执行过的结果,而是每次都会执行该方法,并将执行结果以键值对的形式存入指定的缓存中。
- @CachePut也可以标注在类上和方法上。使用@CachePut时我们可以指定的属性跟@Cacheable是一样的。
@CachePut("comments")  // 每次都会执行方法,并将结果存入指定的缓存中
public Comment findById(Integer id) {


     Optional\<Comment\> optional = userRepository.findById(id);
     if (optional.isPresent()) {


         return optional.get();
     } else {


         return null;
    }
}
4、@CacheEvict注解
- @CacheEvict是用来标注在需要清除缓存元素的方法或类上的。当标记在一个类上时表示其中所有的方法的执行都会触发缓存的清除操作。@CacheEvict可以指定的属性有value、key、condition、allEntries和beforeInvocation。其中value、key和condition的语义与@Cacheable对应的属性类似。即value表示清除操作是发生在哪些Cache上的(对应Cache的名称);key表示需要清除的是哪个key,如未指定则会使用默认策略生成的key;condition表示清除操作发生的条件。
- 下面我们来介绍一下新出现的两个属性allEntries和beforeInvocation。
(1)allEntries属性
- allEntries是boolean类型,表示是否需要清除缓存中的所有元素。默认为false,表示不需要。当指定了allEntries为true时,Spring Cache将忽略指定的key。有的时候我们需要Cache一下清除所有的元素,这比一个一个清除元素更有效率。
@CacheEvict(value = "comments", allEntries = true)
public void deleteById(Integer id) {


   System.out.println("delete comment by id: " + id);
}
(2)beforeInvocation属性
- 清除操作默认是在对应方法成功执行之后触发的,即方法如果因为抛出异常而未能成功返回时也不会触发清除操作。使用beforeInvocation可以改变触发清除操作的时间,当我们指定该属性值为true时,Spring会在调用该方法之前清除缓存中的指定元素。
@CacheEvict(value = "comments", beforeInvocation = true)
public void deleteById(Integer id) {


   System.out.println("delete comment by id: " + id);
}