CentOS 7 - 安装 Nginx
环境信息
操作系统
# cat /etc/centos-release
CentOS Linux release 7.7.1908 (Core)
# uname --kernel-release
3.10.0-1062.el7.x86_64
安装 Nginx
提示:下文出现的以 # 开头的命令均由 root 用户执行。
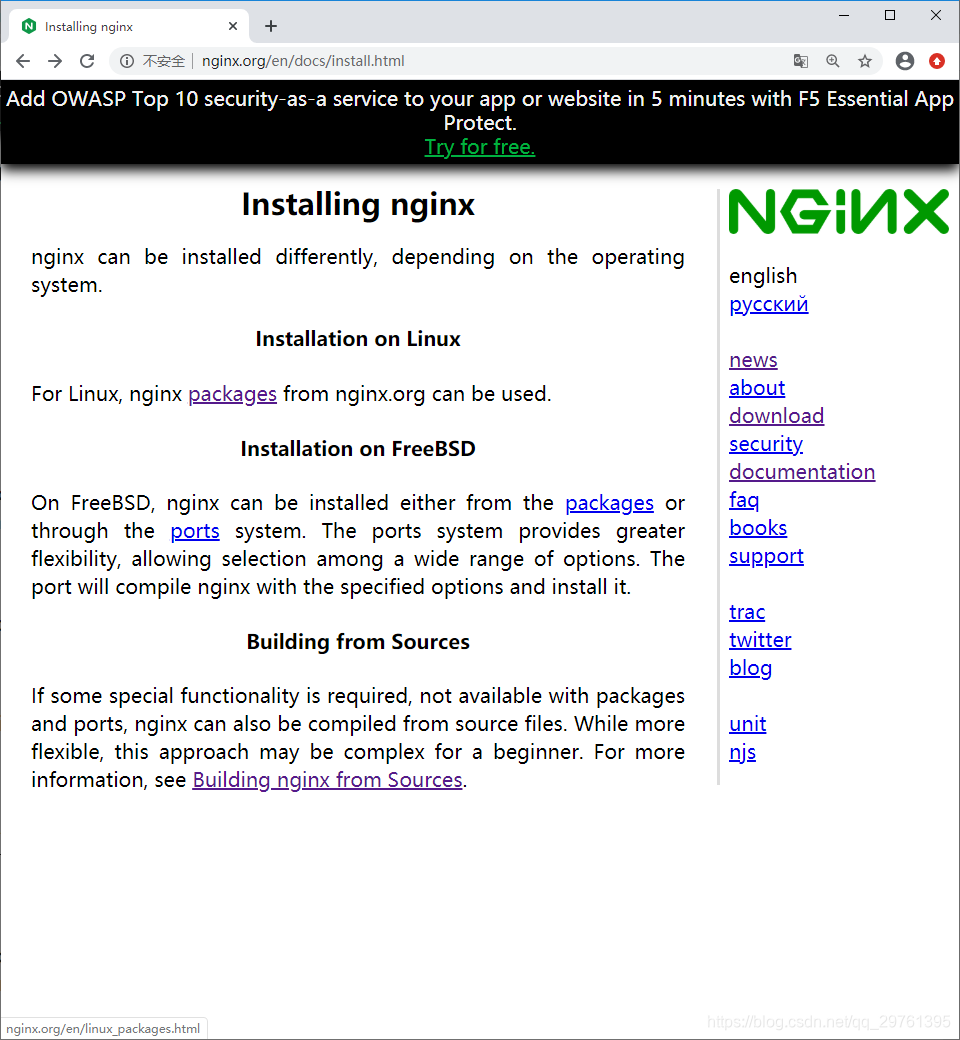
Nginx 给出了多种安装方式,我采用了第一种。
准备
在安装 Nginx 之前,需先安装 yum-utils,执行以下命令即可:
# yum install --assumeyes yum-utils
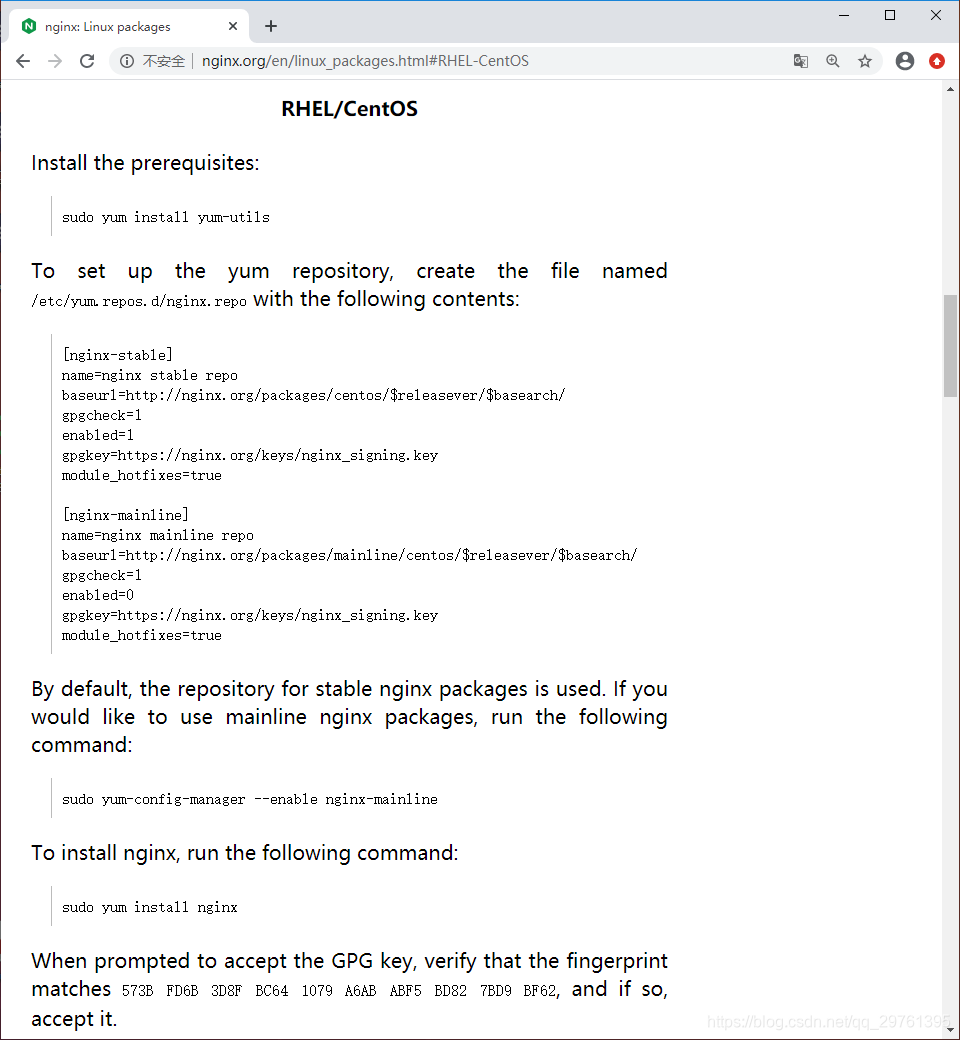
设置 yum 仓库
在 /etc/yum.repos.d/ 目录下新建一个名为 nginx.repo 的文件,其内容如下:
[nginx-stable]
name=nginx stable repo
baseurl=http://nginx.org/packages/centos/$releasever/$basearch/
gpgcheck=1
enabled=1
gpgkey=https://nginx.org/keys/nginx_signing.key
module_hotfixes=true

[nginx-mainline]
name=nginx mainline repo
baseurl=http://nginx.org/packages/mainline/centos/$releasever/$basearch/
gpgcheck=1
enabled=0
gpgkey=https://nginx.org/keys/nginx_signing.key
module_hotfixes=true
默认情况下,使用稳定的 nginx 包库。如果你想使用主线 nginx 包,运行以下命令:
# yum-config-manager --enable nginx-mainline
执行以下命令安装 Nginx:
# yum install nginx
在安装的过程中,当提示接受 GPG 密钥时,请验证指纹信息与 573B FD6B 3D8F BC64 1079 A6AB ABF5 BD82 7BD9 BF62 匹配。如果是,那么接受它。
启动、访问 Nginx
查看帮助信息
安装完成之后,可以使用 nginx -h 查看 Nginx 的版本和帮助信息:
# nginx -h
nginx version: nginx/1.18.0
Usage: nginx [-?hvVtTq] [-s signal] [-c filename] [-p prefix] [-g directives]

Options:
  -?,-h         : this help
  -v            : show version and exit
  -V            : show version and configure options then exit
  -t            : test configuration and exit
  -T            : test configuration, dump it and exit
  -q            : suppress non-error messages during configuration testing
  -s signal     : send signal to a master process: stop, quit, reopen, reload
  -p prefix     : set prefix path (default: /etc/nginx/)
  -c filename   : set configuration file (default: /etc/nginx/nginx.conf)
  -g directives : set global directives out of configuration file
启动 Nginx
执行命令 nginx 即可启动 Nginx。随后可以执行以下命令查询其是否启动:
# ps -ef | grep nginx
root       7934      1  0 10:51 ?        00:00:00 nginx: master process nginx
nginx      7935   7934  0 10:51 ?        00:00:00 nginx: worker process
root       7937   1326  0 10:51 pts/0    00:00:00 grep --color=auto nginx
开放端口
Nginx 默认监听 80 端口,如果服务器没有开放 80 端口,那么我们无法访问 Nginx。
我们可以执行以下命令,查看当前启用的区域:
# firewall-cmd --list-all
public (active)
  target: default
  icmp-block-inversion: no
  interfaces: ens33
  sources:
  services: dhcpv6-client ssh
  ports: 22122/tcp 23000/tcp
  protocols:
  masquerade: no
  forward-ports:
  source-ports:
  icmp-blocks:
  rich rules:
从以上信息可以得知,当前启用的区域是 public,已允许的服务是 dhcpv6-client 和 ssh。
在 /usr/lib/firewalld/services/ 目录下,CentOS 7 预设了很多服务,其中有一个是 HTTP 服务的配置文件:
# ll /usr/lib/firewalld/services/
total 612
... 其他文件,略
-rw-r--r--. 1 root root  353 Aug  9  2019 http.xml
打开这个文件,可以看到一些关于 HTTP 服务的配置信息:
<?xml version="1.0" encoding="utf-8"?>
<service>
  <short>WWW (HTTP)</short>
  <description>HTTP is the protocol used to serve Web pages. If you plan to make your Web server publicly available, enable this option. This option is not required for viewing pages locally or developing Web pages.</description>
  <port protocol="tcp" port="80"/>
</service>
CentOS 7 防火墙默认使用的区域配置文件存放在 /etc/firewalld/zones/ 目录下:
# ls /etc/firewalld/zones/
public.xml  public.xml.old
我们只需要将 HTTP 服务配置信息添加到当前启用的区域,即可开放相应的端口。
编辑 /etc/firewalld/zones/public.xml 文件,添加 HTTP 服务配置信息,见第 7 行:
<?xml version="1.0" encoding="utf-8"?>
<zone>
  <short>Public</short>
  <description>For use in public areas. You do not trust the other computers on networks to not harm your computer. Only selected incoming connections are accepted.</description>
  <service name="ssh"/>
  <service name="dhcpv6-client"/>
  <service name="http"/>
  <port protocol="tcp" port="22122"/>
  <port protocol="tcp" port="23000"/>
</zone>
提示:你的配置文件不一定和我一样。
完成之后,执行以下命令重新加载防火墙配置。如果重载成功,则提示 success:
# firewall-cmd --reload
success
现在,我们重新查看当前启用的区域,可以看到 HTTP 服务已经添加到 public 区域规则中:
# firewall-cmd --list-all
public (active)
  target: default
  icmp-block-inversion: no
  interfaces: ens33
  sources:
  services: dhcpv6-client http ssh
  ports: 22122/tcp 23000/tcp
  protocols:
  masquerade: no
  forward-ports:
  source-ports:
  icmp-blocks:
  rich rules:
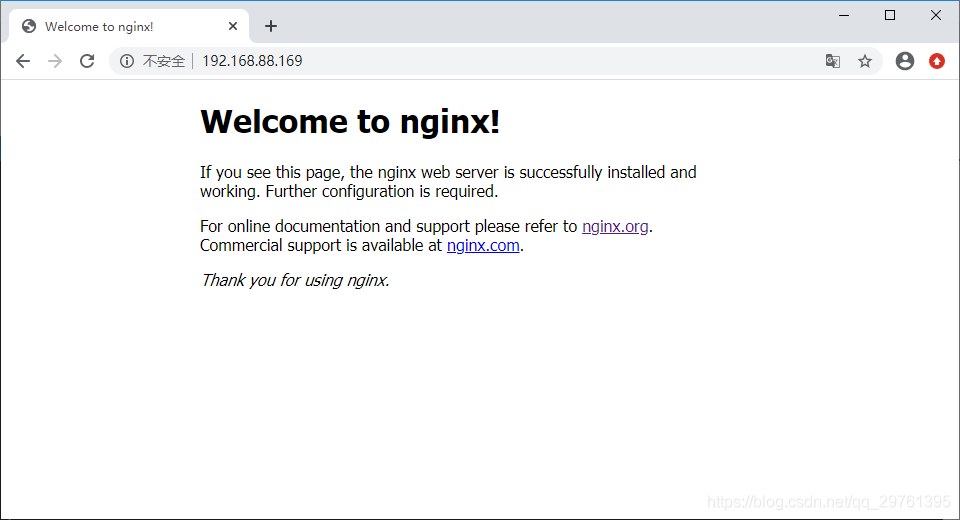
访问 Nginx
现在,我们在浏览器输入服务器的 IP 地址,即可访问运行在服务器上的 Nginx: