文章目录
TelephonyManager(电话管理器)
获得其他app的Context,而这个Context代表访问该app的全局信息的接口,而决定应用的唯一标识 是应用的包名,所以我们可以通过应用包名获得对应app的Context 另外有一点要注意的是:其他应用的SP文件是否能被读写的前提就是SP文件是否指定了可读或者 可写的权限,我们上面创建的是MODE_PRIVATE的就不可以了
1.如何获得TelephonyManager的服务对象
TelephonyManager tManager = (TelephonyManager)getSystemService(Context.TELEPHONY_SERVICE);
2.案例演示
2.1 调用拨号器拨打电话号码
Uri uri=Uri.parse("tel:"+电话号码);
Intent intent=new Intent(Intent.ACTION_DIAL,uri);
startActivity(intent);
2.2 获取Sim卡信息与网络信息
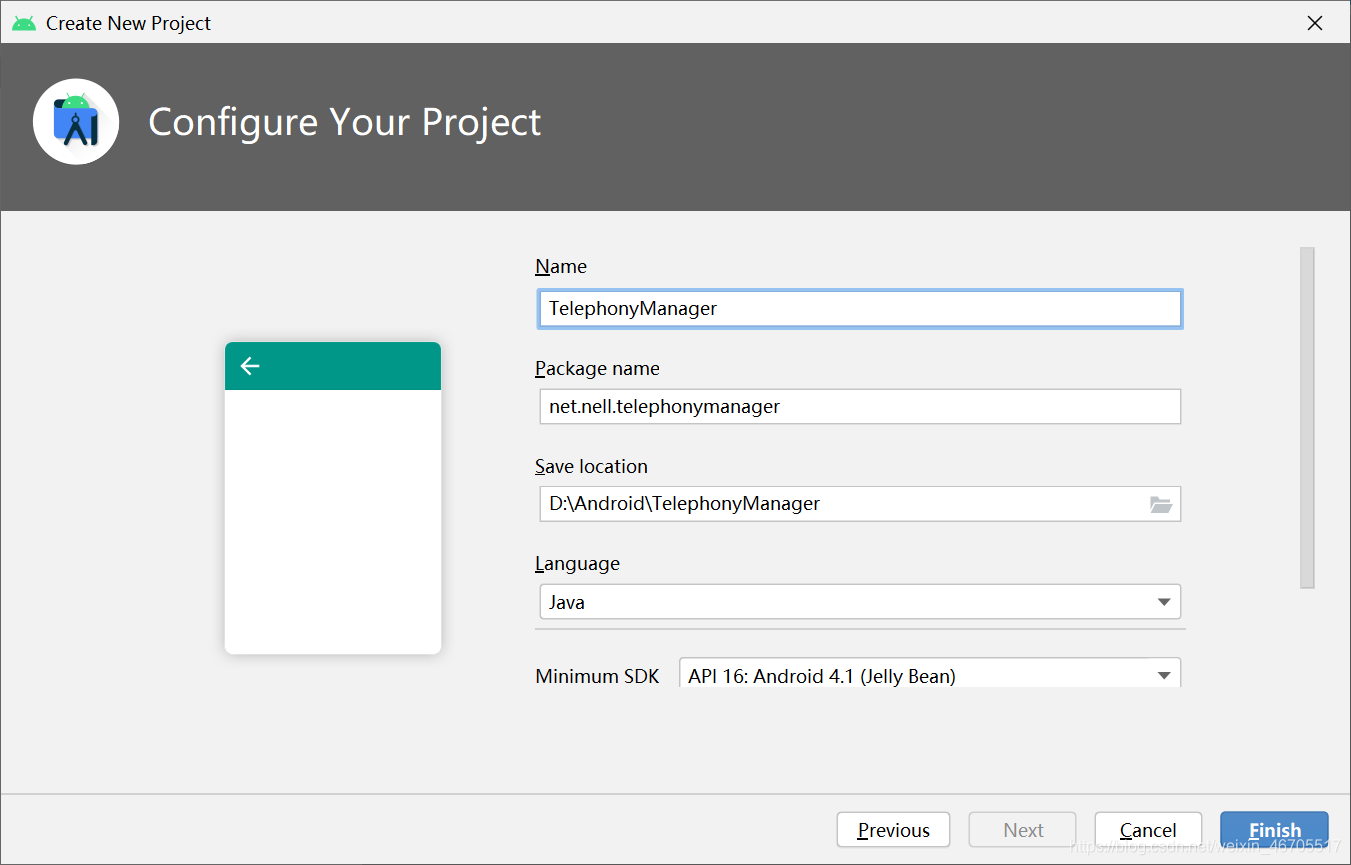
(1)新建项目

(2)activity_main.xml
<?xml version="1.0" encoding="utf-8"?>
<LinearLayout xmlns:android="http://schemas.android.com/apk/res/android"
    xmlns:tools="http://schemas.android.com/tools"
    android:layout_width="match_parent"
    android:layout_height="match_parent"
    android:orientation="vertical"
    android:padding="5dp"
    tools:context=".MainActivity">

    <TextView
        android:id="@+id/tv_phone1"
        android:layout_width="match_parent"
        android:layout_height="wrap_content"
        android:textSize="20sp" />

    <TextView
        android:id="@+id/tv_phone2"
        android:layout_width="match_parent"
        android:layout_height="wrap_content"
        android:textSize="20sp" />

    <TextView
        android:id="@+id/tv_phone3"
        android:layout_width="match_parent"
        android:layout_height="wrap_content"
        android:textSize="20sp" />

    <TextView
        android:id="@+id/tv_phone4"
        android:layout_width="match_parent"
        android:layout_height="wrap_content"
        android:textSize="20sp" />

    <TextView
        android:id="@+id/tv_phone5"
        android:layout_width="match_parent"
        android:layout_height="wrap_content"
        android:textSize="20sp" />

    <TextView
        android:id="@+id/tv_phone6"
        android:layout_width="match_parent"
        android:layout_height="wrap_content"
        android:textSize="20sp" />

    <TextView
        android:id="@+id/tv_phone7"
        android:layout_width="match_parent"
        android:layout_height="wrap_content"
        android:textSize="20sp" />

    <TextView
        android:id="@+id/tv_phone8"
        android:layout_width="match_parent"
        android:layout_height="wrap_content"
        android:textSize="16sp" />

    <TextView
        android:id="@+id/tv_phone9"
        android:layout_width="match_parent"
        android:layout_height="wrap_content"
        android:textSize="20sp" />

</LinearLayout>
(3)MainActivity.java
public class MainActivity extends AppCompatActivity {


    private TextView tv_phone1;
    private TextView tv_phone2;
    private TextView tv_phone3;
    private TextView tv_phone4;
    private TextView tv_phone5;
    private TextView tv_phone6;
    private TextView tv_phone7;
    private TextView tv_phone8;
    private TextView tv_phone9;
    private TelephonyManager tManager;
    private String[] phoneType = {

    "未知","2G","3G","4G"};
    private String[] simState = {

    "状态未知","无SIM卡","被PIN加锁","被PUK加锁",
            "被NetWork PIN加锁","已准备好"};

    @Override
    protected void onCreate(Bundle savedInstanceState) {


        super.onCreate(savedInstanceState);
        setContentView(R.layout.activity_main);
        //①获得系统提供的TelphonyManager对象的实例
        tManager = (TelephonyManager) getSystemService(Context.TELEPHONY_SERVICE);
        bindViews();
    }

    private void bindViews() {


        tv_phone1 = (TextView) findViewById(R.id.tv_phone1);
        tv_phone2 = (TextView) findViewById(R.id.tv_phone2);
        tv_phone3 = (TextView) findViewById(R.id.tv_phone3);
        tv_phone4 = (TextView) findViewById(R.id.tv_phone4);
        tv_phone5 = (TextView) findViewById(R.id.tv_phone5);
        tv_phone6 = (TextView) findViewById(R.id.tv_phone6);
        tv_phone7 = (TextView) findViewById(R.id.tv_phone7);
        tv_phone8 = (TextView) findViewById(R.id.tv_phone8);
        tv_phone9 = (TextView) findViewById(R.id.tv_phone9);

        tv_phone1.setText("设备编号:" + tManager.getDeviceId());
        tv_phone2.setText("软件版本:" + (tManager.getDeviceSoftwareVersion()!= null?
                tManager.getDeviceSoftwareVersion():"未知"));
        tv_phone3.setText("运营商代号:" + tManager.getNetworkOperator());
        tv_phone4.setText("运营商名称:" + tManager.getNetworkOperatorName());
        tv_phone5.setText("网络类型:" + phoneType[tManager.getPhoneType()]);
        tv_phone6.setText("设备当前位置:" + (tManager.getCellLocation() != null ? tManager
                .getCellLocation().toString() : "未知位置"));
        tv_phone7.setText("SIM卡的国别:" + tManager.getSimCountryIso());
        tv_phone8.setText("SIM卡序列号:" + tManager.getSimSerialNumber());
        tv_phone9.setText("SIM卡状态:" + simState[tManager.getSimState()]);
    }
}
(4)AndroidManifest.xml
<!-- 添加访问手机位置的权限 -->
<uses-permission android:name="android.permission.ACCESS_COARSE_LOCATION"/>
<!-- 添加访问手机状态的权限 -->
<uses-permission android:name="android.permission.READ_PHONE_STATE"/>
2.3 获取手机信号强度
网络信号强度的单位是dBm(毫瓦分贝),一般用负数表示,正常手机信号变化范围是从-110dBm (差)到-50dBm(好)之间。
手机获取信号强度代码示例:
dBm =-113+2*asu这是一个固定公式,asu(独立信号单元)
主要代码
MainActivity.java
public class MainActivity extends AppCompatActivity {


    private TextView tv_rssi;
    private MyPhoneStateListener mpsListener;
    private TelephonyManager tManager;


    @Override
    protected void onCreate(Bundle savedInstanceState) {


        super.onCreate(savedInstanceState);
        setContentView(R.layout.activity_main);
        tManager = ((TelephonyManager)getSystemService(Context.TELEPHONY_SERVICE));
        tv_rssi = (TextView) findViewById(R.id.tv_rssi);
        mpsListener  = new MyPhoneStateListener();
        tManager.listen(mpsListener,290);
    }

    private class MyPhoneStateListener extends PhoneStateListener {


        private int asu = 0,lastSignal = 0;
        @Override
        public void onSignalStrengthsChanged(SignalStrength signalStrength) {


            asu = signalStrength.getGsmSignalStrength();
            lastSignal = -113 + 2 * asu;
            tv_rssi.setText("当前手机的信号强度:" + lastSignal + " dBm" );
            super.onSignalStrengthsChanged(signalStrength);
        }
    }
}
AndroidManifest.xml
<!-- 添加访问手机状态的权限 -->
 <uses-permission android:name="android.permission.READ_PHONE_STATE"/>
2.4 监听手机的所有来电
思路:
重写TelephonyManager的一个通话状态监听器PhoneStateListener 然后调用TelephonyManager.listen()的方法进行监听,当来电的时候, 程序就会将来电号码记录到文件中!
实现代码:
MainActivity.java:
public class MainActivity extends Activity
{


    TelephonyManager tManager;

    @Override
    public void onCreate(Bundle savedInstanceState)
    {


        super.onCreate(savedInstanceState);
        setContentView(R.layout.main);
        // 取得TelephonyManager对象
        tManager = (TelephonyManager)
            getSystemService(Context.TELEPHONY_SERVICE);
        // 创建一个通话状态监听器
        PhoneStateListener listener = new PhoneStateListener()
        {


            @Override
            public void onCallStateChanged(int state, String number)
            {


                switch (state)
                {


                // 无任何状态
                    case TelephonyManager.CALL_STATE_IDLE:
                        break;
                    case TelephonyManager.CALL_STATE_OFFHOOK:
                        break;
                    // 来电铃响时
                    case TelephonyManager.CALL_STATE_RINGING:
                        OutputStream os = null;
                        try
                        {


                            os = openFileOutput("phoneList", MODE_APPEND);
                        }
                        catch (FileNotFoundException e)
                        {


                            e.printStackTrace();
                        }
                        PrintStream ps = new PrintStream(os);
                        // 将来电号码记录到文件中
                        ps.println(new Date() + " 来电:" + number);
                        ps.close();
                        break;
                    default:
                        break;
                }
                super.onCallStateChanged(state, number);
            }
        };
        // 监听电话通话状态的改变
        tManager.listen(listener, PhoneStateListener.LISTEN_CALL_STATE);
    }
}
AndroidManifest.xml
<!-- 授予该应用读取通话状态的权限 -->
<uses-permission android:name="android.permission.READ_PHONE_STATE"/>
运行效果
注意!要让这个程序位于前台哦!用另一个电话拨打该电话,接着就可以在DDMS的file Explorer的应用 对应包名的files目录下看到phoneList的文件了,我们可以将他导出到电脑中打开,文件的大概内容如下:
THR Oct 30 12:05:48 GMT 2014 来电: 137xxxxxxx
2.5 黑名单来电自动挂断
下面只显示一部分比较主要的代码
MainActivity.java
public class MainActivity extends Activity {


    private TelephonyManager tManager;
    private PhoneStateListener pListener;
    private String number;
    private EditText locknum;
    private Button btnlock;

    public class PhonecallListener extends PhoneStateListener
    {


        @Override
        public void onCallStateChanged(int state, String incomingNumber) {


            switch(state)
            {


            case TelephonyManager.CALL_STATE_IDLE:break;
            case TelephonyManager.CALL_STATE_OFFHOOK:break;
            //当有电话拨入时
            case TelephonyManager.CALL_STATE_RINGING:
                if(isBlock(incomingNumber))
                {


                    try
                    {


                        Method method = Class.forName("android.os.ServiceManager")
                                .getMethod("getService", String.class);
                        // 获取远程TELEPHONY_SERVICE的IBinder对象的代理
                        IBinder binder = (IBinder) method.invoke(null,
                            new Object[] {

     TELEPHONY_SERVICE });
                        // 将IBinder对象的代理转换为ITelephony对象
                        ITelephony telephony = ITelephony.Stub.asInterface(binder);
                        // 挂断电话
                        telephony.endCall();
                    }catch(Exception e){

    e.printStackTrace();}
                }
                break;
            }
            super.onCallStateChanged(state, incomingNumber);
        }
    }


    @Override
    protected void onCreate(Bundle savedInstanceState) {


        super.onCreate(savedInstanceState);
        setContentView(R.layout.activity_main);

        locknum = (EditText) findViewById(R.id.locknum);
        btnlock = (Button) findViewById(R.id.btnlock);

        //获取系统的TelephonyManager管理器
        tManager = (TelephonyManager) getSystemService(TELEPHONY_SERVICE);
        pListener = new PhoneStateListener();
        tManager.listen(pListener, PhoneStateListener.LISTEN_CALL_STATE);

        btnlock.setOnClickListener(new OnClickListener() {


            @Override
            public void onClick(View v) {


                number = locknum.getText().toString();
            }
        });

    }

    public boolean isBlock(String phone)
    {


        if(phone.equals(number))return true;
        return false;
    }
}
AndroidManifest.xml
<!-- 授予该应用控制通话的权限 -->
<uses-permission android:name="android.permission.CALL_PHONE" />
<!-- 授予该应用读取通话状态的权限 -->
<uses-permission android:name="android.permission.READ_PHONE_STATE" />