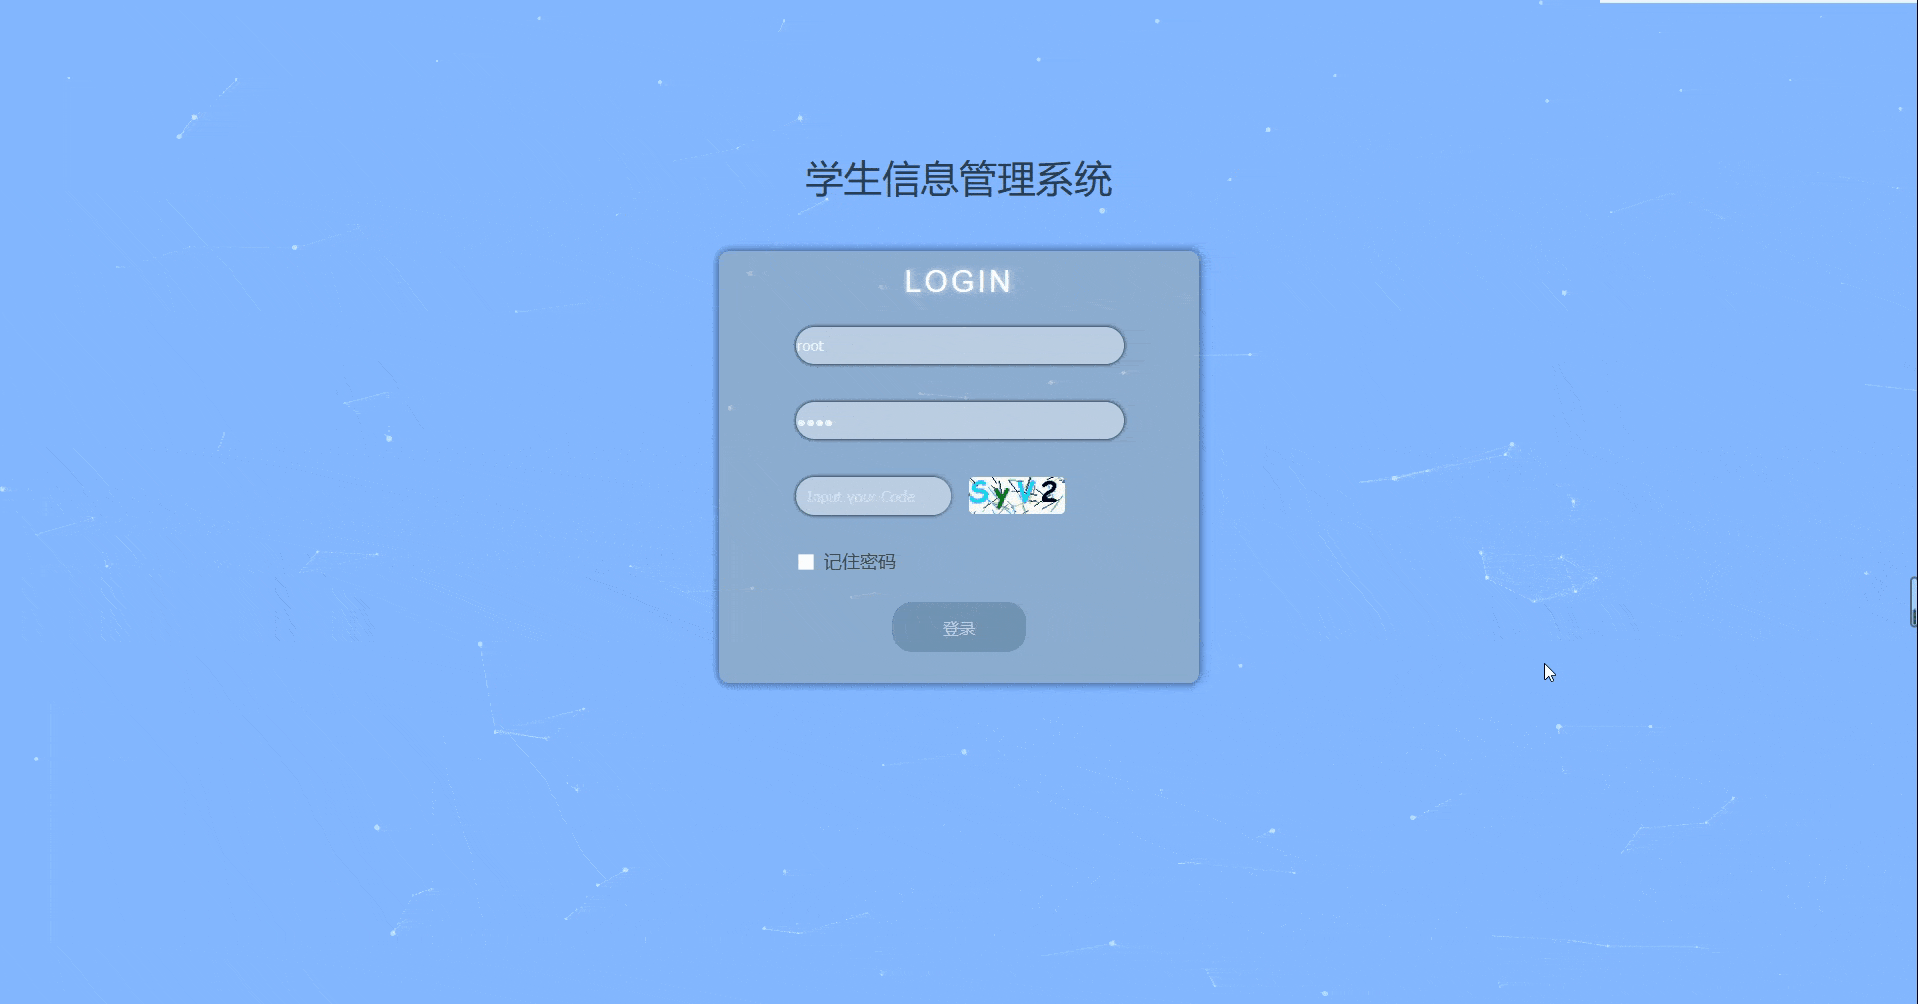
一、效果展示:
二、官方地址
https://marcbruederlin.github.io/particles.js/
三、Vue cli 引入
npm i particles.js
四、代码编写
- template
<template>
    <div id="particles"></div>
</template>
- script
 mounted() {


    require('particles.js')
    // eslint-disable-next-line no-undef
    particlesJS('particles', particlesJson)
  }
小贴士:require 和 import 的区别
node编程中最重要的思想就是模块化,import和require都是被模块化所使用。
遵循规范
require 是 AMD规范引入方式
import是es6的一个语法标准,如果要兼容浏览器的话必须转化成es5的语法
调用时间
require是运行时调用,所以require理论上可以运用在代码的任何地方
mport是编译时调用,所以必须放在文件开头
本质
require是赋值过程,其实require的结果就是对象、数字、字符串、函数等,再把require的结果赋值给某个变量, import是解构过程,但是目前所有的引擎都还没有实现import,我们在node中使用babel支持ES6,也仅仅是将ES6转码为ES5再执行,import语法会被转码为require
- style
#particles{


      position: absolute;
      width: 100%;
      height: 100%;
      background-color: rgb(135, 183, 255);
      background-repeat: no-repeat;
      background-size: cover;
      background-position: 50% 50%;
}
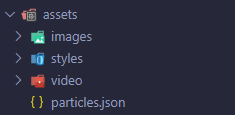
- particles 配置文件 (particles.json)
// 引入particles.json文件用于配置canvas
import particlesJson from '../../assets/particles.json'
- particles.json (效果图中的配置)
  {
    "particles": {
      "number": {
        "value": 60,
        "density": {
          "enable": true,
          "value_area": 800
        }
      },
      "color": {
        "value": "#ffffff"
      },
      "shape": {
        "type": "circle",
        "stroke": {
          "width": 0,
          "color": "#000000"
        },
        "polygon": {
          "nb_sides": 5
        },
        "image": {
          "src": "img/github.svg",
          "width": 100,
          "height": 100
        }
      },
      "opacity": {
        "value": 0.5,
        "random": false,
        "anim": {
          "enable": false,
          "speed": 1,
          "opacity_min": 0.1,
          "sync": false
        }
      },
      "size": {
        "value": 3,
        "random": true,
        "anim": {
          "enable": false,
          "speed": 40,
          "size_min": 0.1,
          "sync": false
        }
      },
      "line_linked": {
        "enable": true,
        "distance": 150,
        "color": "#ffffff",
        "opacity": 0.4,
        "width": 1
      },
      "move": {
        "enable": true,
        "speed": 4,
        "direction": "none",
        "random": false,
        "straight": false,
        "out_mode": "out",
        "bounce": false,
        "attract": {
          "enable": false,
          "rotateX": 100,
          "rotateY": 1200
        }
      }
    },
    "interactivity": {
      "detect_on": "Window",
      "events": {
        "onhover": {
          "enable": true,
          "mode": "grab"
        },
        "onclick": {
          "enable": true,
          "mode": "push"
        },
        "resize": true
      },
      "modes": {
        "grab": {
          "distance": 140,
          "line_linked": {
            "opacity": 1
          }
        },
        "bubble": {
          "distance": 400,
          "size": 40,
          "duration": 2,
          "opacity": 8,
          "speed": 3
        },
        "repulse": {
          "distance": 200,
          "duration": 0.4
        },
        "push": {
          "particles_nb": 4
        },
        "remove": {
          "particles_nb": 2
        }
      }
    },
    "retina_detect": true
  }
五、报错 particlesJS is not defined 解决
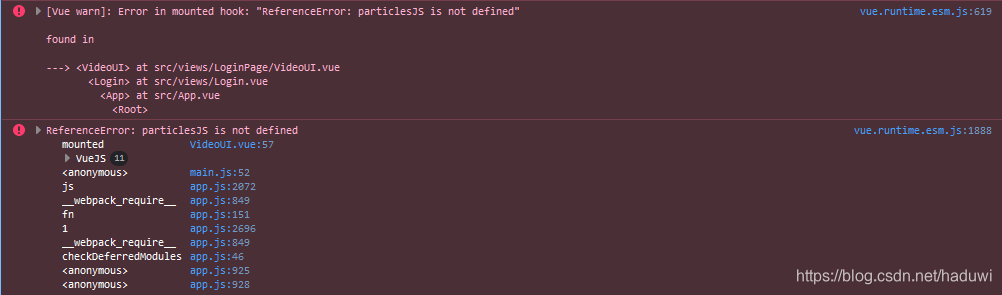
按照我写的步骤来是不会出现这种问题的,出现上述报错主要是我一开始是跟着网上别人写的博客使用particles.js 实现粒子界面,都报这个
particlesJS is not defined。
按照网上步骤几种引入方式 (均报错 particlesJS is not defined)
- 直接下载 particles.min.js,知道 util 包下

- main.js 全局配置
//main文件
import particles from 'particles.js' Vue.use(particles)
- 需要使用粒子效果的vue文件中引入
//vue文件
import particles from 'particles.js'
问题解决:
改用 require 引入 particles.js,即可解决问题,我想破头也不知道为什么,别人可以使用 import 引入,唯独我要用 require 引入,况且import语法在运行后也是要转码成 require 。 目前我只能先强记着,希望有缘人能告诉我答案