引言
学习的是100ask的IMX6ULL开发板,小白第一次接触开发板,记录自己的学习过程。
(一)准备工作
下载韦东山老师的学习资料、工具和源码。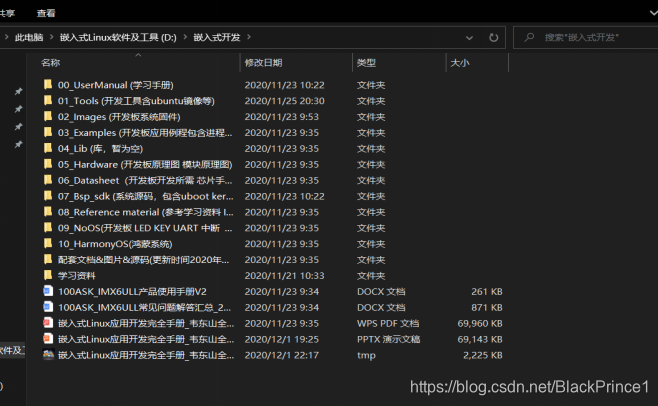
(二)安装虚拟机、配置NAT网络
虚拟机使用的是VMvare 16.0.0,Ubuntu使用的是韦东山老师提供的18.04。
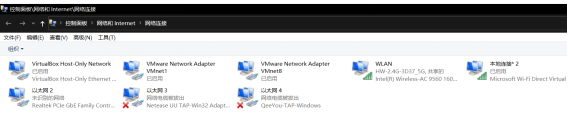
三者互通首先是配置Windows与开发板之间的NAT网络(也可以使用桥接),这个100ask的手册上面非常详细,注意做好端口映射。
开发板通过网线与Windows连接,Windows是通过WiFi上网的,将WLAN网卡的网络共享给有线网卡,我的以太网2(开发板通过这个有线网卡与Windows连接)这样就能使开发板通过共享的网络上网(开发板需要自己配置IP和默认网关,默认网关必须是Windows有线网卡的IP,开发板IP必须和默认网关处于同一网段)
这样在配置好Ubuntu的NAT网络、做好Windows在Ubuntu上的端口映射并使开发板与Windows互通后就可以解决三者的互通问题(注意!开发板ping不通Ubuntu,但Ubuntu可以通过Windows来ping通开发板)
在开发板中使用命令: vi /etc/network/interfaces打开网络文件配置静态IP和默认网关。

**(三)**安装TFTP、NFS、vim等软件
wget --no-check-certificate -O Configuring_ubuntu.sh https://weidongshan.coding.net/p/DevelopmentEnvConf/d/DevelopmentEnvConf/git/raw/master/Configuring_ubuntu.sh && sudo chmod +x Configuring_ubuntu.sh && sudo./Configuring_ubuntu.sh
(此脚本仅支持Ubuntu16.04和18.04)
**(四)**安装TFTP服务、挂载nfs
7.4.2 Ubuntu 安装 TFTP 服务
注意:使用 VMware NAT 网络或 Docker 时,不需要在 Ubuntu 中安装 TFTP 服务,而是在 Windows 运行
tftpd64 程序。
在 Ubuntu 中执行以下命令安装 TFTP 服务:
book@100ask:~$ sudo apt-get install tftp-hpa tftpd-hpa
然后,创建 TFTP 服务器工作目录,并打开 TFTP 服务配置文件,如下:
book@100ask:~$ mkdir -p /home/book/tftpboot
book@100ask:~$ sudo chmod 777 /home/book/tftpboot
book@100ask:~$ sudo vim /etc/default/tftpd-hpa
在配置文件/etc/default/tftpd-hpa 中,添加以下字段:
TFTP_DIRECTORY="/home/book/tftpboot"
TFTP_OPTIONS="-l -c -s"
最后,重启 TFTP 服务:
book@100ask:~$ sudo service tftpd-hpa restart
如果你使用的是VMware NAT方式,或是使用docker,假设Windows IP为192.168.1.100,在开发板上执
行以下命令(注意:必须指定port为2049、mountport为9999):
[root@imx6ull:~]# mount -t nfs -o nolock,vers=3,port=2049,mountport=9999 192.168.1.100:/home/book/nfs_rootfs /mnt
[root@imx6ull:~]# cp /mnt/hello ./hello
如果你使用的是VMware桥接方式,假设Ubuntu IP为192.168.1.100,在开发板上执行以下命令:
[root@imx6ull:~]# mount -t nfs -o nolock,vers=3 192.168.1.100:/home/book/nfs_rootfs /mnt
[root@imx6ull:~]# cp /mnt/hello ./hello
如果一切正常,你可以在 Ubuntu 上把文件到/home/book/nfs_rootfs 目录中,在开发板上可以从/mnt目录中访问该文件