创建项目已经完成了
qq交流群 535620886
最终效果体验
http://dadandmother.cn/stt/这节课我们来讲下 页面跳转以及底部选项
开发工具: Hbuilder X
完整代码已上传github https://github.com/dmhsq/image-recognition-flask-uniapp
bilibili教程视频 https://www.bilibili.com/video/BV1R5411H7r2/
底部有视频教程
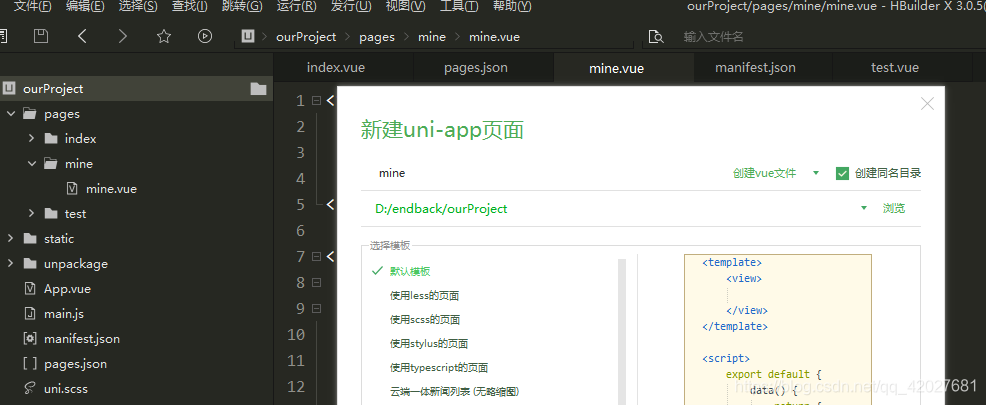
新建页面
右键你的项目 点击新建页面
自己命名即可 这里为mine
 建好后在 pages.json能看到 已被自动添加页面

底部选项卡
官方文档地址 https://uniapp.dcloud.io/collocation/pages?id=tabbar
参考文档给出属性 按照自己需求即可
选项图标获取
阿里矢量图 https://www.iconfont.cn/
大家可以根据自己的喜欢去下载
比如我们要下载 主页选项图标
 下载两个颜色 一个亮色 一个暗色

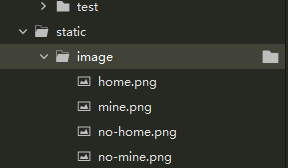
 重新命名文件 亮色为 home 暗色为 no-home
在static 目录下 新建image目录 将图片拷贝进去

同理可得 mine
这里我们一共两个页面 一个当主页 一个当我的
选项卡
在pages.json 根目录下添加 tabBar
官方文档地址 https://uniapp.dcloud.io/collocation/pages?id=tabbar
有H5基础 或者英文基础 应该都能看懂 看不懂去看文档

"tabBar": {
	    "color": "#7A7E83",
	    "selectedColor": "#3cc51f",
	    "borderStyle": "black",
	    "backgroundColor": "#ffffff",
	    "list": [{
	        "pagePath": "pages/index/index",
	        "iconPath": "static/image/no-home.png",
	        "selectedIconPath": "static/image/home.png",
	        "text": "首页"
	    }, {
	        "pagePath": "pages/mine/mine",
	        "iconPath": "static/image/no-mine.png",
	        "selectedIconPath": "static/image/mine.png",
	        "text": "我的"
	    }]
	}
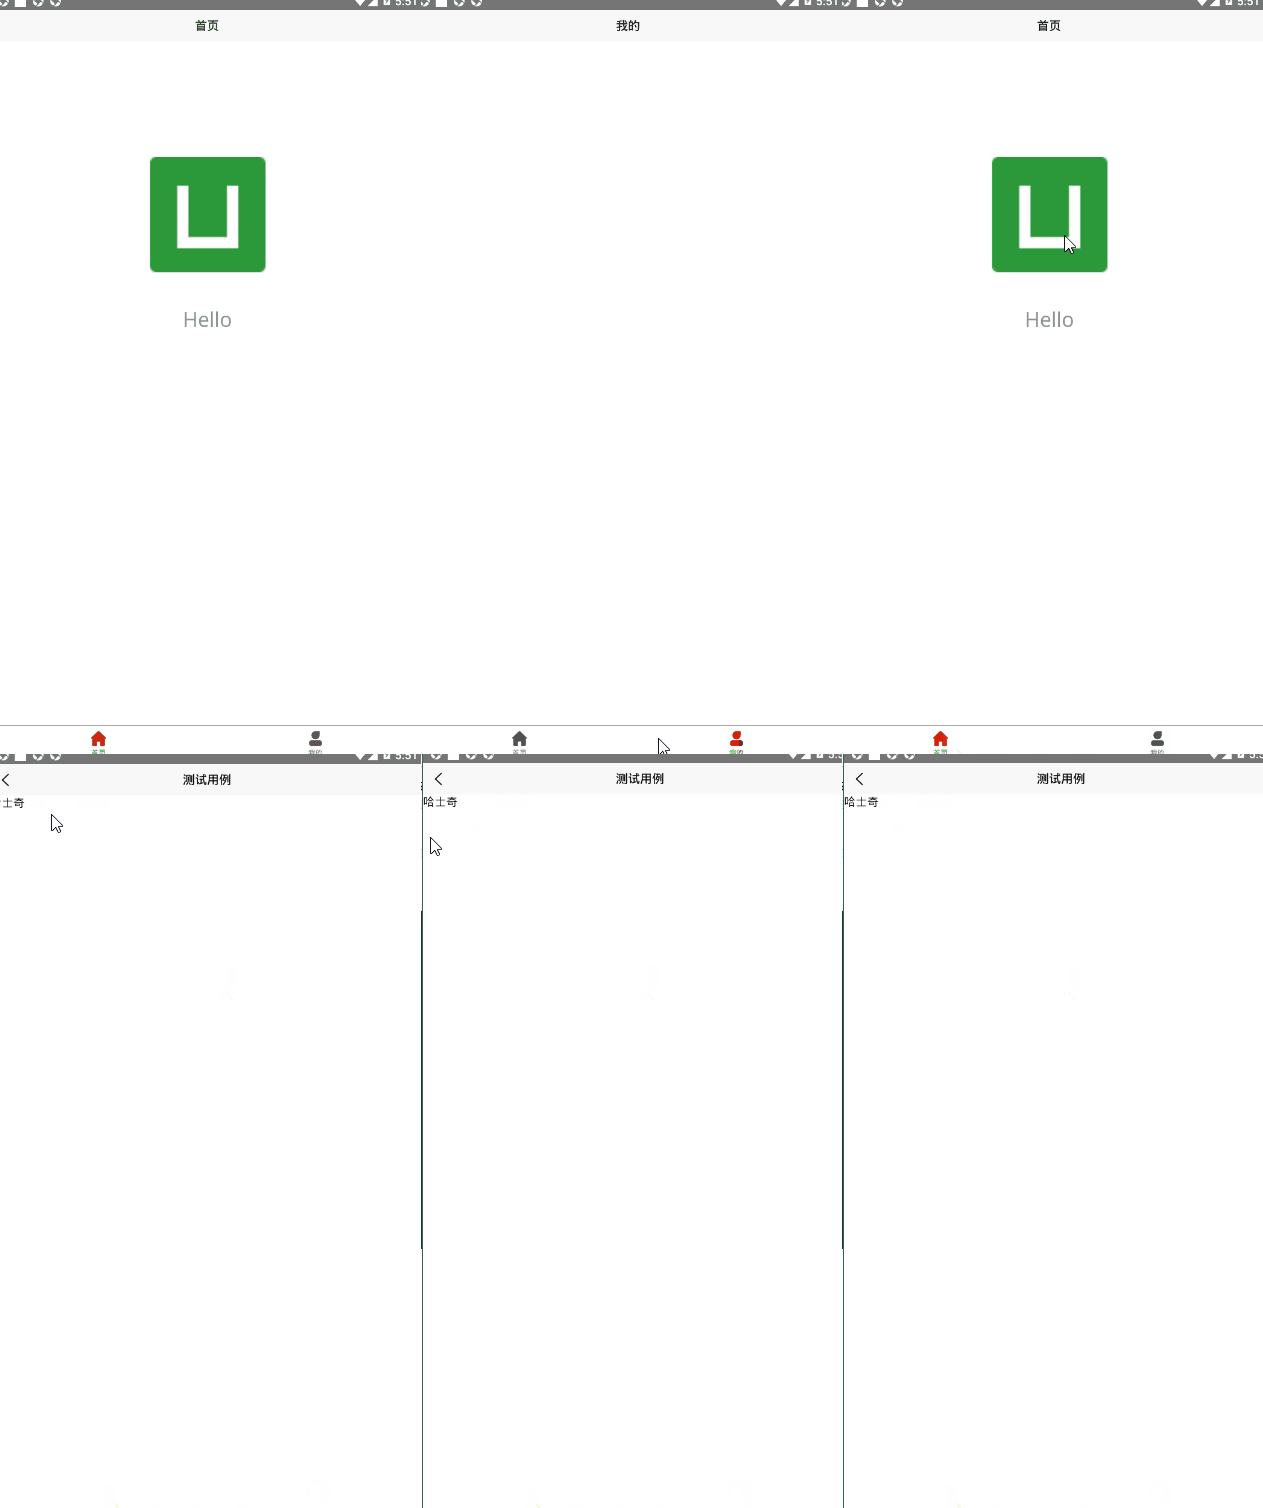
效果如下

页面跳转传参
uni.navigateTo(OBJECT)
官方文档 https://uniapp.dcloud.io/api/router?id=navigateto
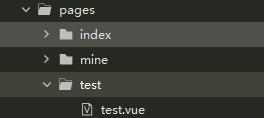
这里我们新建一个页面 test

在主页 也就是 pages/index/index.vue中 编写函数
我们给图片添加了 点击事件 goTest()
goTest()中 我们要跳转 test页面 (注意tarBar页面不能用这个 而要用uni.switchTab(OBJECT))
goTest(){
uni.navigateTo({
url:’…/test/test?name=哈士奇’ 跳转test页面并且传参?后是传参 格式 ?key1=value1$key2=value2…
})
}
<template>
	<view class="content">
		<image class="logo" src="/static/logo.png" @click="goTest()"></image>
		<view class="text-area">
			<text class="title">{

   {title}}</text>
		</view>
	</view>
</template>

<script>
	export default {


		data() {


			return {


				title: 'Hello'
			}
		},
		onLoad() {


		},
		methods: {


			goTest(){


				uni.navigateTo({


					url:'../test/test?name=哈士奇'
				})
			}
		}
	}
</script>

<style>
	.content {


		display: flex;
		flex-direction: column;
		align-items: center;
		justify-content: center;
	}

	.logo {


		height: 200rpx;
		width: 200rpx;
		margin-top: 200rpx;
		margin-left: auto;
		margin-right: auto;
		margin-bottom: 50rpx;
	}

	.text-area {


		display: flex;
		justify-content: center;
	}

	.title {


		font-size: 36rpx;
		color: #8f8f94;
	}
</style>
接收参数
在我们跳转的页面 test中
在onLoad生命页面生命周期中接收参数
onLoad(xxxx){
console.log(xxx.key1) // value1
console.log(xxx.key2) // value2
this,name = xxxx.name //赋值给页面data的name
}
<template>
	<view>
		<text>{

   {name}}</text>
	</view>
</template>

<script>
	export default {


		data() {


			return {


				name:""
			}
		},
		onLoad(option) {


			this.name = option.name
		},
		methods: {


		}
	}
</script>

<style>

</style>
效果如下

本节课视频
uniapp开发教程-P2-页面跳转以及底部选项
项目 交流群
535620886
聊天代码交流总群
974178910
项目体验
http://dadandmother.cn/stt/
或者二维码
