页面组件的关系结构,是一个由许多组件构成的树状结构,组件间存在着两种关系:父子关系、非父子关系 。几乎任意类型的应用界面都可以抽象为一个组件树。
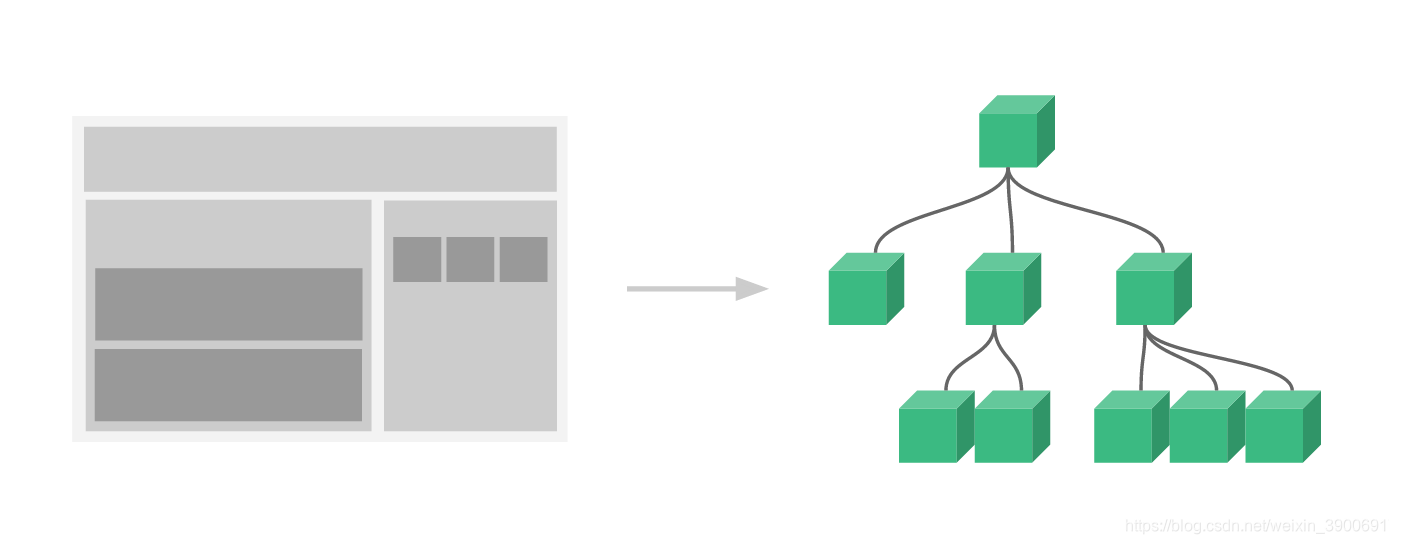
组件间的父子关系指的组件树中由线直接相连的两个组件间的关系,其余关系一律归为非父子关系。
一、父子组件间数据传递
1.父向子传递数据
- 父组件调用子组件时,以属性绑定的方式将要传递的数据绑定在子组件标签上。
- 在子组件对象中,使用props选项声明获取的数据,进行绑定属性的拦截,即接收来自父组件的数据 。
方式:属性绑定+数据拦截
首先,定义父组件hello和子组件world,父组件中数据变量名是msg、name、age,子组件中变量名是message、name、age。在父组件hello中调用子组件时,以“:子组件数据="父组件数据"”的方式进行属性绑定。
<template id="hello">
        <div>
            <h3>我是hello父组件</h3>
            <h3>访问自己的数据:{

   {msg}},{

   {name}},{

   {age}}</h3>
            <hr>
            <!-- 属性绑定方式 -->
            <my-world :message="msg" :name="name" :age="age"></my-world>
        </div>
 </template>
然后,在子组件对象中的props选项中声明获取的数据,进行属性拦截。
   components:{
        'my-hello':{
            template:'#hello',
       		data(){
                return {
                    msg:xx,
                    name:xx,
                    age:xx,
                }
            },
            components:{
                'my-world':{
                    template:'#world',
                    // props: ['message','name','age'] // 简单的字符串数组
                    props:{
                        message:{
                            type:String
                        },
                        name:{
                            type:String,
                            required:true,
                        },
                        age:{
                            type:Number,
                            default:18,
                            validator:function(value){ // 参数value为传递的数据
                                if(value<0 || value>100){
                                    alert('年龄无效');
                                }
                                return true;
                            }
                        }
                    }
                }
            }
        }
    }
2.子向父传递数据
父组件在调用子组件时,监听子组件触发的自定义事件,也就是父组件时刻观察子组件,看它有没有数据要传递,并且在父组件对象中定义回调方法,用来接收数据。
方式:事件监听+事件触发
在子组件对象中使用$emit(事件名,数据)的形式触发自定义事件,向父组件传递数据。

<template id="hello">
        <div>
            <h3>我是hello父组件</h3>
            <h3>访问自己的数据:{

   {msg}},{

   {name}},{

   {age}}</h3>
            <hr>

            <!-- 监听子组件触发的自定义事件 -->
            <my-world @e-world="get" @update-sex="updateSex"></my-world>
        </div>
 </template>
上述父组件hello调用子组件时,触发自定义事件e-world和update-sex(名字自定义)。在子组件中以this.$emit('e-world',this.sex,this.height)的方式传递数据,父组件中定义方法get(sex,height)接收数据。
new Vue({
        el:'#app',
        // 提供要向后代组件传递的数据
        provide:{
            hobby:'game',
            weight:150
        },
        components:{
            'my-hello':{ // 父组件
                template:'#hello',
                data(){
                    return {
                        sex:null,
                        height:null
                    }
                },
                methods: {
                    get(sex,height){
                        // console.log(sex,height);
                        this.sex = sex;
                        this.height = height;
                    },
                    updateSex(sex){
                        this.sex = sex;
                    }

                },
                components:{
                    'my-world':{ // 子组件
                        template:'#world',
                        data(){
                            return {
                                sex:'male',
                                height:180.5
                            }
                        },
                        methods: {
                            send(){
                                // 使用$emit()触发自定义事件
                                this.$emit('e-world',this.sex,this.height);
                            }
                        },
                        mounted() {
                            // 当组件挂载完成后,主动将数据传递给父组件
                            this.$emit('e-world',this.sex,this.height);
                        },
                        watch: { // 监视子组件数据的变化,当数据发生变化时触发$emit更新父组件中的数										据
                            sex:function(newValue){
                                this.$emit('update-sex',newValue);
                            }
                        },
                    }
                }
            }
        });
二、非父子组件传递数据
1.祖先向后代传递数据
祖先向后代传递数据使用注入依赖(依赖注入)的方式:
- 使用provide/inject实现
- 在祖先组件中使用provide选项提供一个可注入到其后代的数据对象
- 在后代组件中使用inject选项注入一个要接收数据的字符串数组
new Vue({
   // 祖先组件使用provide
   provide:{
            hobby:'game',
            weight:150
    },
    components:{
        components:{
    		// 后代组件使用inject接收祖先组件传递的数据
            inject:['hobby']
		}
    }

});
2.相邻组件间传递数据
非父子组件间的通信,均可以通过中央事件总线 Event Bus 来实现,也称为事件中心。其实就是使用一个可以在所有组件中访问的Vue实例,用它来监听事件和触发事件。上面的祖父向后代传递数据也可以使用中央事件总线来实现。
方式:事件监听+事件触发
与子组件向父组件传递数据不同,使用中央事件总线一般借助根组件root进行事件监听和触发。
定义组件A,向组件C传递数据name,使用this.$root.$emit('data-a',this.name)触发自定义事件,发送数据。
Vue.component('CompA',{
        template:'#a',
        data(){
            return {
                name:'tom'
            }
        },
        beforeMount() {
            console.log('组件A。。。。。beforeMount');
        },
        mounted() {
            console.log('组件A。。。。。mounted');
            // console.log(this.$root); // 获取根实例Root
            this.$root.$emit('data-a',this.name);
        },
        methods: {
            send(){
                // 触发根实例上的自定义事件,发送数据
                this.$root.$emit('data-a',this.name);
            }
        },
    });
在组件C中,使用this.$root.$on('data-a',name =>{ this.name = name})监听自定义事件,接收数据。注意,此处接收name必须使用箭头函数,如果不使用箭头函数,this.name的this将表示root实例,即事件源。使用箭头函数后表示此组件C。
Vue.component('CompC',{
        template:'#c',
        data(){
            return {
                name:null,
                age:null
            }
        },
        beforeMount() {
            console.log('组件C。。。。。beforeMount');
            // 监听根实例上的自定义事件,接收数据
            this.$root.$on('data-a',name => {
                // console.log(name);
                // this.name = name;
                // console.log(this); // 如果不使用箭头函数,则此处的this表示Root实例,表示事件源
                this.name = name;
            });
            this.$root.$on('data-b',age => {
                this.age = age;
            });
        },
    });
中央事件总线Event Bus的方式实现数据传递不仅适用于非父子组件,也可用于父子组件间。但我们一般不这么做,使用Event Bus时,事件绑定在根组件,这样其他组件也可以获取数据。