WeSplit
分享翻译国外SwiftUI教程,WeSplit,涉及TextField,keyboard,string处理,等等。
首先新建工程,命名为WeSplit
应用需要有价格总额,多少人分摊,以及国外特有的–小费,所以定义三个变量,因为在程序里会修改变量,所以需要定义为@State
在ContentView Struct中定义
@State private var checkAmount = ""
@State private var numberOfPeople = 2
@State private var tipPercentage = 2
总金额是需要输入的,所以定义的时候没有赋值。因为TextField的输入当前只支持strings,所以只能定义为字符串变量,所以获取输入后需要自己转换成Double类型。
考虑到分摊费用至少两人以上,所以人数默认为2人。
关于小费的比例问题,增加数组
let tipPercentages = [10, 15, 20, 25, 0]
现在修改body内容
var body: some View {
Form {
Section {
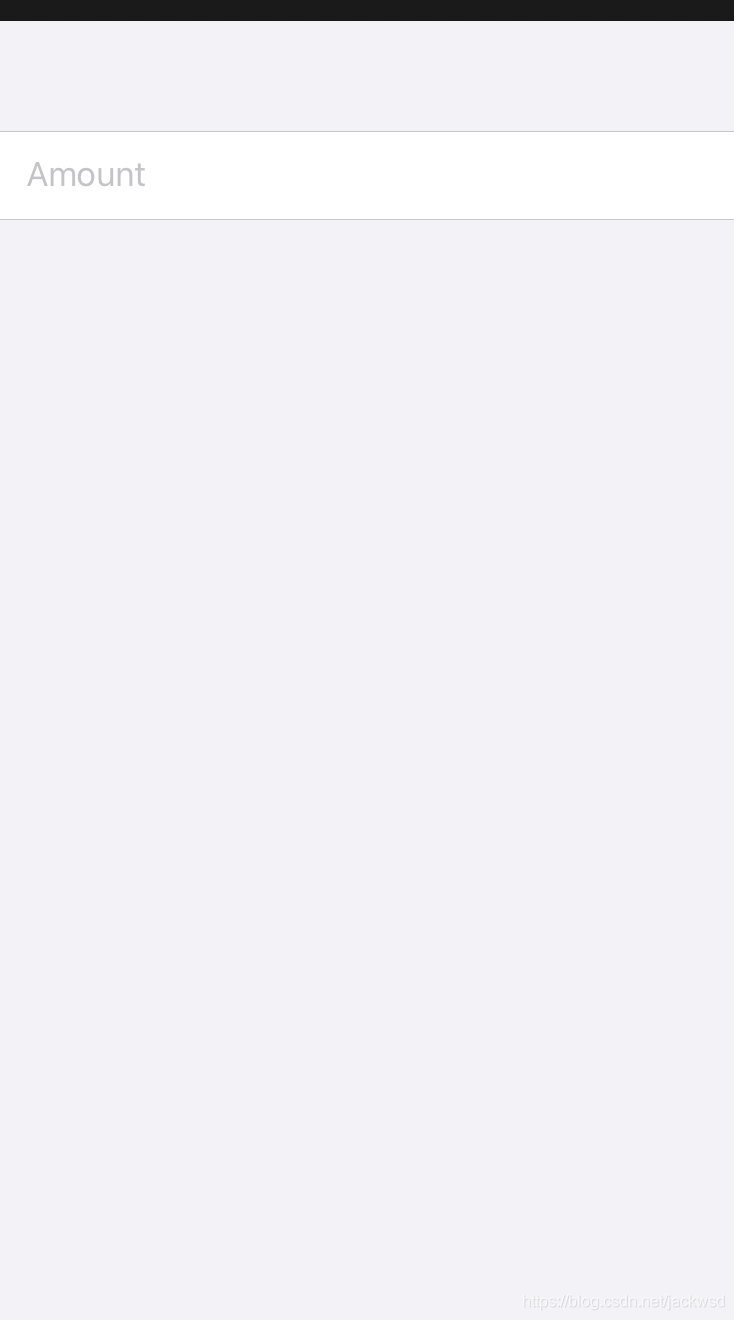
TextField("Amount", text: $checkAmount)
}
}
}
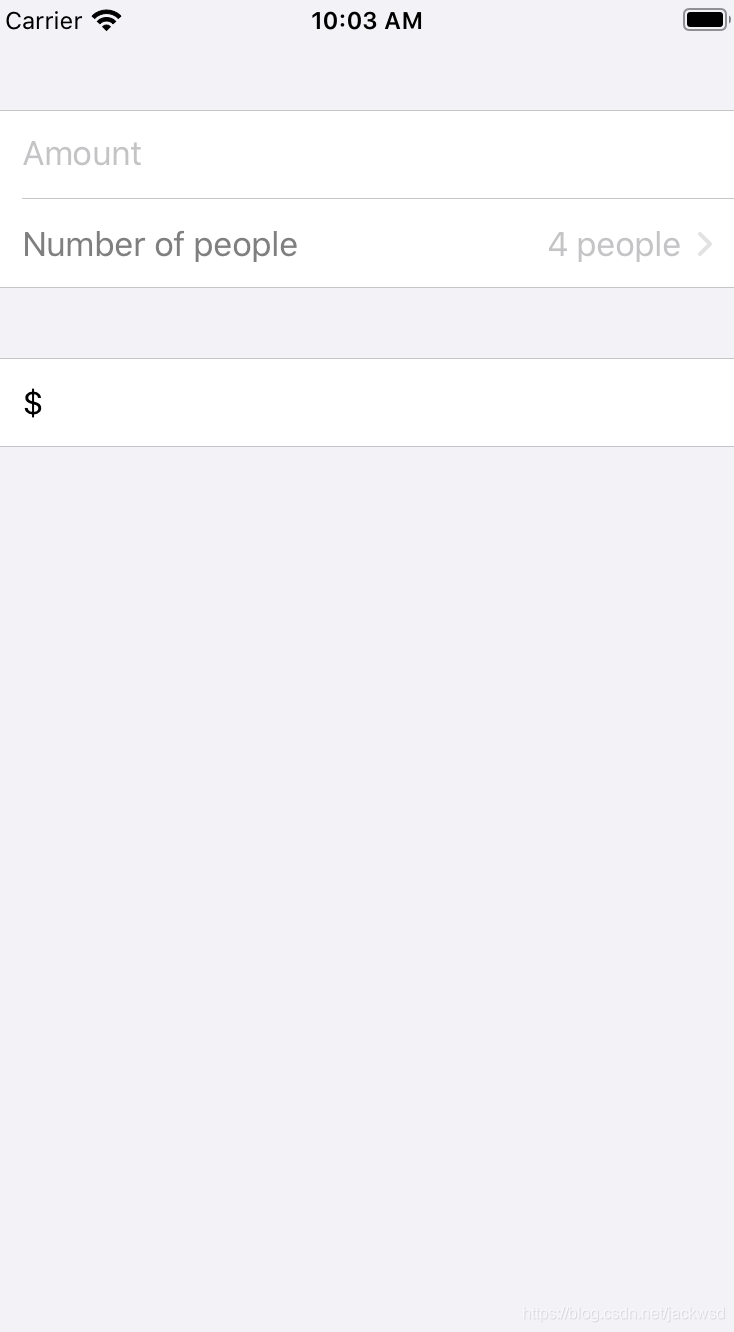
Section没有写header和footer,所以看不出来使用了Section.显示需要支付的总金额,加入代码
Form {
    Section {
        TextField("Amount", text: $checkAmount)
    }

    Section {
        Text("$\(checkAmount)")
    }
}
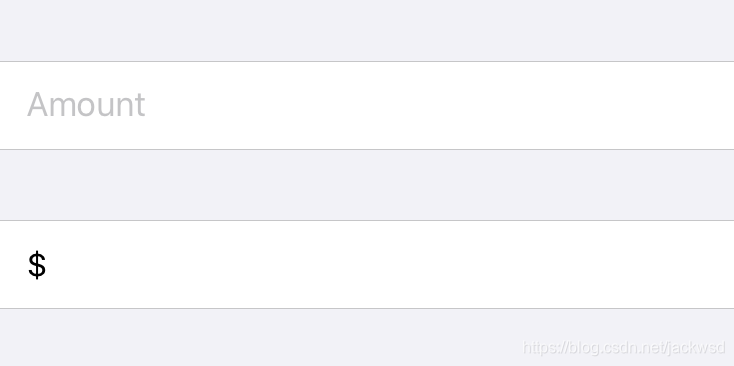
能看出来使用了Section了。
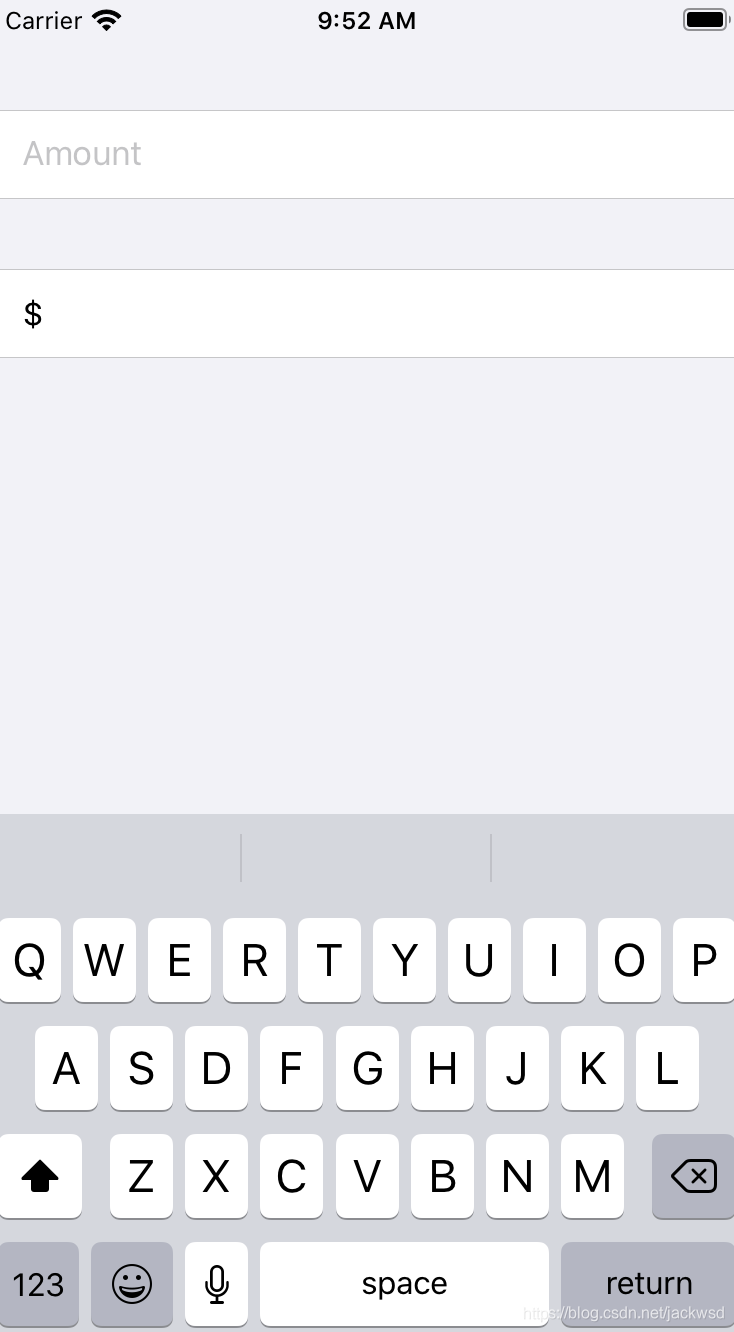
如果现在输入的话,是可以输入所有字符的,但是我们只需要数字就可以了,所以在键盘输入上加以限制。
原图
增加限制
TextField("Amount", text: $checkAmount)
    .keyboardType(.decimalPad)
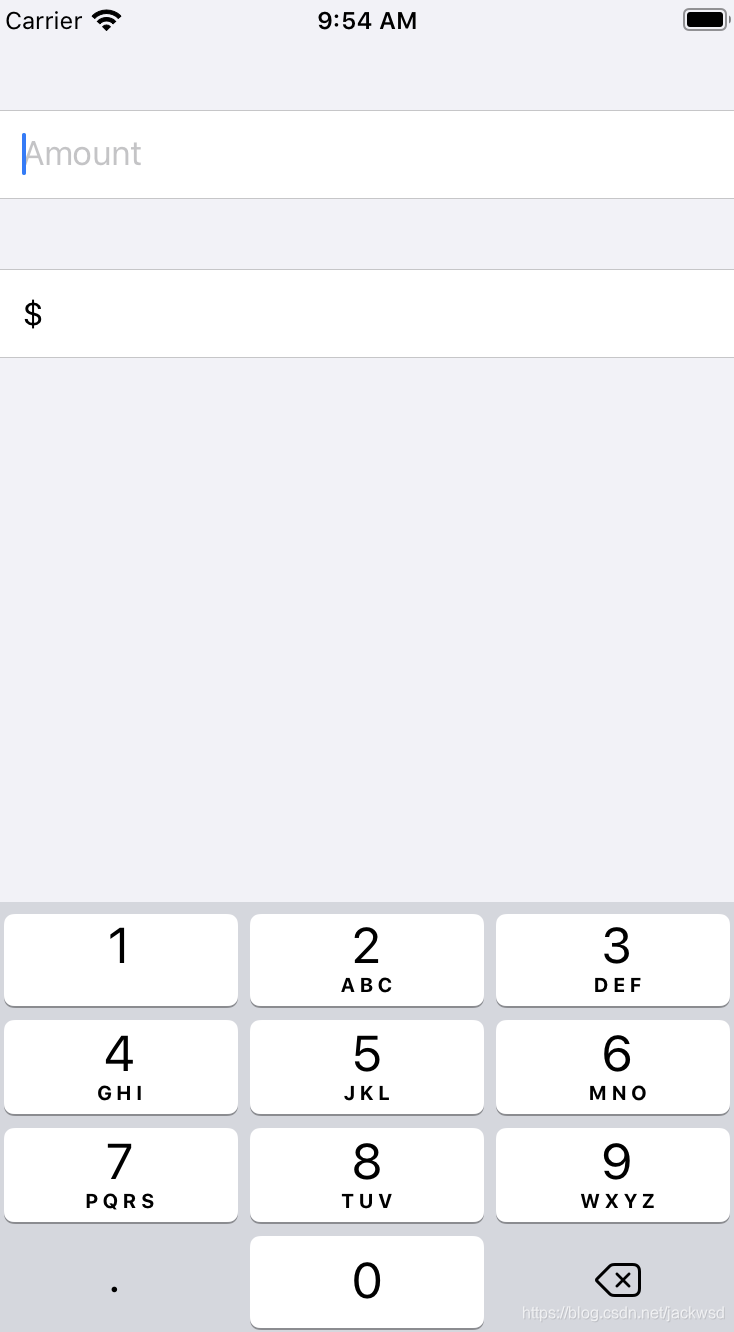
键盘类型还有很多可以自行操作看看.
Picker
在第一个Section内加入
Section {
    TextField("Amount", text: $checkAmount)
        .keyboardType(.decimalPad)

    Picker("Number of people", selection: $numberOfPeople) {
        ForEach(2 ..< 100) {
            Text("\($0) people")
        }
    }
}
现在还无法选择picker,如果picker不再Form内部的话,可以直接选择的,但是现在需要在Form外引入NavigationView才能进入picker的下一级。
var body: some View {
    NavigationView {
        Form {
           ...
        }
    }
}
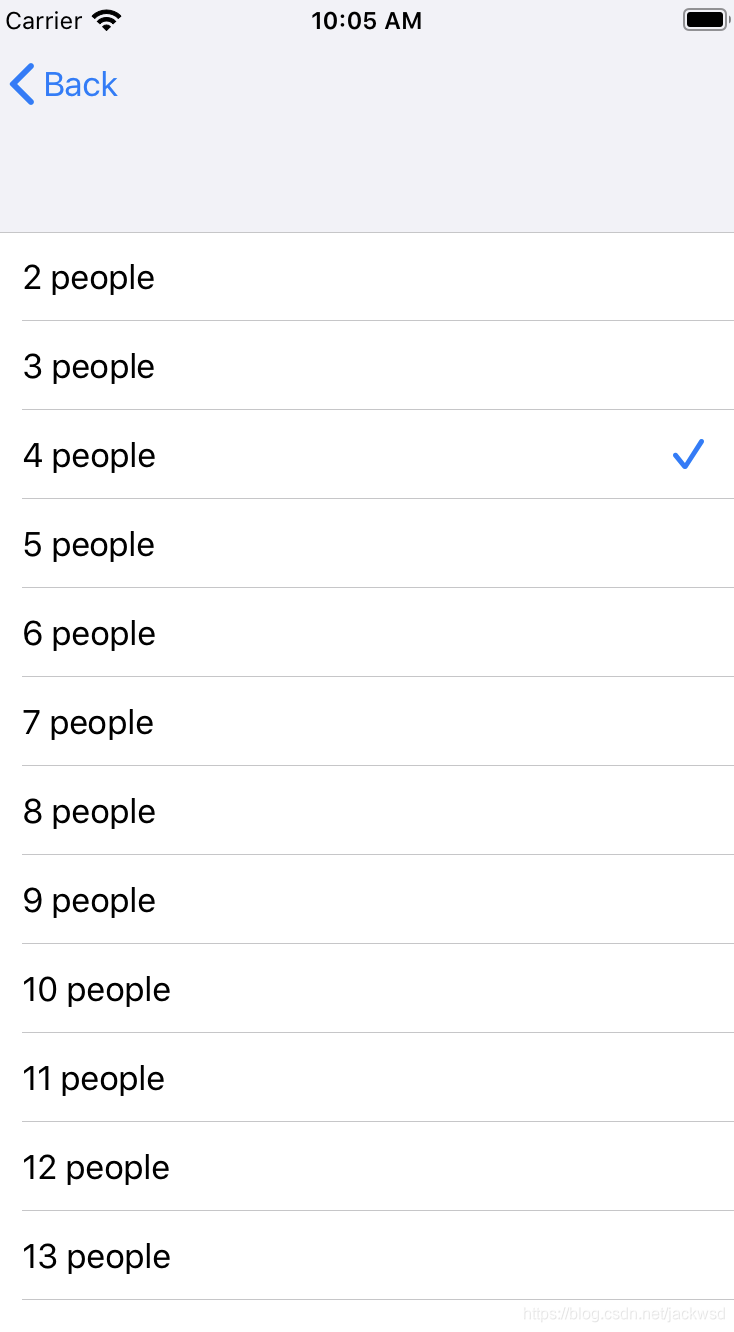
现在可以进入了,因为numberOfPeople的参数默认2,所以指向Picker的第二项,对应的是4个人。
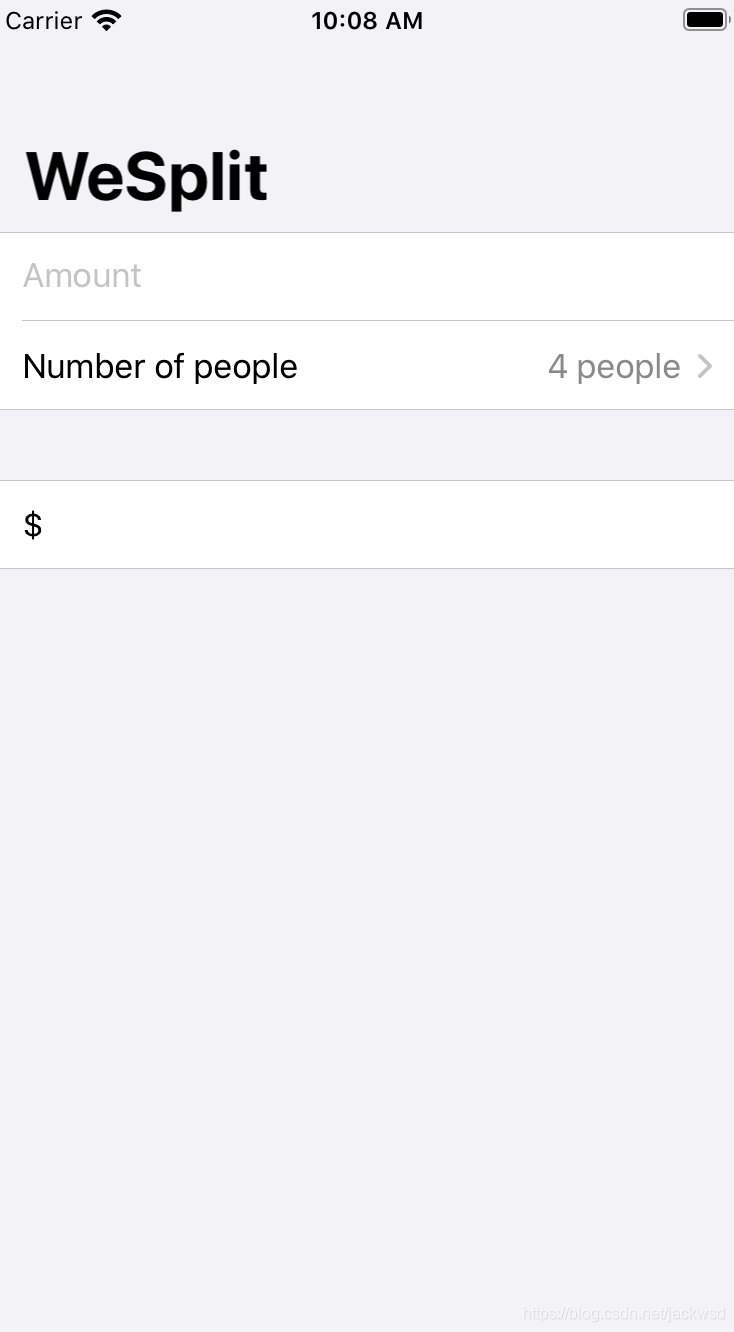
给NavigationView加入标题,注意要在NavigationView内
.navigationBarTitle("WeSplit")
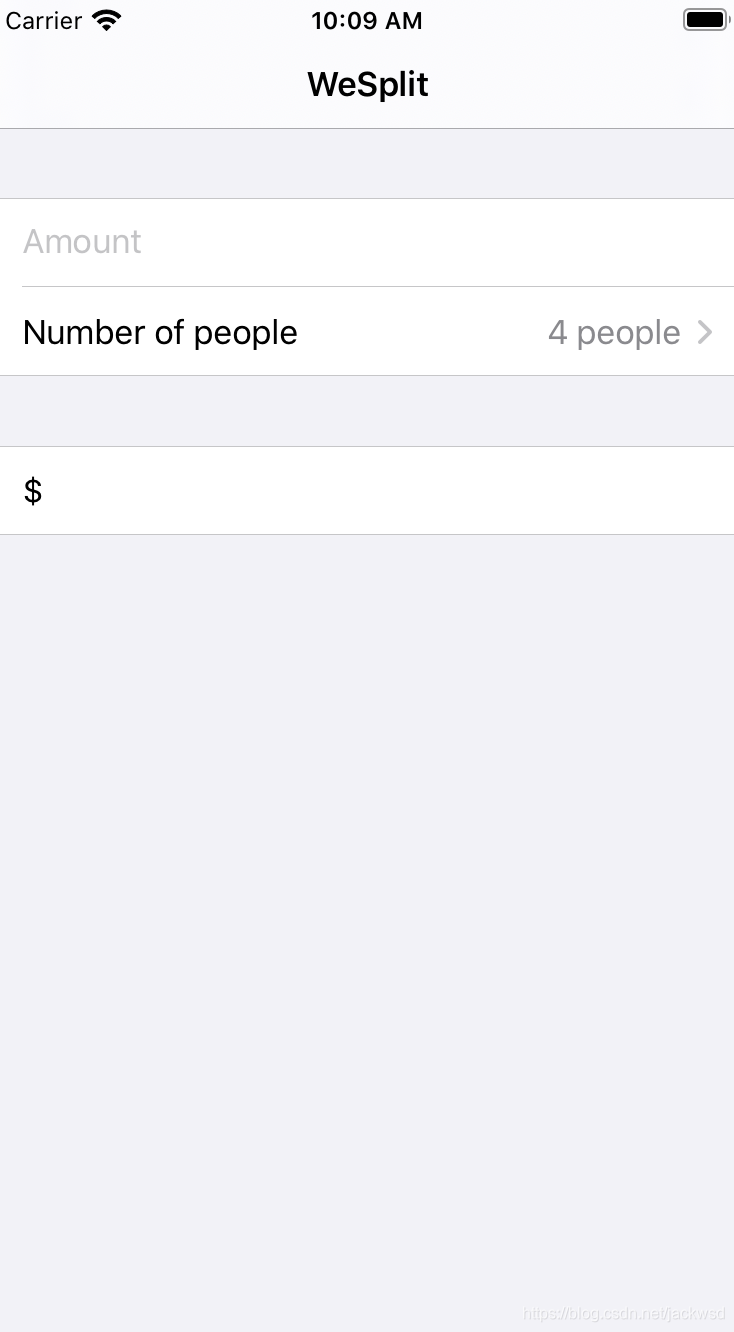
如果认为标题太大,可以这样
.navigationBarTitle("WeSplit",displayMode: .inline)
待续下一篇介绍