jupyter安装插件,以及远程访问服务器上的jupyter notebook
文章目录:
1 远程访问服务器上的jupyter notebook
1.1在服务器上安装jupyter notebook
pip install jupyter
1.2 生成配置文件
jupyter notebook --generate-config
shl@zfcv:~/shl/$ jupyter notebook --generate-config
Writing default config to: /home/shl/.jupyter/jupyter_notebook_config.py
shl@zfcv:~/shl/$
生成的配置文件在home目录: ~/.jupyter/jupyter_notebook_config.py
1.3 生成密码(后续写配置文件、登录jupyter notebook需要)
打开python终端,在终端中输入如下命令:
from IPython.lib import passwd
passwd()
shl@zfcv:~/shl/$ python
Python 3.7.7 (default, May  7 2020, 21:25:33)
[GCC 7.3.0] :: Anaconda, Inc. on linux
Type "help", "copyright", "credits" or "license" for more information.
>>> from IPython.lib import passwd
>>> passwd()
Enter password:
Verify password:
'sha1:660853759c43:702029d4d7a1a78f3bdb0c20339621e9df80f695'
>>>
然后提示(Enter password:)手动输入密码, 这个密码是后面远程访问登录jupyter notebook需要输入的密码(我设置为123456, 方便记忆)
生成的密码: 'sha1:660853759c43:702029d4d7a1a78f3bdb0c20339621e9df80f695'是一串哈希字符串, 这在后面的配置文件中会用到!
1.4 修改配置文件
修改如下的四行代码, 把前面的注释去掉, c.NotebookApp.password的值为上面生成的哈希字符串
# notebook服务会监听的IP地址.
c.NotebookApp.ip = '*'

#  The string should be of the form type:salt:hashed-password.(就是上面生成的密码)
c.NotebookApp.password = u'sha1:660853759c43:702029d4d7a1a78f3bdb0c20339621e9df80f695'


## Whether to open in a browser after starting. The specific browser used is
#  platform dependent and determined by the python standard library `webbrowser`
#  module, unless it is overridden using the --browser (NotebookApp.browser)
#  configuration option.
c.NotebookApp.open_browser = False

## notebook服务会监听的IP端口.
c.NotebookApp.port = 8888
1.5 在本机远程访问服务器jupyter notebook
1、上面的准备工作做好之后,在服务器段输入jupyter notebook:

2、然后在自己本机浏览器中输入地址:
http://192.168.0.134:8888
之后会让输入密码:

输入密之后就可以使用远程服务器上的jupyter notebook啦!
2 Jupyter notebook插件使用
##2.1 安装插件
1、安装jupyter插件 jupyter_contrib_nbextensions
pip install jupyter_contrib_nbextensions
2、激活该插件:
jupyter contrib nbextension install --user
安装好插件之后,下次再在浏览器中打开jupyter notebook就可以在界面上看到Nbextentions插件选线啦
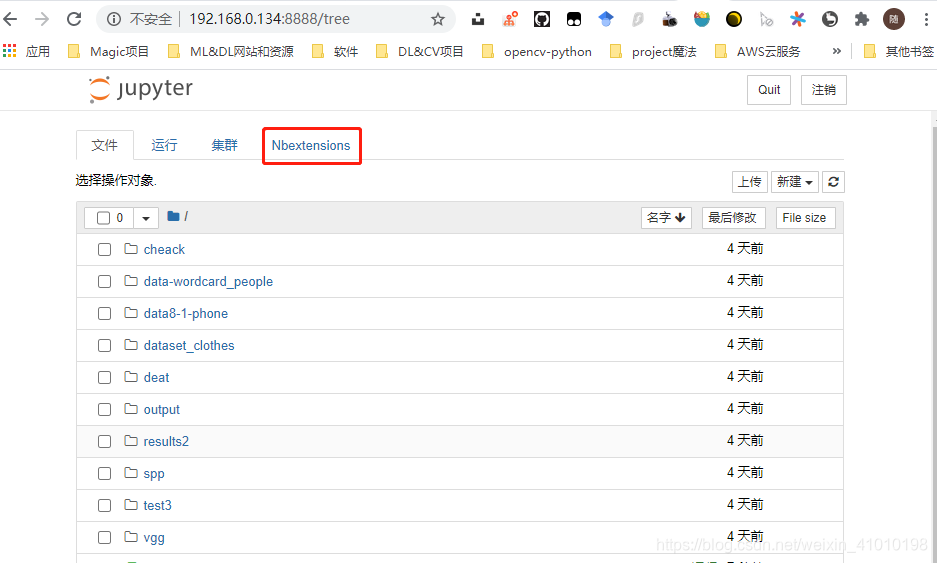
然后再打开终端即可使用插件了
2.2 推荐使用插件
推荐三个常用的插件:
Table of Contents:可以再左侧查看Markdown的大纲视图Variable Inspector:可以查看变量名、类型、大小形状(在矩阵计算式非常实用)和值Excecute Time:查看每个代码块执行的时间
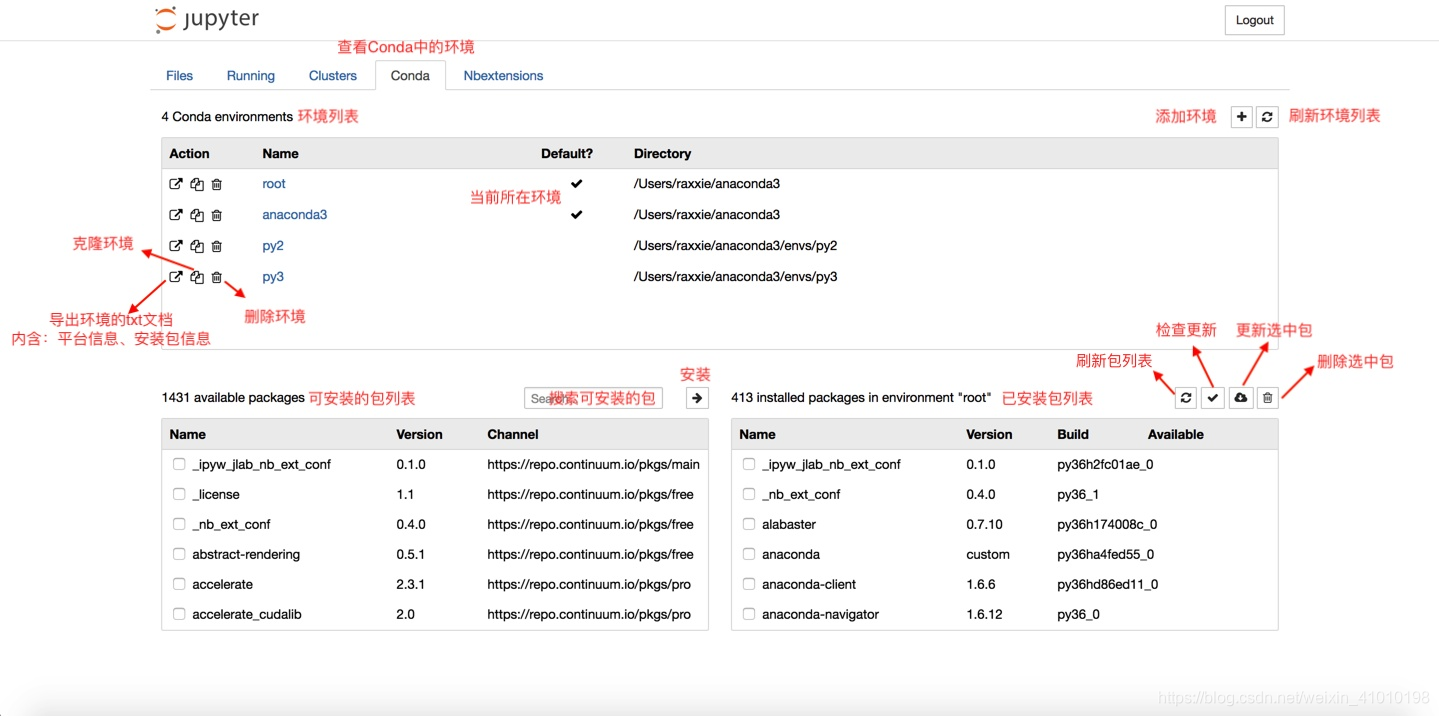
2.3 关联Jupyter Notebook和conda的环境和“nb_conda“
1、安装nb_conda
conda install nb_conda
可以在Conda类目下对conda环境和包进行一系列操作,安装好后,打开jupyter notebook如下图:
2、切换内核
可以在笔记本内的“Kernel”类目里的“Change kernel”切换内核

3、卸载nb_conda
canda remove nb_conda
听别人说JupyterLab是非常强大的下一代notebook,只是听说,没有用过,参考
参考1:https://blog.csdn.net/wangdong2017/article/details/103316614 # jupyter远程访问
参考2:https://zhuanlan.zhihu.com/p/97394628 # jupyter插件
参考3:https://zhuanlan.zhihu.com/p/33105153 # 这个内容很详细,很多