前面提到如何快速创建一个ssm的项目,那么现在如何打造一个web应用呢?
1、启动类
@SpringBootApplication
public class Application {

    public static void main(String[] args) {
        SpringApplication.run(Application.class, args);
    }
}
2、application.properties配置文件
#是注释用的,另外注意这里面其它地方千万不要写中文,哪怕给对象属性赋值用字符串也不行,除非你换成Unicode编码
server.port=8080
server.servlet.context-path=/SpringBoot
# /相当于src/main/webapp目录
spring.mvc.view.prefix=/
spring.mvc.view.suffix=.jsp
3、前端页面index.jsp
<%@ page contentType="text/html;charset=UTF-8" language="java" %>
<%
    String basePath = request.getScheme() + "://" + request.getServerName() + ":" + request.getServerPort() + request.getContextPath() + "/";
%>
<html>
<head>
    <title>title</title>
    <base href="<%=basePath%>">
</head>
<body>
    <div align="center">
            <h2>index.jsp的首页  </h2> <br>
        ${requestScope.data == null? 1 : data}
        <br>
        ${requestScope.message == null ? 1 : message}
        <br>
        ${requestScope.name == null ? 1 : name}
    </div>
</body>
</html>
4、Controller层
@Controller
public class TestController {

    @RequestMapping(value = "/jsp",params = "name")
    public  String access(Model model, HttpServletRequest request){

        String name = request.getParameter("name");

        model.addAttribute("data","Spring Boot 前端页面使用Jsp");

        model.addAttribute("message", "Hello SpringBoot");

        model.addAttribute("name", name);

        return "index";
    }
}
演示结果
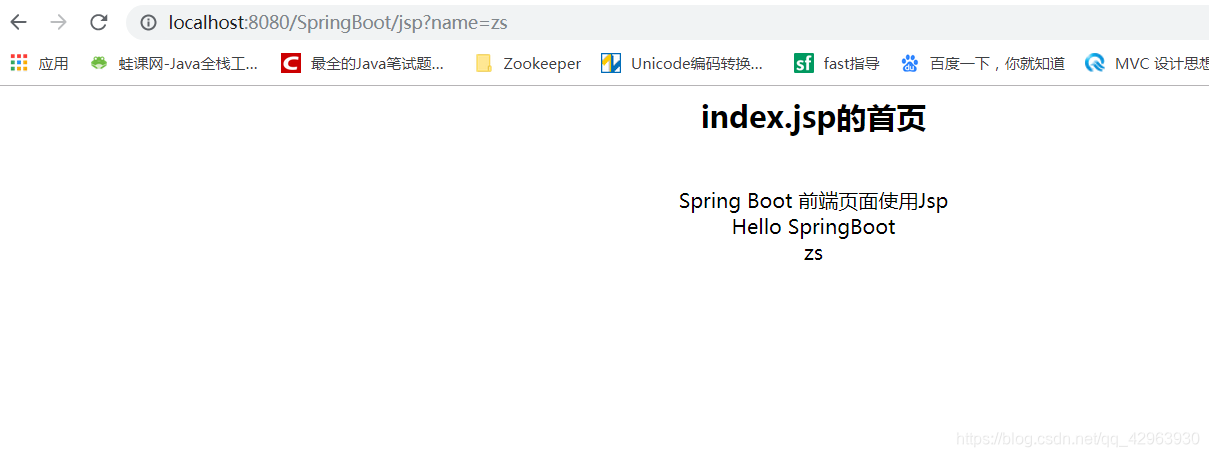
可以看到地址栏输入的地址即可验证前后端的通信正常,那么说明SpringBoot来集成jsp,速度是非常快的,能够大大简化我们的开发,因此SpringBoot的开发模式也是现在的主流。