Redis环境安装配置
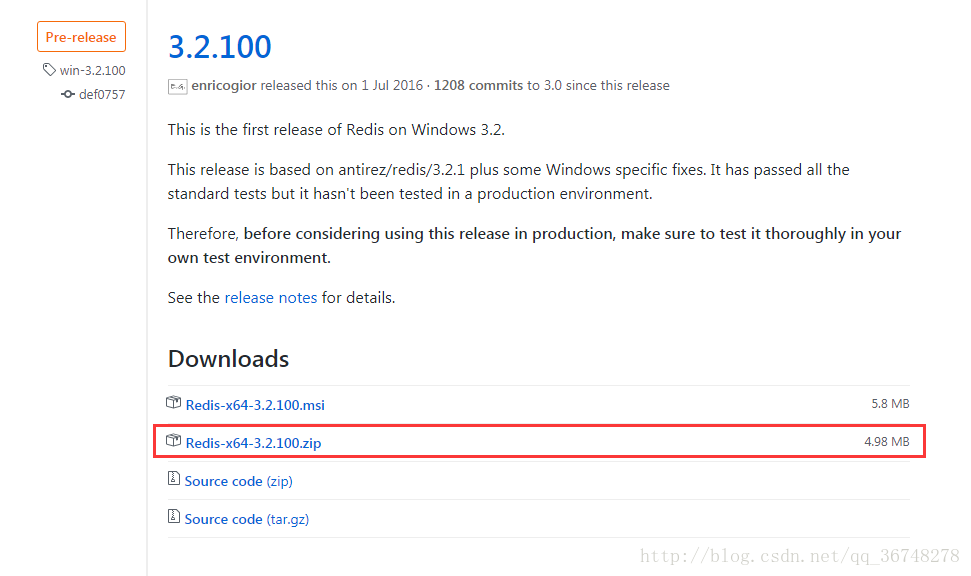
1、去这个 https://github.com/MicrosoftArchive/redis/releases 网站下载windows版本的Redis
2、解压这个文件夹,位置没有要求,放到你想放置的盘即可。我放的是D盘,我吧文件夹重命名为redis,方便查看。

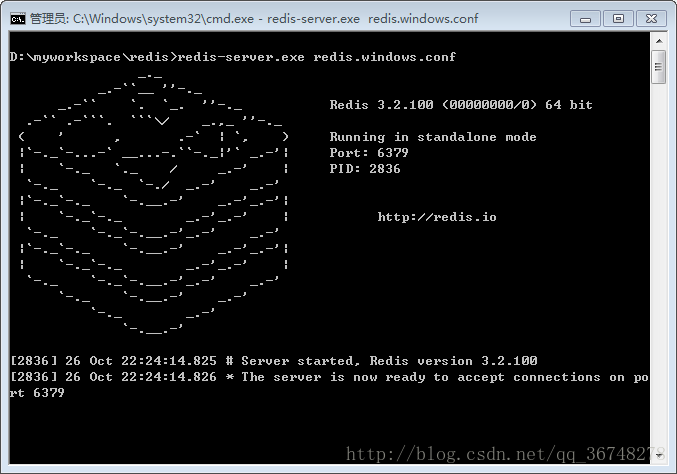
3、在你的redis文件夹下打开cmd窗口(在redis文件夹下 shift+鼠标右键—->在此处打开命令窗口),
运行redis-server.exe redis.windows.conf命令。这样就成功启动Redis服务器了。
4、启动Redis客户端。输入命令redis-cli,会打开一个redis提示,如下所示:
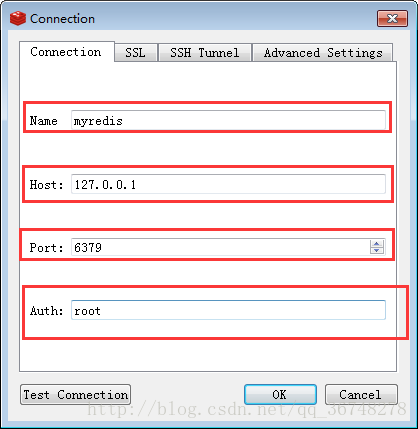
127.0.0.1是计算机的ip地址,6379是运行Redis服务器的端口。
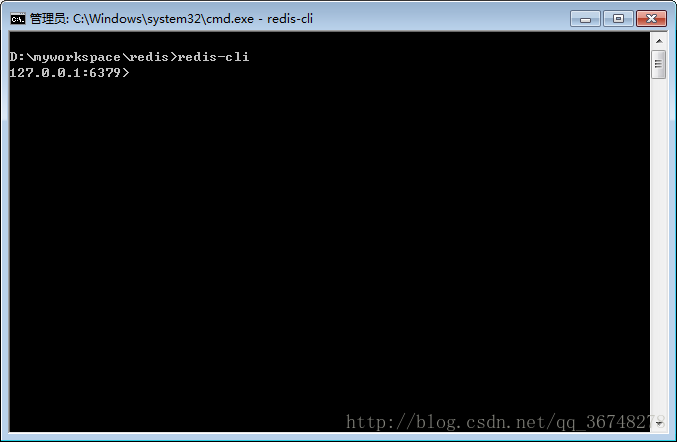
5、输入ping命令。出现PONG说明Redis已经成功在计算机上安装了。

Redis桌面管理器
下面我们可以安装Redis桌面管理器,使用这个可视化工具会非常方便。
可以去这个网址下载你需要的版本:https://redisdesktop.com/download。然后进行安装即可。
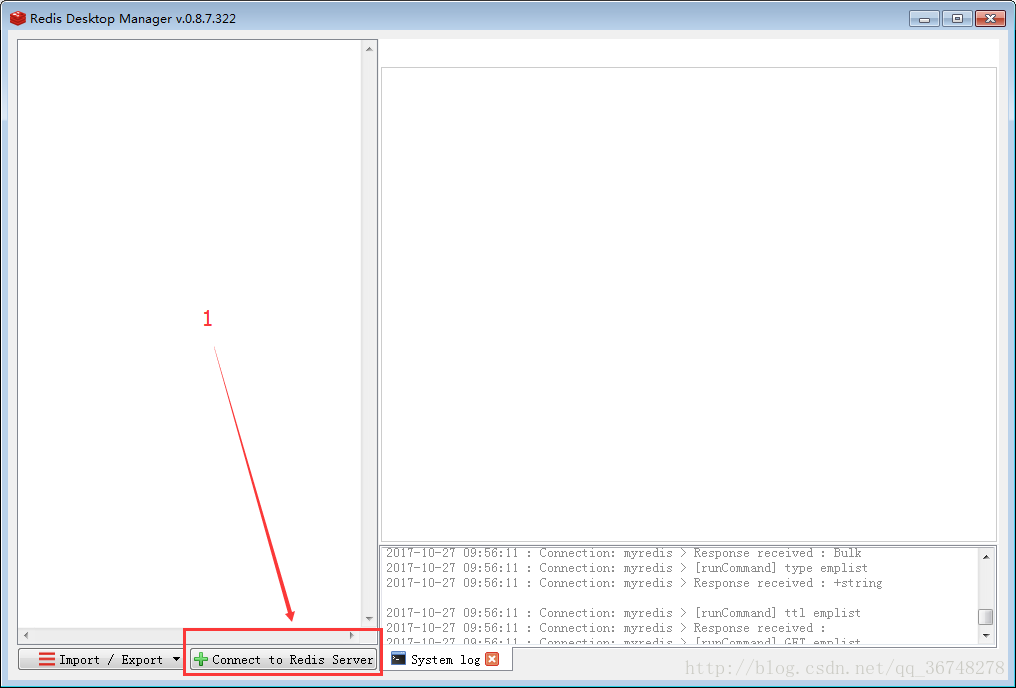
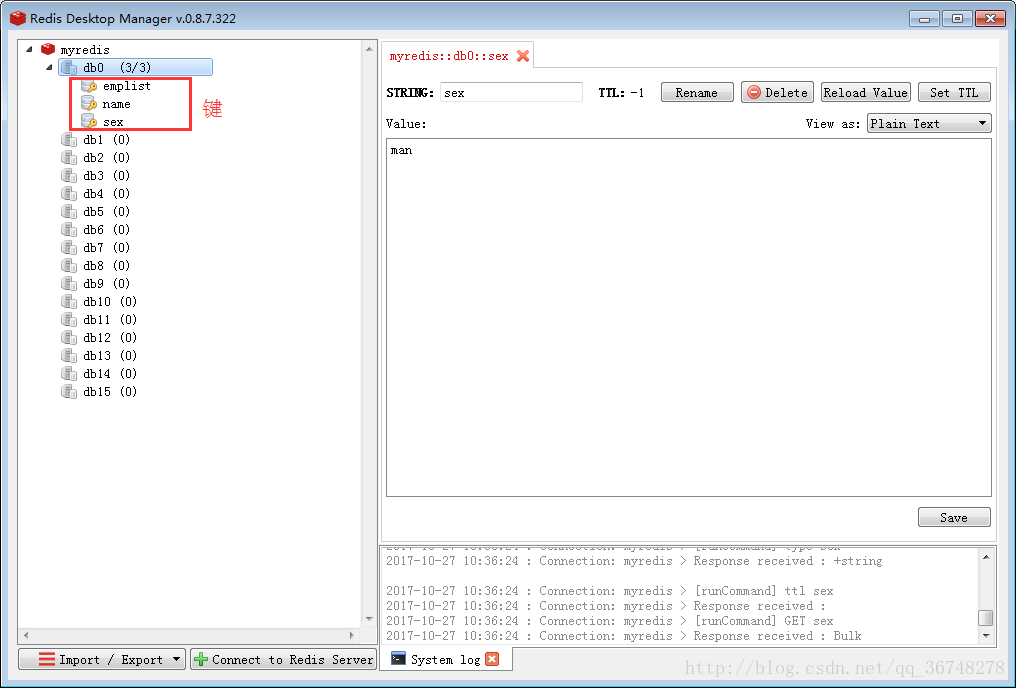
打开Redis Desktop Manager
Redis配合Mysql的使用
1、导入所需要的包fastjson-1.2.2.jar、jedis-2.9.0.jar、mysql-connector-java-5.1.26-bin.jar
2、entity和dao和以前的做法完全相同,主要就是修改service,我这里举个例子大家可以参考一下。
思路:(1)判断Jedis是否存在相应的键
(2)如果存在,就从Jedis中根据键得到对应的值
(3)如果不存在,就调用基本dao方法,然后把数据以键值对的形式存储到Jedis中
EmployeeDAO employeeDAO = new EmployeeDAO();

public List<Employee> getAll(){
    List<Employee> elist = null;

    Jedis jedis = new Jedis("127.0.0.1");

    try {
        if(jedis.get("emplist".getBytes())!= null){
            byte[] emplistByte = jedis.get("emplist".getBytes());

            String emplistStr = new String(emplistByte, "UTF-8");       //字符数组转换为字符串

            elist = JSONArray.parseArray(emplistStr, Employee.class);   //字符串转换为json数据
        }else{
            elist = employeeDAO.getAll();
            jedis.set("emplist", JSON.toJSONString(elist));
        }
    } catch (Exception e) {
        e.printStackTrace();
    }finally {
        jedis.close();
    }

    return elist;
}
测试这个service中的getAll():
public class EmpTest {
    public static void main(String[] args) {
        EmployeeService employeeService = new EmployeeService();
        List<Employee> elist = employeeService.getAll();
        for (Employee employee : elist) {
            System.out.println(employee.toString());
        }
    }
}