一、下载 nexus-3.9.0-01-win64
链接:https://pan.baidu.com/s/1MXdfYX8Ot4S0pt4g_26j1A
提取码:bq03

二、安装
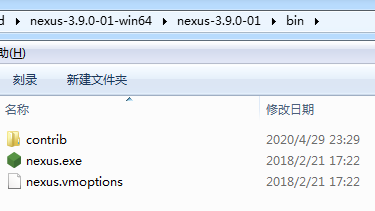
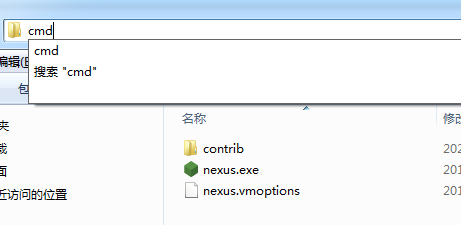
2.1 进入到bin目录,运行命令行cmd并回车(注意:需要管理员身份)
2.2 注册服务为windows的服务并进行安装
nexus /install Nexus3

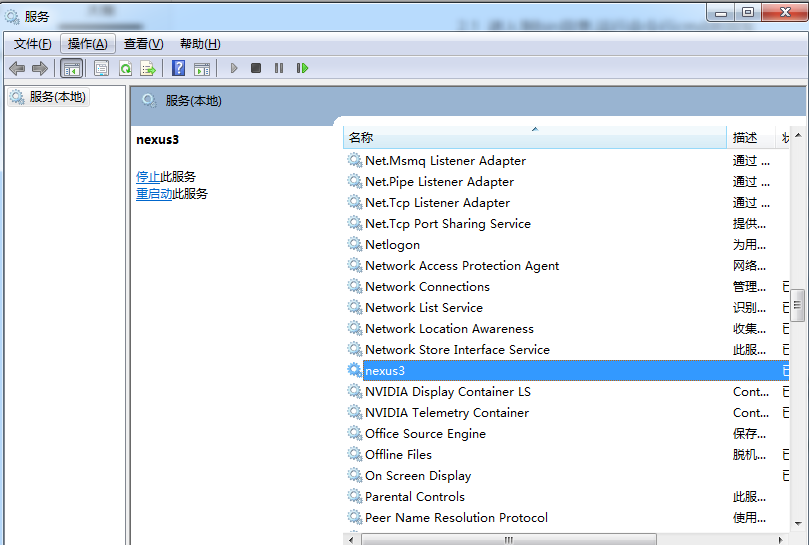
2.3查看服务 开始-->运行-->services.msc
2.4 安装成功,访问界面(第一次加载较慢)
http://127.0.0.1:8081
用户名 admin
密码 admin123
注意:更改配置如果没出现,可以F5刷新一下
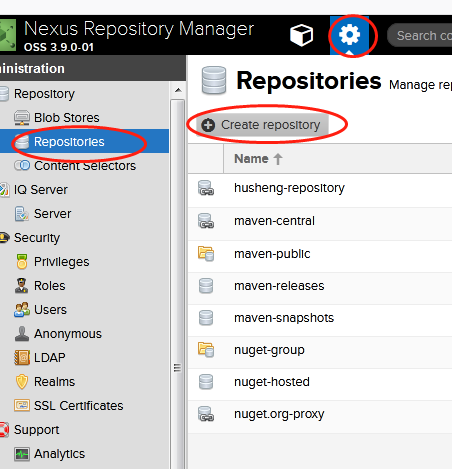
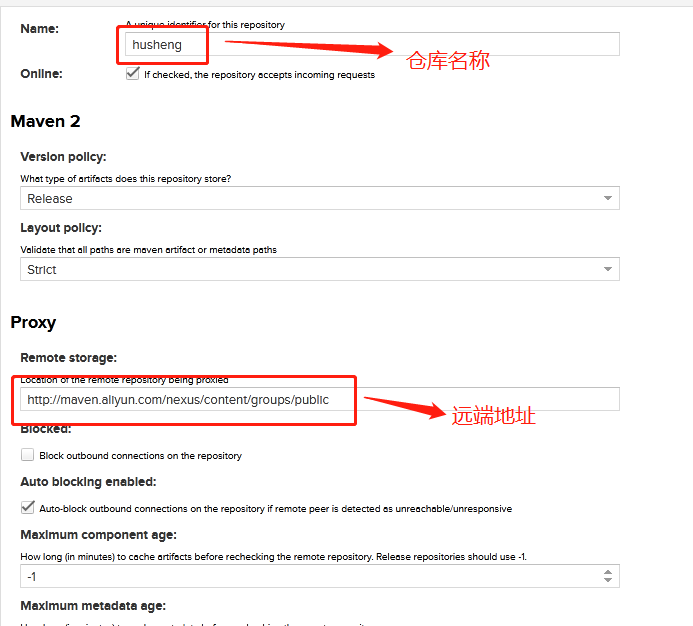
仓库类型
1.group(仓库组):比如 public Repositories
2.hosted(宿主):比如:releases 3rd party 本地的jar
3.proxy(代理): 比如: central、apache snapshots


7.IDEA配置
<!-- Source attach plugin -->
<build>
<plugins>
<plugin>
<artifactId>maven-compiler-plugin</artifactId>
<configuration>
<source>${maven.compiler.source}</source>
<target>${maven.compiler.target}</target>
<encoding>${project.build.sourceEncoding}</encoding>
</configuration>
</plugin>
<plugin>
<artifactId>maven-source-plugin</artifactId>
<version>3.0.0</version>
<executions>
<execution>
<id>attach-sources</id>
<goals>
<goal>jar</goal>
</goals>
</execution>
</executions>
</plugin>
</plugins>
</build>
<!-- 配置远程发布到私服,mvn deploy -->
<distributionManagement>
<!-- 快照版仓库 -->
<snapshotRepository>
<id>snapshots</id>
<name>Nexus Snapshot Repository</name>
<url>http://127.0.0.1:8081/repository/maven-snapshots/</url>
</snapshotRepository>
<!-- 发行版仓库 -->
<repository>
<id>release</id>
<name>Nexus Release Repository</name>
<url>http://127.0.0.1:8081/repository/maven-releases/</url>
</repository>
</distributionManagement>
注意:
1.这是Idea中的模块中的pom文件的配置,id要和settings.xml中server字段下的id的一致;
2.两个url地址要指向私服中的url地址,不是公共仓库地址
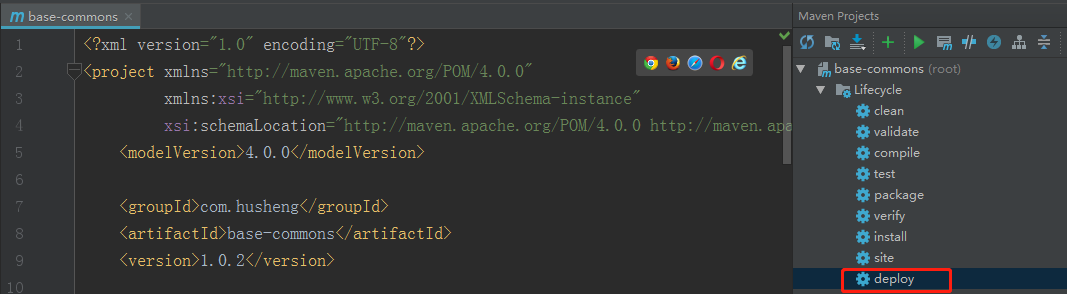

<dependency>
<groupId>com.husheng</groupId>
<artifactId>base-commons</artifactId>
<version>1.0.2</version>
</dependency>
11.聚合工程中某个模块打包
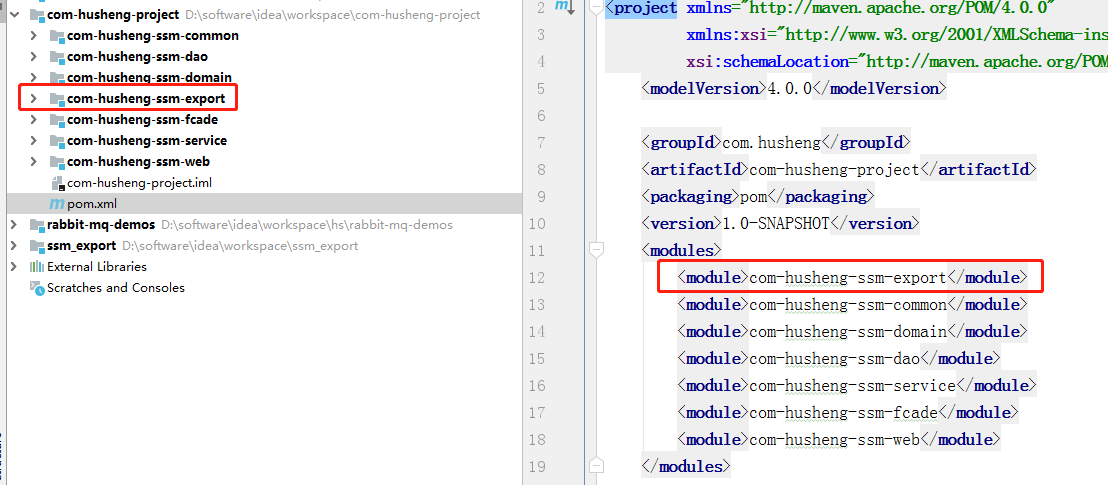
说明:
1.项目中的依赖为 export-->common-->domain-->dao-->service-->fcade-->web
2.export为对外提供的接口,提供RPC调用,注意,删除<parent>标签,再进行发包


注意:下图为common模块引用


之前查资料,有说pom.xml配置如下,则可以放弃某个模块打包,但是不清楚聚合咋处理......
<properties>
<maven.deploy.skip>true</maven.deploy.skip>
</properties> 放弃某个模块打包