CentOS安装Nexus私服仓库
一、Nexus说明
Nexus用来搭建私有仓库,方便Java库的管理。
Nexus常用功能就是:指定私服的中央地址、将自己的Maven项目指定到私服地址、从私服下载中央库的项目索引、从私服仓库下载依赖组件、将第三方项目jar上传到私服供其他项目组使用。
官网
https://github.com/sonatype/docker-nexus3
二、CentOS下安装
- 首先要安装好java*
1. 到官网下载 nexus-3.17.0-01-unix.tar.gz包
cd /home/mynexus
sudo tar zxvf nexus-3.17.0-01-unix.tar.gz
cd /home/mynexus/nexus-3.17.0-01/bin
默认log位置:
/home/mynexus/sonatype-work/nexus3/log
2. 修改配置文件
vim /etc/profile
# 添加
export RUN_AS_USER=root
2. 命令
# 启动
/home/mynexus/nexus-3.17.0-01/bin
./nexus start
观察日志:
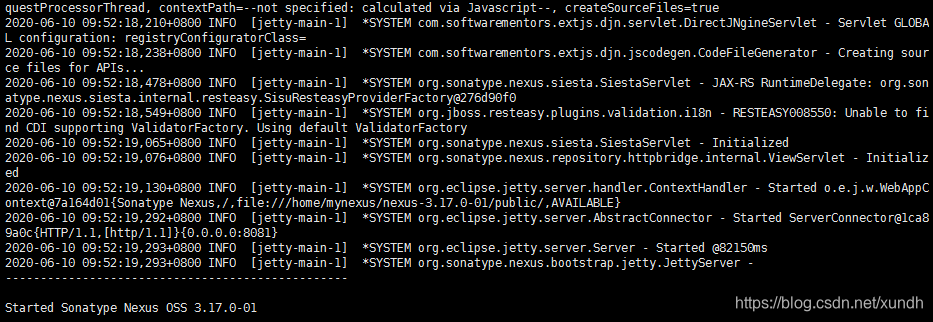
打开网址:
http://你的ip:8081/nexus
3. 登陆

按提示位置找默认的密码,账号是admin
设置步骤

第2步设置密码
第3步设置是否允许匿名访问
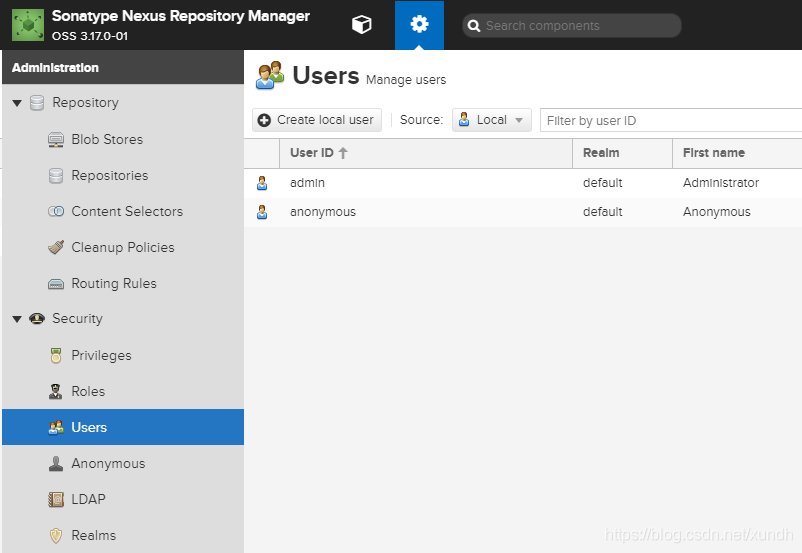
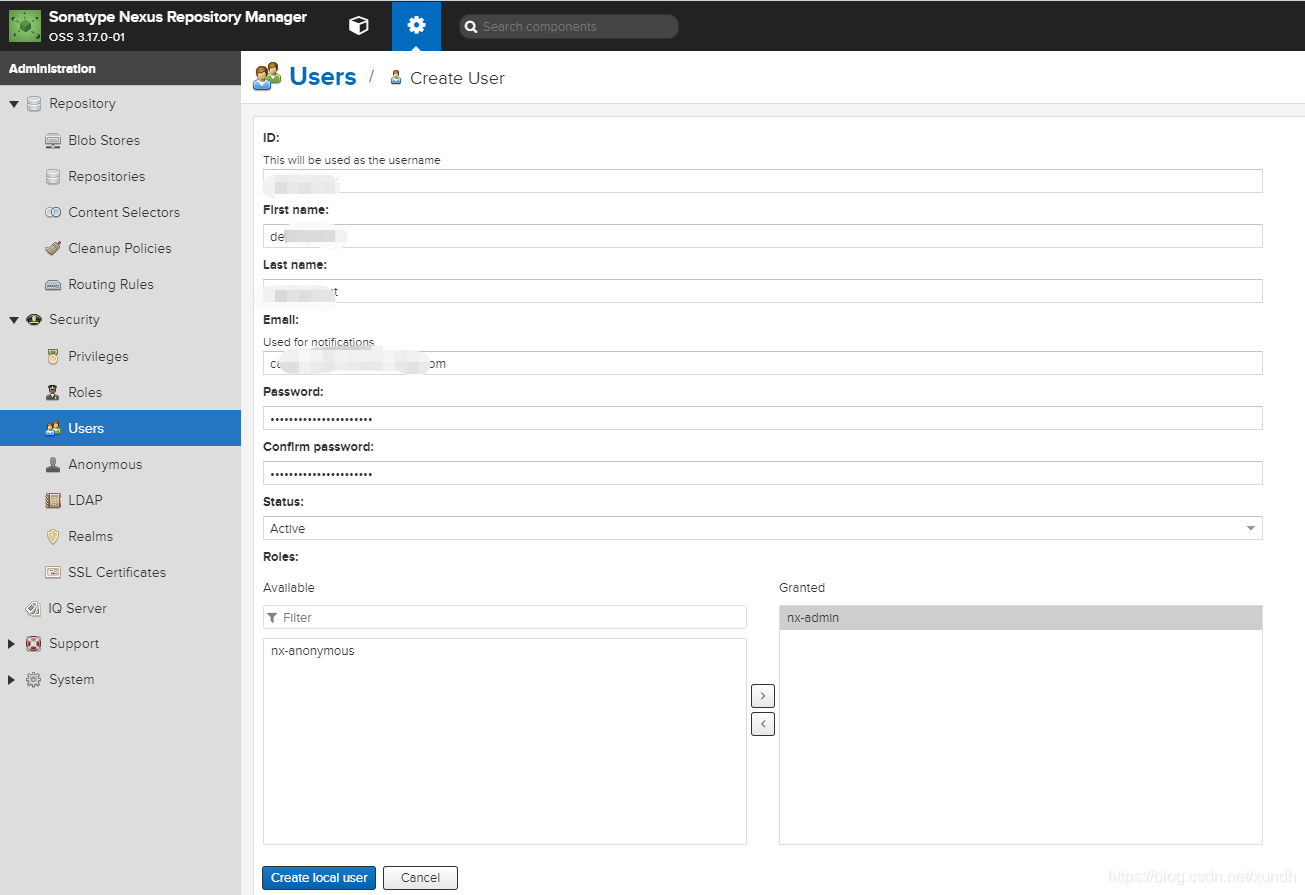
4. 添加用户
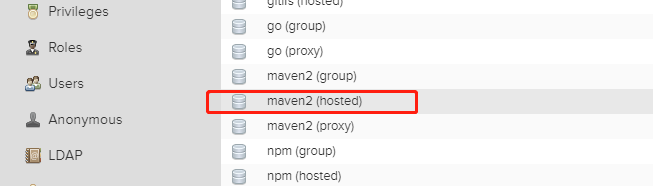
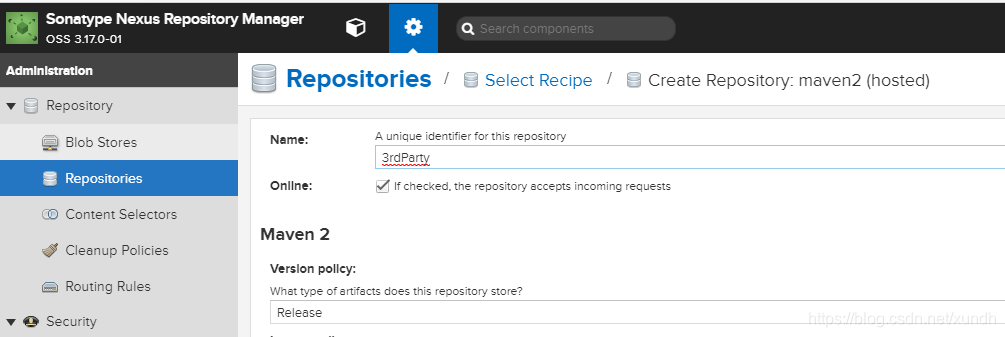
三、设置Repositories
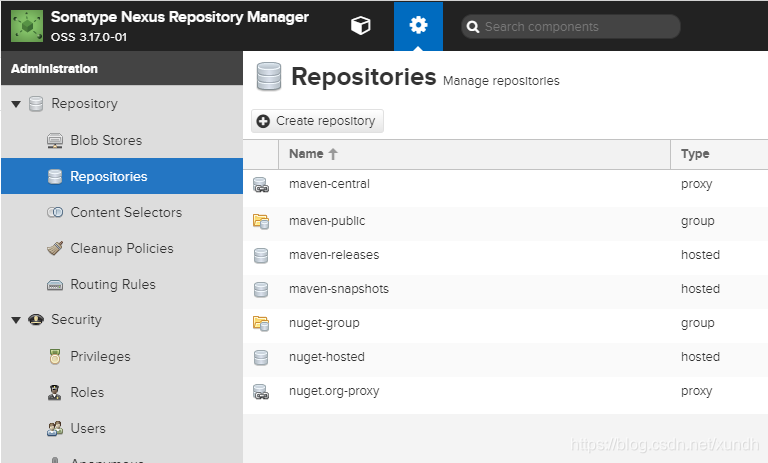
点Create
四、Maven项目设置
1. maven的settings通用设置
<?xml version="1.0" encoding="UTF-8"?>

<!--
Licensed to the Apache Software Foundation (ASF) under one
or more contributor license agreements.  See the NOTICE file
distributed with this work for additional information
regarding copyright ownership.  The ASF licenses this file
to you under the Apache License, Version 2.0 (the
"License"); you may not use this file except in compliance
with the License.  You may obtain a copy of the License at

    http://www.apache.org/licenses/LICENSE-2.0

Unless required by applicable law or agreed to in writing,
software distributed under the License is distributed on an
"AS IS" BASIS, WITHOUT WARRANTIES OR CONDITIONS OF ANY
KIND, either express or implied.  See the License for the
specific language governing permissions and limitations
under the License.
-->

<!--
 | This is the configuration file for Maven. It can be specified at two levels:
 |
 |  1. User Level. This settings.xml file provides configuration for a single user,
 |                 and is normally provided in ${user.home}/.m2/settings.xml.
 |
 |                 NOTE: This location can be overridden with the CLI option:
 |
 |                 -s /path/to/user/settings.xml
 |
 |  2. Global Level. This settings.xml file provides configuration for all Maven
 |                 users on a machine (assuming they're all using the same Maven
 |                 installation). It's normally provided in
 |                 ${maven.conf}/settings.xml.
 |
 |                 NOTE: This location can be overridden with the CLI option:
 |
 |                 -gs /path/to/global/settings.xml
 |
 | The sections in this sample file are intended to give you a running start at
 | getting the most out of your Maven installation. Where appropriate, the default
 | values (values used when the setting is not specified) are provided.
 |
 |-->
<settings xmlns="http://maven.apache.org/SETTINGS/1.0.0"
          xmlns:xsi="http://www.w3.org/2001/XMLSchema-instance"
          xsi:schemaLocation="http://maven.apache.org/SETTINGS/1.0.0 http://maven.apache.org/xsd/settings-1.0.0.xsd">

<localRepository>本地仓库地址</localRepository>
  <pluginGroups>
  <pluginGroup>com.spotify</pluginGroup>
  </pluginGroups>
  <proxies>
  </proxies>
  <servers>
	    <server>
		   <id>tomcat</id>
		   <username>tomcat</username>
		   <password>tomcat</password>
		</server>
		<server>
			<id>3rdParty</id>
			<username>nexus账号</username>
			<password>nexus密码</password>
		</server>
  </servers>
  <mirrors>
    <mirror>
		<id>alimaven</id>
		<name>aliyun maven</name>
		<url>http://maven.aliyun.com/nexus/content/groups/public/</url>
		<mirrorOf>central</mirrorOf>
	</mirror>
    <mirror>
		<id>3rdParty</id>
		<mirrorOf>*</mirrorOf>
		<name>3rdParty</name>
		<url>http://ip:端口号/repository/3rdParty/</url>
	</mirror>
  </mirrors>
  <profiles>
	    <profile>
		  <id>3rdParty</id>
		  <repositories>
			<repository>
			  <id>3rdParty</id>
			  <name>3rdParty</name>
			  <url>http://ip:端口/repository/3rdParty/</url>
			  <releases>
			  <updatePolicy>always</updatePolicy>
				<enabled>true</enabled>
			  </releases>
			  <!-- snapshots默认是关闭的,需要手动开启 -->
			  <snapshots>
			  <updatePolicy>always</updatePolicy>
				<enabled>true</enabled>
			  </snapshots>
			</repository>
		  </repositories>
		</profile>
  </profiles>
  <activeProfiles>
    <activeProfile>3rdParty</activeProfile>
	<activeProfile>android</activeProfile>
  </activeProfiles>

</settings>
2. pom设置
	<repositories>
		<repository>
			<id>3rdParty</id>
			<name>3rdParty</name>
			<url>http://ip:端口/repository/3rdParty/</url>
			<releases>
				<enabled>true</enabled>
			</releases>
			<!-- snapshots默认是关闭的,需要手动开启 -->
			<snapshots>
				<enabled>true</enabled>
			</snapshots>
		</repository>
	</repositories>
	<distributionManagement>
        <repository>
            <id>thirdparty</id>
            <url>http://ip:端口/repository/3rdParty/</url>
        </repository>
    </distributionManagement>
mvn 上传命令
mvn deploy:deploy-file -DgroupId=com.cn.whr.control -DartifactId=control_rpc_thrift_interface -Dversion=1.0.1 -Dpackaging=jar -Dfile=control_rpc_thrift_interface-1.0.0.jar -Durl=http://ip:端口/repository/3rdParty/ -DrepositoryId=3rdParty
3. gradle配置
// Top-level build file where you can add configuration options common to all sub-projects/modules.
buildscript {
    repositories {
        jcenter()
        google()
    }
    dependencies {
        classpath 'com.android.tools.build:gradle:3.5.3'
    }
}

allprojects {
    repositories {
        maven {
            url 'http://ip:端口/repository/3rdParty/'
            credentials {
                username '账号'
                password '密码'
            }
        }
        maven{url 'https://jitpack.io'}
        jcenter()
        google()
        mavenCentral()
    }
}
gradle publish设置
publishing {
    repositories {
        maven {
            credentials {
                username '账号' // 仓库发布用户名
                password '密码' // 仓库发布用户密码
            }
            url 'http://ip:端口/repository/3rdParty/' // 仓库地址
        }
    }
     publications {
         publishing.publications.create('apiBase', MavenPublication) {
             groupId 'com.cn.groupname'
             artifactId apiBaseJarName
             version apiBaseJarVersion
             artifact ("build/libs/${APP_NAME}.jar")
         }
     }
}
task makeJar(type: Copy) {
    delete "build/libs/${APP_NAME}.jar"
    from( 'build/intermediates/packaged-classes/release')
    into( 'build/libs')
    include('classes.jar')
    rename('classes.jar', "${APP_NAME}.jar")
}
makeJar.dependsOn(build)

publish.dependsOn(makeJar)