说到NDK,可能很多搞安卓的朋友都知道有这个东西的存在,但是基于实际开发的需要和平台的限制,很多朋友是没有接触过这个吊吊的技术的,今天就来介绍一下它的配置和使用。
在AS2.2之前如果你想配置jin和NDK的话估计你会配得死去活来还不一定能编译得过来,但是在2.2以后AS就已经集成了NDK的开发了,只需要下载相应的插件就行了,废话不多说了,开始。
第一步:下载一个2.2或者以上版本的AS,链接我都给你了,然后安装完成就行了。
https://dl.google.com/dl/android/studio/install/2.2.1.0/android-studio-bundle-145.3330264-windows.exe
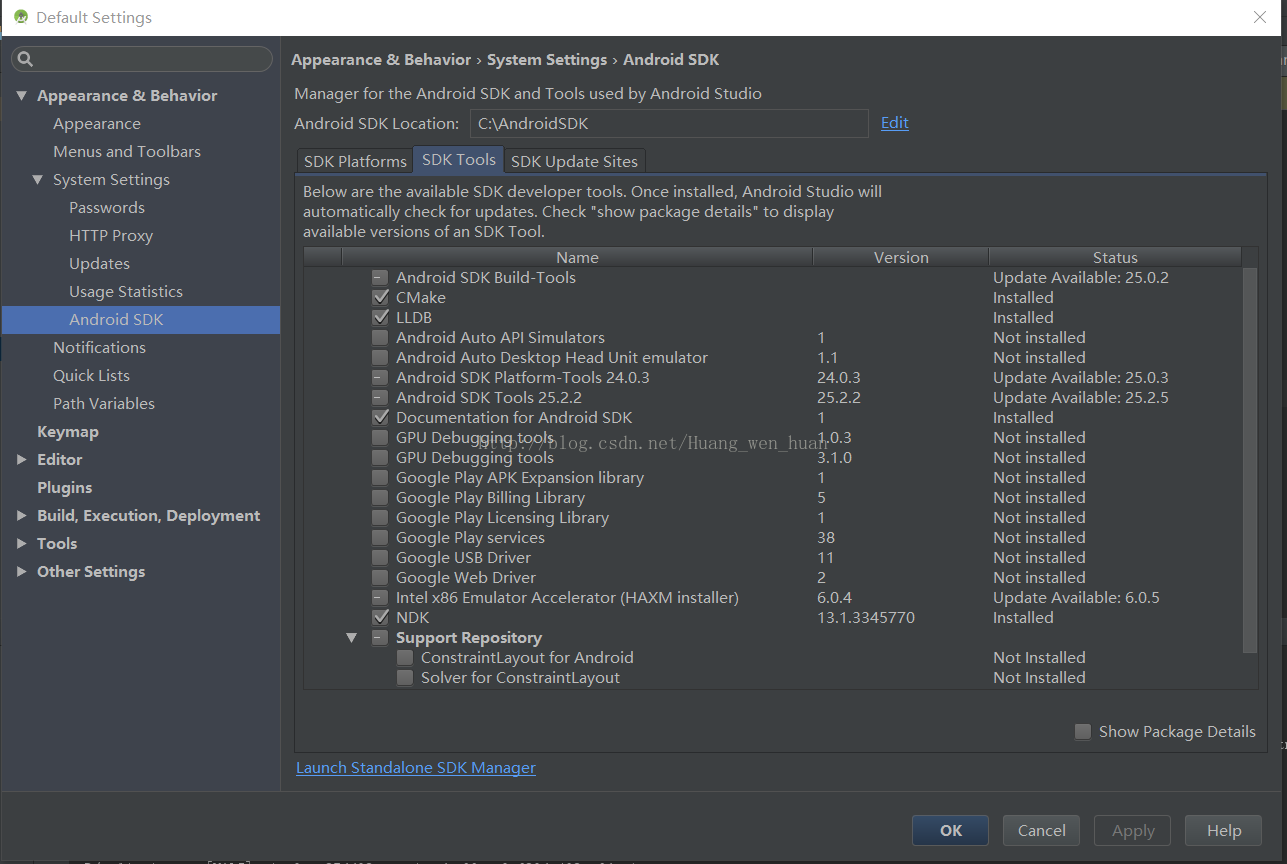
第二步:点击窗口的Tools--Android----SDKManager,勾选CMake,LLDB,NDK,点击ok就会到插件的下载安装了,让它自动完成就行了。到这里AS就已经安装好了需要开发NDK的插件了。
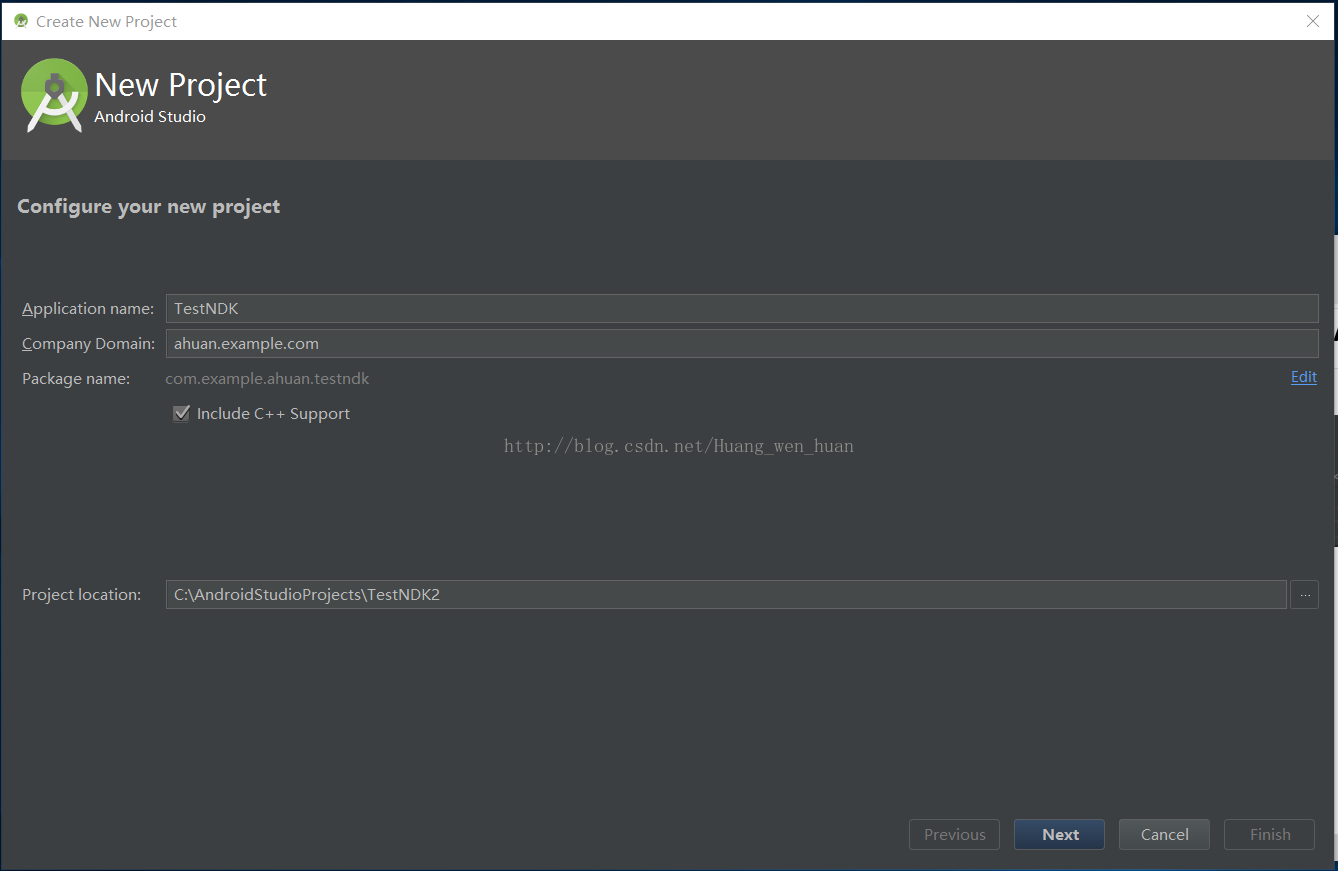
第三步:新建一个项目TestNDK,注意勾选Include C++ Support,只有勾选这个才支持ndk的开发。
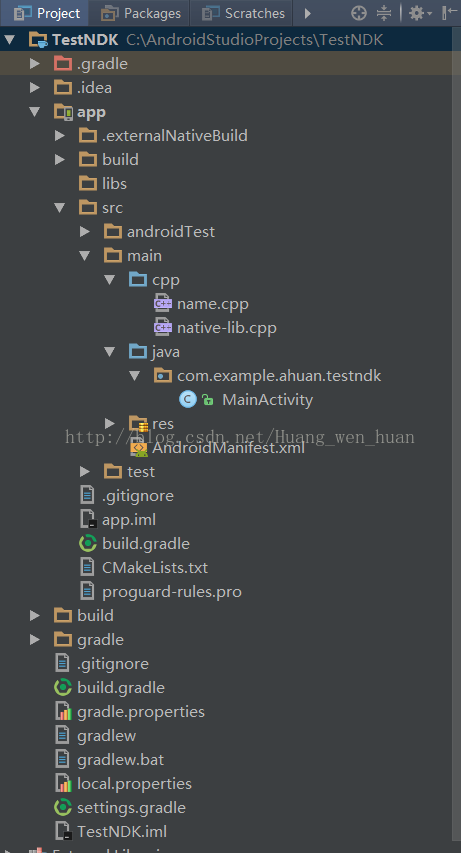
第四步:此时我们看看项目的目录结构。可以看到多了一个cpp的目录和CMakeLists.txt文件。从2.2版本以后,所有的C++或者C的源文件就放在cpp这个文件夹下面了而不是jin这个文件。
第五步:看一下CMakeLists.txt的文件内容。其中有用的是
cmake_minimum_required(VERSION 3.4.1) #支持的最小版本
add_library(native-lib #最终编译生成的库名
SHARED #声明生成的库为动态库,即是STATIC
src/main/cpp/native-lib.cpp #C源文件,如果目录包含.h头文件,不需要写上,CMake会自动包括进来。
)
find_library( og-lib #log-lib变量,给它赋值log
log #android系统的打印信息库)
target_link_libraries( native-lib #把所依赖的库link进来
${log-lib} )
注意:在自己增加的本地方法当中,在C或者C++文件当中实现了之后,就可以在CMakeLists.txt这个文件下面添加自己的库。
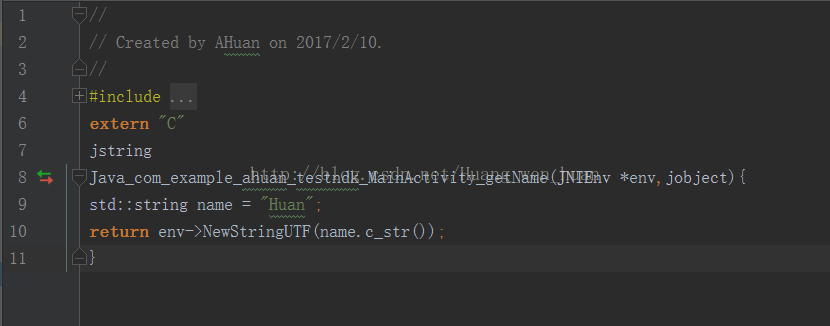
例如:我在Activity中声明了如下方法:Public native String getName();然后我在cpp这个目录下新建一个name.cpp文件,
里面实现本地方法getName();所以我在CMakeLists.txt 中添加的内容就是
add_library(name-lib #名字随意
SHARED
src/main/cpp/native-lib.cpp
)
target_link_libraries( name-lib)
后面的C或者是C++文件都是按照这个格式添加
# Sets the minimum version of CMake required to build the native
# library. You should either keep the default value or only pass a
# value of 3.4.0 or lower.

cmake_minimum_required(VERSION 3.4.1)

# Creates and names a library, sets it as either STATIC
# or SHARED, and provides the relative paths to its source code.
# You can define multiple libraries, and CMake builds it for you.
# Gradle automatically packages shared libraries with your APK.

add_library( # Sets the name of the library.
             native-lib

             # Sets the library as a shared library.
             SHARED

             # Provides a relative path to your source file(s).
             # Associated headers in the same location as their source
             # file are automatically included.
             src/main/cpp/native-lib.cpp)


# Searches for a specified prebuilt library and stores the path as a
# variable. Because system libraries are included in the search path by
# default, you only need to specify the name of the public NDK library
# you want to add. CMake verifies that the library exists before
# completing its build.

find_library( # Sets the name of the path variable.
              log-lib

              # Specifies the name of the NDK library that
              # you want CMake to locate.
              log )

# Specifies libraries CMake should link to your target library. You
# can link multiple libraries, such as libraries you define in the
# build script, prebuilt third-party libraries, or system libraries.

target_link_libraries( # Specifies the target library.
                       native-lib

                       # Links the target library to the log library
                       # included in the NDK.
                       ${log-lib} )

add_library( name-lib
             SHARED
             src/main/cpp/name.cpp)
target_link_libraries( name-lib )


add_library( content-lib
             SHARED
             src/main/cpp/content.cpp)
target_link_libraries(content-lib)
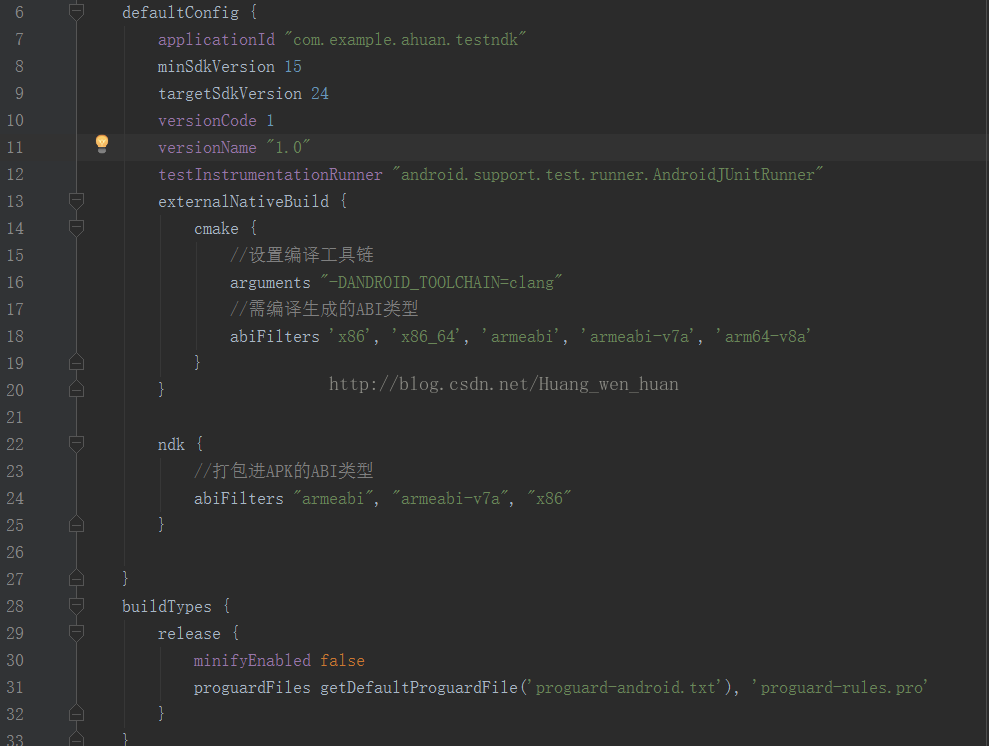
第六步:在app的build.gradle文件里配置相关设置。

第七步:在activity里面声明native方法,然后就可以在cpp目录下创建C或者cpp源文件,然后在C或者cpp源文件里实现在activity里面生命的native方法。例如我们创建name.cpp C++文件。在加载生成库的时候别忘了在activity里面load这个库。
static {
System.loadLibrary("native-lib");
System.loadLibrary("name-lib");
}
最后就是在代码中调用我们在C++文件里实现的本地native方法了。