本文配合kibana操作,可以更清晰的认识到过程
1.创建快照存储库
快照存储库的作用是创建一个目录专门用来分门别类的存放各种备份(快照),以作为后期恢复。
1.修改es配置文件,以便支持快照存储库
# vim /etc/elasticsearch/elasticsearch.yml
path.repo: ["/data/backup/elasticsearch"]
2.创建一个网络共享目录
如果是es集群,一定要创建一个共享目录,并对快照存储库进行挂载(如3台集群,3台的共享目录是进行共享的)
创建nfs目录 ##略
2.重启es
略
3.创建本地存储库
curl -XPUT -uuser:password http://127.0.0.1:9200/_snapshot/bakup -H "Content-Type: application/json" -d '
{
"type": "fs",
"settings": {
"location": "/data/backup/elasticsearch/", #存储库位置,要和配置文件里一致
"max_restore_bytes_per_sec":"10mb", #恢复最大速率
"compress":"true", #是否压缩
"max_snapshot_bytes_per_sec":"10mb", #创建最大速率
"chunk_size":"10mb" #压缩块大小
}
} '
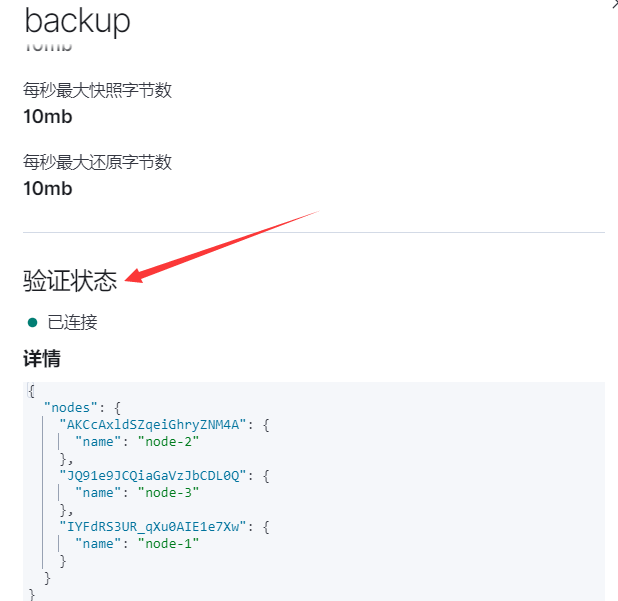
4.查看是否创建成功
$ curl -XGET -uuser:password http://127.0.0.1:9200/_snapshot/
$ {"backup":{"type":"fs","settings":{"chunk_size":"10mb","location":"/data/backup/elasticsearch/","max_restore_bytes_per_sec":"10mb","compress":"true","max_snapshot_bytes_per_sec":"10mb"}}}
# 基于此,名为backup的快照存储库创建完成,可以基于索引或者全部进行备份操作

2.备份索引
1.备份指定的索引
curl -XPUT -uuser:password  http://127.0.0.1:9200/_snapshot/backup/bak2020-5?wait_for_completion=true -H "Content-Type: application/json"  -d '
   {

 "indices": "index1,index2,index3,index4"   #需要备份几个索引就写几个
   }'
2.备份当前库所有索引
curl -XPUT -uuser:password  http://127.0.0.1:9200/_snapshot/backup/bak2020-5?wait_for_completion=true -H "Content-Type: application/json"

3.查看是否备份成功
	(1)返回结果
	{"snapshot":{"snapshot":"bak2020-5","uuid":"h4B0WAbzTPmTpRFaOfsFgA","version_id":7050099,"version":"7.5.0","indices":["cld-2020.04.09","uchp-2020.03.31","crlpub-2020.03.01","crlpub-2020.02.29"],"include_global_state":true,"state":"SUCCESS","start_time":"2020-05-19T02:25:34.925Z","start_time_in_millis":1589855134925,"end_time":"2020-05-19T02:26:39.891Z","end_time_in_millis":1589855199891,"duration_in_millis":64966,"failures":[],"shards":{"total":4,"failed":0,"successful":4}}}
	(2) 命令查看
	curl -XGET -uelastic:111111  http://127.0.0.1:9200/_snapshot/backup/bak2020-5
{"snapshots":[{"snapshot":"bak2020-5","uuid":"h4B0WAbzTPmTpRFaOfsFgA","version_id":7050099,"version":"7.5.0","indices":["cld-2020.04.09","uchp-2020.03.31","crlpub-2020.03.01","crlpub-2020.02.29"],"include_global_state":true,"state":"SUCCESS","start_time":"2020-05-19T02:25:34.925Z","start_time_in_millis":1589855134925,"end_time":"2020-05-19T02:26:39.891Z","end_time_in_millis":1589855199891,"duration_in_millis":64966,"failures":[],"shards":{"total":4,"failed":0,"successful":4}}]}

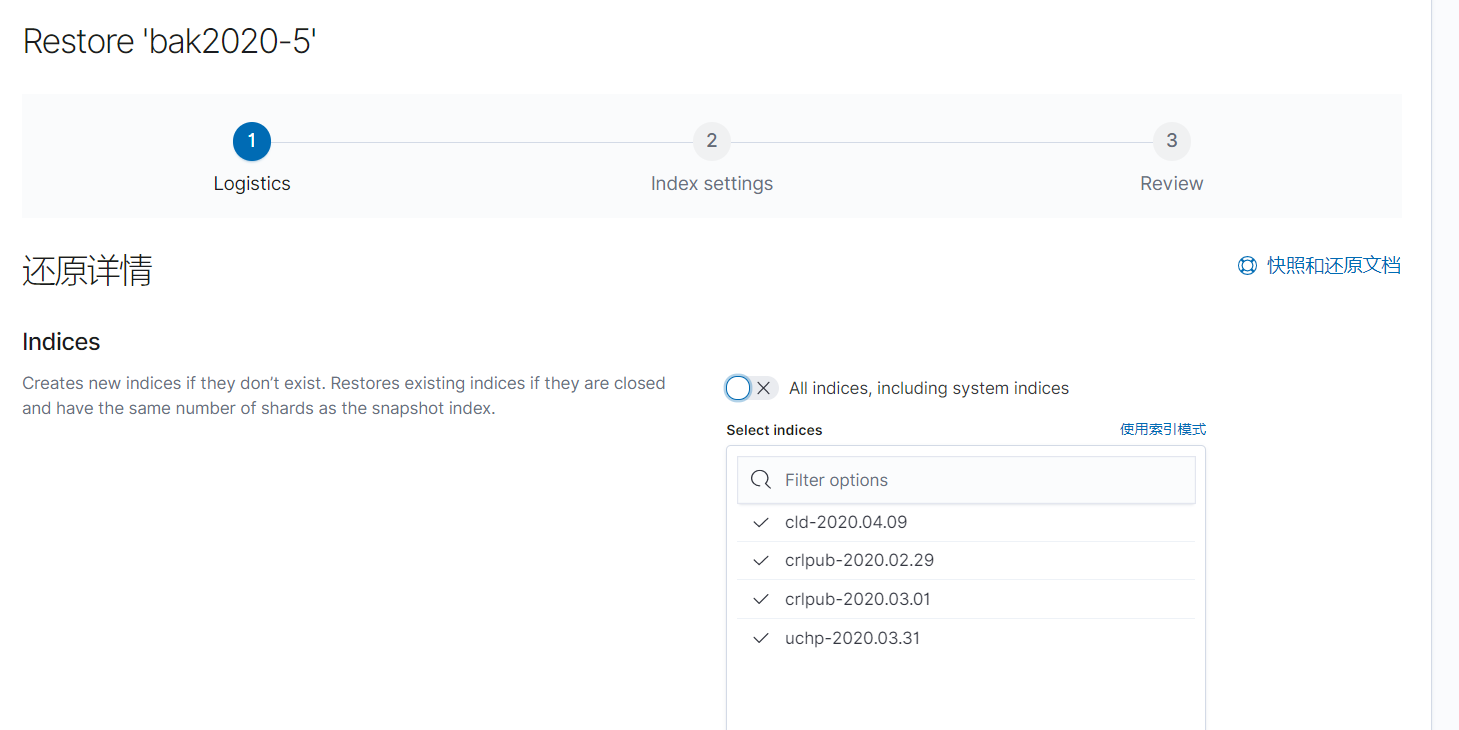
3.对数据库进行恢复
1.实验环境下,我们把备份的索引删除,来测试是否可以恢复成功
略
2.恢复数据
	(1).恢复单个索引
	curl -XPOST -uuser:password  http://127.0.0.1:9200/_snapshot/backup/bak2020-5/_restore -H "Content-Type: application/json" -d '
   {
 "indices": "index1"
   }'
    (2).直接恢复所有
    curl -XPOST -uuser:password  http://127.0.0.1:9200/_snapshot/backup/bak2020-5/_restore -H "Content-Type: application/json"
4.删除不用的快照存储
curl -XDELETE -uuser:password http://127.0.0.1:9200/_snapshot/backup/bak2020-5/
5.对备份数据打包存储,并还原到新的es集群中
tar zcf es-bak2020-5.tar.gz elasticsearch/*   #对库下面的所有文件进行存储

#将压缩备份文件放入新集群的快照存储库下
tar xf es-bak2020-5.tar.gz -C /data/backup/elasticsearch

重新创建和备份同名的snopshot
curl -XPUT -uuser:password  http://127.0.0.1:9200/_snapshot/backup -H "Content-Type: application/json"  -d '
      {
          "type": "fs",
          "settings": {
          "location": "/data/backup/elasticsearch/",
          "max_restore_bytes_per_sec":"10mb",
          "compress":"true","max_snapshot_bytes_per_sec":"10mb",
          "chunk_size":"10mb"
          }
      } '
测试是否存在备份的snapshot
# curl -XGET -uuser:password  http://127.0.0.1:9200/_snapshot/backup/bak2020-5

# {"snapshots":[{"snapshot":"bak2020-5","uuid":"D1WdHq2oTtC03a60y2GkmA","version_id":7050099,"version":"7.5.0","indices":["cld-2020.04.09","crlpub-2020.03.01","uchp-2020.03.31","crlpub-2020.02.29"],"include_global_state":true,"state":"SUCCESS","start_time":"2020-05-19T02:53:57.284Z","start_time_in_millis":1589856837284,"end_time":"2020-05-19T02:55:01.842Z","end_time_in_millis":1589856901842,"duration_in_millis":64558,"failures":[],"shards":{"total":4,"failed":0,"successful":4}}]}

#测试为存在,按照第3步进行还原