我的Android开发之旅(四):Android三种动画效果的浅入之帧动画
1. 前言
Android的动画分为3大类:View动画、帧动画和属性动画。View动画在我之前的一篇博客 我的Android开发之旅(二):Android三种动画效果的浅入之View动画 中有讲述到,主要介绍了View动画的基本属性以及如何使用。本篇将着重介绍Android动画的帧动画。
2. 帧动画
帧动画是Android三大动画里实现原来最简单的一种,跟小时候看的手翻书是一个原理,由多张相似的图片在短时间内连续播放,从而模拟动态的动画效果。
3. 如何使用
3.1 AnimationDrawable
官方提供了 AnimationDrawable 类给我们生成帧动画,它的常用方法如下:
| xml | java | 作用 |
|---|---|---|
| android:oneshot=“true | false” | setOneShot(boolean oneShot) | 设置是否播放一次。true表示只播放一次,false表示循环播放 |
| 无 | addFrame(Drawable frame, int duration) | 添加一副图片帧。frame表示图片资源,duration表示持续时间,单位ms |
| 无 | start() | 开始播放 |
| 无 | stop() | 停止播放 |
| 无 | isRunning() | 判断是否正在播放 |
3.2 Xml实现
首先准备好几张用来实现帧动画的图片,这里我用了8张风扇的图片,图片资源链接: 提取码: 4dxw

接着将图片放置项目目录res/drawable下,并在同个目录下新建一个 Drawable Resource File ,取名为fan_anim.xml。
注意:新建 Drawable Resource File 的时候,Root element 处改成 animation-list

在 fan_anim.xml 中添加图片:
<animation-list xmlns:android="http://schemas.android.com/apk/res/android"
    android:oneshot="false">
    <item
        android:drawable="@drawable/f1"
        android:duration="100" />
    <item
        android:drawable="@drawable/f2"
        android:duration="100" />
    <item
        android:drawable="@drawable/f3"
        android:duration="100" />
    <item
        android:drawable="@drawable/f4"
        android:duration="100" />
    <item
        android:drawable="@drawable/f5"
        android:duration="100" />
    <item
        android:drawable="@drawable/f6"
        android:duration="100" />
    <item
        android:drawable="@drawable/f7"
        android:duration="100" />
    <item
        android:drawable="@drawable/f8"
        android:duration="100" />
</animation-list>
有了动画资源,还得有一个宿主视图显示该图形,一般用 ImageView 承载。打开 activity_main.xml 文件,在里面添加一个 ImageView ,代码如下:
<androidx.constraintlayout.widget.ConstraintLayout ...>

    <ImageView
        android:id="@+id/imgFan"
        android:layout_width="wrap_content"
        android:layout_height="wrap_content"
        app:layout_constraintBottom_toBottomOf="parent"
        app:layout_constraintEnd_toEndOf="parent"
        app:layout_constraintStart_toStartOf="parent"
        app:layout_constraintTop_toTopOf="parent"
        app:srcCompat="@drawable/fan_anim" />

</androidx.constraintlayout.widget.ConstraintLayout>
在Java文件中启动动画,代码如下:
public class MainActivity extends AppCompatActivity {

    @Override
    protected void onCreate(Bundle savedInstanceState) {
        super.onCreate(savedInstanceState);
        setContentView(R.layout.activity_main);
        ImageView imgFan = findViewById(R.id.imgFan);
        AnimationDrawable drawable = (AnimationDrawable) imgFan.getDrawable();
        drawable.start();
    }

}
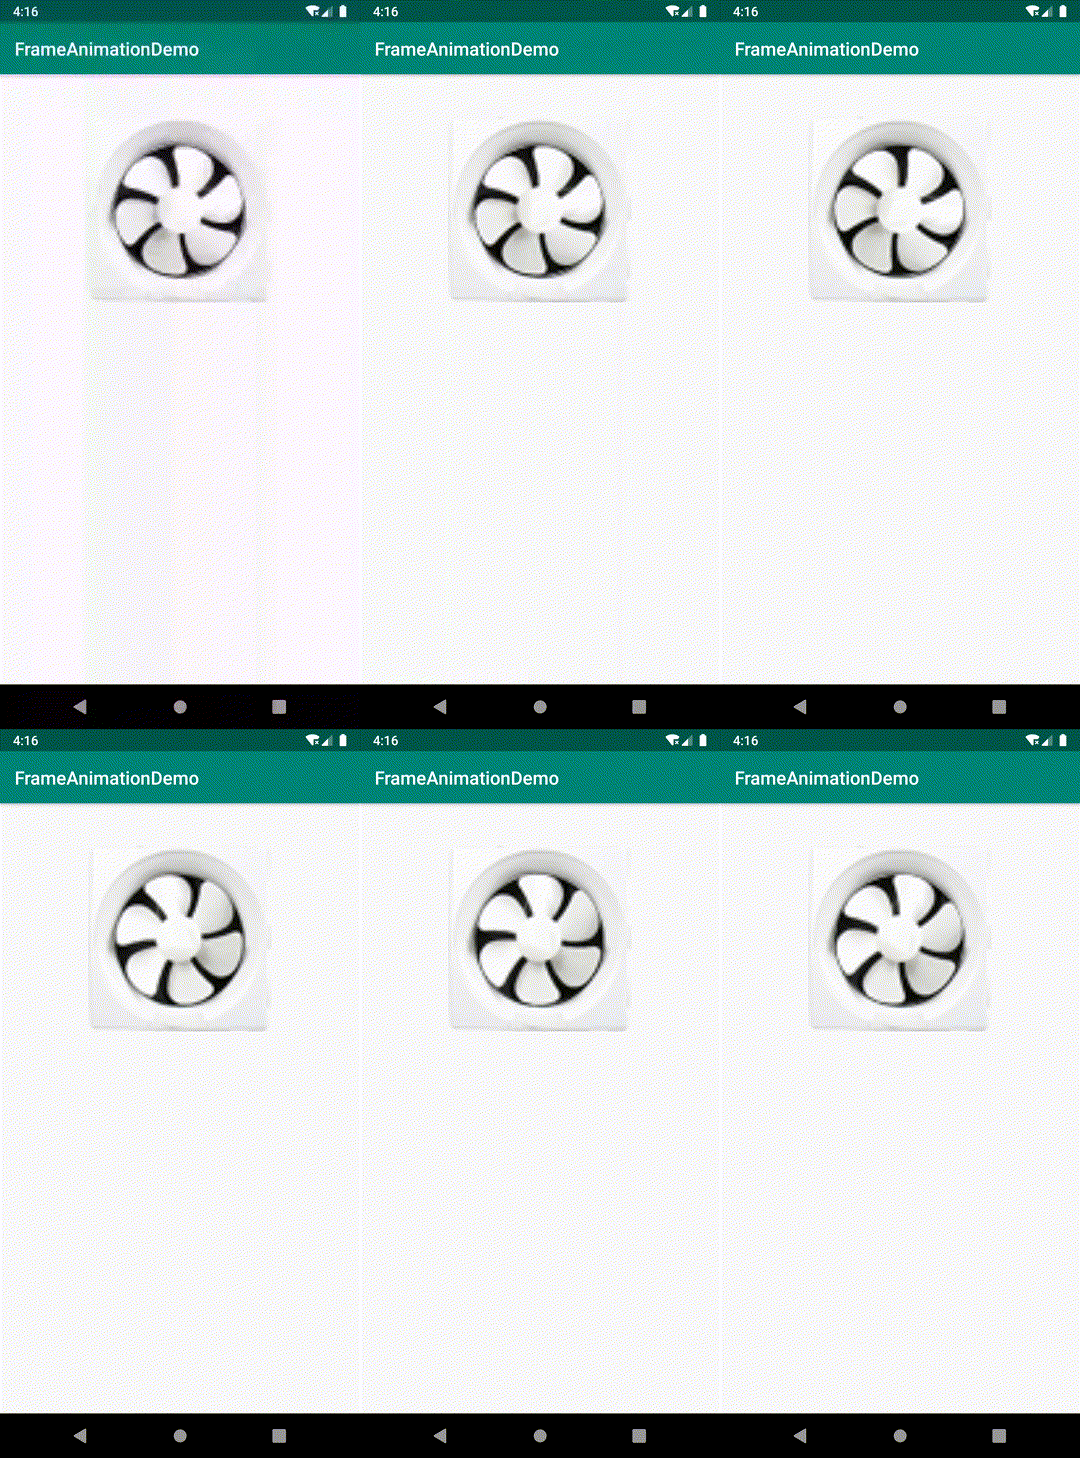
运行效果如下:

3.3 Java实现
将图片放入res/drawable目录下之后回到 activity_main.xml 文件添加一个 ImageView 。
代码如下:
<androidx.constraintlayout.widget.ConstraintLayout ...>

    <ImageView
        android:id="@+id/imgFan"
        android:layout_width="wrap_content"
        android:layout_height="wrap_content"
        app:layout_constraintBottom_toBottomOf="parent"
        app:layout_constraintEnd_toEndOf="parent"
        app:layout_constraintStart_toStartOf="parent"
        app:layout_constraintTop_toTopOf="parent"
        app:srcCompat="@drawable/f1" />

</androidx.constraintlayout.widget.ConstraintLayout>
修改 MainActivity.java 文件,代码如下:
public class MainActivity extends AppCompatActivity {

    @Override
    protected void onCreate(Bundle savedInstanceState) {
        super.onCreate(savedInstanceState);
        setContentView(R.layout.activity_main);
        ImageView imgFan = findViewById(R.id.imgFan);
        AnimationDrawable drawable = new AnimationDrawable();
        drawable.addFrame(ContextCompat.getDrawable(getApplicationContext(), R.drawable.f1), 50);
        drawable.addFrame(ContextCompat.getDrawable(getApplicationContext(), R.drawable.f2), 50);
        drawable.addFrame(ContextCompat.getDrawable(getApplicationContext(), R.drawable.f3), 50);
        drawable.addFrame(ContextCompat.getDrawable(getApplicationContext(), R.drawable.f4), 50);
        drawable.addFrame(ContextCompat.getDrawable(getApplicationContext(), R.drawable.f5), 50);
        drawable.addFrame(ContextCompat.getDrawable(getApplicationContext(), R.drawable.f6), 50);
        drawable.addFrame(ContextCompat.getDrawable(getApplicationContext(), R.drawable.f7), 50);
        drawable.addFrame(ContextCompat.getDrawable(getApplicationContext(), R.drawable.f8), 50);
        drawable.setOneShot(false);
        imgFan.setImageDrawable(drawable);
        drawable.start();
    }

}
效果也是和xml一样的,就不贴图片了。
4. 淡入淡出动画
帧动画的帧显示方式是采用后面一帧直接覆盖前面一帧,这在快速播放的时候没有什么问题,但是如果每帧的时间间隔比较长,那么这两帧切换的时候就非常的粗暴,生硬,让人感到不适。为了解决这个问题,官方提供了一个 TransitionDrawable 类来处理两张图片之间的渐变显示,即淡入淡出的效果。 TransitionDrawable 常用方法如下:
| java | 作用 |
|---|---|
| TransitionDrawable(Drawable[] layers) | 指定过渡的图像数组,数组大小必须是2 |
| startTransition(int durationMillis) | 开始,durationMillis表示间隔时间,单位毫秒 |
| resetTransition() | 重置 |
| reverseTransition() | 反过来执行 |
先在主界面放置一个 ImageView ,修改 MainActivity.java ,代码如下:
public class MainActivity extends AppCompatActivity {

    @Override
    protected void onCreate(Bundle savedInstanceState) {
        super.onCreate(savedInstanceState);
        setContentView(R.layout.activity_main);
        ImageView imgFan = findViewById(R.id.imgFan);
        // 如果数组里的元素有2个以上,只显示数组最前面的那两个元素
        Drawable[] drawables = {
                ContextCompat.getDrawable(this, R.drawable.pic1),
                ContextCompat.getDrawable(this, R.drawable.pic2),
        };
        TransitionDrawable drawable = new TransitionDrawable(drawables);
        imgFan.setImageDrawable(drawable);
        drawable.startTransition(3000);
    }

}
运行效果:

5. 尾声
帧动画的使用比较简单,但比较容易引起 OOM(内存溢出)。因为像上面我用的图片尺寸过大和过多时,系统会按照每个定义的顺序把所有的图片都读取到内存中,而系统读取图片的方式是 Bitmap 位图形式,所以就导致了 OOM 的发生。所以在使用帧动画的时候尽量避免用过多尺寸较大的图片。
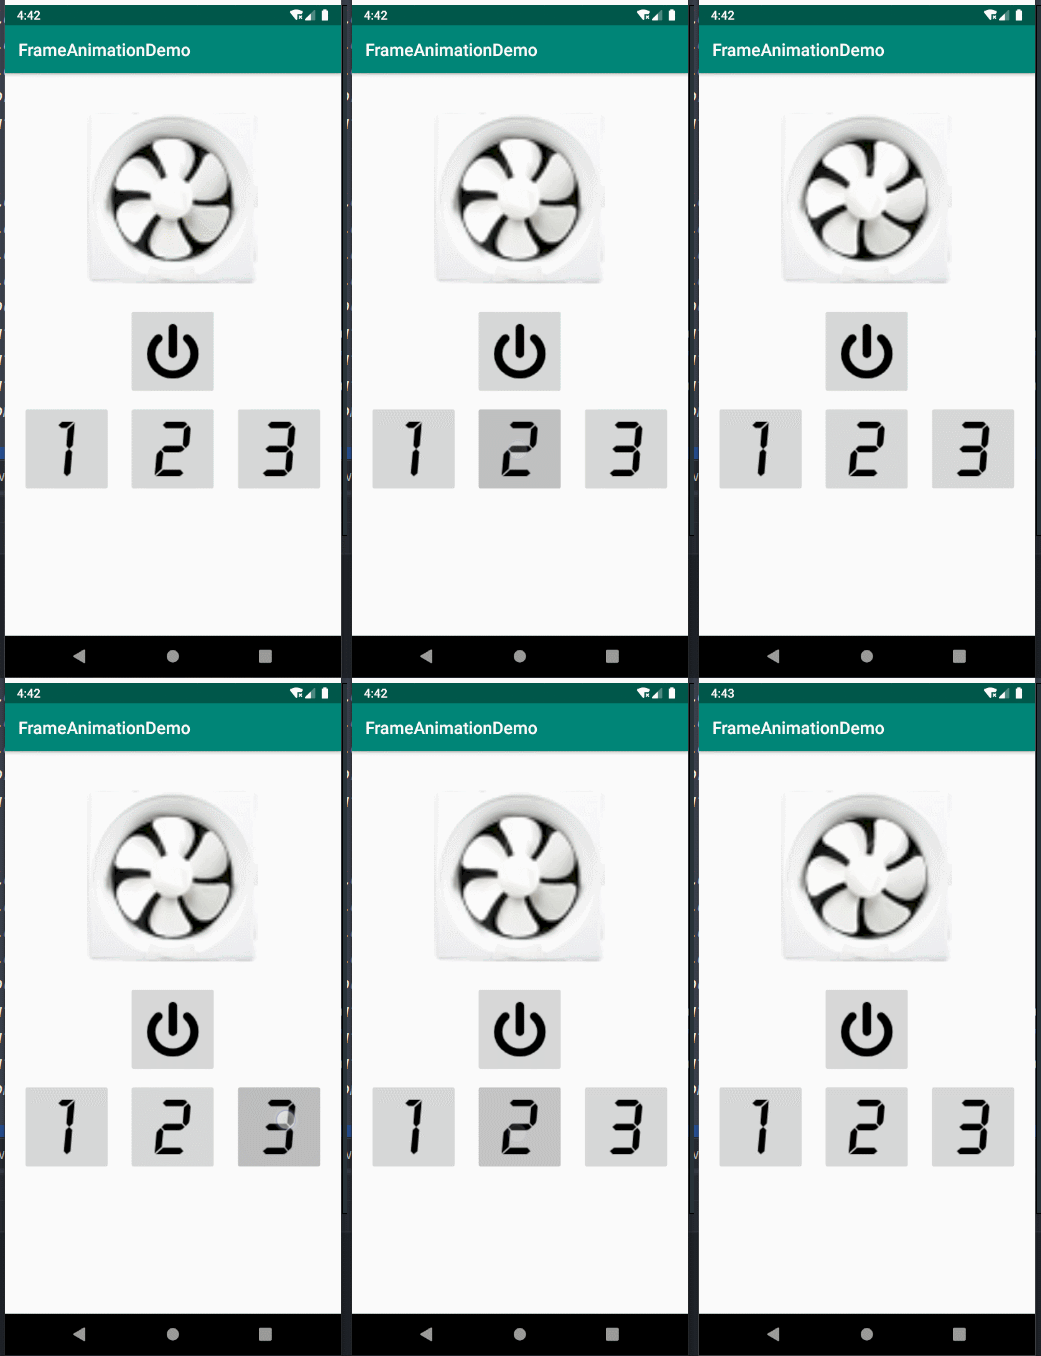
最后写了个小玩意,想起18年初学帧动画时,就写了个可调档位的小风扇,当时是个非常炎热的夏天,可看程序运行起来,隔着屏幕都能感受到一丝清风~~~

项目源码:Gitee
