Hello, this blog will show you how to use the tool we build. 项目链接
1. establish new project
First, you should establish a new project. Note the project name is very important, for you have to use it to build your work folder where you can store all of your data! We have simplified the procedure to help people who don't have an Azure account to use our tools.

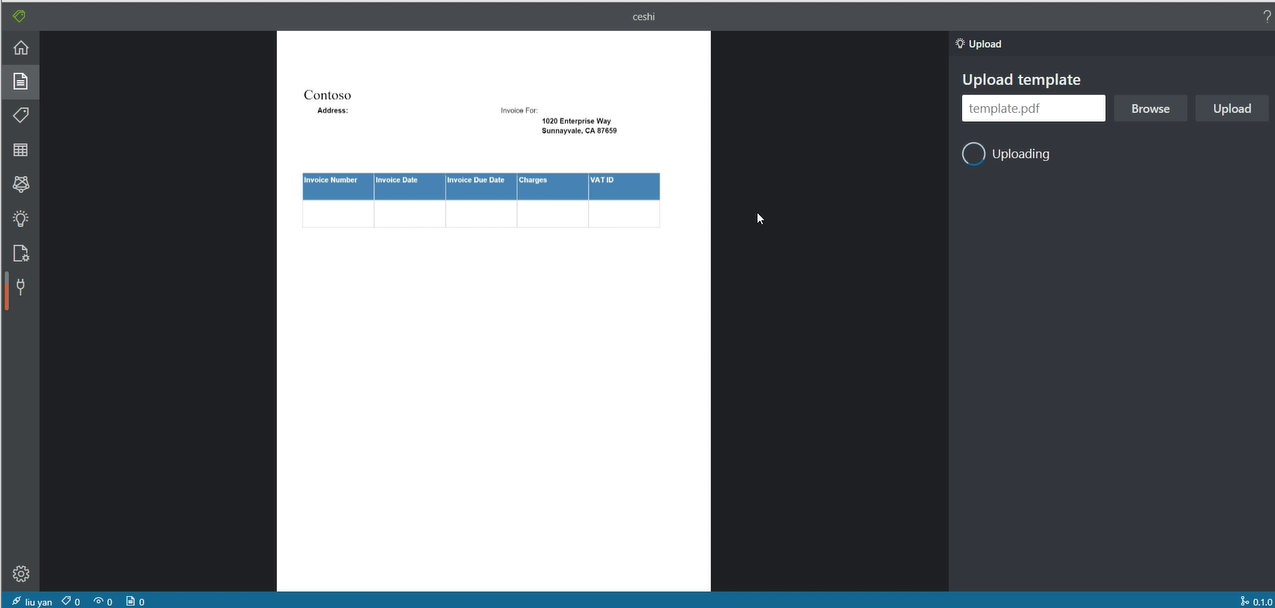
2. upload template file (pdf)
Second, you can upload your template pdf file in this page!
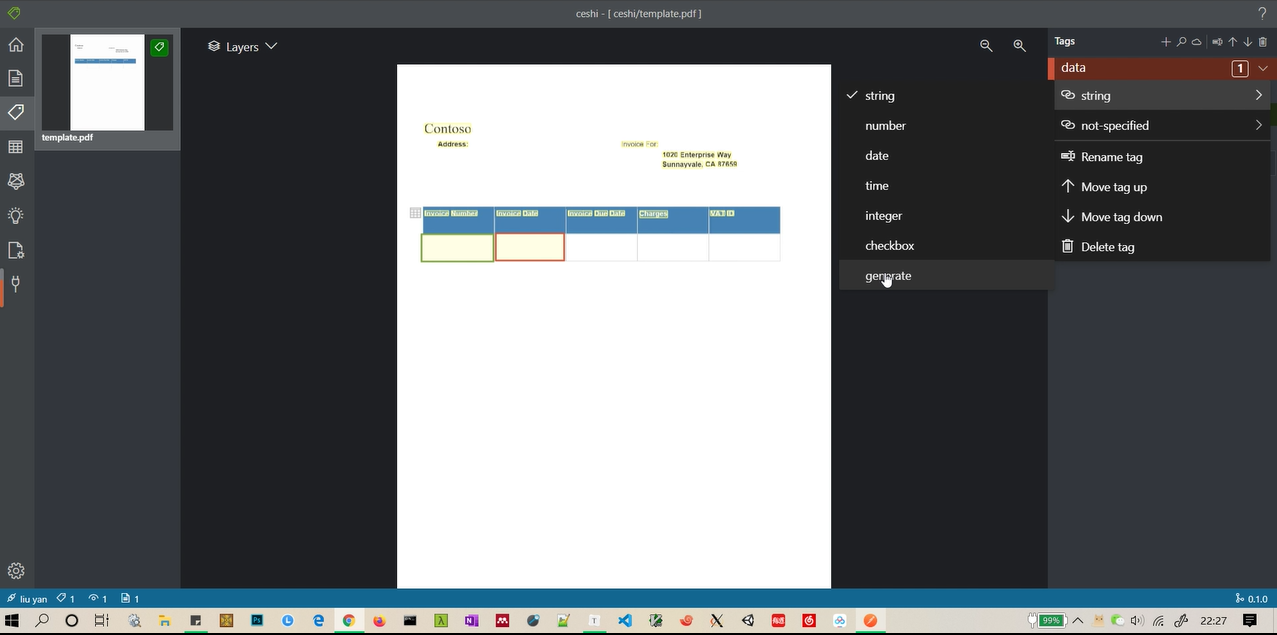
3. marking label
The marking page is the same as the original one!
To mark a label, you can just press the "Backspace" on your keyboard.
Double clicks represent the diagonal and a box will appear, then you can attach the box to a tag.
Then you should click a tag in the tag bar. After that, you should choose "generate" and an attribute in the toolbox. Now, the attribute we have choosen can be seen through the drop-down menu, such as name, date, phone number, etc. Later we will expand more attributes.
When finishing these steps, you can use the 'cloud' (at the upper right corner) button to upload the marked JSON file. Then you can go to next step.
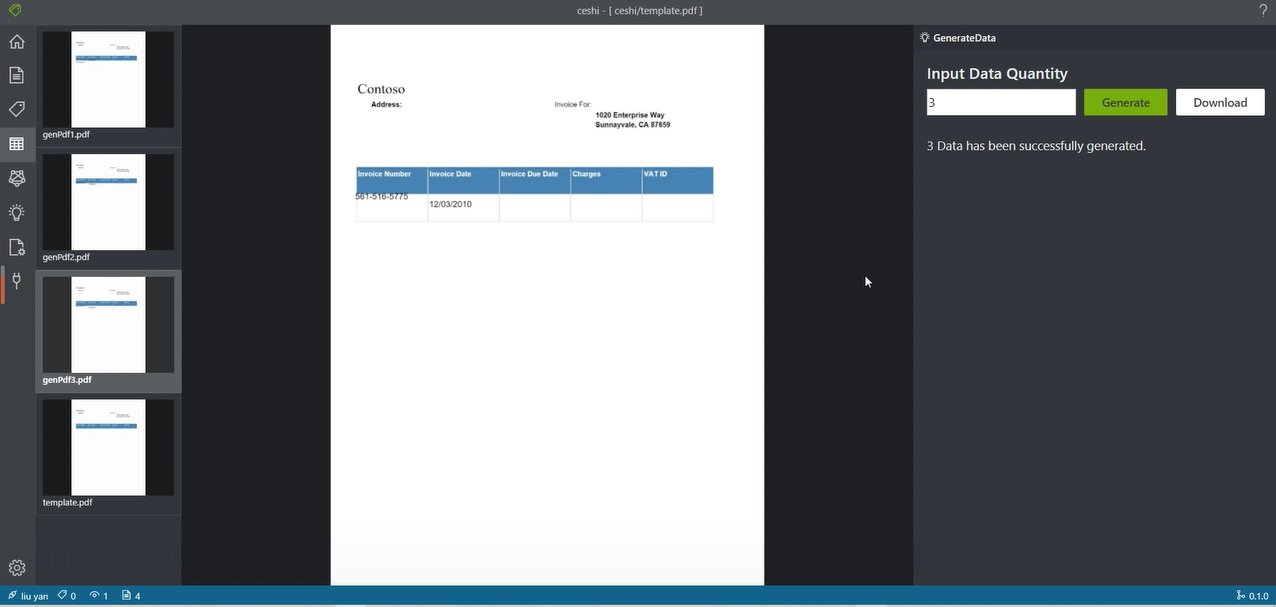
4. generate new pdf
In the data page, you should input the number of pdf you want to generate and click "generate" button. After the data is generated, the content of each generated pdf will be displayed on this page.In order to make the generated data look more real, we randomly disturb the position of data when generating each field.You can download the generated pdf and corresponding JSON data by clicking the download button.
Above is all the process.
thanks!