一、Apache的作用
1.1 在web被访问时通常使用http://的方式
1.2 http:// ——被称为超文本传输协议,是互联网上应用最为广泛的一种网络协议。所有的WWW文件都必须遵守这个标准。我们在浏览器的地址栏里输入的网站地址叫做URL,就像每家每户都有一个门牌地址相同,每个网页也都有一个Internet地址。当你在浏览器的地址中输入一个URL,URL就确定了要浏览的地址。浏览器通过超文本传输协议,将Web服务器上站点的网页代码提取出来,并翻译成网页。
1.3http:// 超文本传输协议提供软件: Apache(百度)、 nginx(QQ)、 stgw(腾讯) 、jfe(京东)、 Tengine(淘宝)。
二、Apache的安装
[root@apache yum.repos.d]# dnf install httpd.x86_64 -y yum源一定要先配置好

三、Apache的启用
systemctl enable --now httpd 开启服务并设定服务位开机启动

firewall-cmd --list-all 查看火墙信息
 firewall-cmd --permanent --add-service=http 火墙中永久开启http访问
 firewall-cmd --permanent --add-service=https 火墙中永久开启https访问
 firewall-cmd --reload 刷新火墙设定生效

四、Apache的基本信息
4.1服务名称:httpd
4.2配置文件
配置文件:
主配置文件:/etc/httpd/conf/httpd.conf
子配置文件 :/etc/httpd/conf.d/*.conf
默认发布目录: /var/www/html
默认发布文件: index.html
默认端口: 80 http 443 https
用户: apache
日志: /etc/httpd/logs
五、Apache的基本配
5.1.Apache端口修改
[root@apache ~]# vim /etc/httpd/conf/httpd.conf  编辑主配置文件更改端口
在selinux关闭的情况下服务可以正常重启,selinux开启状态下服务是不可以重启动需要进行一下操作


5.2.默认发布文件
更改默认访问文件
[root@apache html]# vim /etc/httpd/conf/httpd.conf  更改主配置文件的默认访问文件
[root@apache html]# systemctl restart httpd


5.3.默认发布目录
[root@apache ~]# mkdir -p /westos/html/
[root@apache ~]# cd /westos/html/
[root@apache html]# vim index.html
[root@apache html]# cat index.html  新建指定家目录文件并编辑内容
heel


六、Apache的访问控制
6.1创建实验素材
[root@apache ~]# cd /var/www/html
[root@apache html]# mkdir linux
[root@apache html]# cd linux
[root@apache linux]# vim index.html
[root@apache linux]# cat index.html
<h1>linux.dir</h1>
两台主机:
apache :ip 192.168.1.55
rhel7_node1 : ip 192.168.1.7
测试都可以访问
[root@apache linux]# firefox http:192.168.1.55/linux/
[root@rhel7_node1 ~]# firefox http:192.168.1.55/linux/


6.2基于客户端ip的访问控制
6.2.1ip黑名单
[root@apache ~]# vim /etc/httpd/conf/httpd.conf
[root@apache ~]# systemctl restart httpd
注意每次更改配置文件都要重启否则生效


6.2.2ip白名单
[root@apache ~]# vim /etc/httpd/conf/httpd.conf
[root@apache ~]# systemctl restart httpd


6.3基于用户的认证
6.3.1设置配置文件


6.3.2测试
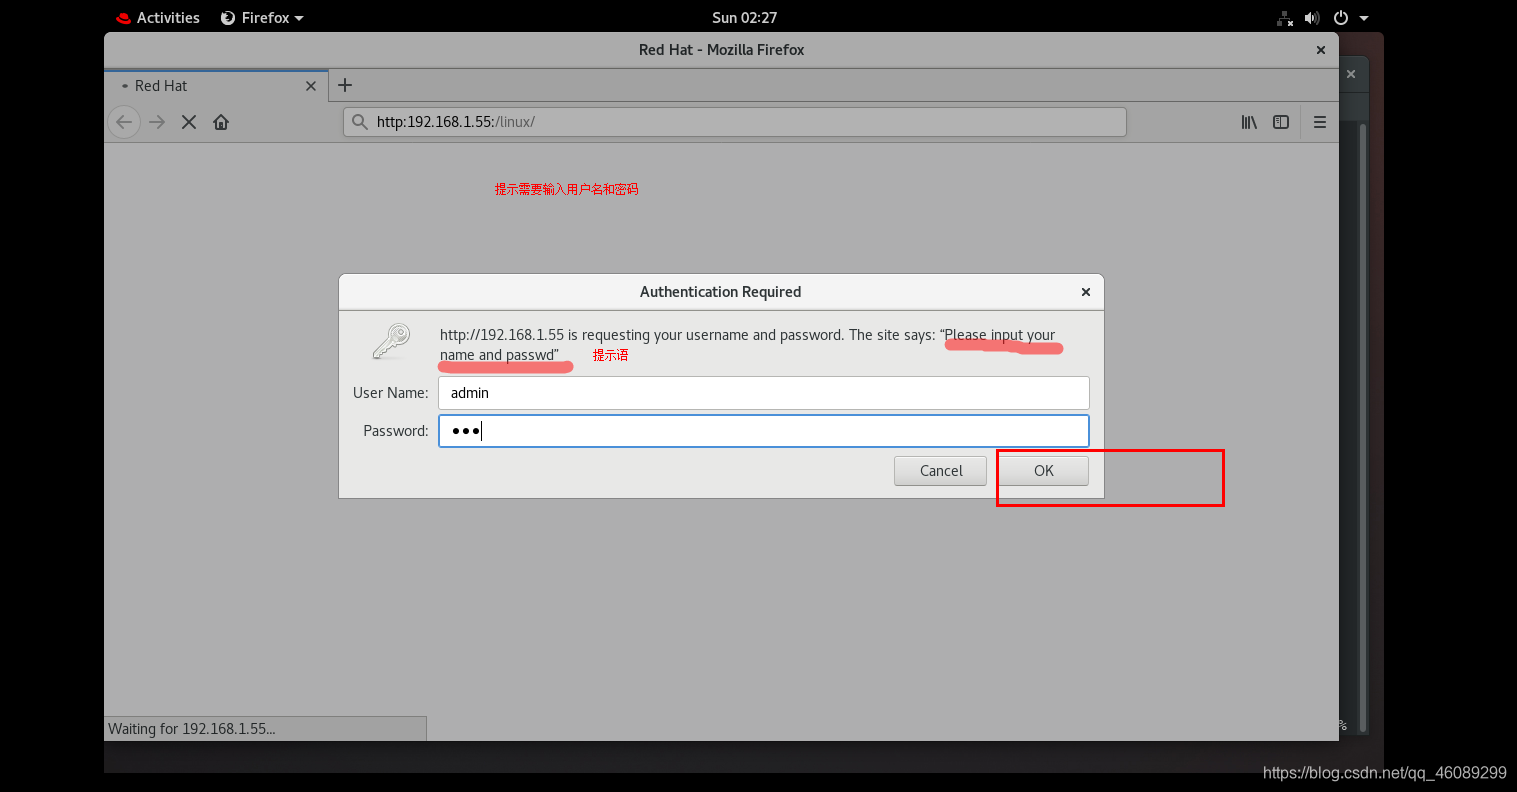

**注意:**当admin用户登录成功后,往后都不需要认证,其他用户也会被限制,此时需要清空浏览器登录记录,才可以切换到其他用户登录。
6.3.3指定某一用户登录,其他用户不可登录
Require user admin


