ESP8266 RTOS开发之路(2)— 基于SDK-3.0的HelloWorld工程
本次开发是在Ubuntu下的,使用的模块是ESP12F,32Mbit的flash。
一、开发环境搭建
开发环境搭建参照这个大佬的博客https://xuhong.blog.csdn.net/article/details/104736261
其中需要注意的一点是,在git拉取代码的时候,不要加sudo,要特别注意,然后给一个在修改子模块设置的时候可以直接复制的代码(至于为什么,懂的人自然会懂)
[submodule "components/json/cJSON"]
        path = components/json/cJSON
        url = https://gitee.com/xuhongv/cJSON.git

[submodule "components/mbedtls/mbedtls"]
        path = components/mbedtls/mbedtls
        url = https://gitee.com/xuhongv/mbedtls.git

[submodule "components/lwip/lwip"]
        path = components/lwip/lwip
        url = https://gitee.com/xuhongv/esp-lwip.git
二、安装Visual Studio Code
三、使用VSCode编辑项目
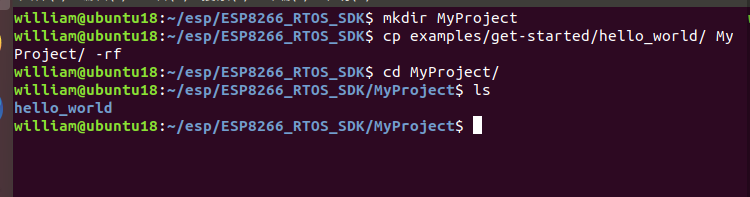
在ESP8266_RTOS_SDK下新建文件夹MyProject,把ESP8266_RTOS_SDK里面的\examples\get-started的整个文件夹hello_world拷贝到MyProject里面;
打开VSCode,选择文件,打开文件夹

选择SDK的目录,点击确定

然后打开MyProject/hello_world下的,将app_mian()修改为:
void app_main()
{
    printf("Hello world!\n");
    printf("SDK version:%s\n", esp_get_idf_version());
}
然后点击hello_world文件夹,右击,在终端中打开

然后再终端中执行make all,编译成功

然后使用make flash下载:

然后可以用make monitor命令监听串口
四、查看运行结果
首先我们安装cutecom图像界面串口调试工具,使用命令直接按照即可
sudo apt-get install cutecom
同样的,在/usr/share/applications目录中找到CuteCom,然后右键,选择复制到桌面

我们通过dmesg | grep ttyS*命令查看串口:

然后双击打开,点击【Setting】

因为在波特率选项里我们找不到74800,使用我们直接输入74800,选择刚才查看的ttyUSB0,点击Open

然后按下ESP8266的复位键,可以看到:

打印成功
