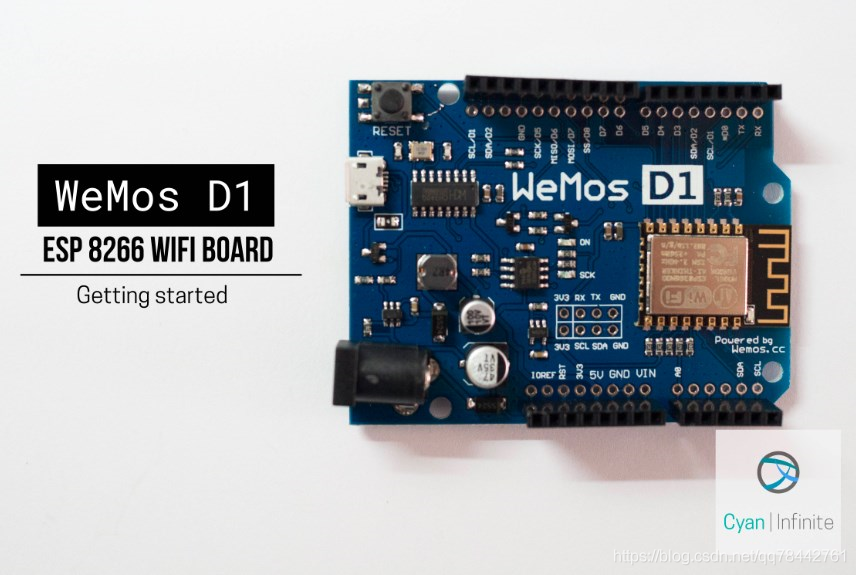
WeMos D1开发板以ESP8266WIFI开发板为基础,使用Arduino开发板的设计,工作电压为3.3V设计出来的开发板,这个开发板仅仅是使用了Arduino uno的布局设计,并不是Arduino的开发板。
下面是关于这块开发板的说明书:
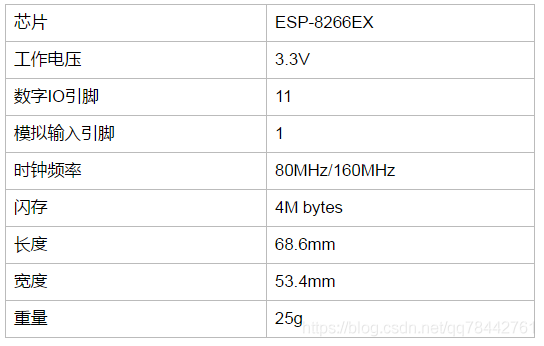
总结下:
此开发板芯片为ESP8266(32位),缓存比Arduino Uno大,并且包含11个数字IO引脚以及1个模拟输入引脚,使用Micro-B type USB线进行连接。
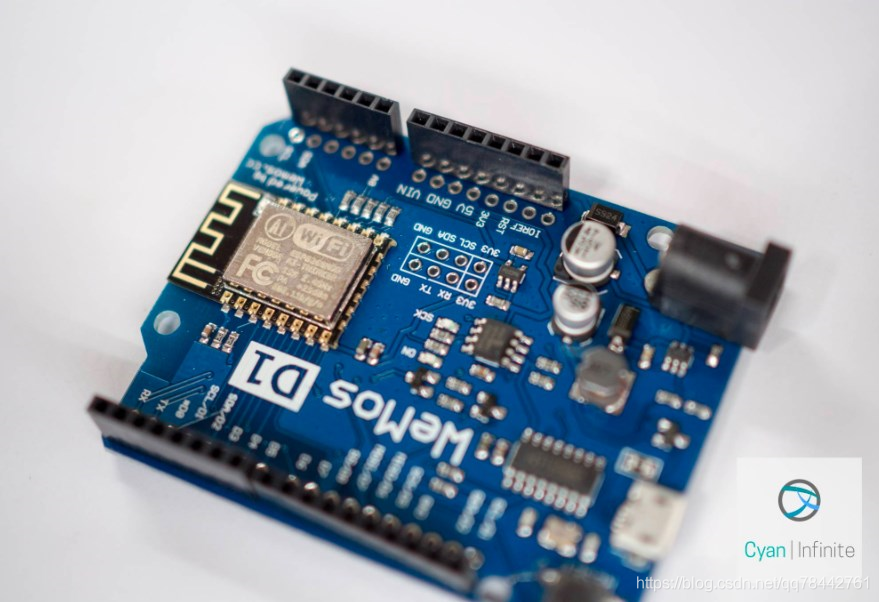
下面是引脚方面的说明!
所有的引脚都需要跑到3.3V上,并且除了D0口其他口都支持interrupt/PWM/I2C/one-wire。

下面是在Arduino IDE中部署其开发环境

软件需要如下3个:
CH340G USB to UART driver: https://www.wemos.cc/downloads
Python 2.7: https://www.python.org/downloads/release/python-2713/
Arduino 1.8.2: https://www.arduino.cc/en/Main/Software
在Arduino的目录下新建2个文件夹esp8266com及esp8266
![]()
在Github上下载其库文件:

将压缩包放到esp8266目录下,然后解压:
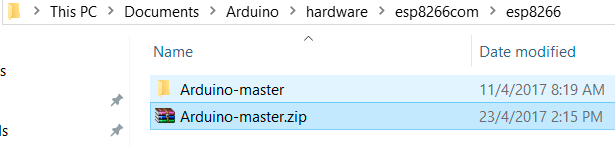
将里面的文件移到到esp8266中,再将Arduino-master与Arduino-master.zip删掉。
最后变成这个样子即可!

打开CMD然后执行如下命名:
python get.py此命令将会下载开发板所需要的工具,一切正常,且安装好将会是这样的。

这样就完成了安装!!!
使用Arduino IDE时要选中正确的开发板,Toos>Board中选择"WeMos D1 R2 & Mini"即可:

下面是几个示例代码:
Blink
/*
 ESP8266 Blink by Simon Peter
 Blink the blue LED on the ESP-01 module
 This example code is in the public domain

 The blue LED on the ESP-01 module is connected to GPIO1
 (which is also the TXD pin; so we cannot use Serial.print() at the same time)

 Note that this sketch uses LED_BUILTIN to find the pin with the internal LED
*/

void setup() {
  pinMode(LED_BUILTIN, OUTPUT);     // Initialize the LED_BUILTIN pin as an output
}

// the loop function runs over and over again forever
void loop() {
  digitalWrite(LED_BUILTIN, LOW);   // Turn the LED on (Note that LOW is the voltage level
                                    // but actually the LED is on; this is because
                                    // it is active low on the ESP-01)
  delay(1000);                      // Wait for a second
  digitalWrite(LED_BUILTIN, HIGH);  // Turn the LED off by making the voltage HIGH
  delay(2000);                      // Wait for two seconds (to demonstrate the active low LED)
}
查看下芯片的ID,这里串口打印频率要选择115200
/*  Get Chip ID
 *  wemos.cc
 *
 *
 */

void setup() {
  Serial.begin(115200);
}

void loop() {
  Serial.println("");
  Serial.println("");
  Serial.println("Check ID in:");
  Serial.println("https://www.wemos.cc/verify_products");
  Serial.printf("Chip ID = %08Xn", ESP.getChipId());
  Serial.println("");
  Serial.println("");
  delay(5000);
}
运行一个简单的Web Server
#include <ESP8266WiFi.h>
#include <WiFiClient.h>
#include <ESP8266WebServer.h>
#include <ESP8266mDNS.h>

const char* ssid = "........";
const char* password = "........";

ESP8266WebServer server(80);

const int led = 13;

void handleRoot() {
  digitalWrite(led, 1);
  server.send(200, "text/plain", "Hello from esp8266!");
  digitalWrite(led, 0);
}

void handleNotFound(){
  digitalWrite(led, 1);
  String message = "File Not Foundnn";
  message += "URI: ";
  message += server.uri();
  message += "nMethod: ";
  message += (server.method() == HTTP_GET)?"GET":"POST";
  message += "nArguments: ";
  message += server.args();
  message += "n";
  for (uint8_t i=0; i<server.args(); i++){
    message += " " + server.argName(i) + ": " + server.arg(i) + "n";
  }
  server.send(404, "text/plain", message);
  digitalWrite(led, 0);
}

void setup(void){
  pinMode(led, OUTPUT);
  digitalWrite(led, 0);
  Serial.begin(115200);
  WiFi.begin(ssid, password);
  Serial.println("");

  // Wait for connection
  while (WiFi.status() != WL_CONNECTED) {
    delay(500);
    Serial.print(".");
  }
  Serial.println("");
  Serial.print("Connected to ");
  Serial.println(ssid);
  Serial.print("IP address: ");
  Serial.println(WiFi.localIP());

  if (MDNS.begin("esp8266")) {
    Serial.println("MDNS responder started");
  }

  server.on("/", handleRoot);

  server.on("/inline", [](){
    server.send(200, "text/plain", "this works as well");
  });

  server.onNotFound(handleNotFound);

  server.begin();
  Serial.println("HTTP server started");
}

void loop(void){
  server.handleClient();
}
ssid填写wifi名,password填写wifi密码
