我们就从最开始的HelloWorld代码开始学习吧。
那么HelloWorld窗口是怎么显示出来的呢?我们得找到入口程序,当然是Main函数了。下面是HelloWorld的工程目录:
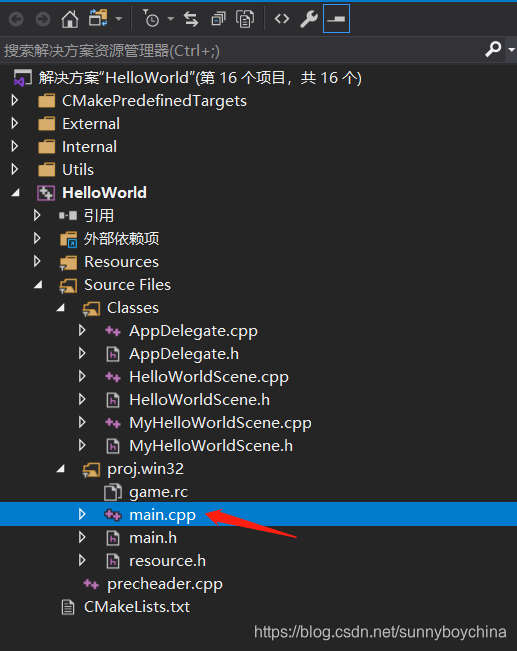
打开main.cpp,里面就2行代码,实际上的入口是Classes\AppDelegate.cpp
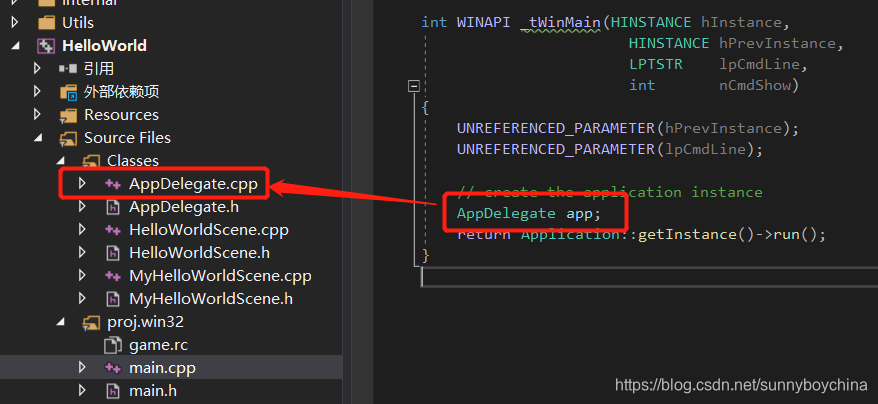
AppDelegate.cpp
里面有一个applicationDidFinishLaunching()方法,这个才是程序的真正的入口(也是跨平台的入口,关于cocos如何跨平台,请自行搜索)。解读一下代码:
1.进来就定义了一个Director(导演)。
// initialize director
auto director = Director::getInstance();
这个导演的角色非常厉害,其实和现实中的导演是一样的。所有要出演的场景、演员、背景、音乐等都需要导演来控制。那么接下来,导演干了很多事情,我挑主要的写:
2. director->setDisplayStats(true); 设置是否显示游戏的帧数等调试信息。(也就是HelloWorld画面左下角的那些数字信息)
3. director->setAnimationInterval(1.0f / 60); 设置游戏的帧率,每秒60帧。啥是帧率呢,其实游戏世界都是一幅幅静止的画面在不断的变换,而让人感觉是动画的错觉。那么每一幅画面就是一帧,那么这个设定就是1秒可以切换60个画面。
4. director->setContentScaleFactor(); 设置分辨率。会有多个分支来判断你要显示的介质是多大尺寸的,分辨率可会跟着设定成不同的。是不是挺智能啊。
5. auto scene = HelloWorld::createScene(); 做成HelloWorld场景的实例。我们HelloWorld画面上的各种图片、菜单,标签等,都是在这里被生成的。
6. director->runWithScene(scene); 注释很清楚明了run。就是导演让HelloWorld这个场景跑起来!
默认窗体的尺寸跑起来,窗体显示比较小,那我们想让窗体大一些怎么弄呢?修改这个的地方就可以了:
#if (CC_TARGET_PLATFORM == CC_PLATFORM_WIN32) || (CC_TARGET_PLATFORM == CC_PLATFORM_MAC) || (CC_TARGET_PLATFORM == CC_PLATFORM_LINUX)
        glview = GLViewImpl::createWithRect("HelloWorld", cocos2d::Rect(0, 0, designResolutionSize.width, designResolutionSize.height));

Ctrl+F5运行一下,是不是窗体变大了,分辨率也高了。那么我们之后往里面加东西看着也方便。
HelloWorldScene.cpp
接下来,才到HelloWorld的画面世界。
从AppDelegate我们知道,HelloWorld是用createScene()方法生成的。
Scene* HelloWorld::createScene()
{
    return HelloWorld::create();
}
那么HelloWorld::create(); 执行的,是HelloWorldScene.h中的一个宏函数。
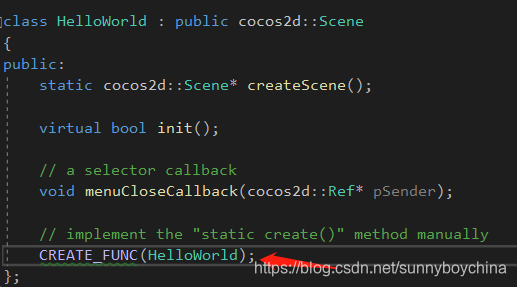
它的定义是这样的:(platform/CCPlatformMacros.h)
#define CREATE_FUNC(__TYPE__) \
static __TYPE__* create() \
{ \
    __TYPE__ *pRet = new(std::nothrow) __TYPE__(); \
    if (pRet && pRet->init()) \
    { \
        pRet->autorelease(); \
        return pRet; \
    } \
    else \
    { \
        delete pRet; \
        pRet = nullptr; \
        return nullptr; \
    } \
}
简单来说,宏函数就是在编译的时候,把参数__TYPE__,替换成你传入的值,这里是HelloWorld。那么编译的时候,就是编译的下面的代码:
static HelloWorld* create()
{
    HelloWorld *pRet = new(std::nothrow) HelloWorld();
    if (pRet && pRet->init())
    {
        pRet->autorelease();
        return pRet;
    }
    else
    {
        delete pRet;
        pRet = nullptr;
        return nullptr;
    }
}
那么create()里面做了什么呢, 就是定义了一个HelloWorld的实例,并且执行它的初始化函数pRet->init()。
好,那我们到HelloWorld的Init()方法里面看看吧:
1.调用父类初始化方法,因为HelloWorldScene是继承于Scene的。
bool HelloWorld::init()
{
    //////////////////////////////
    // 1. super init first
    if ( !Scene::init() )
    {
        return false;
    }
	......
}
2.加了一个关闭按钮(MenuItemImage::create)。即画面右下角的这个图标。


普通的时候显示CloseNormal.png,当鼠标放上去的时候会显示CloseSelected.png。(工程里的图片等文件,都在Resource文件夹里。)
    /////////////////////////////
    // 2. add a menu item with "X" image, which is clicked to quit the program
    //    you may modify it.

    // add a "close" icon to exit the progress. it's an autorelease object
    auto closeItem = MenuItemImage::create(
                                           "CloseNormal.png",
                                           "CloseSelected.png",
                                           CC_CALLBACK_1(HelloWorld::menuCloseCallback, this));

    if (closeItem == nullptr ||
        closeItem->getContentSize().width <= 0 ||
        closeItem->getContentSize().height <= 0)
    {
        problemLoading("'CloseNormal.png' and 'CloseSelected.png'");
    }
    else
    {
        float x = origin.x + visibleSize.width - closeItem->getContentSize().width/2;
        float y = origin.y + closeItem->getContentSize().height/2;
        closeItem->setPosition(Vec2(x,y));
    }

    // create menu, it's an autorelease object
    auto menu = Menu::create(closeItem, NULL);
    menu->setPosition(Vec2::ZERO);
    this->addChild(menu, 1);
之后又设定了一个回调函数,CC_CALLBACK_1(HelloWorld::menuCloseCallback, this),实现了按钮被点击的动作(关闭程序)。
接下来是设定这个按钮的位置closeItem->setPosition(Vec2(x,y));在右下角。
最后,把这个Menu添加到HelloWorld这个场景中:this->addChild(menu, 1);
总结一下增加控件的流程:
a. 实例化一个控件XXX::create(),里面设定好图片,有动作的设定好回调函数
b. 设置显示的位置setPosition()。这个就自己计算吧
c. 添加到场景中this->addChild()
3.接下来的代码就比较容易理解了:添加了一个Label和一个精灵(Sprite)。
Label显示的是HelloWorld。 精灵显示的是cocos的小精灵图标。
都是上面提到的流程。
// add a label shows "Hello World"
    // create and initialize a label

    auto label = Label::createWithTTF("Hello World", "fonts/Marker Felt.ttf", 24);
    if (label == nullptr)
    {
        problemLoading("'fonts/Marker Felt.ttf'");
    }
    else
    {
        // position the label on the center of the screen
        label->setPosition(Vec2(origin.x + visibleSize.width/2,
                                origin.y + visibleSize.height - label->getContentSize().height));

        // add the label as a child to this layer
        this->addChild(label, 1);
    }

    // add "HelloWorld" splash screen"
    auto sprite = Sprite::create("HelloWorld.png");
    if (sprite == nullptr)
    {
        problemLoading("'HelloWorld.png'");
    }
    else
    {
        // position the sprite on the center of the screen
        sprite->setPosition(Vec2(visibleSize.width/2 + origin.x, visibleSize.height/2 + origin.y));

        // add the sprite as a child to this layer
        this->addChild(sprite, 0);
    }
以上,就是HelloWorld画面的制作和显示过程了。
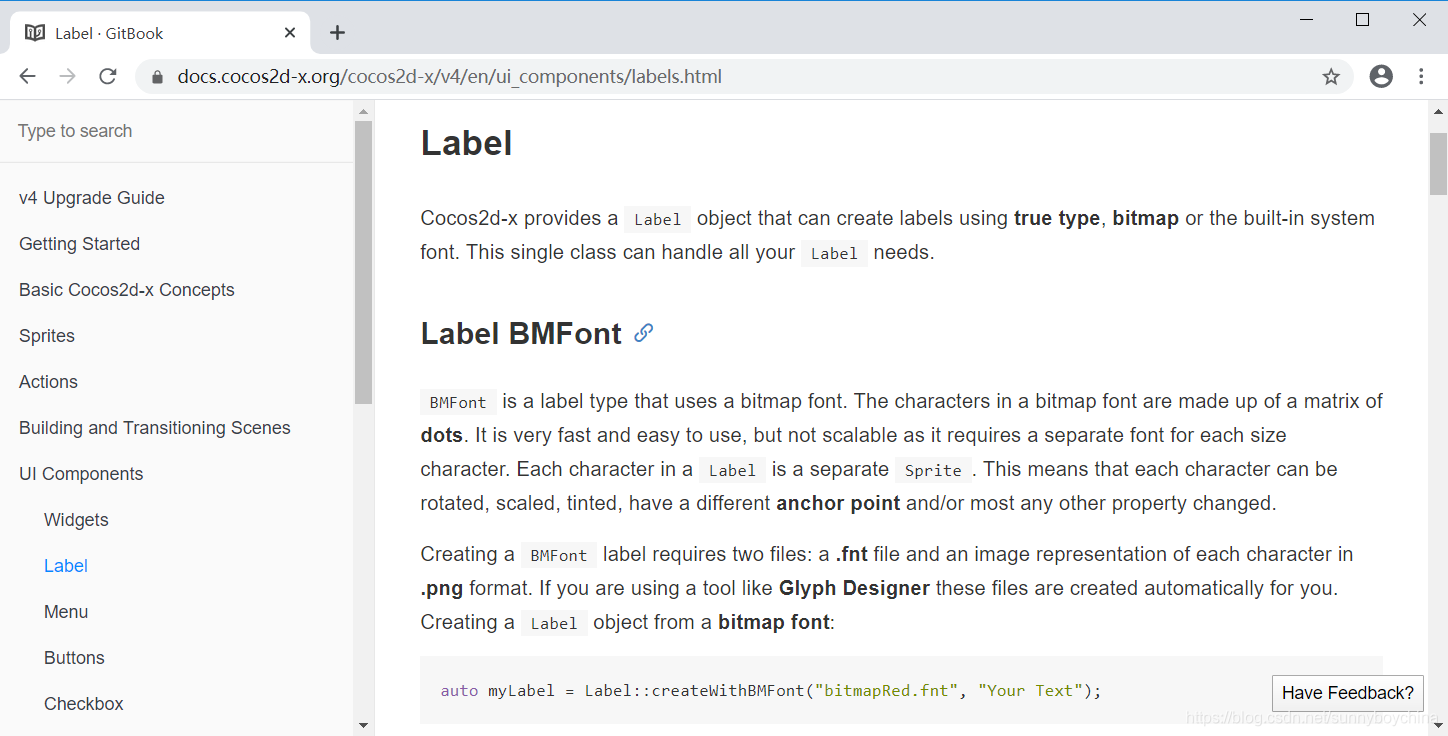
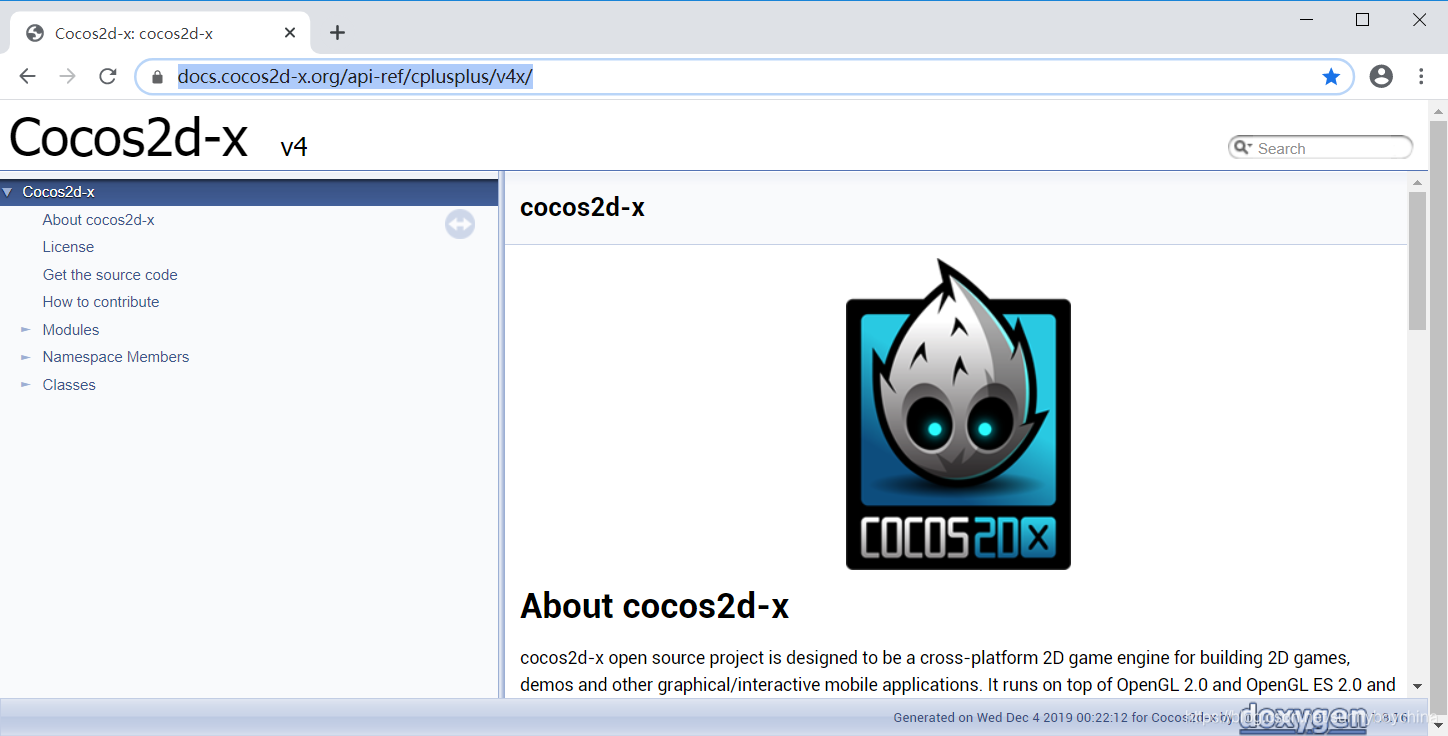
那么,上面各种控件的使用方法,我们可以参考官方的文档:

你可以在搜索栏,输入比如Label,就可以找个Label的介绍:

以上的文档只是简单的说明文档,详细API使用的记载,你还得参考API文档:
The End
