Springboot实现github账户授权登录
一、准备工作
官网文档如下:
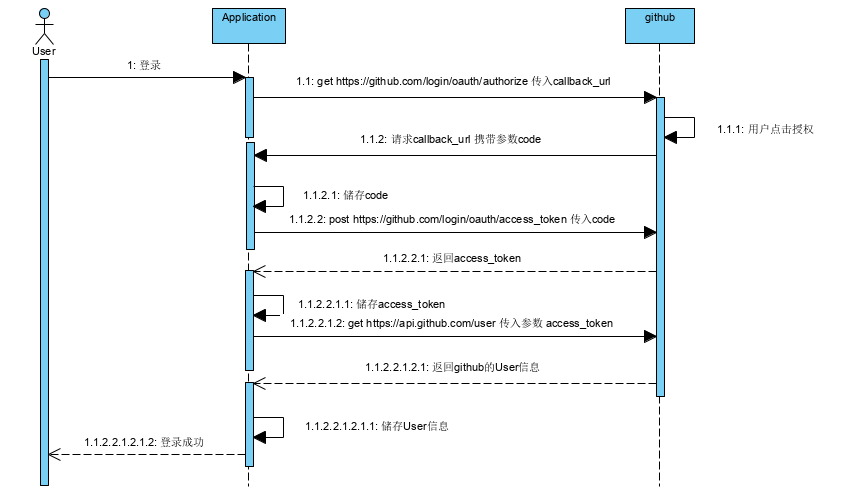
授权一个APP通过解读官方文档,总结起来的时序图如下:
二、实战
1.新建一个授权APP
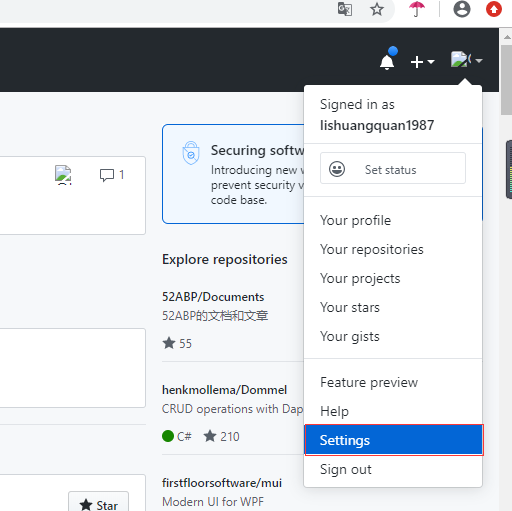
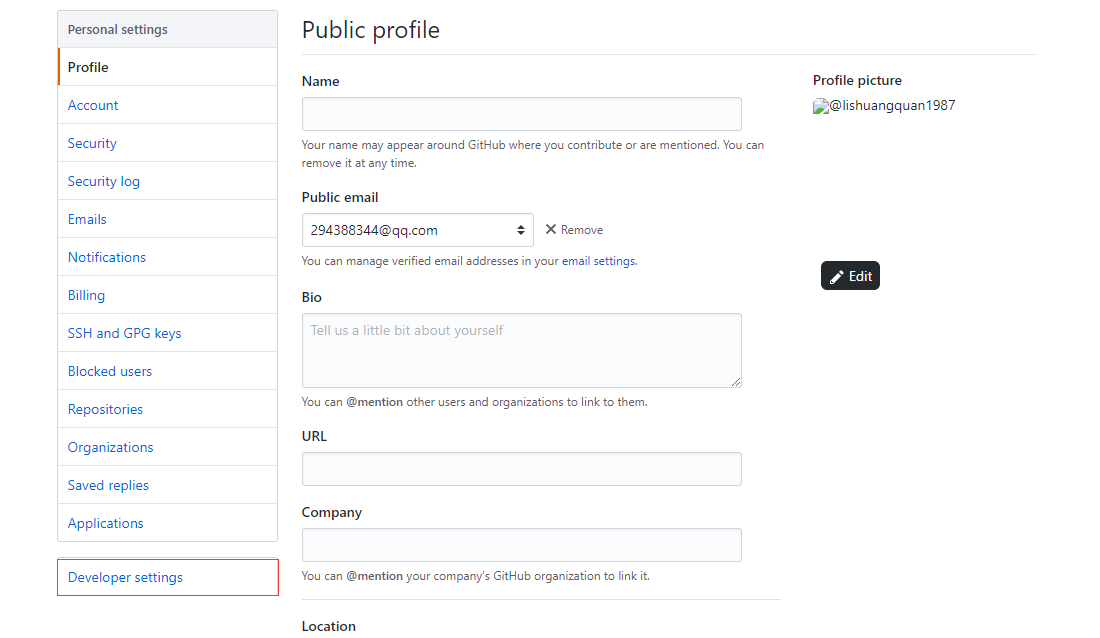
进入github主页,在右上方个人中心处,点击下拉菜单,进入Settings->Developer Settings->OAuth Apps->New OAuth App


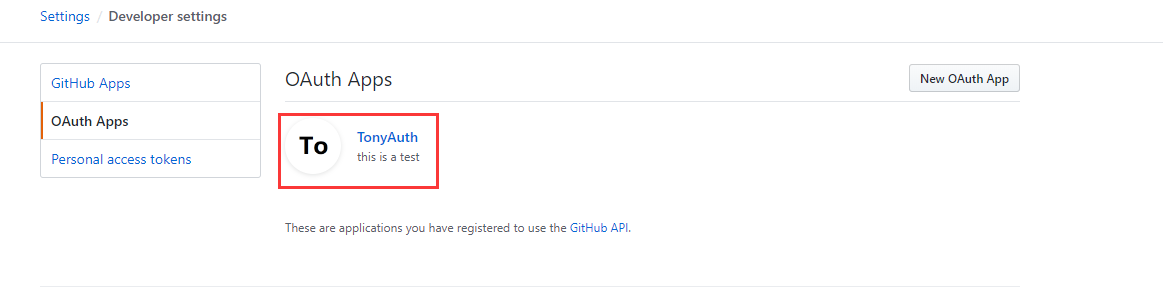
这样新建一个授权App之后,我们可以看到我们刚刚建的App:
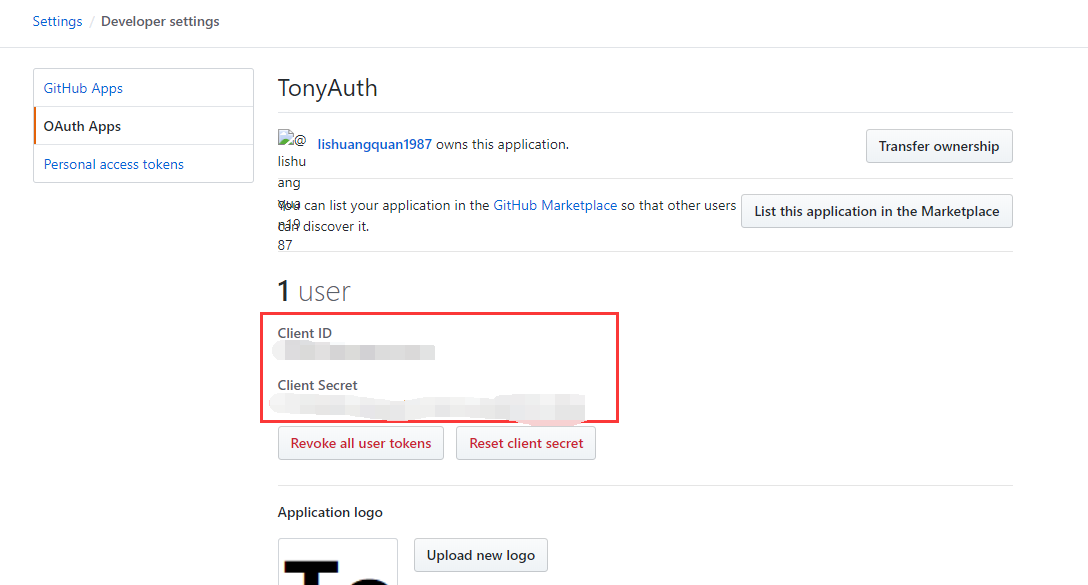
点击进去,可以看到Client ID和Client Secret:
2.使用springboot项目来模拟账户授权
新建一个springboot项目,引入okhttp,fastjson包,依赖包配置如下:
<dependencies>
        <dependency>
            <groupId>org.springframework.boot</groupId>
            <artifactId>spring-boot-starter-thymeleaf</artifactId>
        </dependency>
        <dependency>
            <groupId>org.springframework.boot</groupId>
            <artifactId>spring-boot-starter-web</artifactId>
        </dependency>

        <dependency>
            <groupId>org.springframework.boot</groupId>
            <artifactId>spring-boot-starter-test</artifactId>
            <scope>test</scope>
            <exclusions>
                <exclusion>
                    <groupId>org.junit.vintage</groupId>
                    <artifactId>junit-vintage-engine</artifactId>
                </exclusion>
            </exclusions>
        </dependency>

        <!-- https://mvnrepository.com/artifact/com.squareup.okhttp/okhttp -->
        <dependency>
            <groupId>com.squareup.okhttp</groupId>
            <artifactId>okhttp</artifactId>
            <version>2.7.5</version>
        </dependency>


        <!-- https://mvnrepository.com/artifact/com.alibaba/fastjson -->
        <dependency>
            <groupId>com.alibaba</groupId>
            <artifactId>fastjson</artifactId>
            <version>1.2.68</version>
        </dependency>

    </dependencies>
项目的结构目录如下:

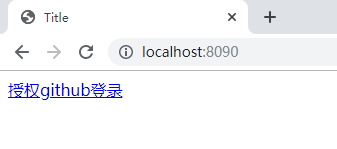
在template文件夹下有一个index主页的html文件,放置一个标签,点击之后,用于请求github授权:
扫描二维码关注公众号,回复:
10533239 查看本文章

<!DOCTYPE html>
<html lang="en">
<head>
    <meta charset="UTF-8">
    <title>Title</title>
</head>
<body>
<a href="https://github.com/login/oauth/authorize?client_id=your_client_id&redirect_uri=http://localhost:8090/callback&state=test&scope=user">授权github登录</a>
</body>
</html>
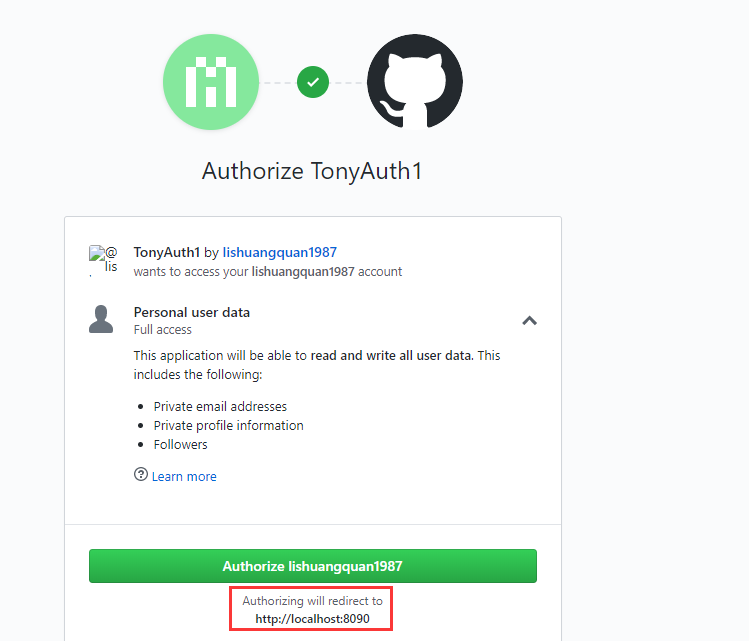
注意,上面写的redirect_uri写的是http://localhost:8090/callback,是因为我要新建一个controller,地址mapping到callback,springboot的server.port我也配置到8090了:
application.properties:
server.port=8090
okhttp的使用封装在HttpHelper中:
package com.github_auth.helper;

import com.squareup.okhttp.*;
import org.springframework.stereotype.Component;

import java.io.IOException;

@Component
public class HttpHelper
{
    public String Get(String url)
    {
        OkHttpClient client = new OkHttpClient();

        Request request = new Request.Builder()
                .url(url)
                .build();
        try
        {
            Response response = client.newCall(request).execute();
            return response.body().string();
        }
        catch (IOException e) {
            e.printStackTrace();
        }
        return null;
    }

    public String Post(String url,String json)
    {
        OkHttpClient client = new OkHttpClient();
        MediaType mediaType = MediaType.parse("application/json; charset=utf-8");
        RequestBody body = RequestBody.create(mediaType, json);
        Request request = new Request.Builder()
                .url(url)
                .post(body)
                .build();
        try
        {
            Response response = client.newCall(request).execute();
            return response.body().string();
        }
        catch (IOException e)
        {
            e.printStackTrace();
        }
        return null;
    }
}
授权的过程在callback函数中:
package com.github_auth.controller;
import com.alibaba.fastjson.JSON;
import com.github_auth.dto.RequestAccessTockenParam;
import com.github_auth.dto.UserInfo;
import com.github_auth.helper.HttpHelper;
import org.springframework.beans.factory.annotation.Autowired;
import org.springframework.http.HttpRequest;
import org.springframework.stereotype.Controller;
import org.springframework.web.bind.annotation.RequestMapping;
import org.springframework.web.bind.annotation.RequestParam;
import org.springframework.web.bind.annotation.ResponseBody;
import javax.servlet.http.HttpServletRequest;
import javax.sound.midi.Soundbank;
@Controller
public class AuthController {
@Autowired
private HttpHelper httpHelper;
String client_id="your_client_id";
String client_secret="your_client_secret";
@RequestMapping("/callback")
@ResponseBody
public UserInfo callback(@RequestParam("code") String code)
{
//1.code参数为github回调callback_uri时,github传递过来的
System.out.println("请求callback...,code:"+code);
RequestAccessTockenParam param=new RequestAccessTockenParam();
param.setClient_id(client_id);
param.setClient_secret(client_secret);
param.setCode(code);//传入code参数
param.setRedirect_url("http://localhost:8090");
param.setState("test");
//获取access token
String url="https://github.com/login/oauth/access_token";
String json= JSON.toJSONString(param);
//2.根据传入的参数(包含code),post请求https://github.com/login/oauth/access_token,获取返回值
String result= httpHelper.Post(url,json);//access_token=your_client_id&scope=user&token_type=bearer
System.out.println( "callback result:"+result);
String[] strs=result.split("&");
String access_token=strs[0].split("=")[1];//解析access_token
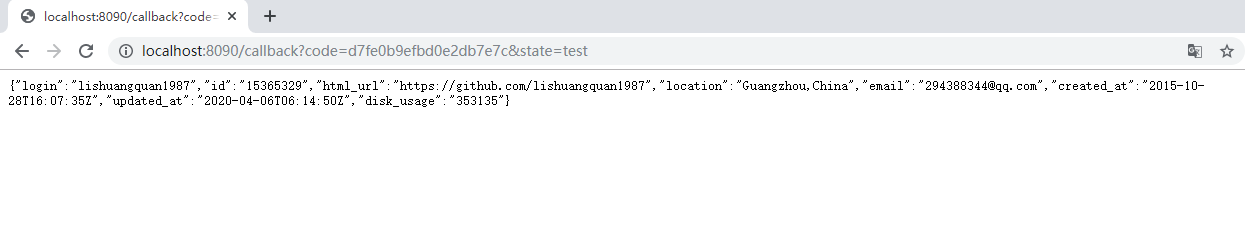
//3.根据access token,请求https://api.github.com/user获取用户信息
String url_user="https://api.github.com/user?access_token="+access_token;
String userInfo=httpHelper.Get(url_user);
System.out.println("userInfo:"+userInfo);//返回的是一个json字符串
UserInfo user=JSON.parseObject(userInfo,UserInfo.class);
return user;
}
}