前言
在进行微信公众号业务开发的时候,微信公众号授权操作是非常重要的一环,因为基本上操作所有微信的接口,前提都是需要用户的openId,而要拿到这个openid,就必须通过用户授权。该篇文章每一步都有记录,力争理解的同时各位小伙伴也能够实现功能
1、配置微信测试公众号
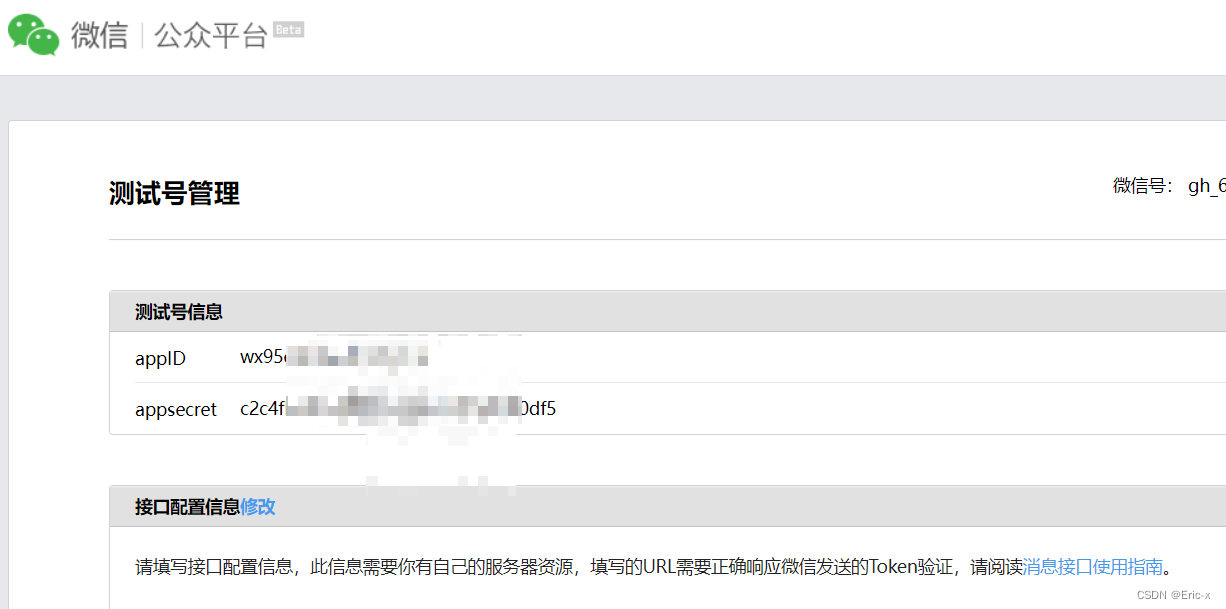
同样,这里拿微信官方提供的测试公众号进行测试
1、登录微信测试号:https://mp.weixin.qq.com/debug/cgi-bin/sandboxinfo?action=showinfo&t=sandbox/index
2、配置网页访问域名(注意:这里配置的是网页访问的域名哦)
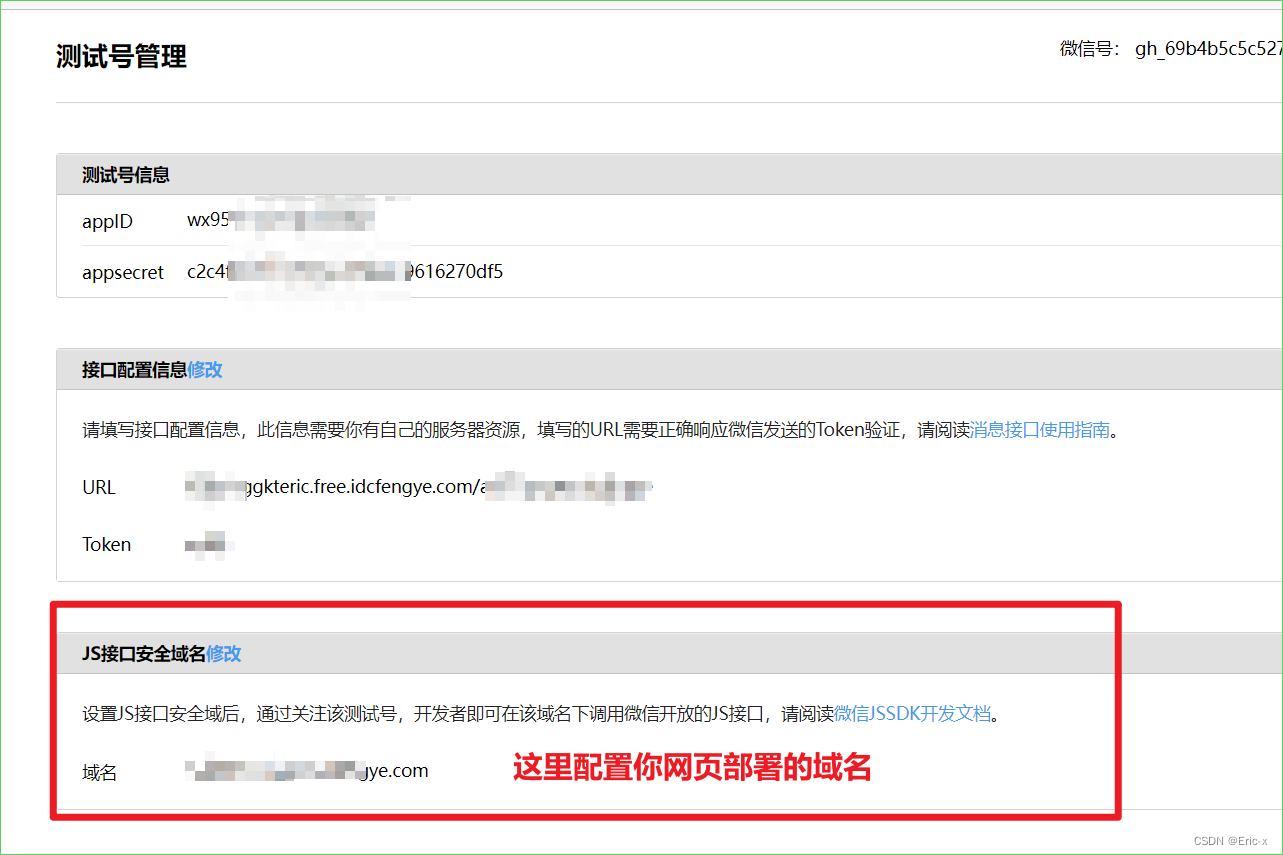
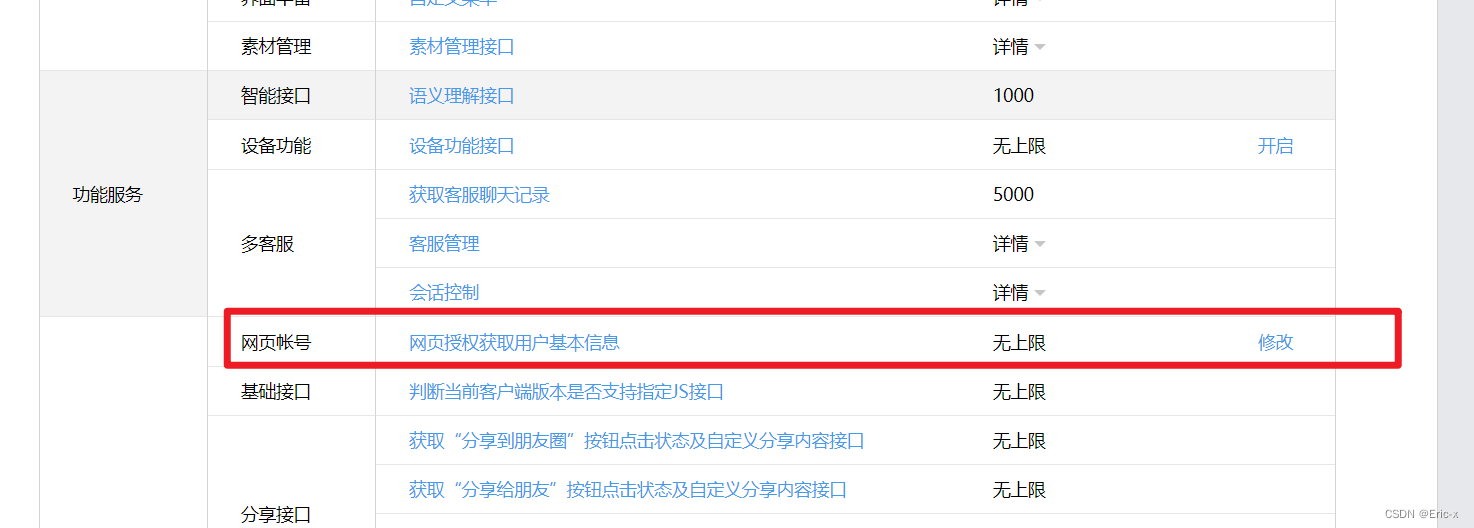
3、往下滑,找到网页账号,进行配置(注意:这里配置的是后端接口的域名)
注意:这里配置的两个域名必须是公网的域名,我这里用的是内网穿透技术,仿制了两个公网域名映射到我本地端口,有时间我会单独写一篇关于如何免费进行内网穿透的文章。
至此,配置完毕。
2、SpringBoot实现授权
提前说明:其实这里有两种方式,但其实本质是一样的,因为目的都说获取code值,无非是前端做多一点或者后端做多一点,都差不多,因为我相信看这篇文章的可能后端多一点,所以我就写后端获取code的方式啦,但另外一种前端获取code的方式我也会顺带说的,大家觉得那种好就用那种~
1、引入依赖
<dependencies>
    <dependency>
        <groupId>com.github.binarywang</groupId>
        <artifactId>weixin-java-mp</artifactId>
        <version>4.0.0</version>
    </dependency>

    <dependency>
        <groupId>dom4j</groupId>
        <artifactId>dom4j</artifactId>
        <version>1.1</version>
    </dependency>
</dependencies>
2、添加配置
#公众号id和秘钥
wechat.mpAppId: wx09f201013e81d8
wechat.mpAppSecret: 6c999765c151850d28055e8b6e2eda
# 授权回调获取用户信息接口地址
wechat.userInfoUrl: http://eric.vipgz1.91tunl.com/api/user/wechat/userInfo
3、添加工具类
@Component
public class ConstantPropertiesUtil implements InitializingBean {


    @Value("${wechat.mpAppId}")
    private String appid;

    @Value("${wechat.mpAppSecret}")
    private String appsecret;

    public static String ACCESS_KEY_ID;
    public static String ACCESS_KEY_SECRET;

    @Override
    public void afterPropertiesSet() throws Exception {


        ACCESS_KEY_ID = appid;
        ACCESS_KEY_SECRET = appsecret;
    }
}
4、编写Controller
@Controller
@RequestMapping("/api/user/wechat")
public class WechatController {
@Autowired
private UserInfoService userInfoService;
@Autowired
private WxMpService wxMpService;
@Value("${wechat.userInfoUrl}")
private String userInfoUrl;
@GetMapping("/authorize")
public String authorize(@RequestParam("returnUrl") String returnUrl, HttpServletRequest request) {
String redirectURL = wxMpService.oauth2buildAuthorizationUrl(userInfoUrl,
WxConsts.OAUTH2_SCOPE_USER_INFO,
URLEncoder.encode(returnUrl.replace("guiguketan", "#")));
return "redirect:" + redirectURL;
}
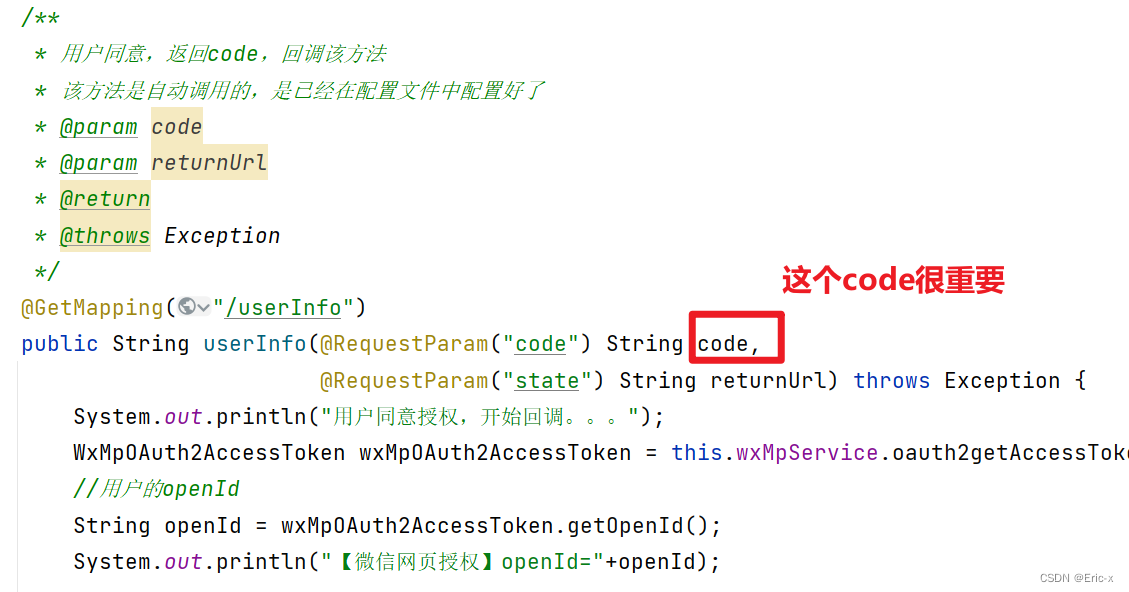
@GetMapping("/userInfo")
public String userInfo(@RequestParam("code") String code,
@RequestParam("state") String returnUrl) throws Exception {
WxMpOAuth2AccessToken wxMpOAuth2AccessToken = this.wxMpService.oauth2getAccessToken(code);
String openId = wxMpOAuth2AccessToken.getOpenId();
WxMpUser wxMpUser = wxMpService.oauth2getUserInfo(wxMpOAuth2AccessToken, null);
//这里根据自己的业务来,我是获取到openId后判断该用户是否存在,如果不存在,那么将该用户新增到数据库中
UserInfo userInfo = userInfoService.getByOpenid(openId);
if(null == userInfo) {
userInfo = new UserInfo();
userInfo.setOpenId(openId);
userInfo.setUnionId(wxMpUser.getUnionId());
userInfo.setNickName(wxMpUser.getNickname());
userInfo.setAvatar(wxMpUser.getHeadImgUrl());
userInfo.setSex(wxMpUser.getSexId());
userInfo.setProvince(wxMpUser.getProvince());
userInfoService.save(userInfo);
}
//生成token
String token = JwtHelper.createToken(userInfo.getId(), userInfo.getNickName());
if(returnUrl.indexOf("?") == -1) {
//等于-1说明不存在
return "redirect:" + returnUrl + "?token=" + token;
} else {
return "redirect:" + returnUrl + "&token=" + token;
}
}
}
说明:其中用了JWT工具类,关于JWT其实也没啥说,简单来说就是将用户信息封装为一个字符串,称之为Token,并且由,公共部分、私有部分、签名部分组成,我们可以获取其中任何一部分,JWT最重要的作用就是对 token信息的防伪作用。
3、前端部分
前端部分是已进入页面,自动发送请求给后端,然后由后端给微信服务器发送获取Code的请求,也就是用户授权。
created() {


// 处理微信授权登录
this.wechatLogin();
},

methods: {


	wechatLogin() {


    // 处理微信授权登录
    let token = this.getQueryString('token') || '';
    if(token != '') {


        window.localStorage.setItem('token', token);
    }

    // 所有页面都必须登录,两次调整登录,这里与接口返回208状态
    token = window.localStorage.getItem('token') || '';
    if (token == '') {


        let url = window.location.href.replace('#', 'guiguketan')
        window.location = 'http://eric.free.idcfengye.com/api/user/wechat/authorize?returnUrl=' + url
    }
    console.log('token2:'+window.localStorage.getItem('token'));

},
方式二:这个code也可以由前端来进行发送获取code,然后前端将这个code直接发送给后端。
4、测试
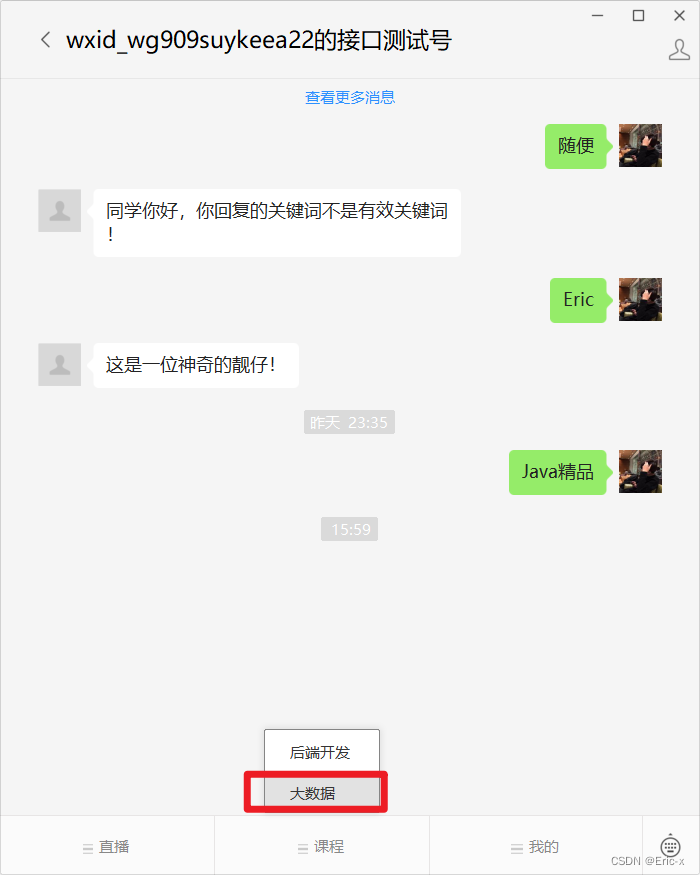
因为当时在创建菜单的时候已经设置好了对应的路径,不了解的朋友可以看:【微信开发第一章】SpringBoot实现微信公众号创建菜单,同步菜单功能
1、任意点击一个菜单
2、可以看到就弹出授权的窗口啦~
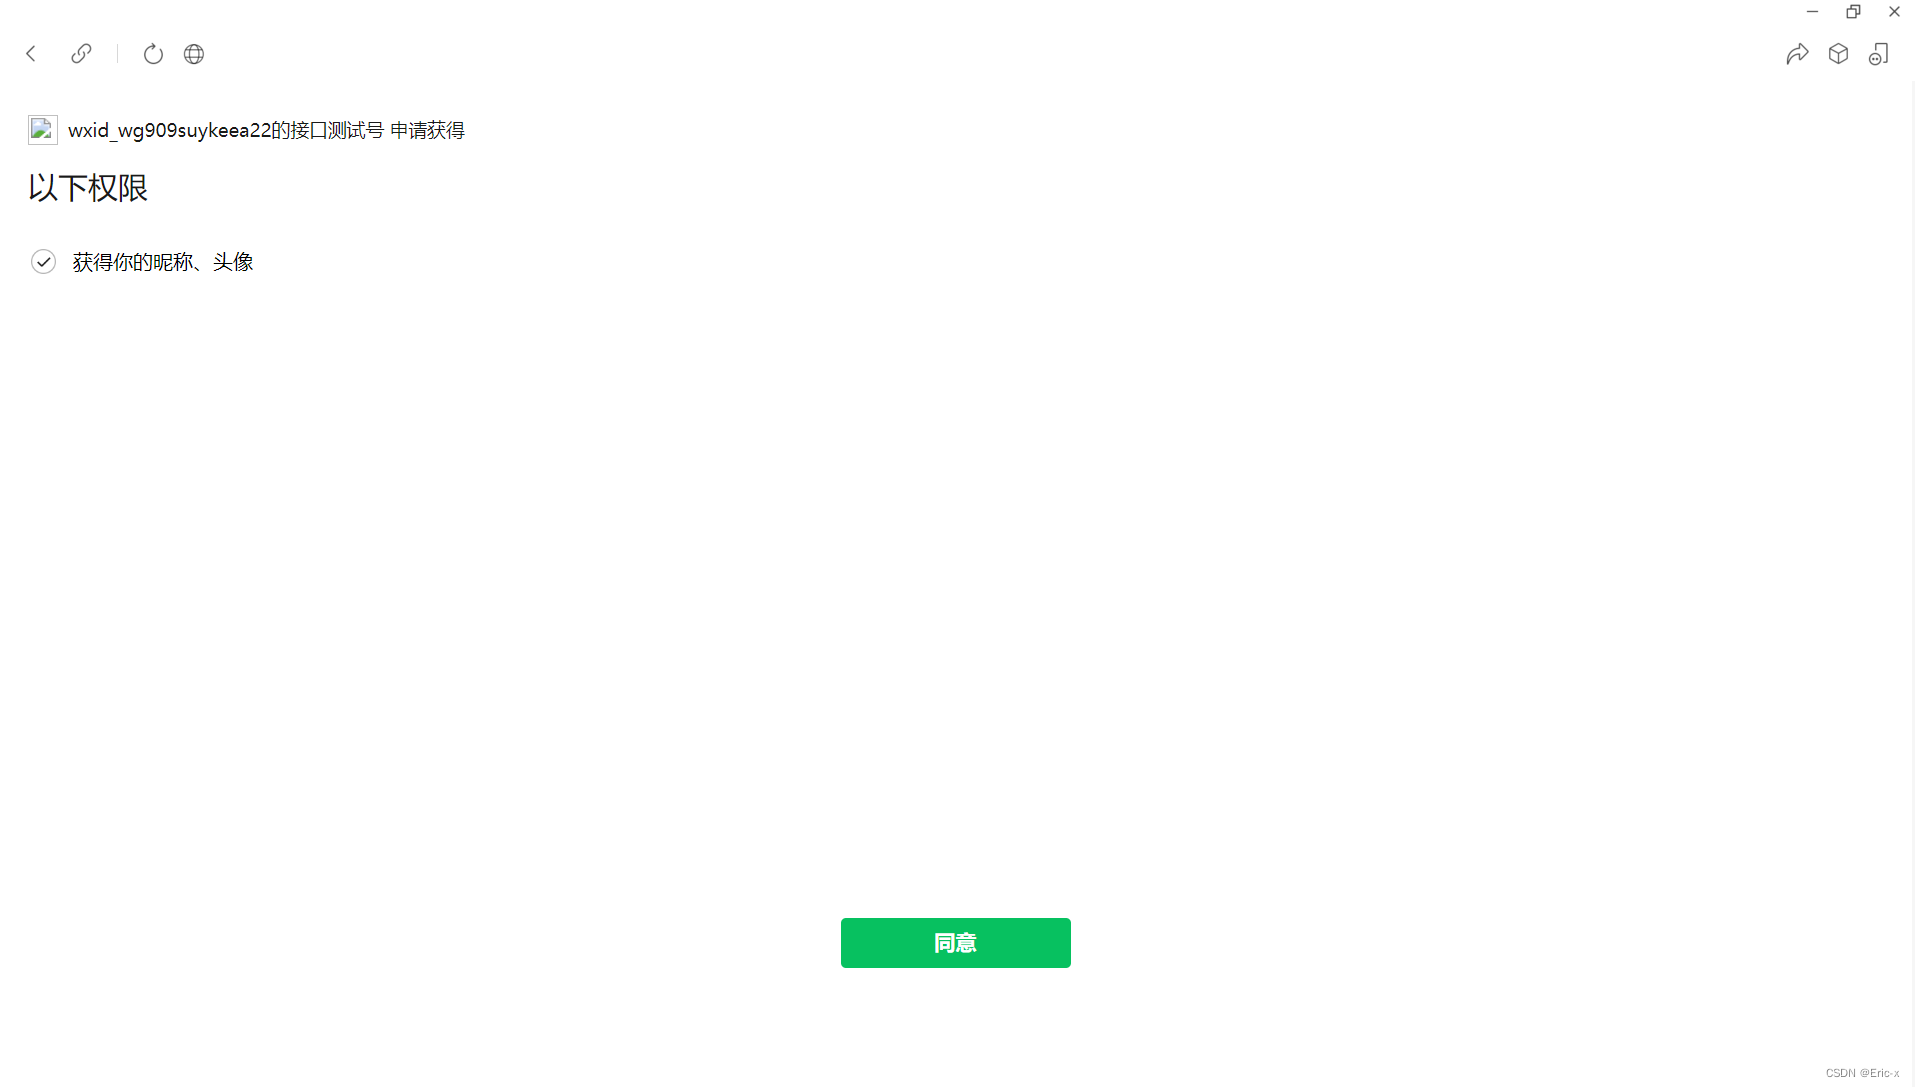
3、此时只要我们点击同意,那么会自动回调调用该接口,微信放会传递一个code和要跳转的路径给我们
到这里,那么微信授权就完毕了
总结
怎么样,是不是特别简单,简单来说流程就是:
- 用户进入页面,前端发送请求给后端,携带要跳转页面的参数
- 后端接受到请求后,给微信服务器发送用户授权的请求
- 用户同意授权后,微信服务器会自动回调,携带code和要跳转的页面给后端,后端凭借该用户的code就可以做很多事情了,比如:获取用户信息
【微信开发第一章】SpringBoot实现微信公众号创建菜单,同步菜单功能:https://blog.csdn.net/weixin_47316183/article/details/127821095?spm=1001.2014.3001.5502
【微信开发第二章】SpringBoot实现微信公众号普通消息和模板消息回复:https://blog.csdn.net/weixin_47316183/article/details/127821653?spm=1001.2014.3001.5502
【微信开发第三章】SpringBoot实现微信授权登录
https://blog.csdn.net/weixin_47316183/article/details/127833802?spm=1001.2014.3001.5502
【微信开发第四章】SpringBoot实现微信H5支付
https://blog.csdn.net/weixin_47316183/article/details/127949620?spm=1001.2014.3001.5502
【微信开发第五章】SpringBoot实现微信分享
https://blog.csdn.net/weixin_47316183/article/details/127950090?spm=1001.2014.3001.5502