SpringBoot默认是使用嵌入式Servlet容器 将应用打成可执行的jar包
这种方式有优点也有缺点
- 优点:
简单 便捷 - 缺点:
默认不支持JSP
优化和定制较复杂(只能使用定制器ServerProperties或自定义嵌入式Servlet容器定制器来定制)
使用外置Servlet容器:
首先 在创建项目的时候 应用以war包的方式打包:

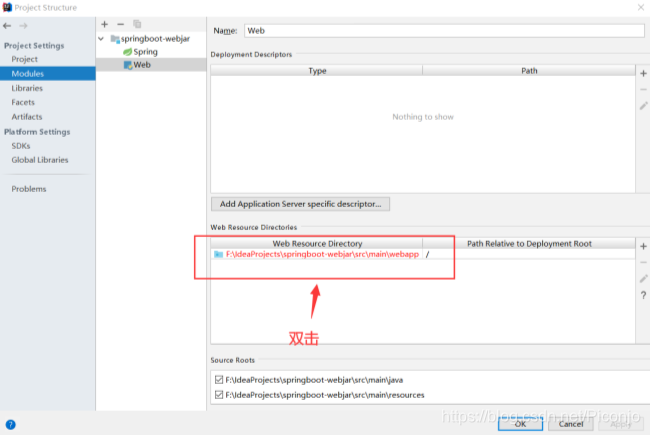
此时项目中还没有webapp目录 可手动创建 也可用IDEA自动生成
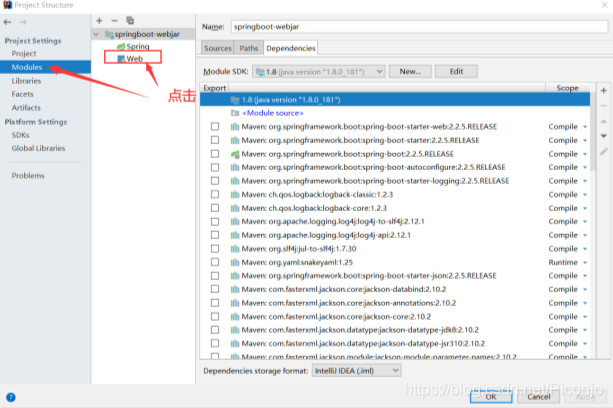
双击红色文字 然后在弹出框中点击OK即可:
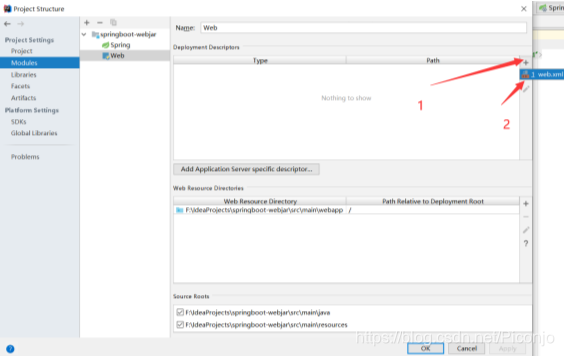
点击加号 生成xml文件
生成路径:项目名\src\main\webapp\WEB-INF\web.xml
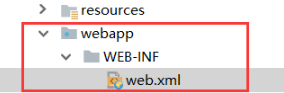
这样目录就有了:
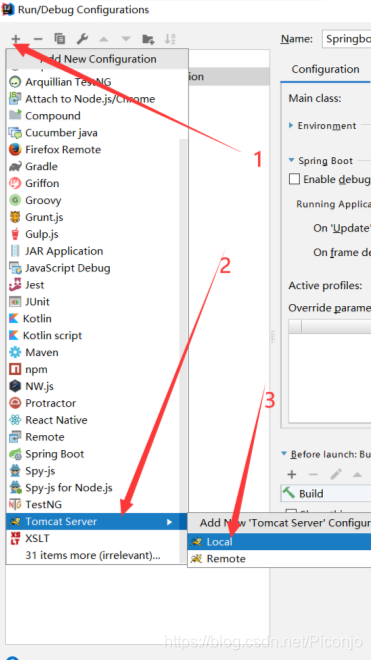
然后是配置外部Servlet容器
这里以Tomcat为例:
选择添加Tomcat的Local本地路径
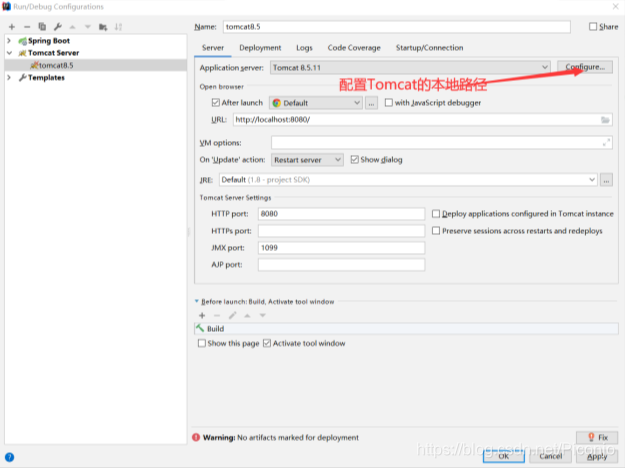
配置Tomcat的本地路径:
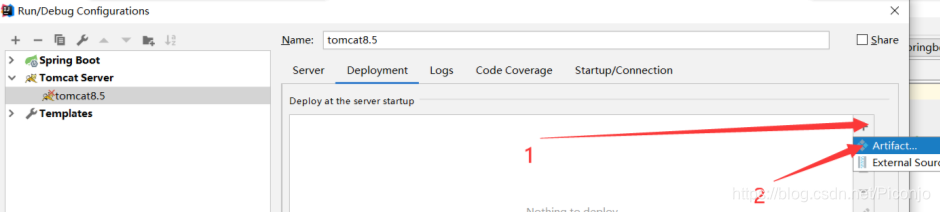
点击加号 添加Artifact
选择war包:
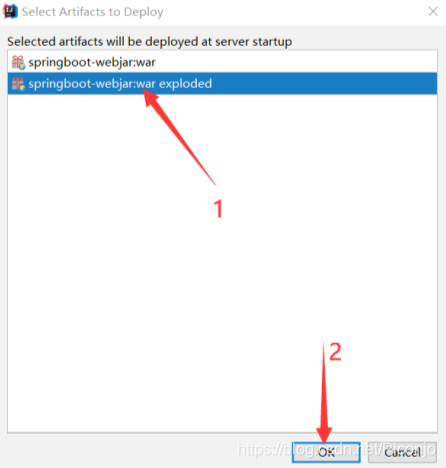
然后apply 然后ok保存即可
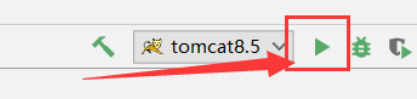
配置好之后 直接点击IDEA右上角的运行按钮即可启动外部Servlet容器了
若为手动创建 须注意三点:
- 1、创建的项目是war项目
- 2、嵌入式Tomcat的范围是private
<dependency>
            <groupId>org.springframework.boot</groupId>
            <artifactId>spring-boot-starter-tomcat</artifactId>
            <scope>provided</scope>
</dependency>
- 3、必须有一个启动类
该类必须继承SpringBootServletInitializer 名称可任意命名
public class ServletInitializer extends SpringBootServletInitializer {

    @Override
    protected SpringApplicationBuilder configure(SpringApplicationBuilder application) {
        // 传入应用的主程序
        return application.sources(SpringbootWebjarApplication.class);
    }
}
