Spring Security 介绍
Spring Security是一个能够为基于Spring的企业应用系统提供声明式的安全访问控制解决方案的安全框架。
它提供了一组可以在Spring应用上下文中配置的Bean,充分利用了Spring IoC,DI和AOP功能,为应用系统提供声明式的安全访问控制功能,减少了为企业系统安全控制编写大量重复代码的工作。
spring security 的核心功能主要包括:
- 认证 (你是谁)
为用户建立一个他所声明的主体。主体一般是指用户,设备或可以在系统中执行动作的其他系统。 - 授权 (你能干什么)
指的是一个用户能否在应用中执行某个操作,在到达授权判断之前,身份的主体已经由身份认证过程建立。
Spring Security 目前支持认证一体化如下认证技术:
- BASIC基本认证
一种较为简单的HTTP认证方式,客户端通过明文(Base64编码格式)传输用户名和密码到服务端进行认证,通常需要配合HTTPS来保证信息传输的安全。 - Digest 摘要认证
为了修复基本认证协议的严重缺陷而设计的,秉承“绝不通过明文在网络发送密码”的原则,通过“密码摘要”进行认证,大大提高了安全性。 - X.509
被广泛使用的数字证书标准,是用于标志通讯各方身份信息的一系列数据。 - LDAP
轻型目录访问协议(Lightweight Directory Access Protocol)是一个开放的,中立的,工业标准的应用协议,通过IP协议提供访问控制和维护分布式信息的目录信息。 - Form
表单验证,提供简单用户接口验证用户名和密码
…
快速入门
先创建一个springboot项目。
要使用spring security,只需要引入以下依赖即可
	   <dependency>
           <groupId>org.springframework.boot</groupId>
           <artifactId>spring-boot-starter-security</artifactId>
       </dependency>
由于搭建的是web环境,还需要web的依赖
		<dependency>
            <groupId>org.springframework.boot</groupId>
            <artifactId>spring-boot-starter-web</artifactId>
        </dependency>
写一个控制器类
@Controller//表明是控制器
public class HelloController {
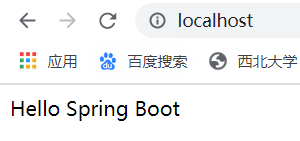
@RequestMapping("/")
@ResponseBody
public String hello(){
return "Hello Spring Boot";
}
}
然后直接运行启动类

当访问localhost时,会被拦截

停止运行,写一个security的配置类
@Configuration//标明是配置类
@EnableWebSecurity//加载了WebSecurityConfiguration配置类, 配置安全认证策略。加载了AuthenticationConfiguration, 配置了认证信息。
public class SecurityConf extends WebSecurityConfigurerAdapter {

    @Override
    public void configure(WebSecurity web) throws Exception {
        web.ignoring().antMatchers("/js/**","/css/**","/img/**");//忽略静态资源
    }

    @Override
    protected void configure(HttpSecurity http) throws Exception {
        http.authorizeRequests()
                .antMatchers("/").permitAll()//首页允许所有权限,不需要登陆验证
                .anyRequest().authenticated()//其他方法需要登陆验证
                .and().logout().permitAll()//允许注销
                .and().formLogin();//允许表单登陆
        http.csrf().disable();//关闭默认csrf验证
    }
}
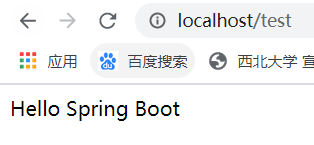
并在控制器加入一个对比方法
@RequestMapping("/test")
    @ResponseBody
    public String test(){
        return "Hello Spring Boot";
    }
再次运行启动类,首页可以成功访问
其他页面依旧被拦截,访问localhost/test,会拦截重定向至登陆页

案例:指定用户可登陆
在之前的spring security配置类中加入一个覆盖方法
@Override
    protected void configure(AuthenticationManagerBuilder auth) throws Exception {
        //指定一个用户,用户名"kobe",密码"1234",角色"ADMIN"
        auth.inMemoryAuthentication()//内存验证
                .passwordEncoder(new BCryptPasswordEncoder()).withUser("kobe")//用户名
                .password(new BCryptPasswordEncoder().encode("1234"))//密码
                .roles("ADMIN");//角色
    }
输入正确的密码,通过

注销

输入错误的用户名

登陆失败

总结:
在内存中指定用户名和密码的语法
@Override
protected void configure(AuthenticationManagerBuilder auth) throws Exception {
	auth.inMemoryAuthentication()//内存验证
            .passwordEncoder(new BCryptPasswordEncoder()).withUser("用户名")//用户名
            .password(new BCryptPasswordEncoder().encode("密码"))//密码
            .roles("角色名");//角色
}
附加:springboot低版本中使用以下语法
@Override
protected void configure(AuthenticationManagerBuilder auth) throws Exception {
	auth.inMemoryAuthentication().
		withUser("kobe").
		password("1234").
		roles("ADMIN");
}
案例:指定角色,每个角色有指定的权限
首先添加一个普通用户
@Override
    protected void configure(AuthenticationManagerBuilder auth) throws Exception {
        //指定一个用户,用户名"kobe",密码"1234",角色"ADMIN"
        auth.inMemoryAuthentication()//内存验证
                .passwordEncoder(new BCryptPasswordEncoder()).withUser("kobe")//用户名
                .password(new BCryptPasswordEncoder().encode("1234"))//密码
                .roles("ADMIN");//角色
        //指定一个用户,用户名"james",密码"1234",角色"USER"
        auth.inMemoryAuthentication()//内存验证
                .passwordEncoder(new BCryptPasswordEncoder()).withUser("james")//用户名
                .password(new BCryptPasswordEncoder().encode("1234"))//密码
                .roles("USER");//角色
    }
在控制器中添加需要权限访问的路径,Spring Security默认是禁用注解的,要想开启注解, 加@EnableGlobalMethodSecurity注解, 来判断用户对某个控制层的方法是否具有访问权限
属性prePostEnabled = true开启基于方法的安全认证机制,也就是说在web层的controller启用注解机制的安全确认
@Controller
@EnableGlobalMethodSecurity(prePostEnabled = true)
public class HelloController {
@RequestMapping("/")
@ResponseBody
public String hello(){
return "Hello Spring Boot";
}
@RequestMapping("/test")
@ResponseBody
public String test(){
return "Hello Spring Boot";
}
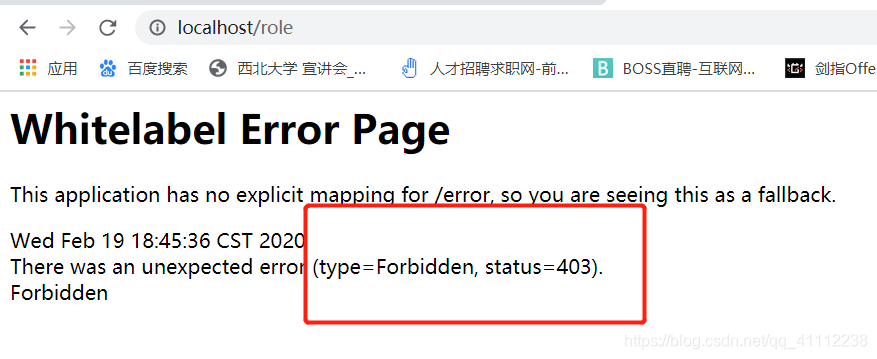
@PreAuthorize("hasRole('ROLE_ADMIN')")//限定权限为角色ADMIN,ROLE_是固定前缀
@RequestMapping("/role")
@ResponseBody
public String role(){
return "欢迎您,管理员";
}
}
之后运行启动类,访问localhost/test,先用角色为USER的用户登陆

访问成功
之后访问需要ADMIN权限的localhost/role,会禁止访问
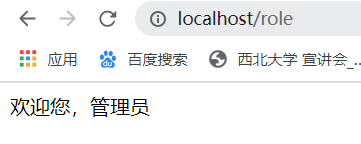
然后访问localhost/logout,切换用户登陆

再次访问localhost/role,成功
spring security 总结
优点:
- 提供了一套可用的安全框架
- 提供了很多用户认证功能,实现相关接口即可,节约大量开发工作
- 基于spring,易于集成到spring项目中,封装了很多方法
缺点:
- 配置文件多,角色被”编码“到配置文件和源文件中,RBAC不明显(例如访问localhost/role路径需要权限,进而需要在配置类编码对应的角色,如果方法和角色很多时会很复杂)
- 对于系统中用户、角色、权限之间的关系,没有可视化操作界面
- 大数据量的情况下,几乎不可用
