如有侵权速与我联系 ### [email protected]
为啥使用SQLite?
Android从诞生就内置了“SQLite”数据库,它是一款轻量级的关系型的数据,运算速度非常快和占用资源少,特别适合在移动端上使用。
创建之前让我了解一下SQLiteOpenHelper帮助类

A helper class to manage database creation and version management.
You create a subclass implementing onCreate(SQLiteDatabase), onUpgrade(SQLiteDatabase, int, int) and optionally onOpen(SQLiteDatabase), and this class takes care of opening the database if it exists, creating it if it does not, and upgrading it as necessary. Transactions are used to make sure the database is always in a sensible state.
This class makes it easy for ContentProvider implementations to defer opening and upgrading the database until first use, to avoid blocking application startup with long-running database upgrades.
For an example, see the NotePadProvider class in the NotePad sample application, in the samples/ directory of the SDK.
以上是官方对SQLiteOpenHelper的解释
SQLiteOpenHelper是一个抽象类,因此我们需要创建一个自定义的帮助类来继承它。
这个抽象类有两个抽象方法和两个构造方法
(1)在抽象类我们需要重写onCreate()和onUpgrade() 这两个方法。
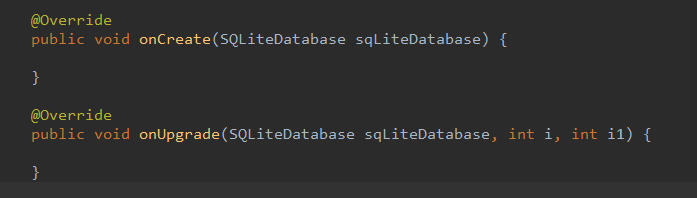
这两个方法名,顾名思义就是用来实现创建和升级数据库的逻辑方法。
(2)在SQLiteOpenHelper中两个构造方法可供重写

我们就先用带参数少的那个吧。
这个构造方法带有4个参数:第一个Context用于查找数据库的路径。第二个是数据库名字,创建数据库时使用的就是这里指定的名称。第三个允许我们在查询数据库的时候返回一个自定义的Cursor,一般传入null。第四个定义当前版本号,可用于对数据库的升级操作。
首先创建一个叫DataBaseDemo的项目
创建数据库之前,我们需要清楚存储什么样的数据。
我们就创建一个叫Restaurant的数据库,然后在数据库中创建一个menu的表,表中有id(主键)、菜名、价格、份数等列。
再新建DatabaseHelperTest类继承SQLiteOpenHelper代码如下
public class DatabaseHelperTest extends SQLiteOpenHelper {

    private Context mContext;

    public static final String CREATE_MENU = "create table Menu(" +
            " id integer primary key autoincrement," +
            " menu_name text," +
            " price real,"+
            " number integer)";

    public DatabaseHelperTest(Context context, String name, SQLiteDatabase.CursorFactory factory, int version) {
        super(context, name, factory, version);
        mContext = context;
    }

    @Override
    public void onCreate(SQLiteDatabase sqLiteDatabase) {
        sqLiteDatabase.execSQL(CREATE_MENU);
        Toast.makeText(mContext, "Create succeeded", Toast.LENGTH_SHORT).show();
    }

    @Override
    public void onUpgrade(SQLiteDatabase sqLiteDatabase, int i, int i1) {

    }

}
修改activity_main.xml中的代码
<?xml version="1.0" encoding="utf-8"?>
<LinearLayout xmlns:android="http://schemas.android.com/apk/res/android"
    xmlns:app="http://schemas.android.com/apk/res-auto"
    xmlns:tools="http://schemas.android.com/tools"
    android:layout_width="match_parent"
    android:layout_height="match_parent"
    tools:context="cn.zingfeng.databasedemo.MainActivity">

    <Button
        android:id="@+id/create_database"
        android:layout_width="match_parent"
        android:layout_height="wrap_content"
        android:text="Create database"/>

</LinearLayout>
最后在MainActivity中的代码
public class MainActivity extends AppCompatActivity {

    private DatabaseHelperTest dbHelper;

    @Override
    protected void onCreate(Bundle savedInstanceState) {
        super.onCreate(savedInstanceState);
        setContentView(R.layout.activity_main);
        dbHelper = new DatabaseHelperTest(this, "Restaurant.db", null, 1);
        Button createDatabase = (Button) findViewById(R.id.create_database);
        createDatabase.setOnClickListener(new View.OnClickListener() {
            @Override
            public void onClick(View view) {
                dbHelper.getWritableDatabase();
            }
        });
    }
}
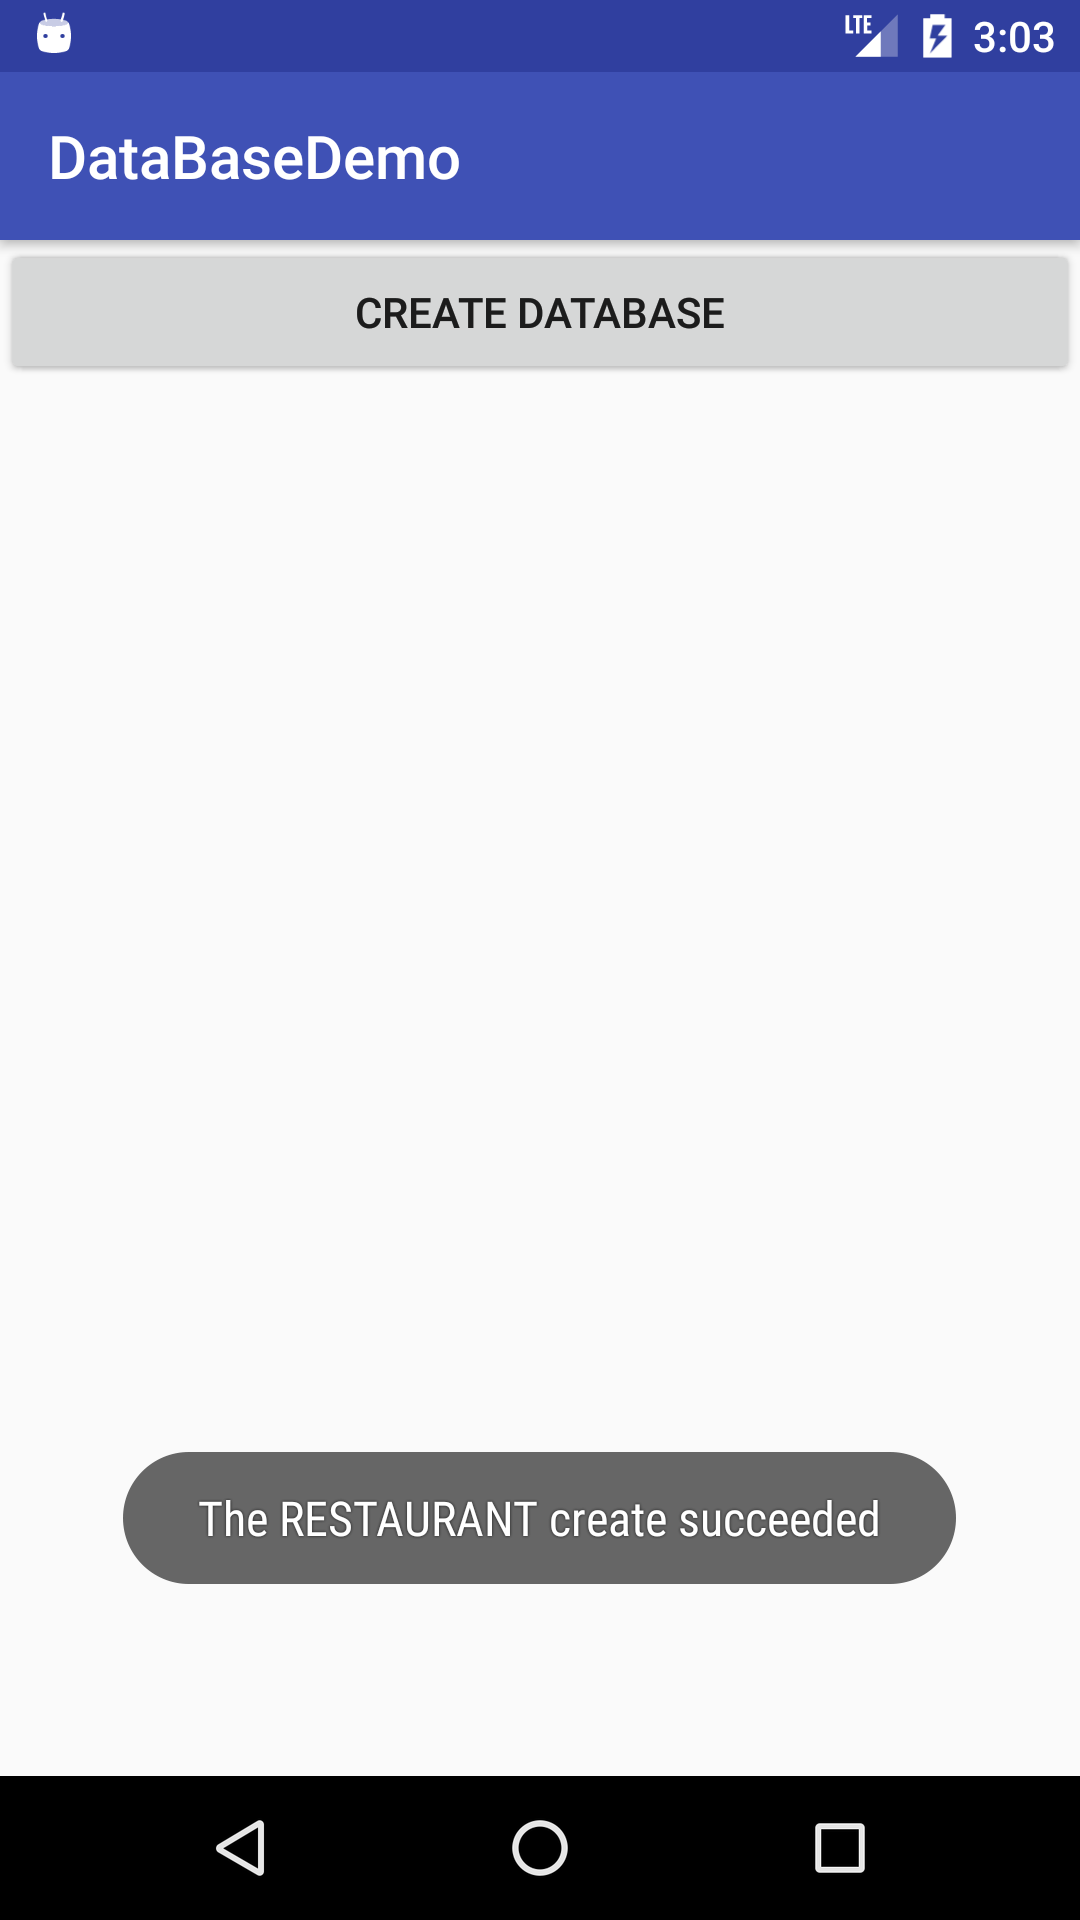
当你点击Create database按钮弹出Create succeeded时,表示Restaurant.db数据库和menu表创建成功了。
以上就是如何创建一个数据库并
若你想查看Restaurant.db数据库下menu表的内容可用android SDK自带的adb调试工具查看。