最近刚刚开始学习爬虫,在看了Nick Peng大神的文章后心情激动,于是自己写了写这篇博客,记录一下,如有不足请轻喷,如有错误欢迎指出,欢迎一起来讨论爬虫知识
环境: Python3.7
工具: Pycharm
网站: 美卓壁纸
爬取地址: 美卓壁纸cosplay图片大全 http://www.win4000.com/meinvtag26_1.html
涉及模块: request beautifulsoup4 os time
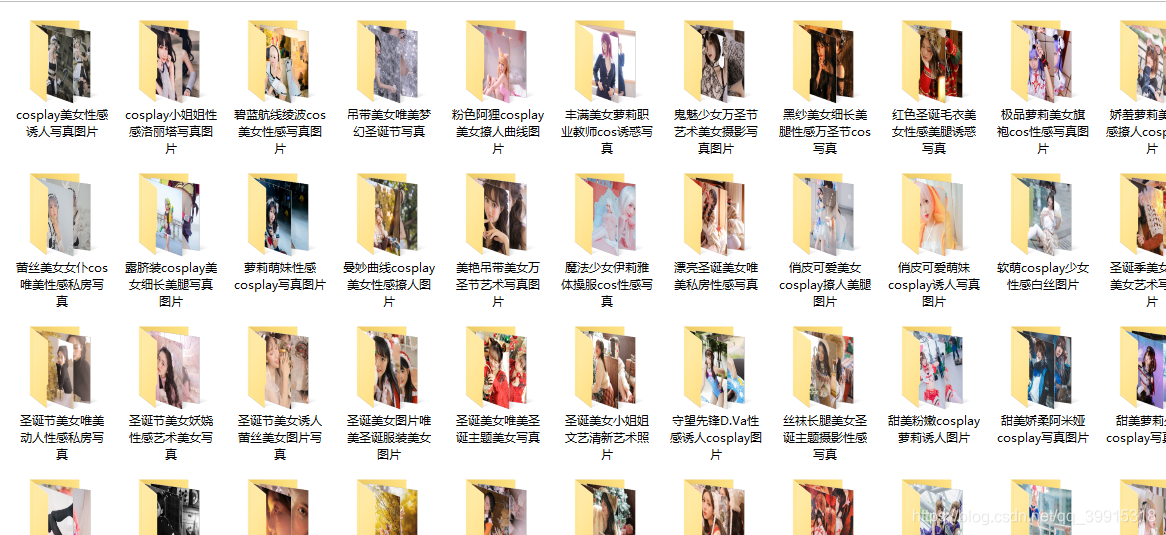
话不多说先上成果图:
再来完整代码
# -*- coding: utf-8 -*-
import requests
from bs4 import BeautifulSoup
import os
import time

# cosplay图片大全主页
all_url = "http://www.win4000.com/meinvtag26.html"

# http请求头
# 加入Referer破解盗图链接
header = {
    'User-Agent': 'Mozilla/5.0 (Windows NT 10.0; WOW64) AppleWebKit/537.36 '
                  '(KHTML, like Gecko) Chrome/50.0.2661.102 UBrowser/6.1.2107.204 Safari/537.36',
    'Referer': 'http://www.win4000.com/'}
# Referer 的值为主页,模拟浏览器从主页进入防止反爬机制

# 对图片主页发起请求,将返回的源码数据保存用于解析
start_html = requests.get(all_url, headers=header)

# 保存地址
path = "E:\Results\\"

# 获取主页最大页数
soup = BeautifulSoup(start_html.text, "html.parser")

# .text 可以直接获取文本 get_text是去掉tag标签
pic_max = soup.find_all("a", rel="nofollow")[-2].text
all_url_change = [all_url.split(".")[2] + f"_{num}" for num in range(1, int(pic_max) + 1)]
n = 1
for i in all_url_change:

    # 拼接转换页并请求
    html_ull = all_url.replace(all_url.split(".")[2], i)
    start_html = requests.get(html_ull,headers=header)

    # 将请求结果保留用作之后解析
    soup = BeautifulSoup(start_html.text, "html.parser")

    # 提取所有的MM标题
    all_a = soup.find("div", class_="list_cont Left_list_cont Left_list_cont2").find_all("a")

    for a in all_a:
        # 遍历标题文本,作为文件夹名称
        title = a.find("p").text

        if (title != ""):

            print("准备爬取: " + title)

            if (os.path.exists(path + title.strip())):

                # 如果存在则把标示位该为1
                flag = 1

            else:

                # 如果不存在该目录则创建,并且把标示位改为0
                os.makedirs(path + title.strip())

                flag = 0

            # 进去刚刚创建好了的目录中,要下载图片了
            os.chdir(path + title.strip())

            # 获取主页每个MM的url,准备进入第二层(url)获取图片
            href = a["href"]  # find_all 的attrs参数可以查看属性 a.attrs

            # 发起请求
            html = requests.get(href, headers=header)
            mess = BeautifulSoup(html.text, "html.parser")

            # 获取里层(图片url)的最大页数,比如有16页就是有16张图要下载
            img_max = mess.find_all("em")[0].text

            # 如果同时满足标示位为1也就是存在目录,并且目录下图片全部下载完则跳过
            if (flag == 1 and len(os.listdir((path + title.strip()))) >= int(img_max)):
                print(f"{title},已保存完毕,跳过")
                continue

            # # 如果没有下载完则进行下载
            # for num in range(1, int(img_max) + 1):

                # 对图片的页面地址进行更改
            url_change = [href.split(".")[2] + f"_{i}" for i in range(1, int(img_max) + 1)]

                # 循环获取图片
                # 获取要下载的图片的地址
            for j in url_change:
                href_img = href.replace(href.split(".")[2], j)

                # 获取其源码
                html = requests.get(href_img, headers=header)

                # 准备对源码进行解析
                mess = BeautifulSoup(html.text, "html.parser")

                # 获取img标签,其中包含图片的真正地址
                pic_url = mess.find("img", class_="pic-large")
                print(pic_url["url"])

                # 对img标签页进行请求,保留源码用于解析
                html = requests.get(pic_url["url"], headers=header)

                # 获取图片的名字,用于保存图片时命名
                file_name = pic_url["url"].split(r"/")[-1]

                # 将图片保存到目录(文件夹)中
                with open(file_name, "wb") as f:
                    f.write(html.content)

                # 请求过快会被浏览器限制,手动增加时间,或者更换代理IP,IP池正在研究中
                # (测试成功可用的代理IP请求浏览器还是失败0.0)
                time.sleep(0.1)

        print(f"下载:{title}完成")

    print(f"第{n}页下载完成")
    n += 1
步骤分解(如有问题欢迎一同讨论)
安装模块
requests
- pip install requests
- 下载代码后安装
$ git clone git://github.com/kennethreitz/requests.git
$ cd requests
$ python setup.py instal
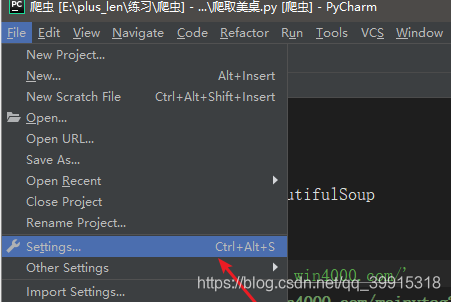
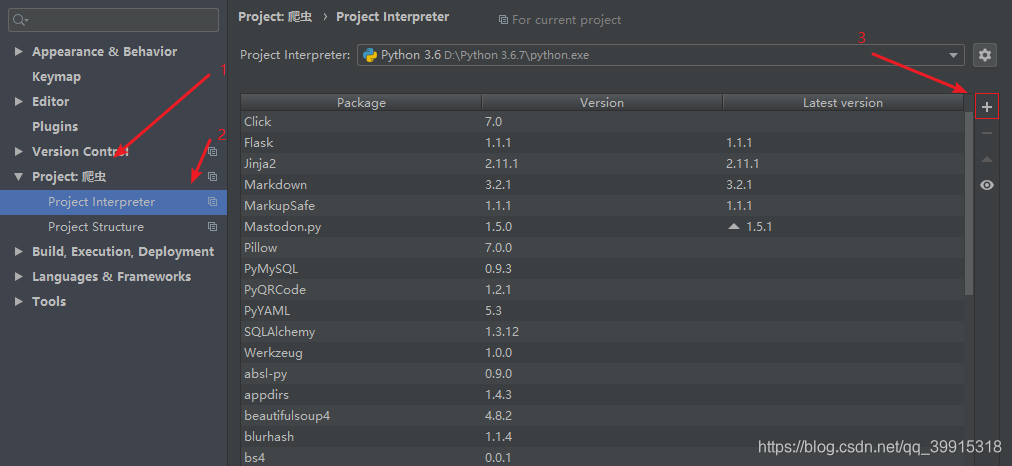
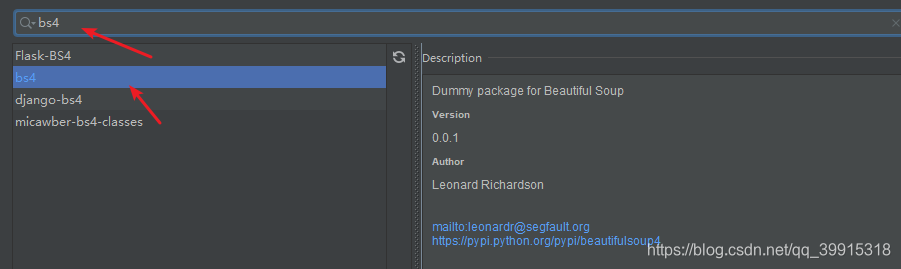
- 用pycharm安装

html = requests,get(url,headers=header)
# 第一个参数是你要请求的网址
# 第二个参数模拟计算机请求浏览器
返回值要加text才为源码,如若不加返回一般为<Response [200]>
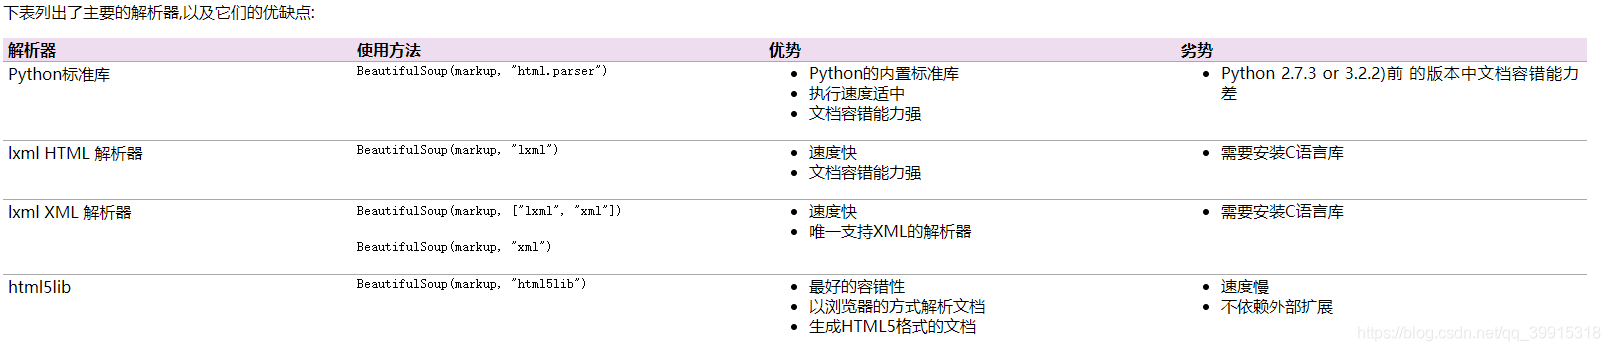
BeautifulSoup
1. pycharm
使用BeautifulSoup前要先构建实例
soup = BeautifulSoup(html.text,'html.parser')
# 第一个参数是要进行解析的HTML源码,
# 第二个参数是BeautifulSoup要采用的模块,即规则
有的模块要事先安装,自带html.parser解析,通用但是速度慢
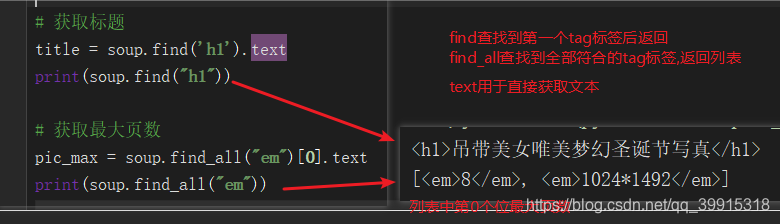
获取最大页数(用作控制循环次数)与获取标题(用作文件夹名称)
步骤代码
import requests
from bs4 import BeautifulSoup
import pickle
import time

url ="http://www.win4000.com/meinv189606.html"
header = {
    'User-Agent': 'Mozilla/5.0 (Windows NT 10.0; WOW64) AppleWebKit/537.36 '
                  '(KHTML, like Gecko) Chrome/50.0.2661.102 UBrowser/6.1.2107.204 Safari/537.36',
    'Referer':'http://www.win4000.com/'}

# 最大页数在第一个em标签里面
html = requests.get(url,headers=header)
soup = BeautifulSoup(html.text,"html.parser")

# 获取最大页数
pic_max = soup.find_all("em")[0].text


模拟翻页

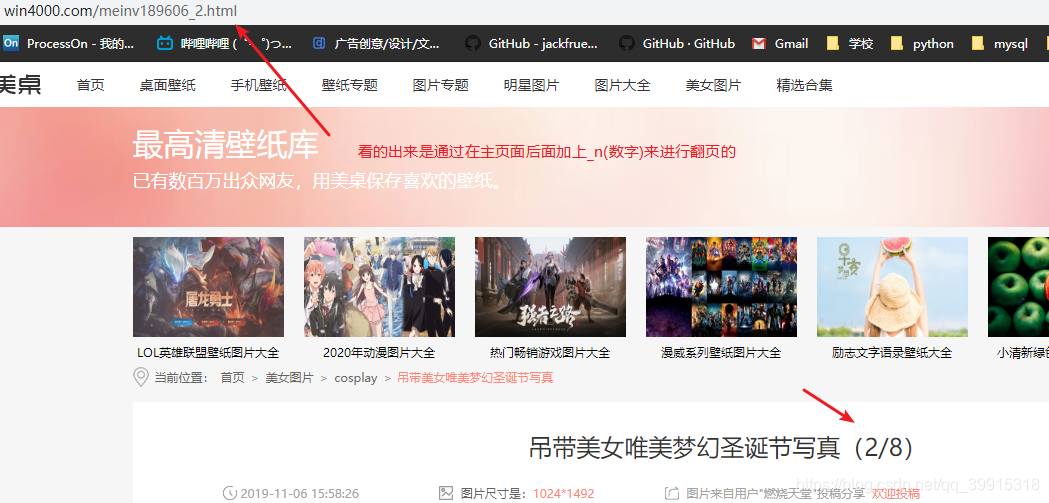
接下来就好办了,具体网站具体制定规则模拟
# 模拟翻页
url_change =[url.split(".")[2]+f"_{i}" for i in range(1,int(pic_max)+1)]
print(url_change) # ['com/meinv189606_1_1', 'com/meinv189606_1_2', ........................
接下来只要遍历列表将内容对应插入主页地址中即可
for i in url_change:
	href = url.replace(url.split(".")[2],i)
	print(href) # http://www.win4000.com/meinv189606_1.html .......
	# 获取成功
获取img标签,与图片地址,图片名字(用于保存)
获取img标签

pic_url = mess.find('img',class_="pic-large")
BeautifulSoup中find方法只返回第一个匹配到的对象
print(pic_url)
print('返回标签的内容:',pic_url.text)
print('返回标签的属性:',pic_url.string)
print('返回标签内容为字符串:',pic_url.attrs)
<img class="pic-large" data-original="http://pic1.win4000.com/pic/d/d3/ba87a496d2.jpg" src="http://static.win4000.com/home/images/placeholder.jpg" url="http://pic1.win4000.com/pic/d/d3/ba87a496d2.jpg">
</img>
返回标签的内容: #标签中没有内容所以啥也没有
返回标签的属性: {'class': ['pic-large'], 'src': 'http://static.win4000.com/home/images/placeholder.jpg', 'data-original': 'http://pic1.win4000.com/pic/d/d3/ba87a496d2.jpg', 'url': 'http://pic1.win4000.com/pic/d/d3/ba87a496d2.jpg'}
返回标签内容为字符串 :
获取图片地址的同时对其请求将结果返回
img标签中含有图片地址

html = requests.get(pic_url["url"],headers=header)
获取图片的名字

file_name = pic_url["url"].split(r"/")[-1]
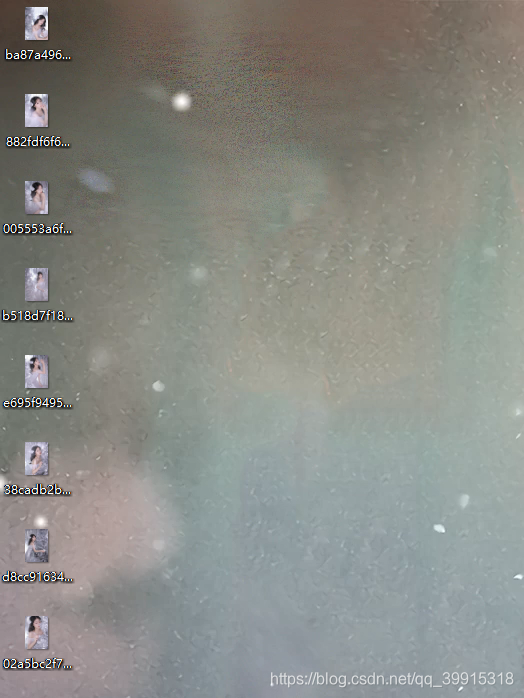
完整示例
成果图
完整代码示例
import requests
from bs4 import BeautifulSoup
import pickle
import time

# 注意将其改为你的桌面路径
desktop_path = r"C:\Users\1\Desktop\\"

url ="http://www.win4000.com/meinv189606.html"
header = {
    'User-Agent': 'Mozilla/5.0 (Windows NT 10.0; WOW64) AppleWebKit/537.36 '
                  '(KHTML, like Gecko) Chrome/50.0.2661.102 UBrowser/6.1.2107.204 Safari/537.36',
    'Referer':'http://www.win4000.com/'}

html = requests.get(url,headers=header)

soup = BeautifulSoup(html.text,"html.parser")

title = soup.find('h1').text

pic_max = soup.find_all("em")[0].text

url_change =[url.split(".")[2]+f"_{i}" for i in range(1,int(pic_max)+1)]

for i in url_change:

    # 图片的页面地址
    href = url.replace(url.split(".")[2],i)

    # 获取图片页面地址的html源码
    html = requests.get(href,headers=header)

    # 虽然html.text也可以显示源码,但是BeautifulSoup(html.text,"html.parser")更快,文档容错能力强
    mess = BeautifulSoup(html.text,"html.parser")

    # 获取img标签,其中包含图片地址
    pic_url = mess.find('img',class_="pic-large")

    # 获取图片地址
    html = requests.get(pic_url["url"],headers=header)

    # 图片名字
    file_name = pic_url["url"].split(r"/")[-1]

    # 将图片保存到桌面
    with open(fr"C:\Users\1\Desktop\{file_name}","wb") as f:
        f.write(html.content)
        f.close()
    # print(html)# <Response [200]>  说明你没有加.text
    #   过快的请求,ip请求会被限制,要不加时间,要不用代理ip,代理ip版本正在研究中.....
感觉学到东西了不妨点个赞把(写博客是比自己学累啊),不过感觉挺不错的,一起加油吧(真的不是在看妹子(٩(//̀Д/́/)۶) )
