Nginx,是一款高性能、 轻量级Web服务软件、稳定性高系统资源消耗低的服务,对HTTP并发连接的处理能力高,单台物理服务器可支持30000 ~ 50000个并发请求。ngnix接收到动态资源请求时,可使用PHP中的FPM模块相互配合,或者将访问PHP页面的Web请求转交给Apache服务器去处理。
【1】Nginx作为Web服务器:
相比Apache, Nginx 使用更少的资源,支持更多的并发连接,体现更高的效率。
【2】Nginx作为负载均衡服务器:
既可以在内部直接支持Rails和PHP,也可以支持作为HTTP代理服务器对外进行服务。Nginx 采用C语言进行编写,不论是系统资源开销还是CPU使用效率都比Perlbal 要好的多。
【3】Nginx 作为邮件代理服务器:
Nginx同时也是-一个非常优秀的邮件代理服务器(最早开发这个产品的目的之一也是作为邮件代理服务器),Last/fm 描述了成功并且美妙的使用经验。Nginx安装非常的简单,配置文件非常简洁(还能够支持perl语法)。Nginx支持平滑加载新的配置,还能够在不间断服务的情况下进行软件版本的升级。
首先编译安装Nginx:
[root@localhost ~]# systemctl stop firewalld
[root@localhost ~]# setenforce 0
[root@localhost ~]# mkdir /abc
[root@localhost ~]# mount.cifs //192.168.10.53/share /abc
[root@localhost ~]# cd /abc
[root@localhost abc]# tar zxvf nginx-1.12.2.tar.gz -C /opt
[root@localhost nginx-1.12.2]# yum install gcc gcc-c++ pcre* expat-devel zlib-devel -y
[root@localhost nginx-1.12.2]# useradd -M -s /sbin/nologin nginx
[root@localhost nginx-1.12.2]# ./configure --prefix=/usr/local/nginx --user=nginx --group=nginx --with-http_stub_status_module    "开启stub_status状态统计模块"
[root@localhost nginx-1.12.2]# make && make install
[root@localhost nginx-1.12.2]# ln -s /usr/local/nginx/sbin/* /usr/local/sbin   "让系统识别命令"
[root@localhost nginx-1.12.2]# nginx -t   "检查配置文件语法是否正确"
[root@localhost nginx-1.12.2]# cd /etc/init.d
[root@localhost init.d]# vim nginx       //制作管理脚本
#写入:
#!/bin/bash
# chkconfig: - 99 20
# description: Nginx Service Control Script
PROG="/usr/local/nginx/sbin/nginx"
PIDF="/usr/local/nginx/logs/nginx.pid"
case "$1" in
  start)
  $PROG
  ;;
  stop)
  kill -s QUIT $(cat $PIDF)
  ;;
  restart)
  $0 stop
  $0 start
  ;;
  reload)
  kill -s HUP $(cat $PIDF)
  ;;
  *)
    echo "Usage: $0 {start|stop|restart|reload}"
    exit 1
esac
exit 0

[root@localhost init.d]# chmod +x nginx      //给nginx执行权限
[root@localhost init.d]# chkconfig --add nginx    //把nginx加入service管理器 ,被所能管理
[root@localhost init.d]# chkconfig --level 35 nginx on   //设置开机自启动
[root@localhost init.d]# service nginx start
[root@localhost init.d]# netstat -ntap | grep nginx
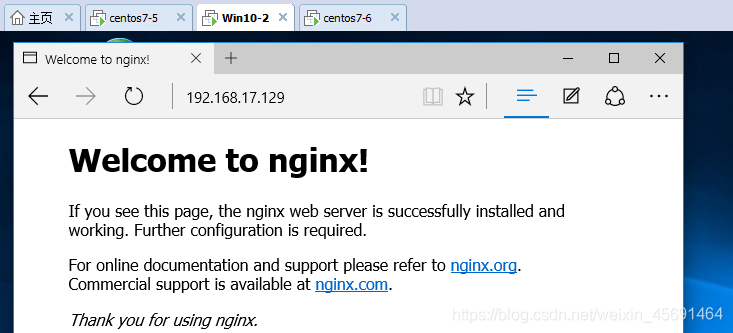
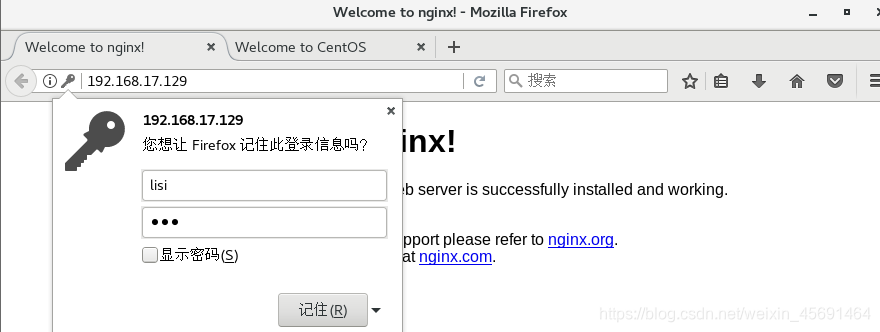
浏览器可以访问,nginx服务已开启,可正常访问。
一:Nginx的访问状态统计
■启用HTTP_ STUB_ STATUS状态统计模块
配置编译参数时添加–with-http_ stub_ status_ module
●nginx -V查看已安装的Nginx是否包含HTTP_ STUB _STATUS模块
修改nginx. conf配置文件
查看当前的状态统计信息
[root@localhost html]#  cd /usr/local/nginx/conf
[root@localhost conf]# mv nginx.conf nginx.conf.bak
[root@localhost conf]# grep -v "#" nginx.conf.bak > nginx.conf
[root@localhost conf]# vim nginx.conf    //修改配置文件
  "在 index index.html index.htm;
     }后添加这一段:"
    location ~ /status {
        stub_status  on;
        access_log off;
}

[root@localhost conf]# service nginx restart
在Win10浏览器输入:http://192.168.17.157/status,不断刷新,查看状态的统计信息的变化。

二:基于授权、身份验证的访问控制:
●生成用户密码认证文件
●修改主配置文件对相应目录,添加认证配置项
●重启服务,访问测试
[root@localhost var]# yum install httpd-tools -y
[root@localhost var]# htpasswd -c /usr/local/nginx/pwd.db test 首次创建test用户和密码
[root@localhost var]# htpasswd /usr/local/nginx/pwd.db lisi 创建lisi用户和密码
[root@localhost var]# cd /usr/local/nginx
[root@localhost nginx]# cat pwd.db 查看到 刚创建的两个用户已生成密钥
test:$apr1$Z5fuR/Rf$V46hUZXnF2HVXRcVTXLrX/
lisi:$apr1$iBfgbDo1$cZ3DbuglhWrD3iN5GujwP.
[root@localhost nginx]# vim /usr/local/nginx/conf/nginx.conf
#在server段里修改添加身份验证访问功能
server {
server_name localhost;
location / {
auth_basic "secret";
auth_basic_user_file /usr/local/nginx/pwd.db;
root html;
index index.html index.htm;
}
}
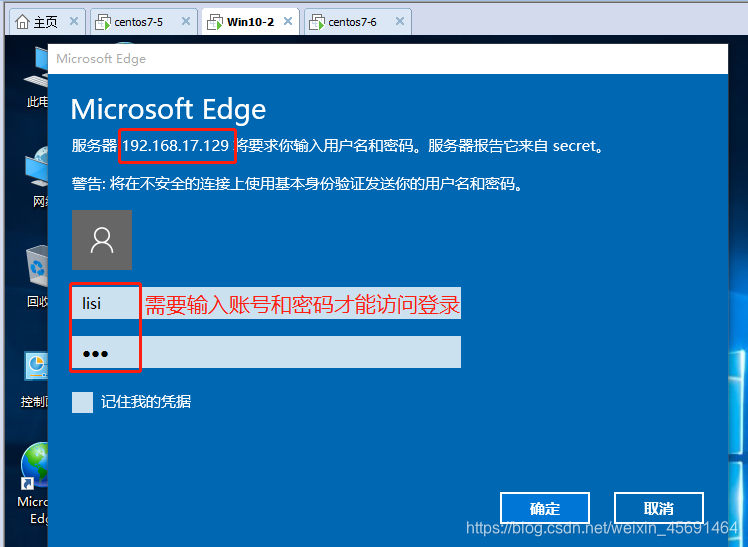
[root@localhost nginx]# service nginx restart
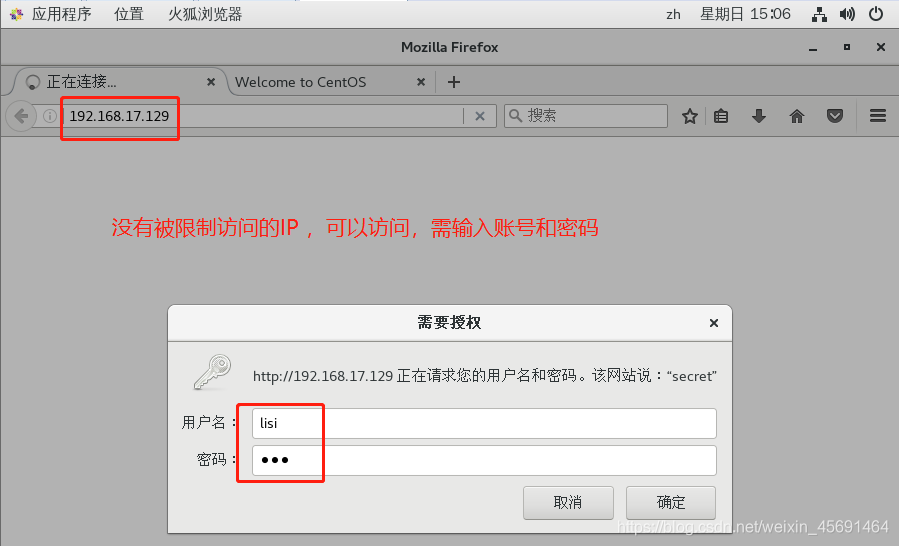
Win10 浏览器访问 输入IP地址,显示需要输入账号密码才能访问:
三:基于客户端IP的身份验证访问控制
■通过客户端IP地址,决定是否允许对页面访问配置规则
●deny IP/IP段:拒绝某个IP或IP段的客户端访问
●allow IP/IP段:允许某个IP或IP段的客户端访问
●规则从上往下执行,如匹配则停止,不再往下匹配
[root@localhost nginx]# vim /usr/local/nginx/conf/nginx.conf
server {
server_name localhost;
location / {
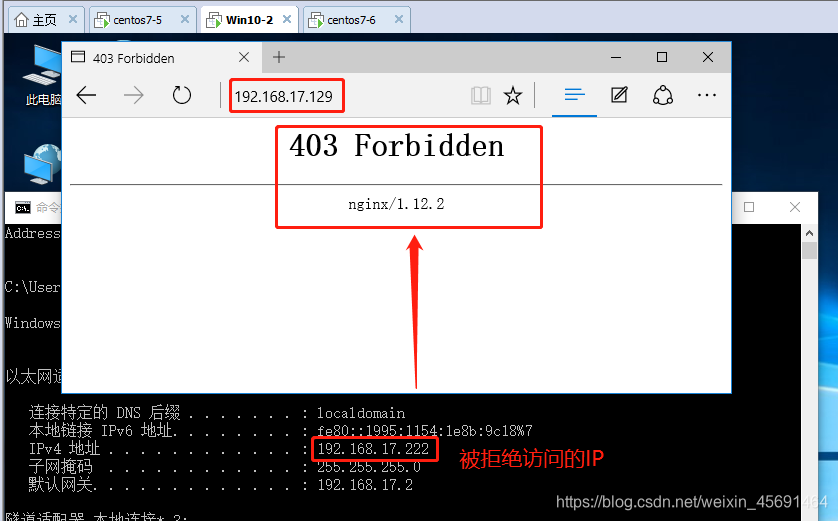
deny 192.168.17.222;
allow all;
auth_basic "secret";
auth_basic_user_file /usr/local/nginx/pwd.db;
root html;
index index.html index.htm;
}
}
[root@localhost nginx]# service nginx restart
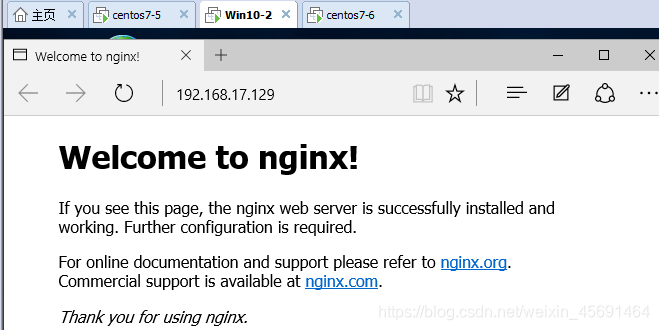
Win10浏览器中 IP为192.168.17.222 的电脑无法访问IP为192.168.17.129,显示 403错误;其他IP都可访问,需账号密码认证才能访问。
1. Nginx的进程模型在工作方式上,Nginx 分为单工作进程和多工作进程两种模式。
在单工作进程模式下,除主进程外,还有一个工作进程,工作进程是单线程的;在多工作进程模式下,每个工作进程包含多个线程。Nginx 默认为单工作进程模式。Nginx在启动后,会有一 一个master进程和多个worker 进程。master进程主要用来管理worker 进程,主要包含:接收来自外界的信号,向各worker 进程发送信号,监控worker进程的运行状态,当worker 进程退出后(异常情况下),会自动重新启动新的worker 进程。master 进程充当整个进程组与用户的交互接口,同时对进程进行监护。它不需要处理网络事件,不负责业务的执行,只会通过管理worker进程来实现重启服务、平滑升级、更换日志文件、配置文件实时生效等功能。
2. Nginx+FastCGl 运行原理
Nginx不支持对外部程序的直接调用或者解析,所有的外部程序(包括PHP)必须通过FastCGl接口来调用。FastCGI 接口在Linux下是socket (这个socket 可以是文件socket,也可以是ip socket)。wrapper 为了调用CGI 程序,还需要一个FastCGI 的,wrapper(wrapper可以理解为用于启动另一个程序的程序),这个wrapper 绑定在某个固定socket上,如端口或者文件socket.当Nginx 将CGI请求发送给这个socket 的时候,通过FastCGI 接口,wrapper接收到请求,然后Fork(派生) 出-个新的线程,这个线程调用解释器或者外部程序处理脚本并读取返回数据;接着wrapper再将返回的数据通过FastCGI 接口,沿着固定的socket 传递给Nginx; 最后Nginx 将返回的数据(html 页面或者图片)发送给客户端。
