借鉴前辈经验,写的自己安装的东西,以备下次新电脑上要安装。
1. 去atom官网下载“AtomSetup-x64.exe”,选这个版本的原因是它是安装版,有文件路径,方便后面配置环境变量;
2. 配置环境变量。依次打开 ---控制面板\系统和安全\系统\高级系统设置\高级\环境变量\系统变量,将atom的安装路径(C:\Users\himb\AppData\Local\atom)添加到path里面去;
3. 安装扩展包。这个atom的插件真是相当多,而由于众所周知的原因,客户端里的install按钮点了莫得反应,所以就需要手动安装。网上给了几种方法,我试了下,下面写我可用的方法:
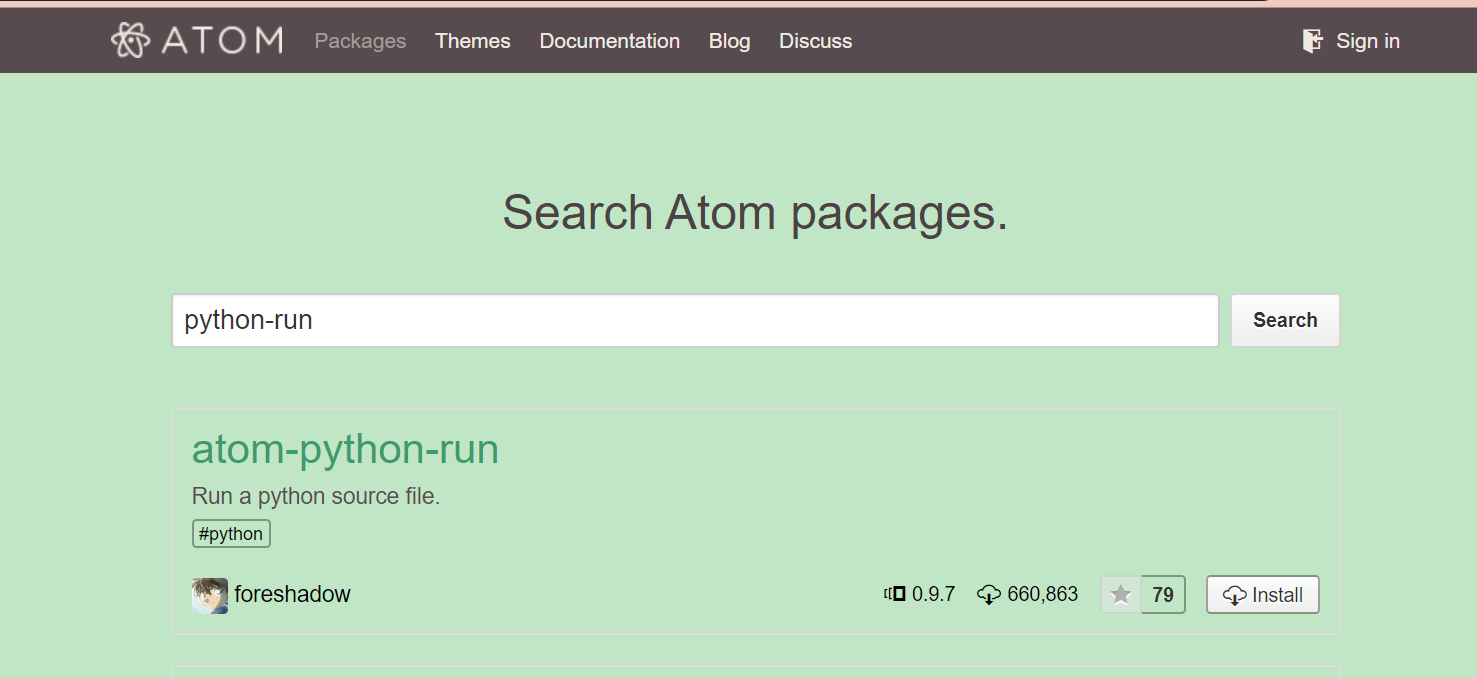
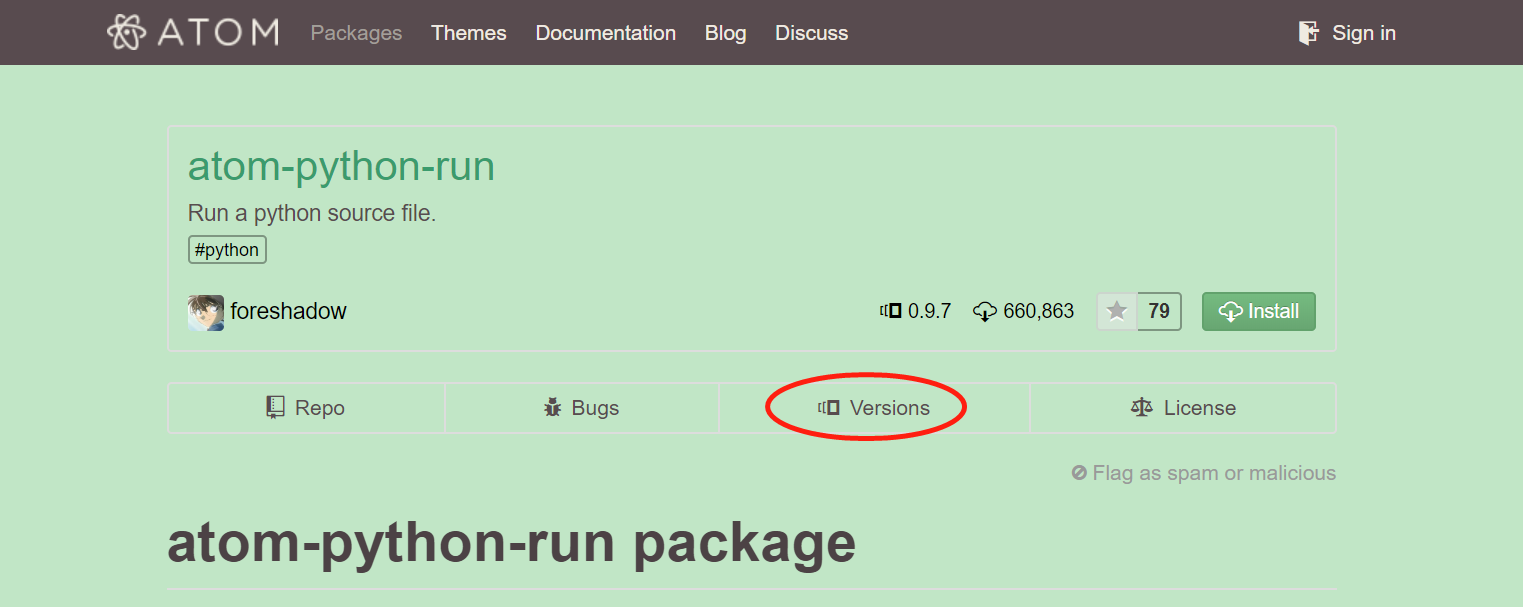
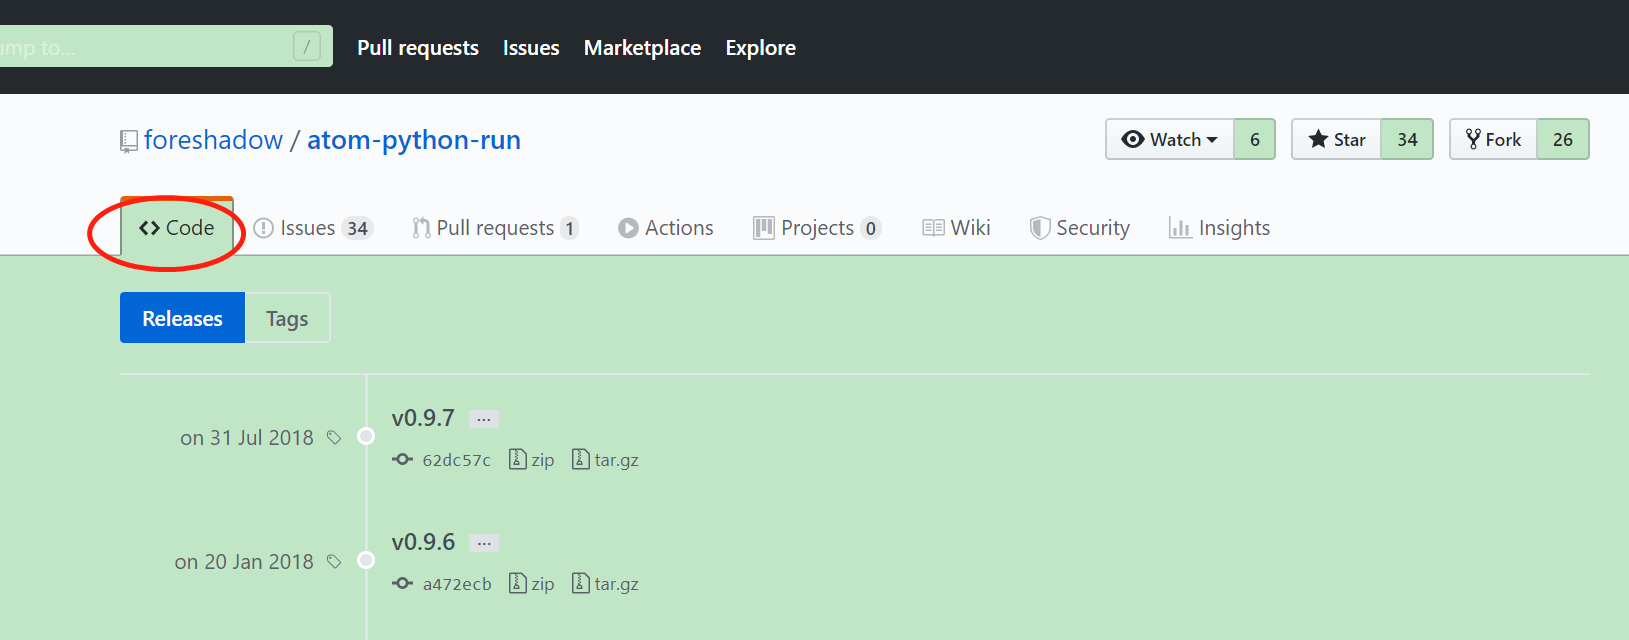
1)去atom官网扩展区找到可用的包,然后依下图找到这个包的GitHub路径,从cmd里安装
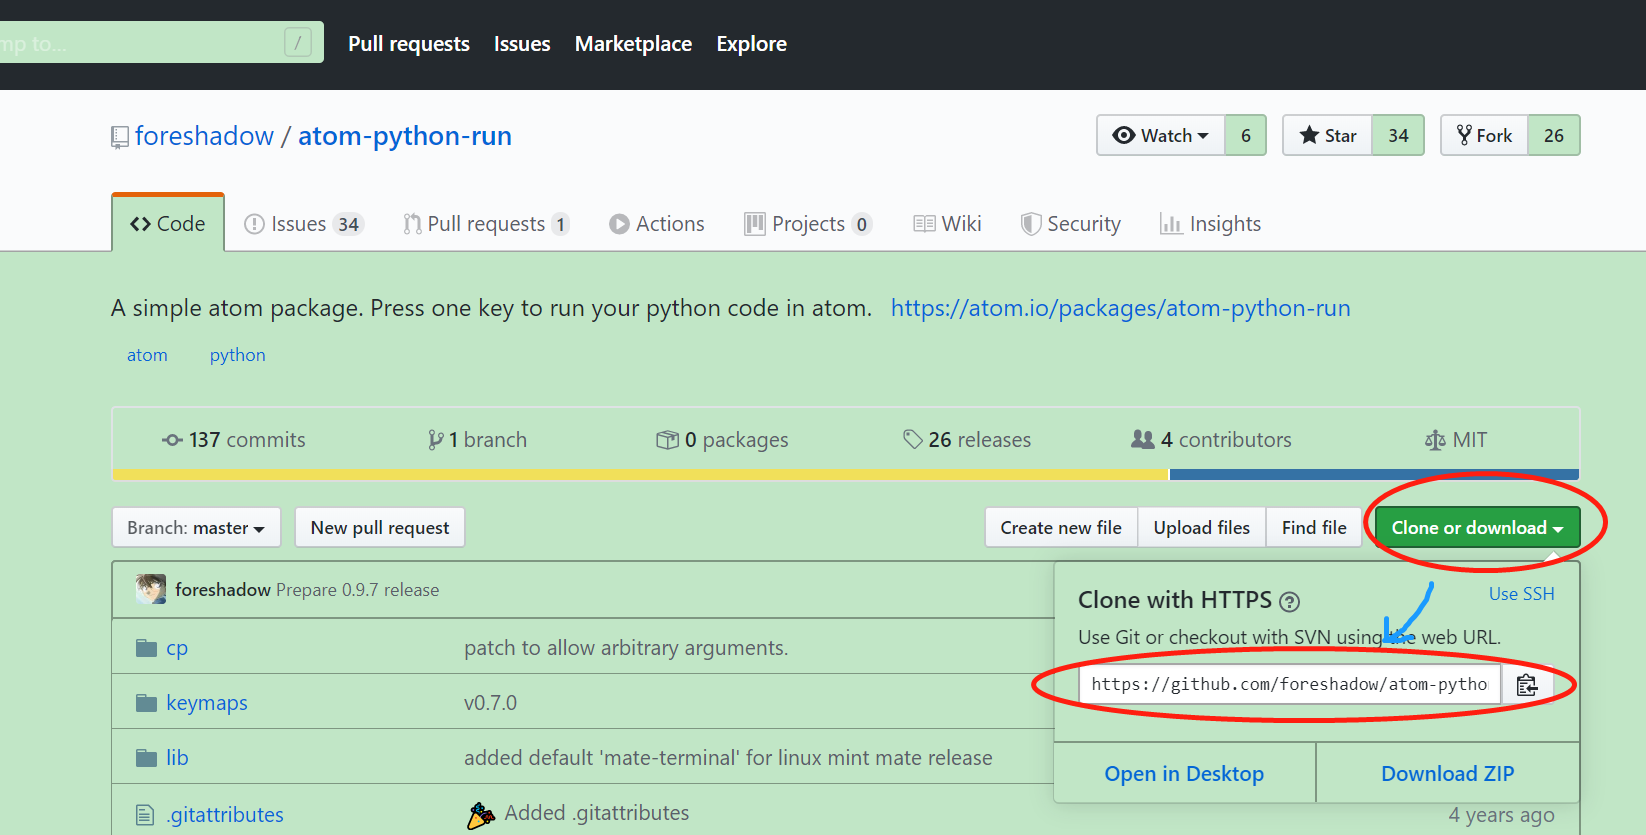
2)cmd里的安装方法,切换到atom的扩展包文件路径
cd C:\Users\himb\.atom\packages
 1 cd C:\Users\himb\.atom\packages
 2
 3 apm install https://github.com/Glavin001/atom-beautify.git     #atom-beautify
 4 apm install https://github.com/AtomLinter/linter-eslint.git    #linter-eslint
 5
 6 apm install https://github.com/steelbrain/linter.git    #linter
 7 apm install https://github.com/sharvil/api-docs.git    #api-docs
 8 apm install https://github.com/emmetio/emmet-atom.git    #emmet-atom
 9
10 apm install https://github.com/platformio/platformio-atom-ide-terminal.git    #platformio-atom-ide-terminal
11 apm install https://github.com/rgbkrk/atom-script.git       #script
12 apm install https://github.com/foreshadow/atom-python-run.git    #atom-python-run
13
14 apm install https://github.com/nteract/hydrogen.git    #hydrogen
注意,这里的安装的都是apm install +包的链接。也可以下载下来,然后使用apm install +包名进行安装,我这里有得回报错,就不用了。
这样的话,基本是能用了。但是有一点,script来run的话(快捷键是Ctrl+shift+b),是不能input的,需要另一个扩展来实现,atom-python-run(快捷键是F5)。也有用jupyter来run的,试了下,这个安装很麻烦,另外对于input也不友好(我遇到是这样的),就放弃了。
#附一下我今天装的包名称,不知道好不好用。
atom-ide-vue
atom-python-run
emmet-atom
kite
linter-eslint
script
api-docs
atom-beautify
atom-ide-ui
ide-python
linter
linter-csslint
linter-htmlhint
minimap
regex-railroad-diagram
simplified-chinese-menu