0 负载均衡
负载均衡,建立在现有网络结构之上,它提供了一种廉价有效透明的方法 扩展网络设备 和 服务器的带宽、增加吞吐量、加强网络数据处理能力、提高网络的灵活性和可用性。
负载均衡,英文名称为 Load Balance,其意思就是分摊到多个操作单元上进行执行,例如 Web 服务器、FTP 服务器、企业关键应用服务器和其它关键任务服务器等,从而共同完成工作任务。
1 Nginx
Nginx 是一款高性能的 http 服务器/反向代理服务器及电子邮件(IMAP/POP3)代理服务器。由俄罗斯的程序设计师 Igor Sysoev 所开发,官方测试 nginx 能够 支撑 5 万并发链接,并且 cpu 、内存 等 资源消耗却非常低,运行非常稳定。
中国大陆使用 nginx 网站用户有:新浪、网易、 腾讯等。
Nginx 是一个 轻量级和高性能的 Web 服务器 和 反向代理服务器, 它具有有很多非常优越的特性:
作为 Web 服务器:相比 Apache,Nginx 使用更少的资源,支持更多的并发连接,体现更高的效率,这点使 Nginx 尤其受到虚拟主机提供商的欢迎。能够支持高达 50,000 个并发连接数的响应,感谢 Nginx 为我们选择了 epoll and kqueue 作为开发模型.作为负载均衡服务器:Nginx 既可以在内部直接支持 Rails 和 PHP,也可以支持作为 HTTP代理服务器 对外进行服务。Nginx 用 C 编写, 不论是系统资源开销还是 CPU 使用效率都比 Perlbal 要好的多。作为邮件代理服务器:Nginx 同时也是一个非常优秀的邮件代理服务器(最早开发这个产品的目的之一也是作为邮件代理服务器),Last.fm 描述了成功并且美妙的使用经验。
Nginx 安装非常的简单,配置文件 非常简洁(还能够支持perl语法),Bugs 非常少的服务器:Nginx 启动特别容易,并且几乎可以做到 7*24 不间断运行,即使运行数个月也不需要重新启动。你还能够在 不间断服务的情况下进行软件版本的升级。
Nginx 一般用户七层负载均衡,其吞吐量有一定的限制。
为了提高整体的吞吐量,会在 DNS 和 Nginx 之间引入 LVS(软件负载均衡器)、F5(硬负载均衡器) 可以做四层负载均衡,首先 DNS 解析到 LVS(F5),然后 LVS(F5)转发给 Nginx,再由 Nginx 转发给真实的服务器。
2 Windows 安装 Nginx
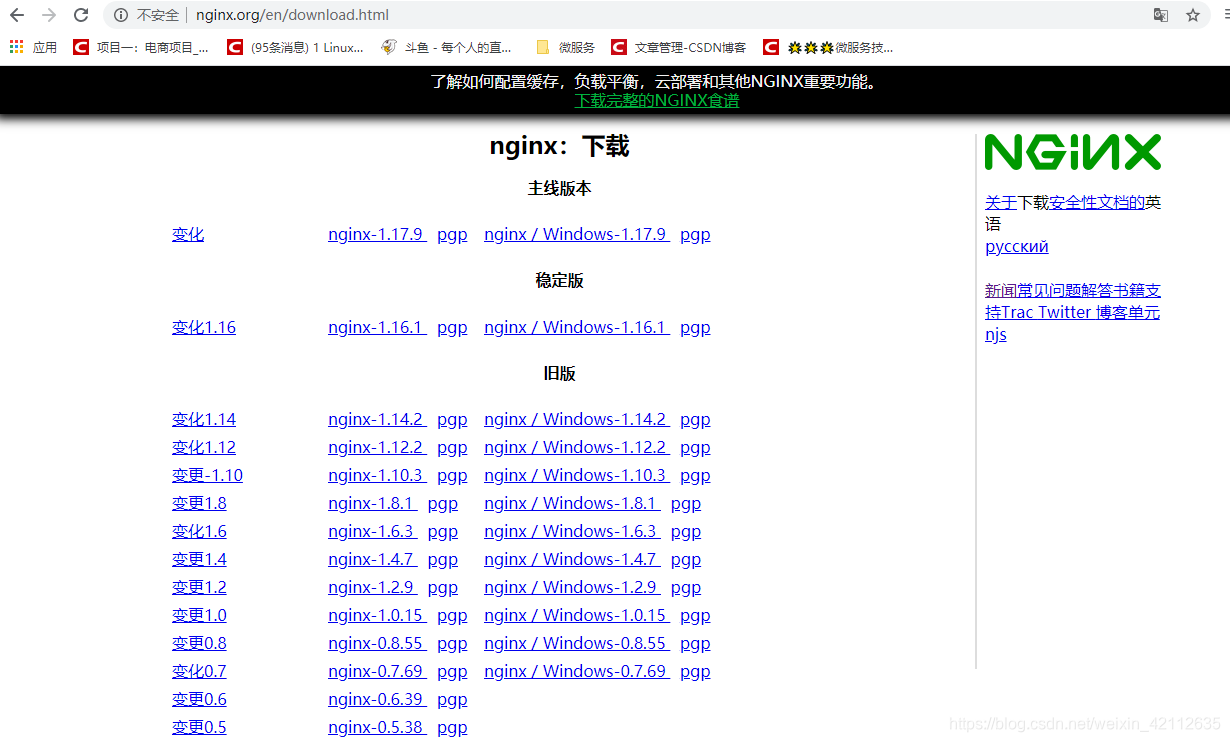
官方网站:http://nginx.org/
1、下载:
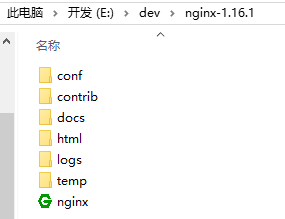
2、解压下载的文件:
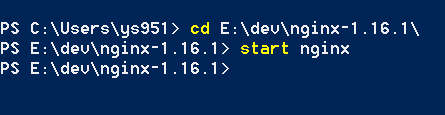
3、启动:
- 方式一:
双击:nginx.exe- 方式二:
PS E:\dev\nginx-1.16.1> start nginx
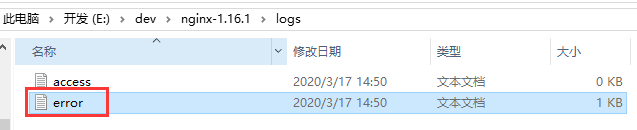
如果 Nginx 启动成功,那么错误日志应该没有内容,否则,会有错误信息:
4、停止
./nginx.exe -s stop
3 MAC 安装 Nginx
3.1 安装工具
homebrew(还没用过的小伙伴可以点链接进行了解或者自行百度)
3.2 步骤
1、打开终端,输入命令:
brew update
2、终端继续执行命令:
查询要安装的软件是否存在
brew search nginx

3、这里我们多执行一步“废”命令,不过有利于我们后面的配置:
brew info nginx
运行结果:
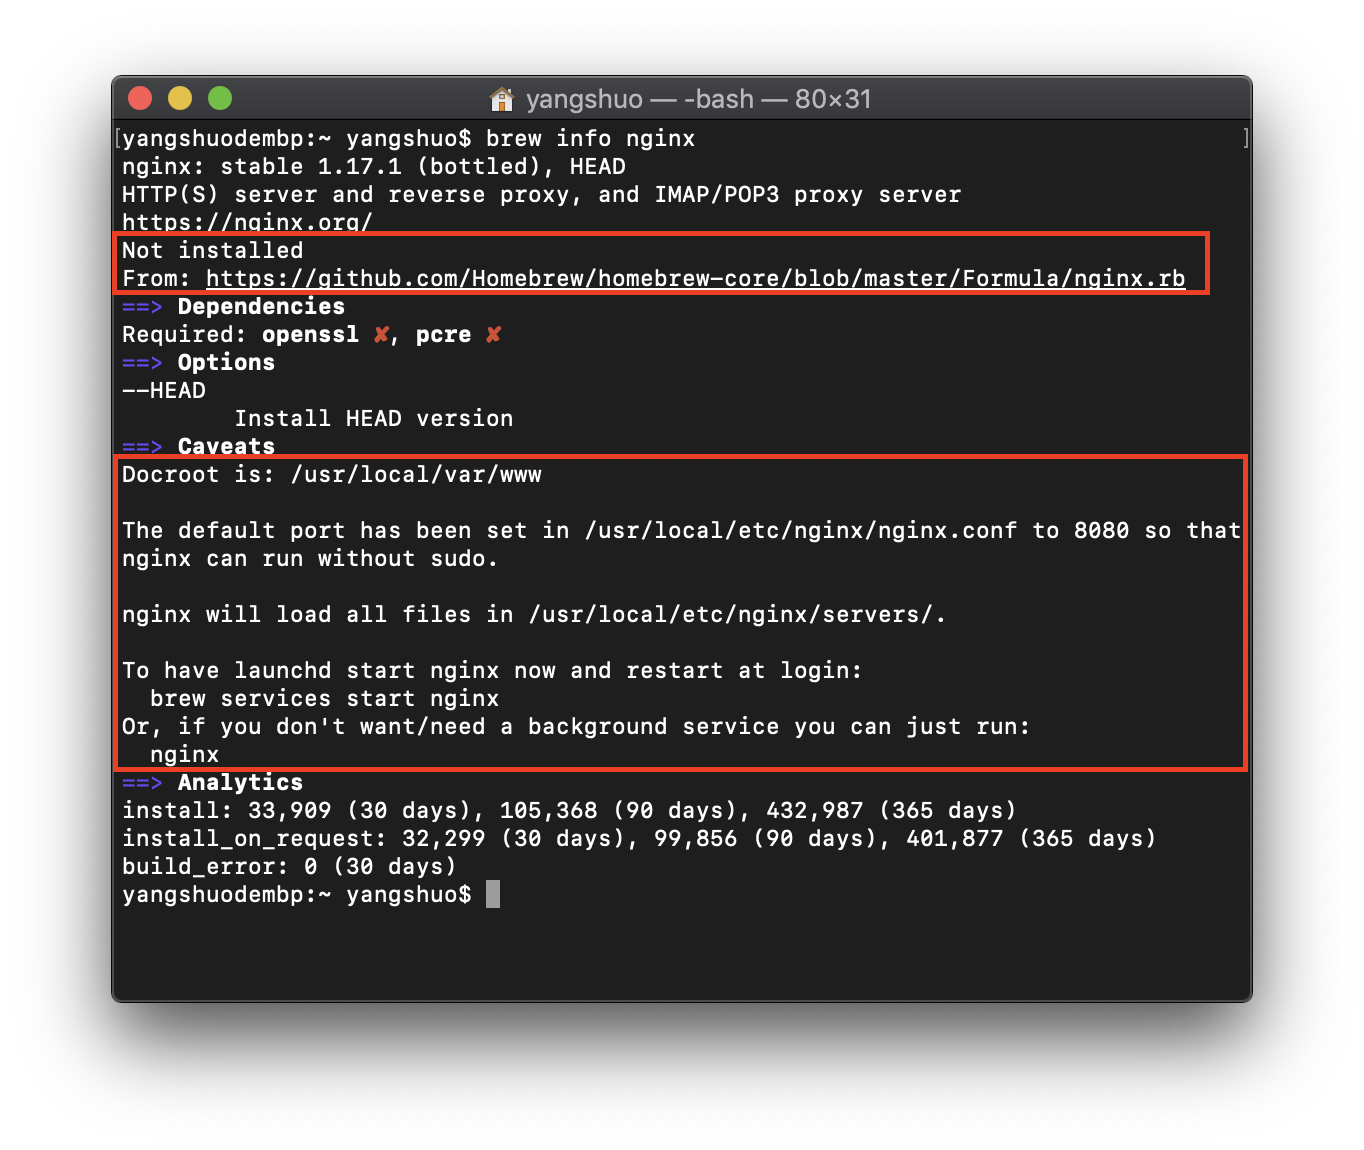
我们可以看到,nginx 在本地还未安装(Not installed),nginx的来源(From),Docroot默认为/usr/local/var/www,在/usr/local/etc/nginx/nginx.conf配置文件中默认端口被配置为8080从而使nginx运行时不需要加sudo,nginx将在/usr/local/etc/nginx/servers/目录中加载所有文件,以及我们可以通过最简单的命令 ‘nginx, 来启动 nginx。
4、正式开始安装:
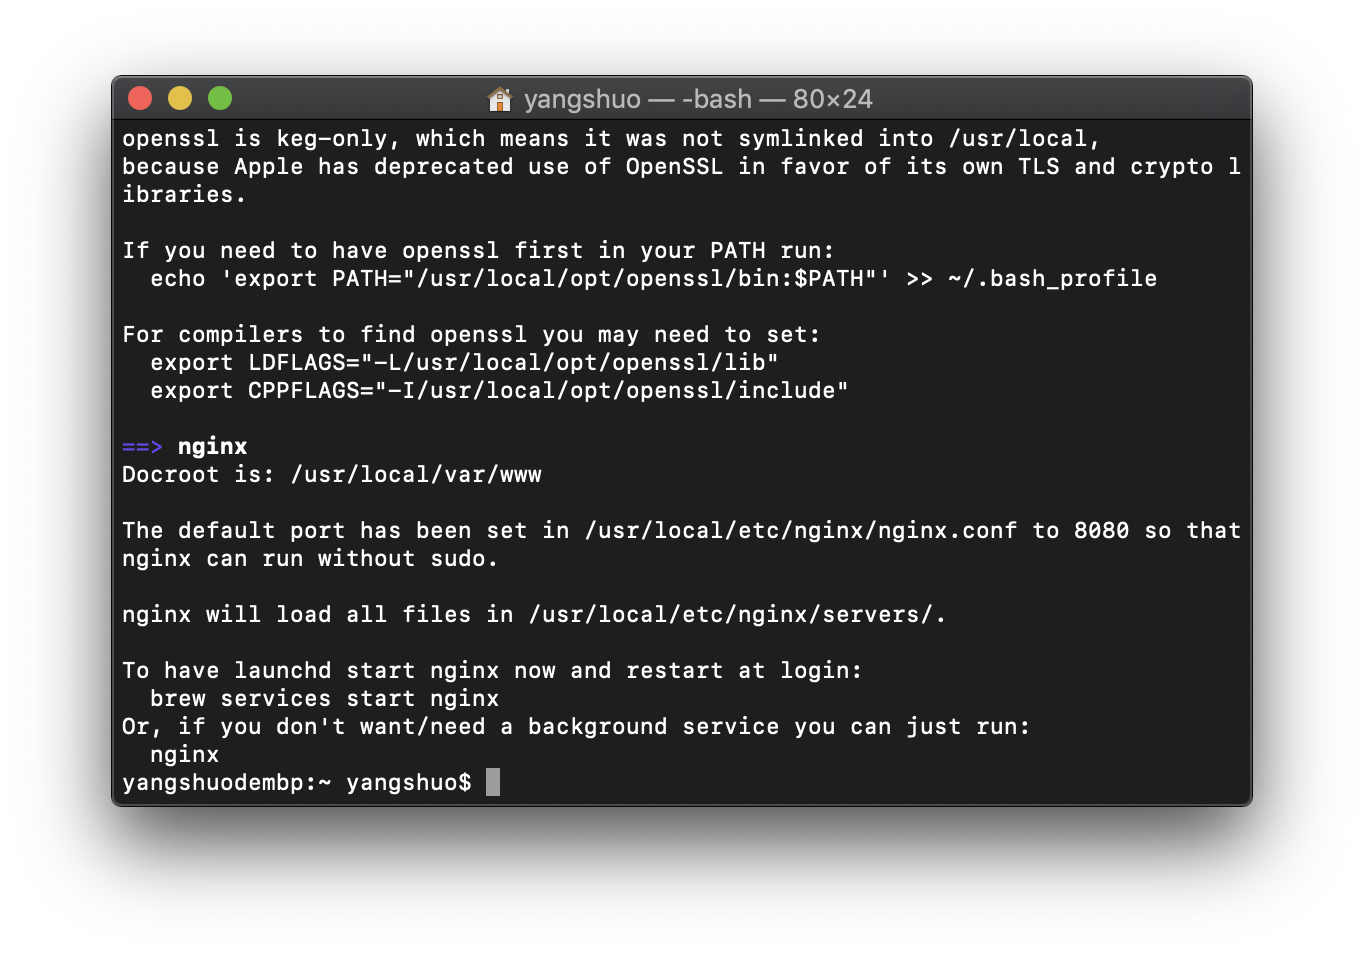
brew install nginx
5、查看 nginx 安装目录(是否如info所说):
open /usr/local/etc/nginx/
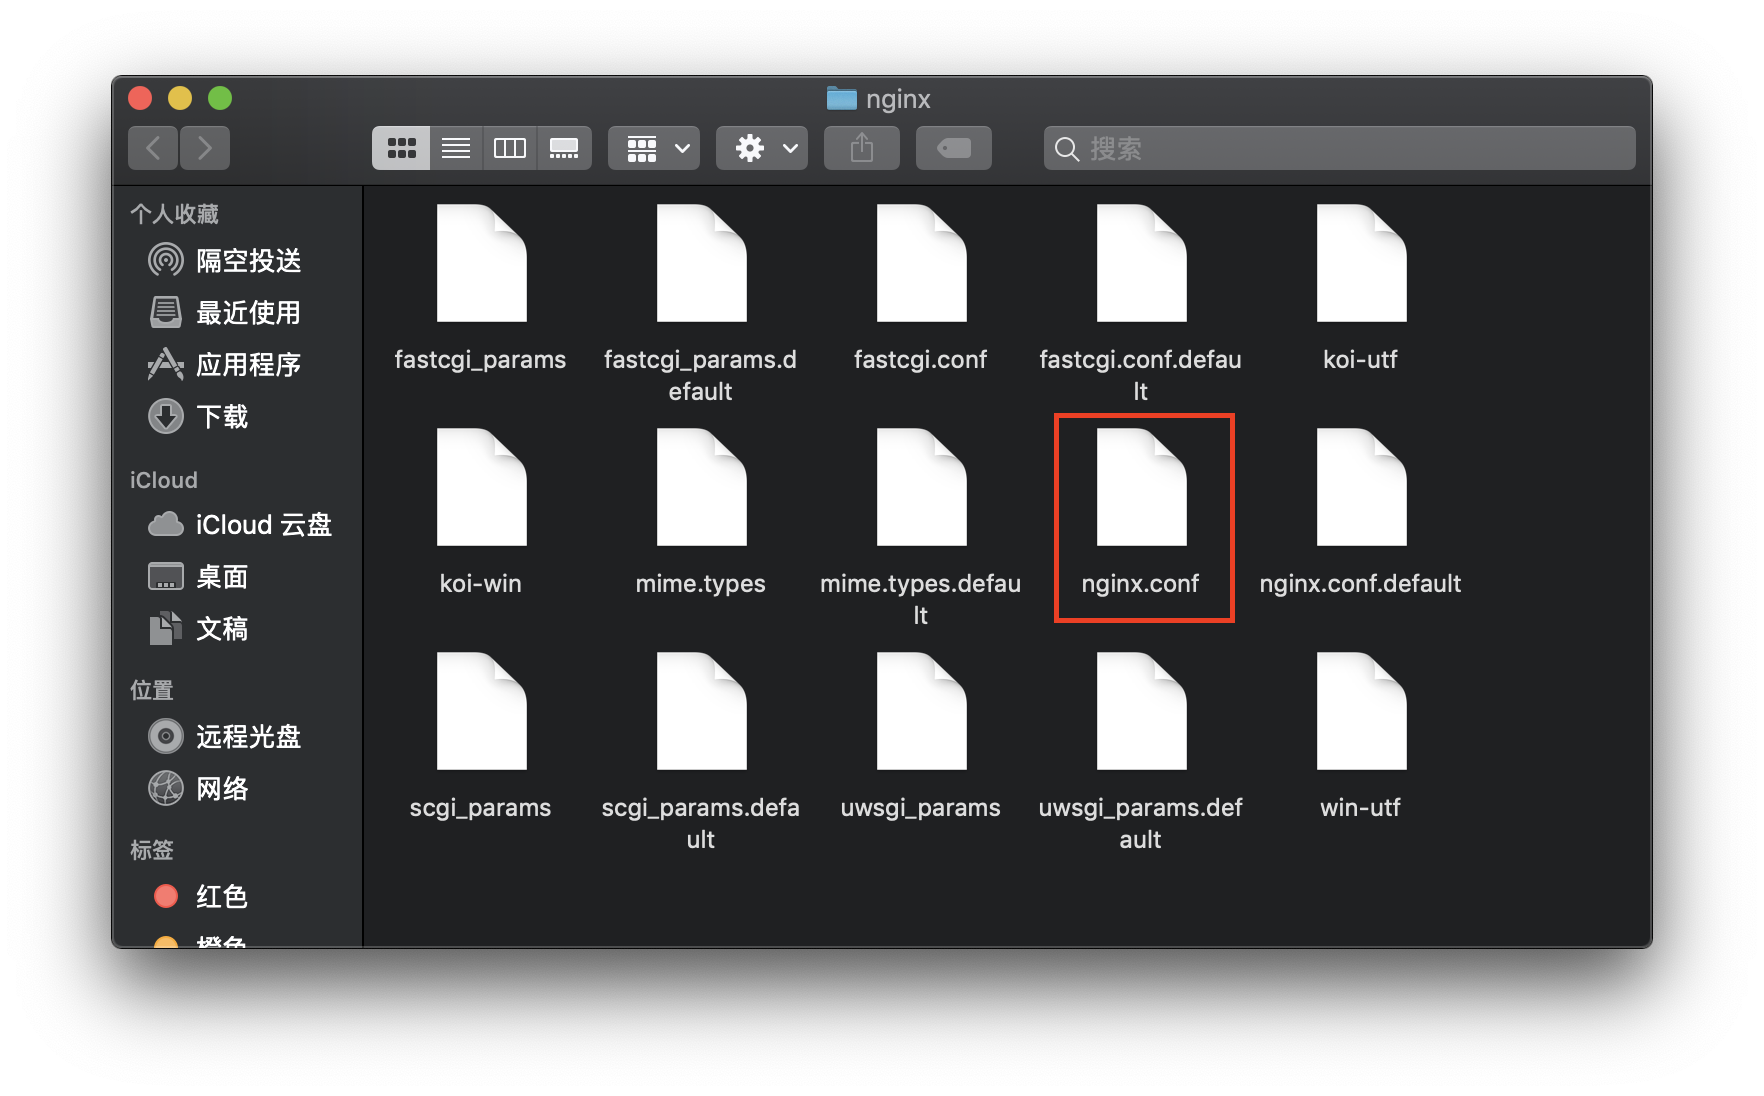
成功打开nginx目录,也可以看到如info所说servers目录以及nginx.conf的配置文件(后面会用到这个配置文件)。但我们并没有找到nginx被安装到了哪里。
终端继续执行:其实这个才是nginx被安装到的目录
open /usr/local/Cellar/nginx
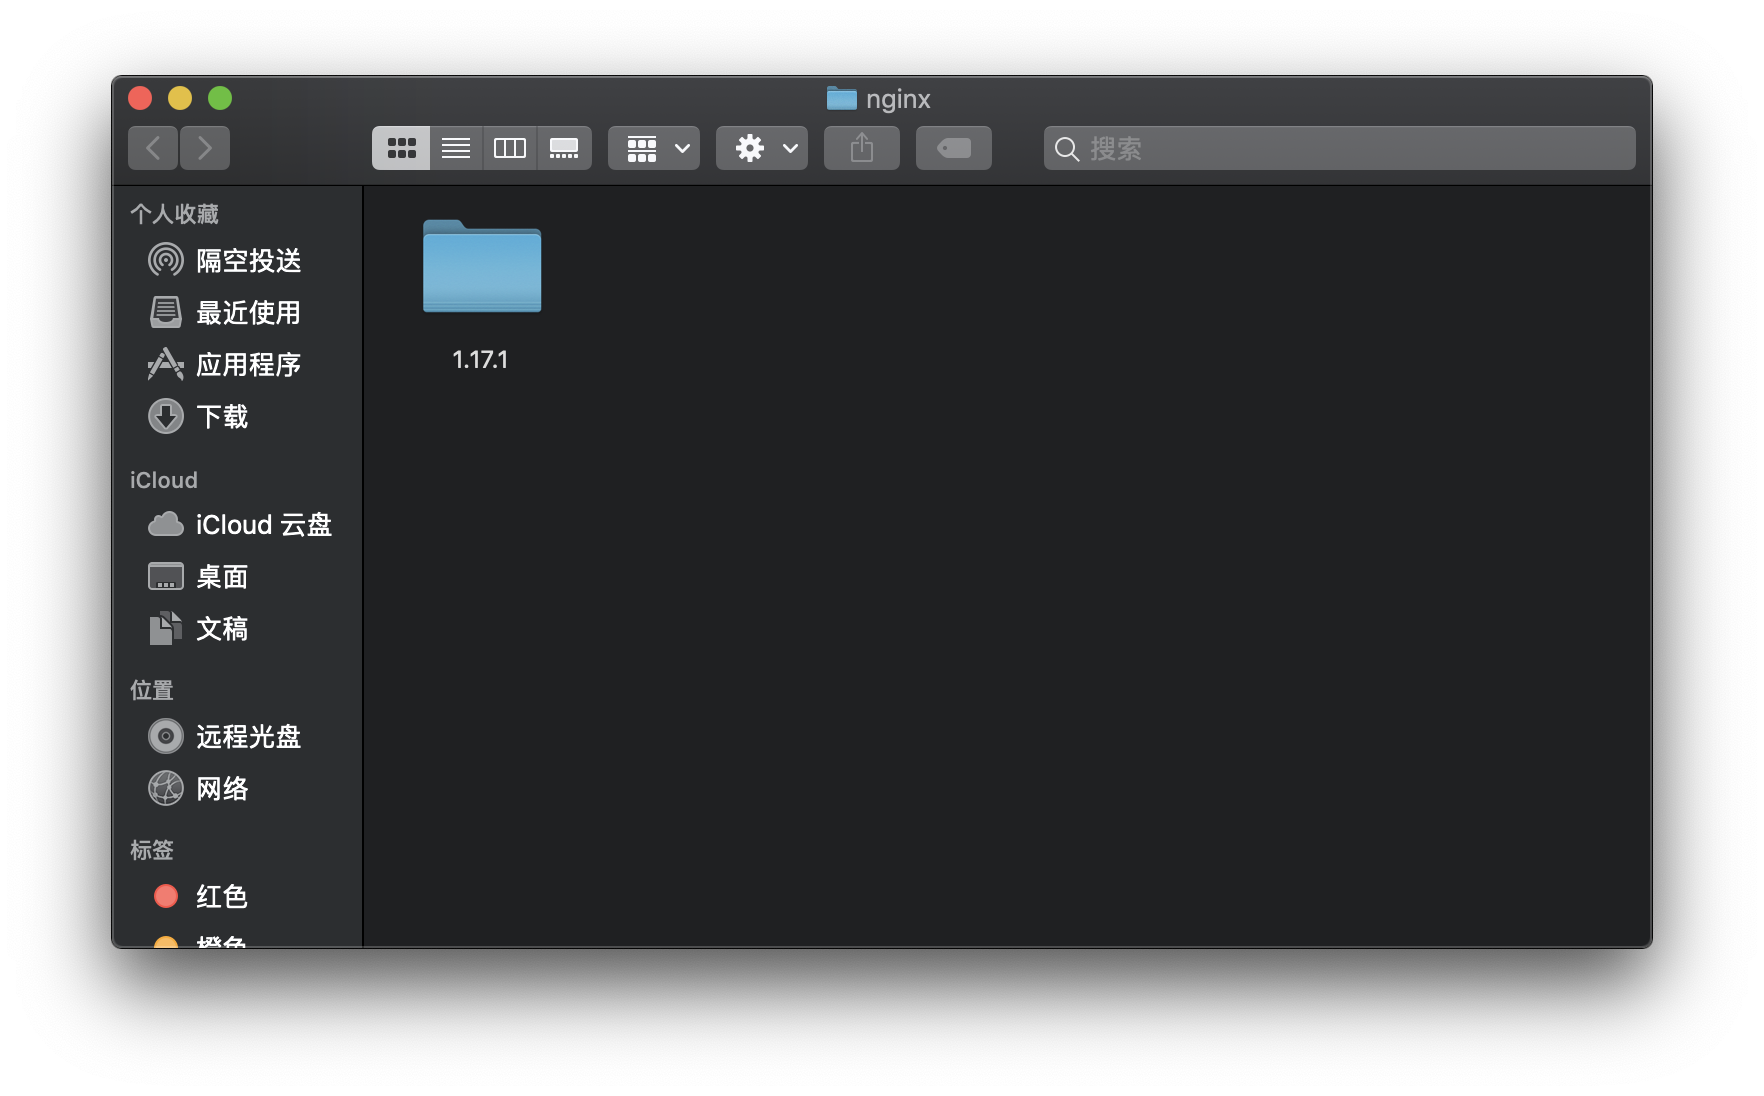
会看到一个以当前安装的nginx的版本号为名称的文件夹,这个就是我们安装的nginx根目录啦。进入1.17.1/bin 目录,会看到nginx的可执行启动文件。
同样的,我们在1.17.1/目录下还可以看到一个名字为html的快捷方式文件夹(暂且就这么叫吧),进入该目录我们会发现其实它指向的就是/usr/local/var/www目录,这个在上面我们查看的info信息中有提到(Dcroot)
6、启动
nginx,终端输入如下命令:
nginx
没有报错即为启动成功。
7、访问验证:
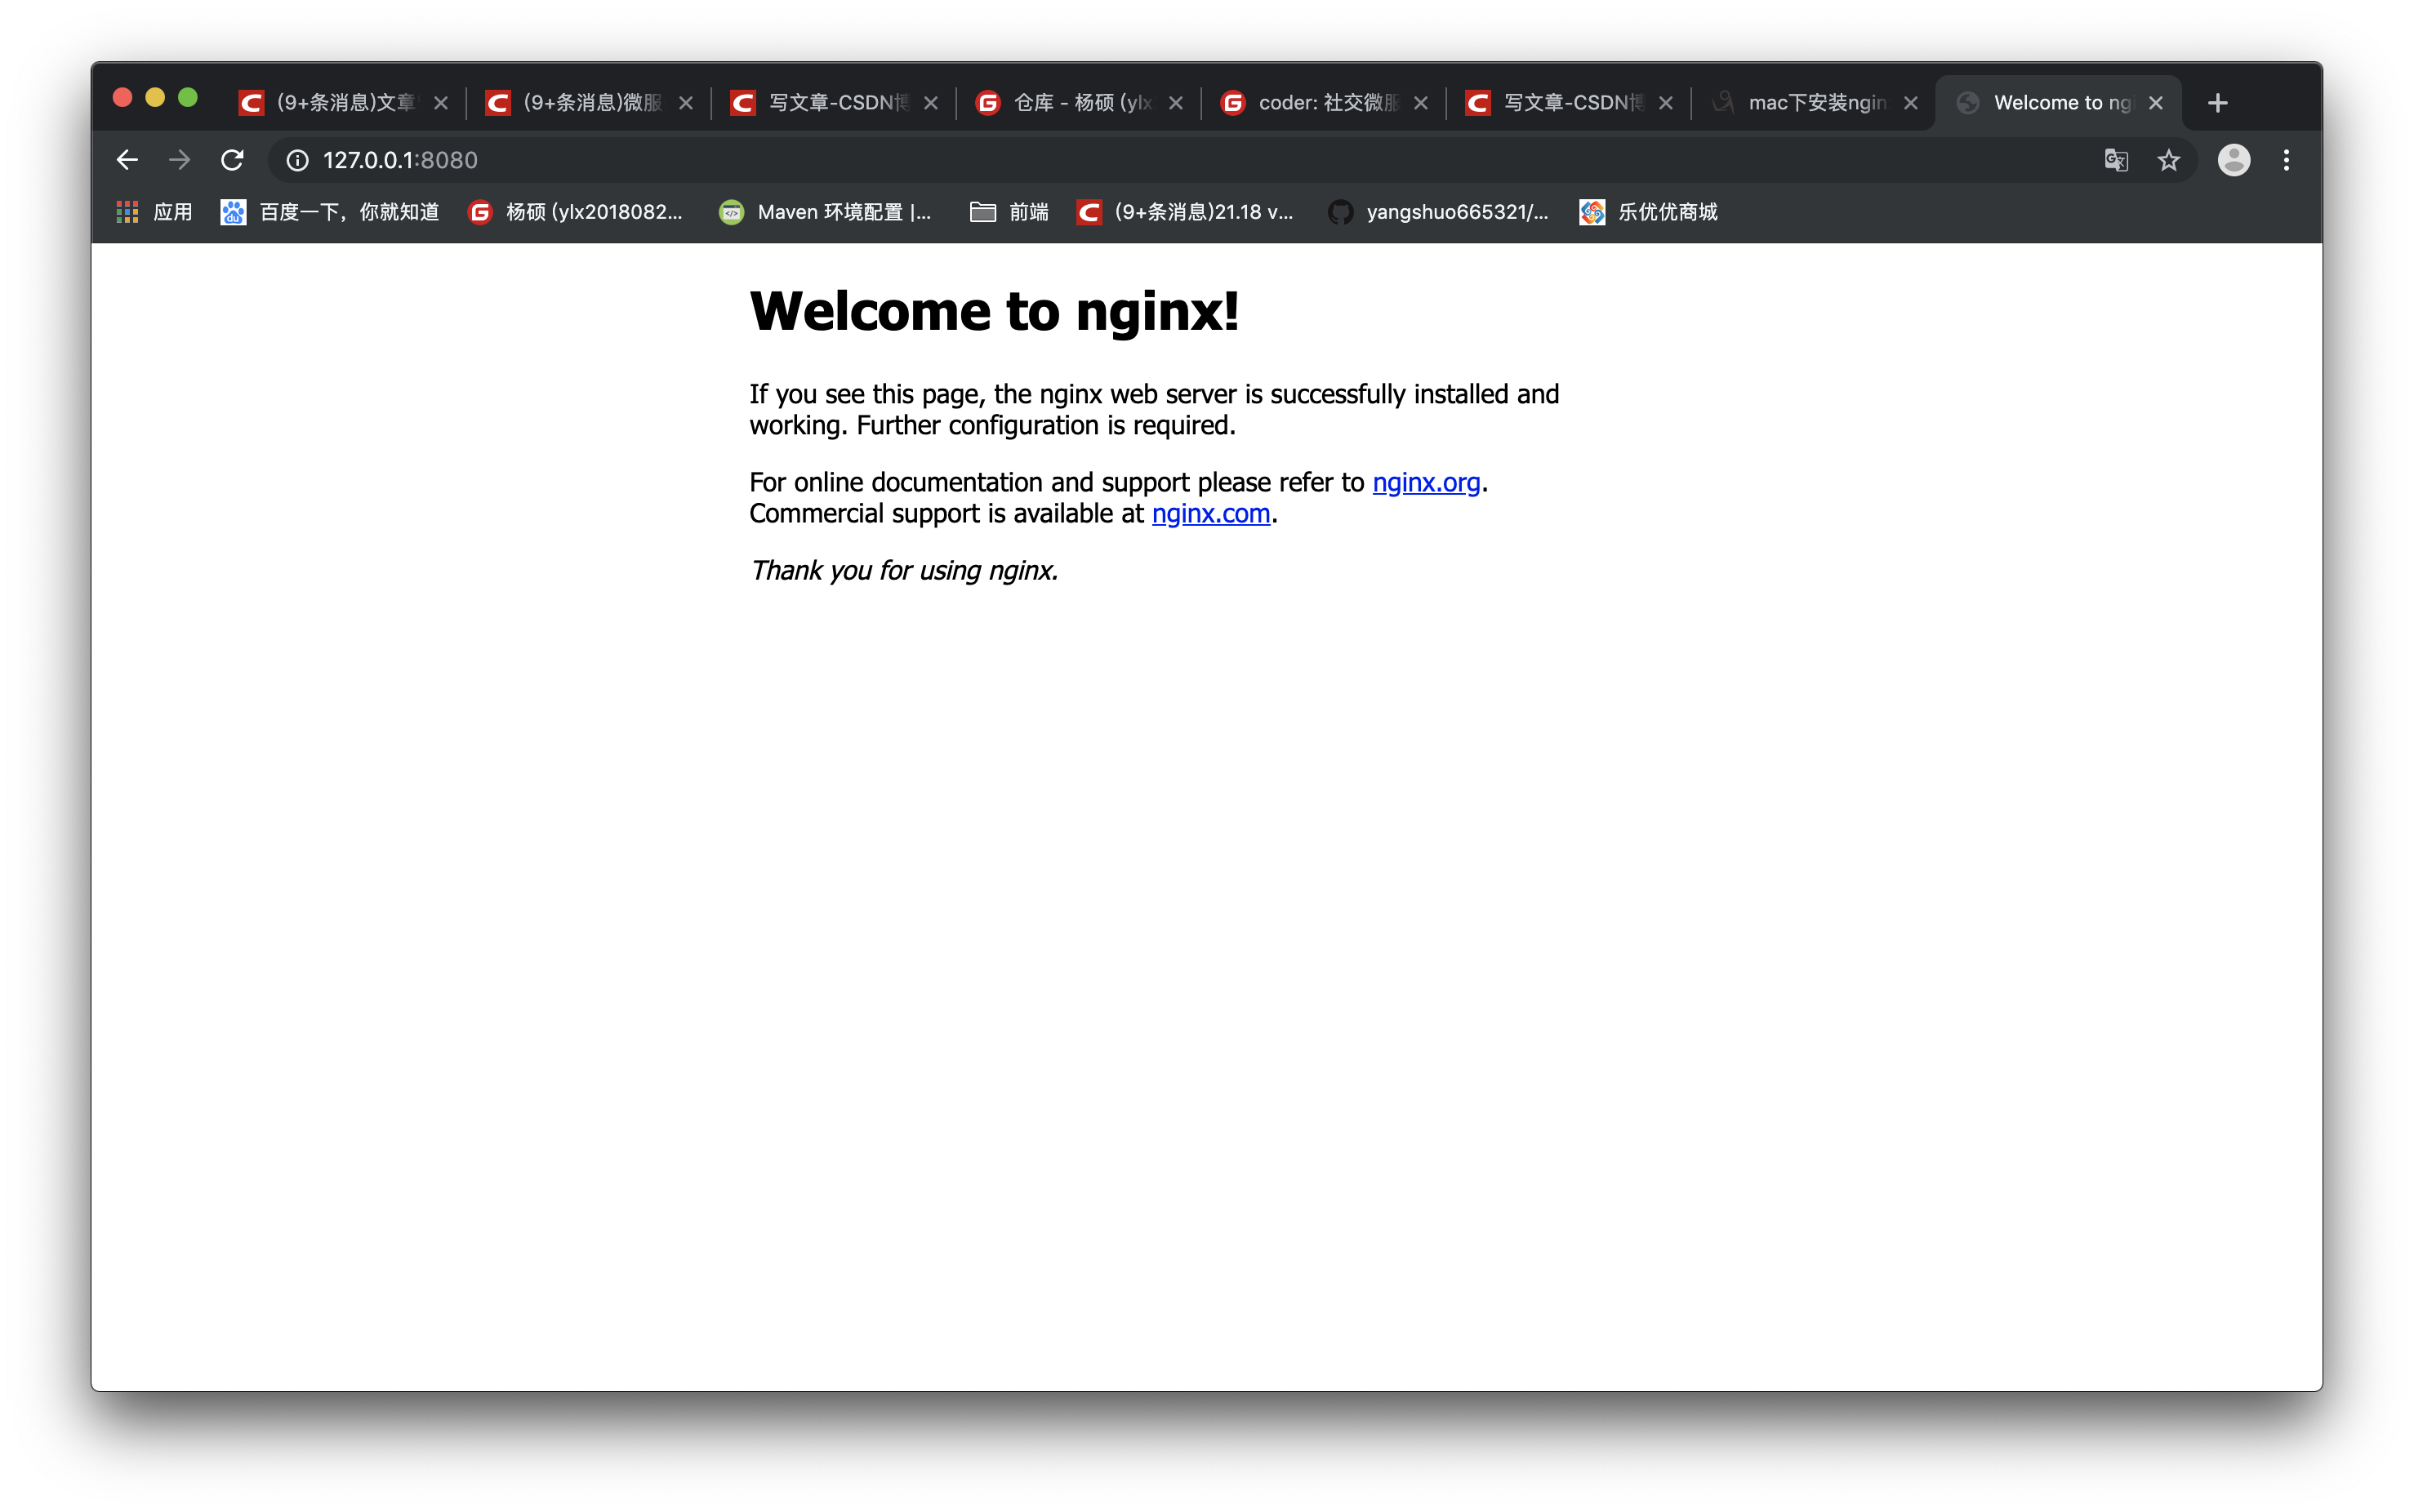
若正常显示:
下面为异常情况:
打开浏览器访问 localhost:8080,这里跟网上的一些教程会有些不一样,正常情况下到这一步就会能看到nginx的欢迎界面啦,然而博主却遇到了坑爹的情况(如果你能正常看到 nginx 欢迎界面,可以直接跳过这一步了)。
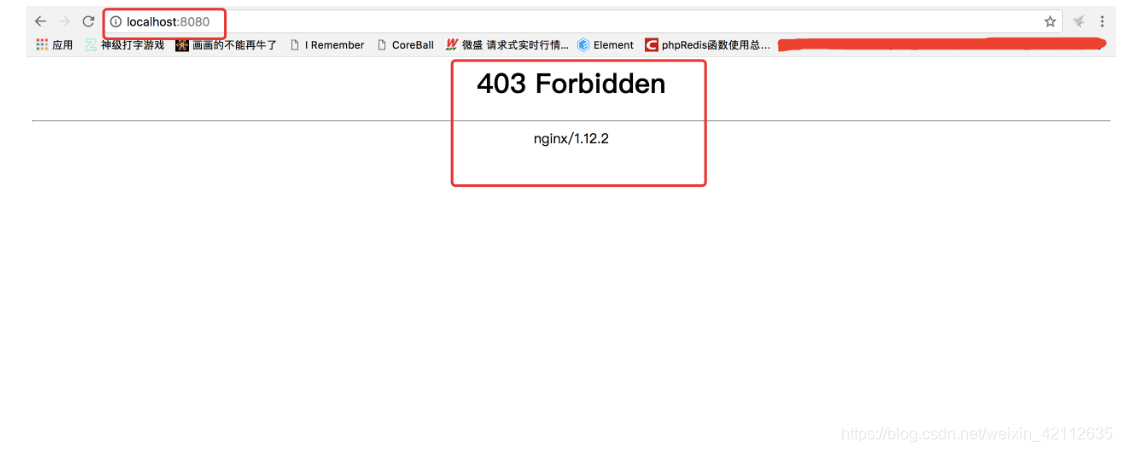
想必这个错误大家都很熟悉了,我就不再多做解释,接下来直接说原因(该原因仅为猜测,因为无从验证):安装的nginx会默认在html(也就是/usr/local/var/www)目录下生成一个欢迎页面文件,而出现上面这种情况就是欢迎页面文件没有生成(至于为什么没有生成就不得而知了,一切都是猜测)。
那在解决这个问题之前,我们先来了解一下nginx的配置文件吧(nginx.conf):
cat /usr/local/etc/nginx/nginx.conf
显示配置文件的代码为:
#user  nobody;
worker_processes  1;

#error_log  logs/error.log;
#error_log  logs/error.log  notice;
#error_log  logs/error.log  info;

#pid        logs/nginx.pid;


events {
    worker_connections  1024;
}


http {
    include       mime.types;
    default_type  application/octet-stream;

    #log_format  main  '$remote_addr - $remote_user [$time_local] "$request" '
    #                  '$status $body_bytes_sent "$http_referer" '
    #                  '"$http_user_agent" "$http_x_forwarded_for"';

    #access_log  logs/access.log  main;

    sendfile        on;
    #tcp_nopush     on;

    #keepalive_timeout  0;
    keepalive_timeout  65;

    #gzip  on;

    server {
     #侦听8080端口
        listen       8080;
     #定义使用 localhost访问
        server_name  localhost;

        #charset koi8-r;

        #access_log  logs/host.access.log  main;

        location / {
       #定义服务器的默认网站根目录位置
            root   html;
        #定义首页索引文件的名称
            index  index.html index.htm;
        }
     ...
     ...
     ... (注释代码太多,就不全部贴出来了)

    include servers/*;
}
通过配置文件我们可以看到其默认的网站根目录为html(即/usr/local/var/www),而默认的索引文件为index.html 和 index.htm,这下就找到原因了,原来我们的根目录少了首页索引文件,那就来手动创建一个吧:
cd /usr/local/var/www/                      //进入到www目录下
touch index.html                            //创建一个新的index.html文件
vim index.html                              //编辑该文件
将如下代码写入index.html文件中:
<!DOCTYPE html>
<html lang="en">
<head>
<meta charset="UTF-8">
<title>title</title>
</head>
<body>
<div>
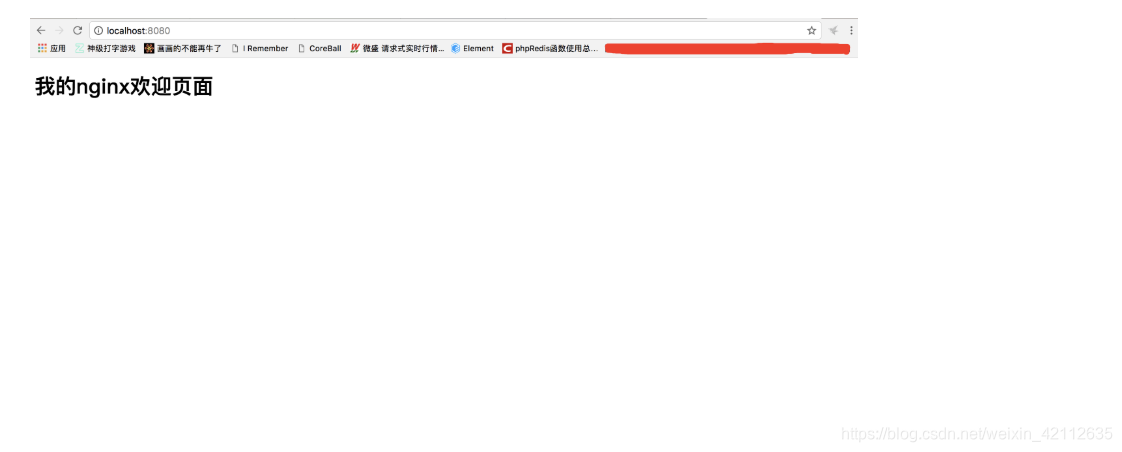
<h1>我的nginx欢迎页面</h1>
</div>
</body>
</html>
按esc键,输入:wq推出编辑并保存(这个相信大家都会,但还是强迫症的写上了)。
回到浏览器(localhost:8080)刷新:
4 Linux 安装 Nginx
官方网站:http://nginx.org/
4.1 环境准备
CentOS7 关闭防火墙:
systemctl stop firewalld # 临时关闭
systemctl disable firewalld # 禁止开机启动
1. 安装
gccgcc-c++
yum install -y gcc gcc-c++
2. 安装
wget
yum -y install wget
3. 安装
PCRE库
yum install -y pcre pcre-devel
5. 安装
SSL库
yum install -y openssl openssl-devel
6. 安装
zlib库存
yum install -y zlib zlib-devel
4.2 安装 Nginx
cd /usr/local/
wget http://nginx.org/download/nginx-1.16.1.tar.gz
tar -zxvf nginx-1.16.1.tar.gz
cd nginx-1.16.1
./configure \
--prefix=/usr/local/nginx \
--pid-path=/var/run/nginx/nginx.pid \
--lock-path=/var/lock/nginx.lock \
--error-log-path=/var/log/nginx/error.log \
--http-log-path=/var/log/nginx/access.log \
--with-http_gzip_static_module \
--http-client-body-temp-path=/var/temp/nginx/client \
--http-proxy-temp-path=/var/temp/nginx/proxy \
--http-fastcgi-temp-path=/var/temp/nginx/fastcgi \
--http-uwsgi-temp-path=/var/temp/nginx/uwsgi \
--http-scgi-temp-path=/var/temp/nginx/scgi
make && make install
注意:编译好的
nginx在/usr/local/nginx/下面
[root@docker nginx-1.16.1]# cd /usr/local/nginx/
[root@docker nginx]# ll
total 4
drwxr-xr-x. 2 root root 4096 Dec  7 23:59 conf       # 配置文件
drwxr-xr-x. 2 root root   40 Dec  7 23:59 html       # 根目录欢迎页
drwxr-xr-x. 2 root root   19 Dec  7 23:59 sbin       # nginx 启动命令
[root@docker nginx]#
4.3 启动 Nginx
cd /usr/local/nginx/sbin/
./nginx
[root@docker ~]# cd /usr/local/nginx/sbin/
[root@docker sbin]# ./nginx
nginx: [emerg] mkdir() "/var/temp/nginx/client" failed (2: No such file or directory)
[root@docker sbin]#
注意:启动 nginx 之前,上边将临时文件目录指定为
/var/temp/nginx,需要在/var下创建temp及nginx目录
[root@localhost sbin]# mkdir /var/temp/nginx/client -p
启动
nginx:
./nginx
查看进程:
ps aux | grep nginx
[root@docker sbin]# ps aux | grep nginx
root       4382  0.0  0.0  20556   616 ?        Ss   00:06   0:00 nginx: master process ./nginx
nobody     4383  0.0  0.0  21008  1344 ?        S    00:06   0:00 nginx: worker process
root       4386  0.0  0.0 112708   976 pts/0    S+   00:07   0:00 grep --color=auto nginx
[root@docker sbin]#
ps aux:查看所有进程grep nginx:过滤出 nginx
杀死进程方式关闭
nginx
kill -9 4382
关闭 nginx:
[root@localhost sbin]# ./nginx -s stop
推荐使用:
[root@localhost sbin]# ./nginx -s quit
重启
nginx:
1、先关闭后启动;
2、刷新配置文件:
./nginx -s reload
[root@localhost sbin]# ./nginx -s reload
访问
nginx
默认是 80 端口。
**注意:**是否关闭防火墙。
5 Nginx 应用场景
1、HTTP 服务器。Nginx 是一个 http 服务可以独立提供 http 服务。可以做网页静态服务器。
2、虚拟主机。可以实现在一台服务器虚拟出多个网站,例如个人网站使用的虚拟机。
3、反向代理,负载均衡。当网站的访问量达到一定程度后,单台服务器不能满足用户的请求时,需要用多台服务器集群可以使用 nginx 做反向代理。并且多台服务器可以平均分担负载,不会应为某台服务器负载高宕机而某台服务器闲置的情况。
4、nginx 中也可以配置 安全管理、比如可以使用 Nginx 搭建 API 接口网关,对每个接口服务进行拦截。
6 Nginx 目录结构
Nginx-
|_  conf   配置目录
|_  contrib
|_  docs 文档目录
|_  logs  日志目录
|_  temp 临时文件目录
|_  html 静态页面目录
|_  nginx.exe 主程序
7 Nginx 静态资源
静态资源访问 存放在 nginx 的 html 页面
