Yolov8 has been out for several months, and the minor versions of yolov8 have been upgraded several times since it first came out. The overall changes are not big, and the storage locations of individual files have changed. Let’s learn and use YOLOv8 in detail with the latest version of YOLOv8. Target Detection.
1. The environment is in accordance with
The construction of the deep learning environment will not be repeated. You can check the previous article:How to install Anaconda. After installation, use the conda command to create it. A new environment, this environment also needs to contain PyTorch>=1.8, the command is as follows:
-- 创建环境
conda create -n yolov8 python=3.8

-- 激活环境
conda activate yolov8
Install dependencies:
pip install ultralytics

--验证环境是否安装成功
yolo predict model=yolov8n.pt source='https://ultralytics.com/images/bus.jpg'
After installing ultralytics, you can use yolov8 for target detection through commands. To use the command, you can refer to the quick start tutorial on the YOLO official website:YOLO official website quick start tutorial< a i=2>, but we don’t just want to use the official model weights, but we want to train and improve it as our own data set, so we need to download the source code to run and improve it
Yolov8 source code download:
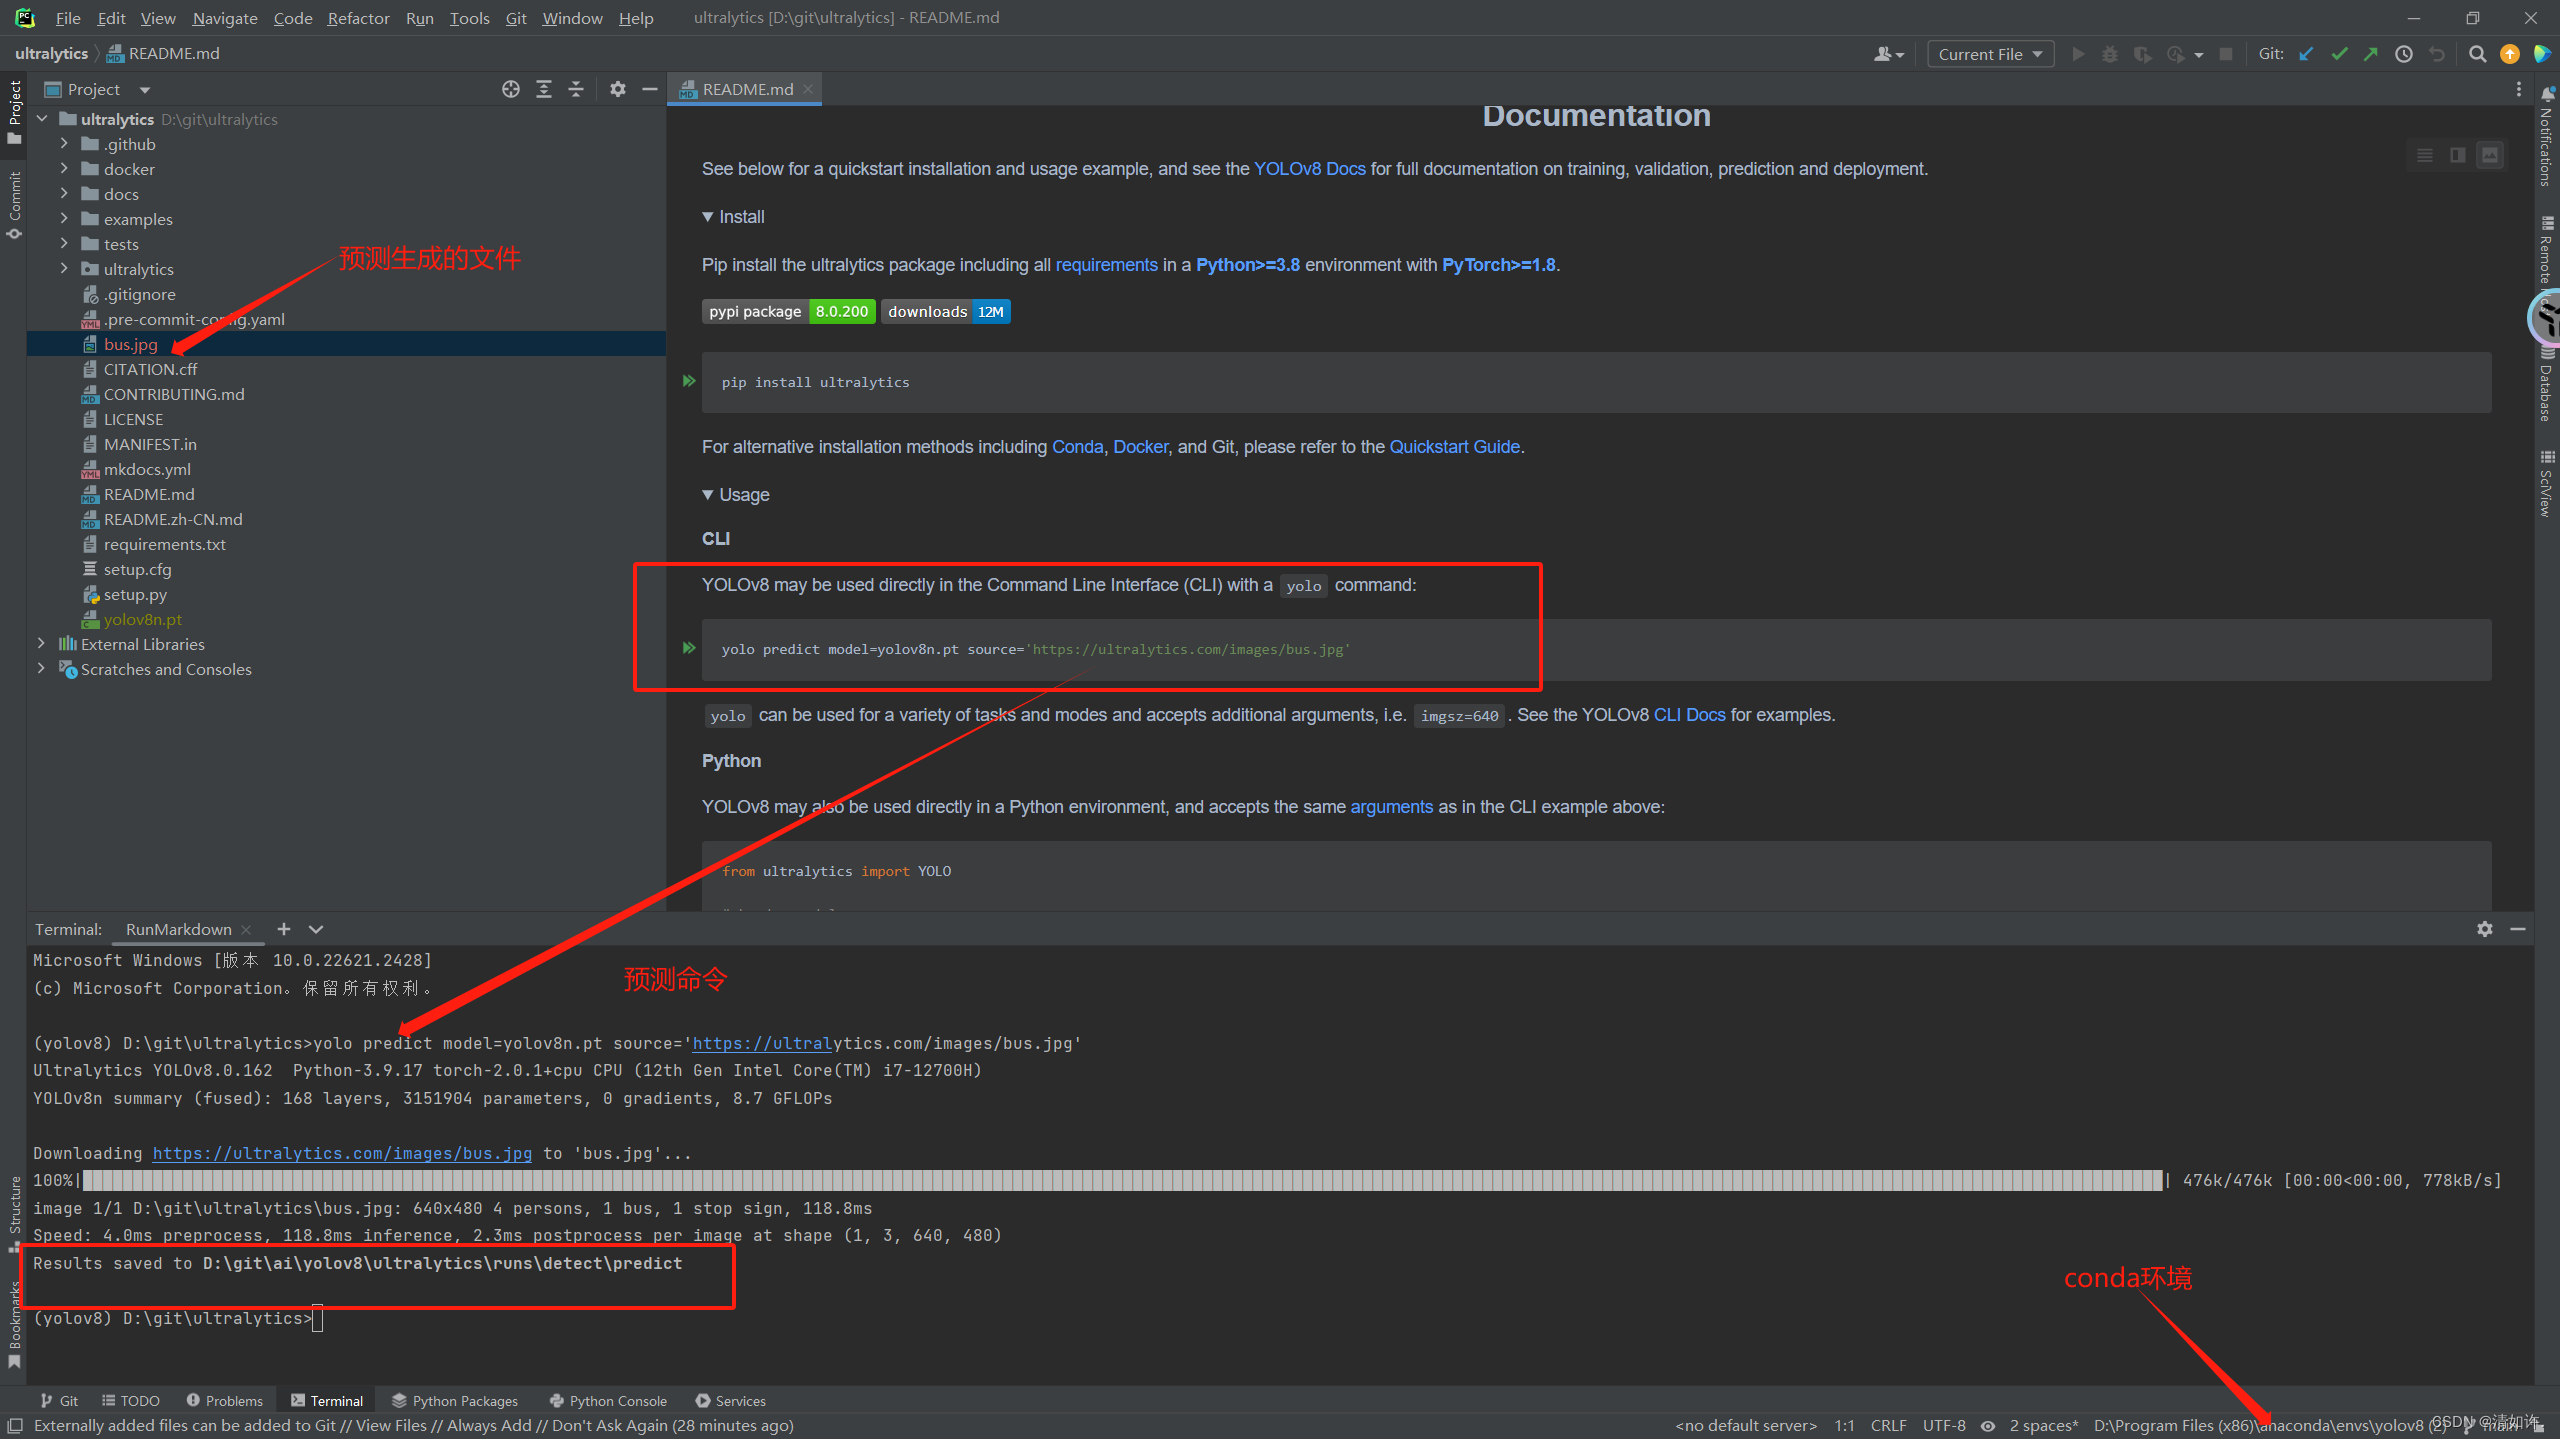
It can be seen that my environment has been configured, the running results are normal, and the running results are saved in D:\git\ai\yolov8\ultralytics\runs\detect\predict
2. Make your own data set
2.1 Preparation
Create a data folder in the ultralytics directoryCreate a data folder, and then create four new folders. First, explain how these four folders are used. What is it here for? I will add the content that needs to be added to it one by one later.
- Annotations folder: used to store xml files that are annotated with each image using labelimg. I will explain how to use labelimg for annotation later.
- Images folder: used to store the original data set images that need to be trained. The image format is jpg format.
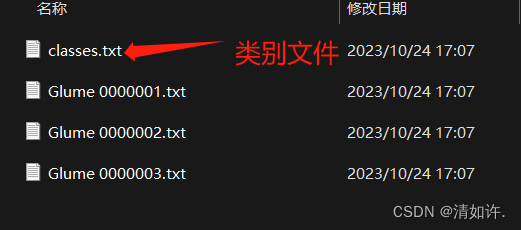
- ImageSets folder: used to store files used for training, verification, and testing after dividing the data set.
- Labels folder: used to store label files in txt format after converting label files in xml format.
First create the corresponding folder in the root directory. The final effect is as shown in the figure:

2.2 Prepare data set
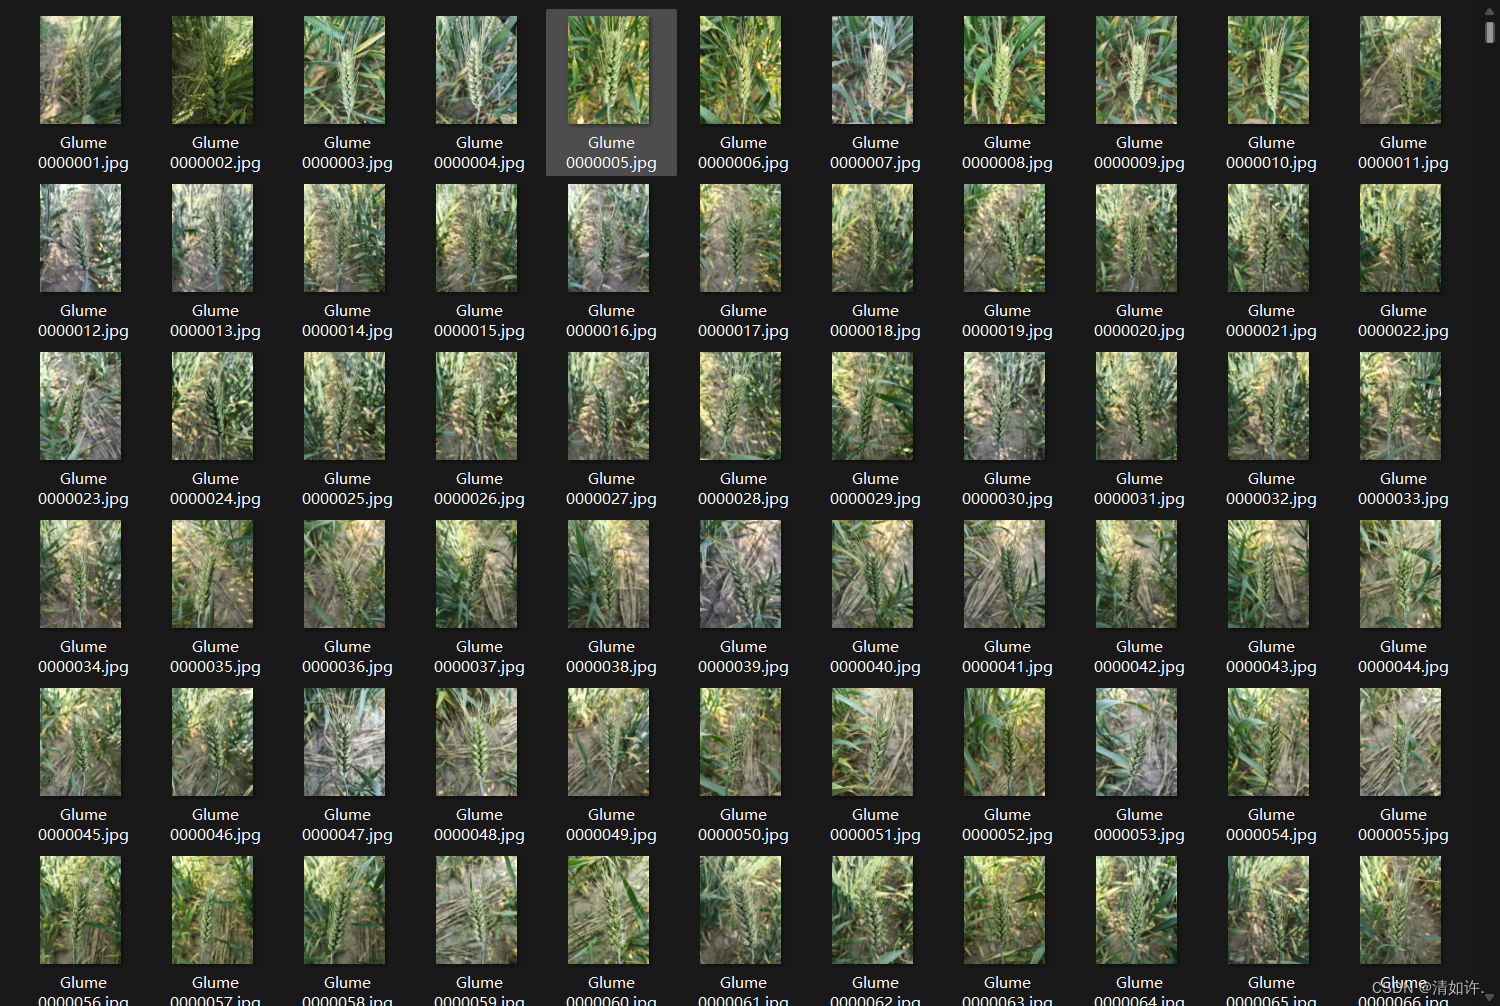
What I am doing is about wheat disease detection. Based on the collected data sets, wheat diseases are divided into 7 categories, namely powdery mildew, scab, leaf rust, stripe rust, globulus blight, normal wheat ears, and normal wheat leaves. . The picture below is part of the data set. A total of more than 4,000 original pictures were prepared, about 600 of each category. A very efficient renaming method will be used here, so there is no need to rename pictures one by one. The code for batch renaming is as follows. Once the 4000 pictures are ready, just put them in the images folder.
Python batch rename:
import os
class BatchRename():
    '''
    批量重命名文件夹中的图片文件
    '''
    def __init__(self):
        self.path = 'D:\git\ultralytics\data\images'   #表示需要命名处理的文件夹
        self.new_path='D:\git\ultralytics\data\images\new'
    def rename(self):
        filelist = os.listdir(self.path)    #获取文件夹中文件的所有的文件
        total_num = len(filelist)           #获取文件长度(个数)
        i = 1  #表示文件的命名是从1开始的
        for item in filelist:
            if 1:  #初始的图片的格式为jpg格式的(或者源文件是png格式及其他格式,后面的转换格式就可以调整为自己需要的格式即可)
                src = os.path.join(os.path.abspath(self.path), item)     #连接两个或更多的路径名组件
                # dst = os.path.join(os.path.abspath(self.new_path), ''+str(i) + '.jpg')#处理后的格式也为jpg格式的,当然这里可以改成png格式
                dst = os.path.join(os.path.abspath(self.path), 'wheat' + format(str(i), '0>3s') + '.jpg')    #这种情况下的命名格式为0000000.jpg形式,可以自主定义想要的格式
                try:
                    os.rename(src, dst)    #src – 要修改的目录名      dst – 修改后的目录名
                    print('converting %s to %s ...' % (src, dst))
                    i = i + 1
                except:
                    continue
        print ('total %d to rename & converted %d jpgs' % (total_num, i))

if __name__ == '__main__':
    demo = BatchRename()
    demo.rename()
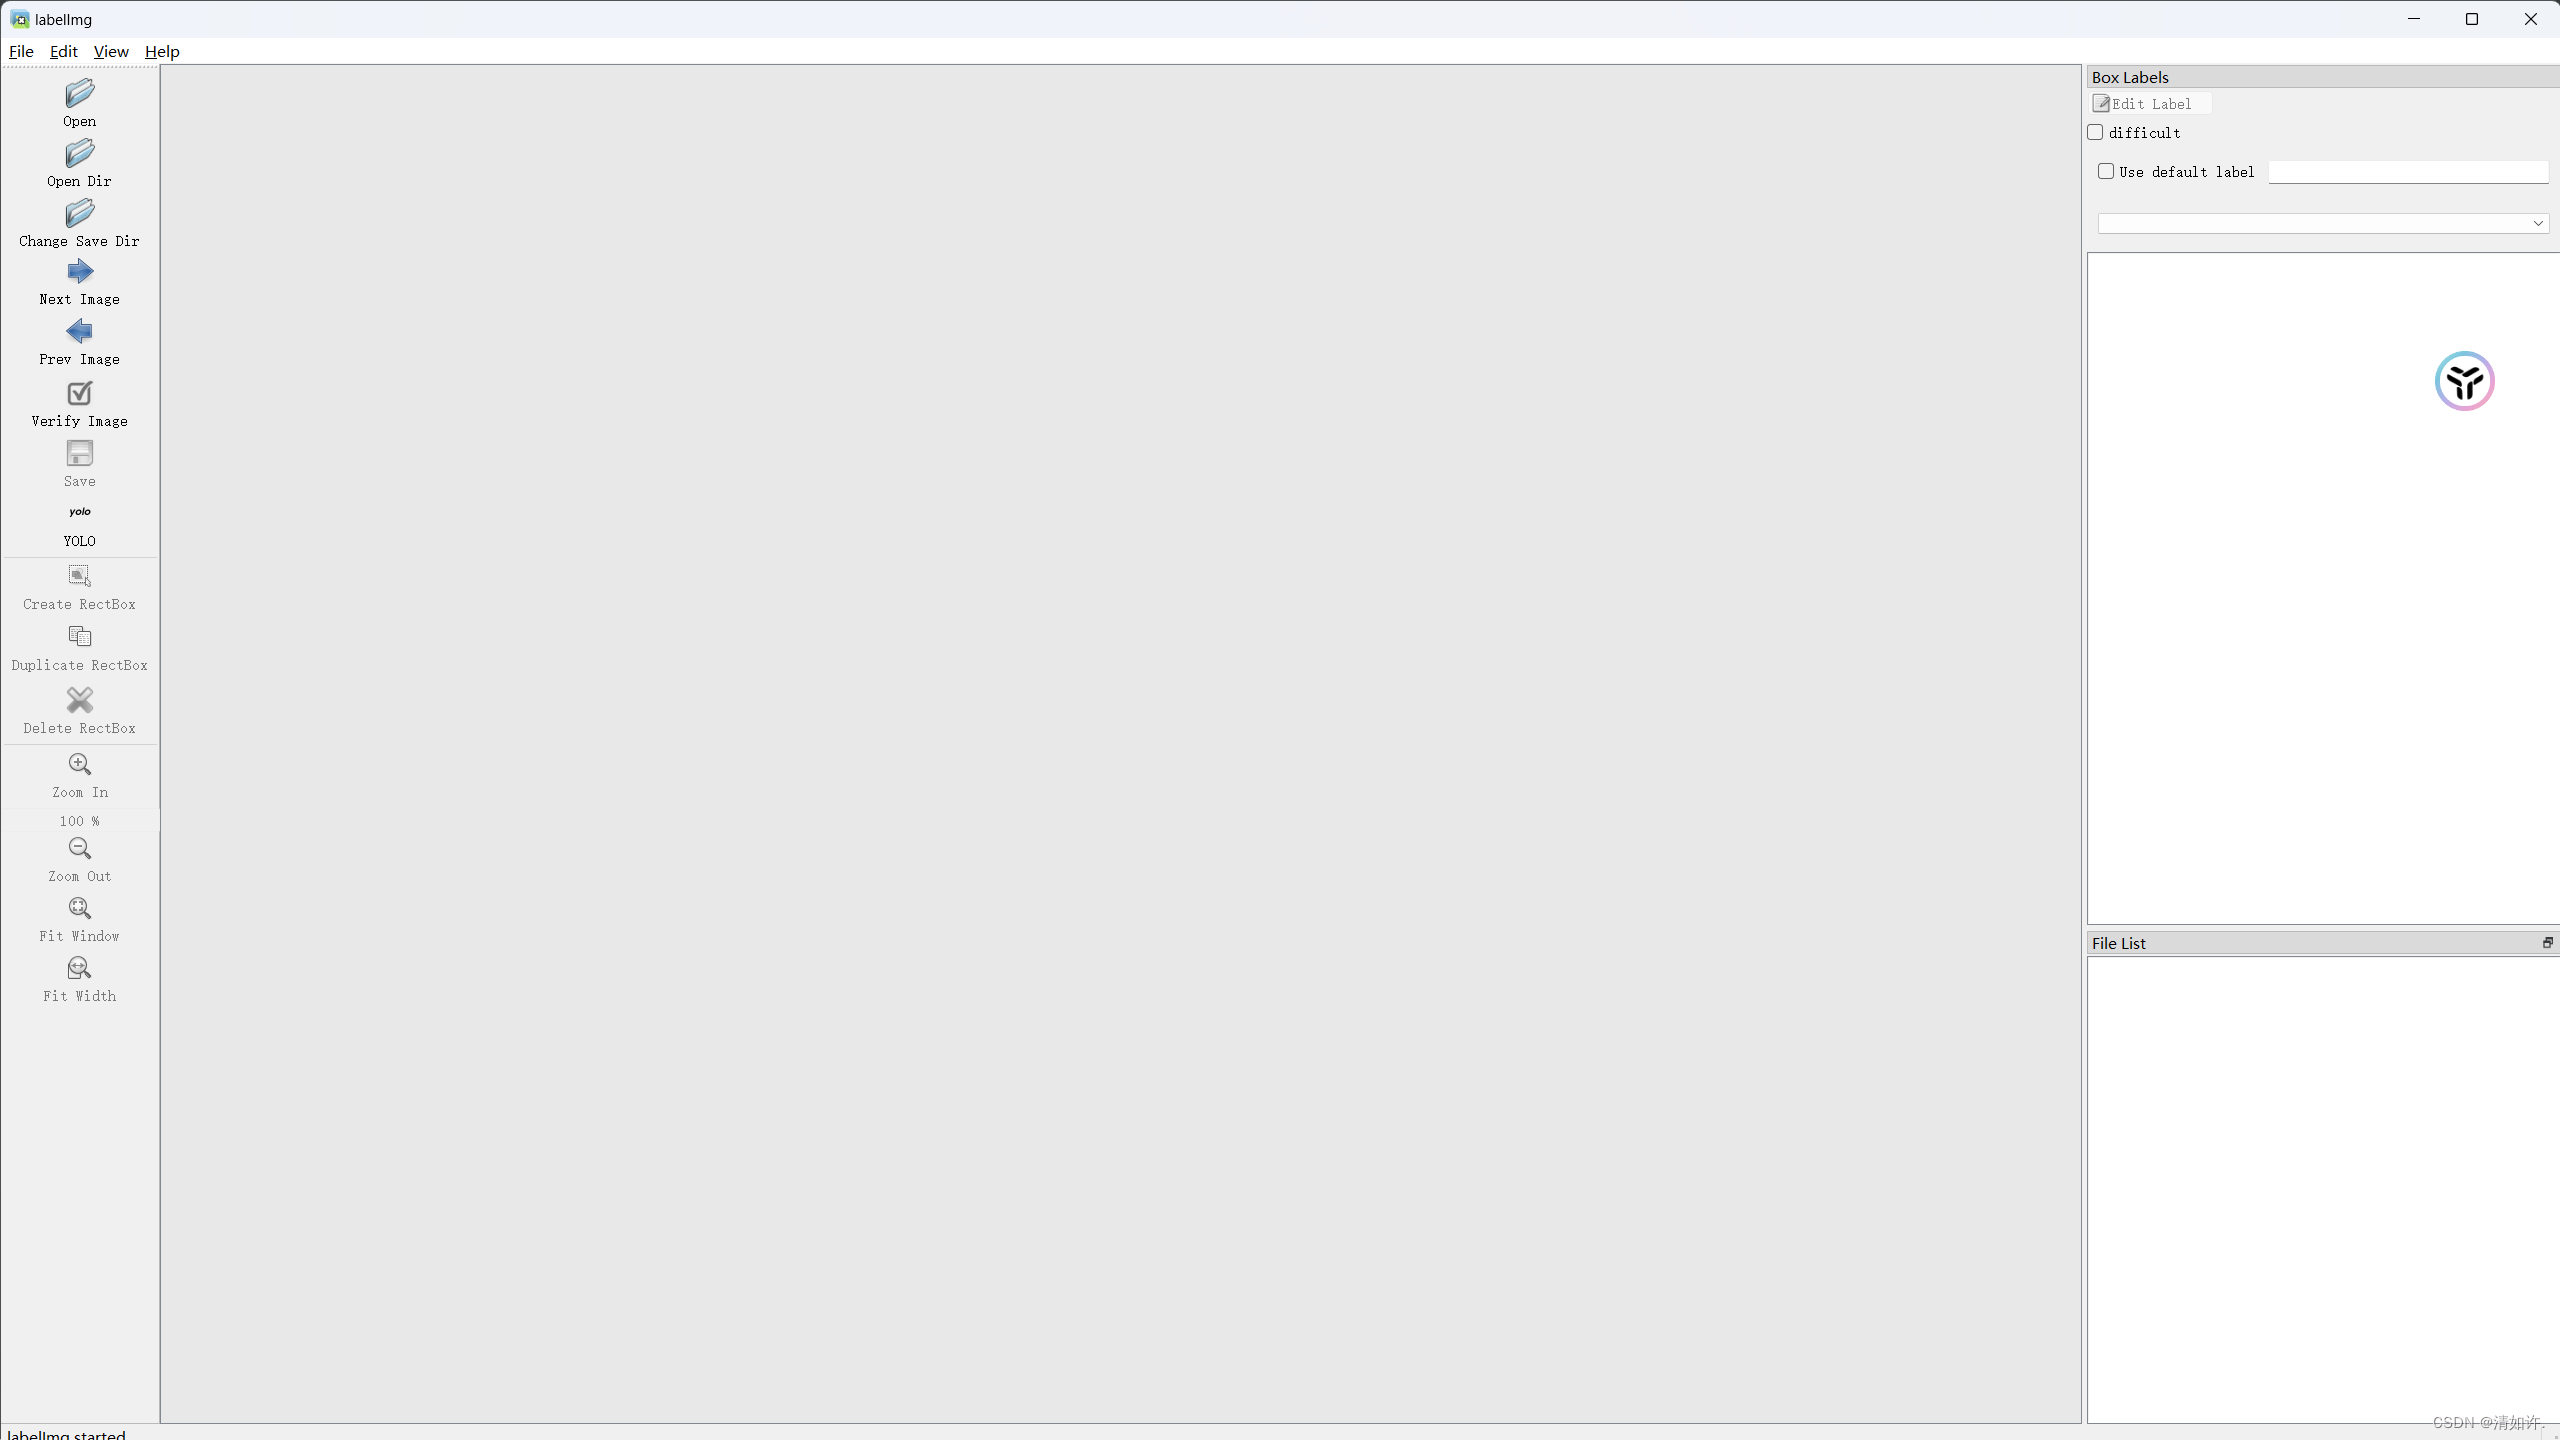
2.3 Use labelimg for labeling
The installation of labelimg is very simple, just use the pip command to install it directly
安装labelimg

pip install labelimg

启动
labelimg
Labelimg is an image annotation tool. The software is very simple to use. After successful installation, enter labelimg to start it directly.
Instructions for use:
(1) Open means opening pictures. We don’t need to open them one by one. It’s too troublesome. Use the Open Dir below.
(2) Open Dir is to open the folder of the pictures that need to be annotated. Here, select the images folder.
(3) Change save dir is the location where the mark file is saved after marking. Select the folder where the mark information needs to be saved. Here, select the Annotations folder.
(4) Pay special attention to the need to select the type of annotation file required. There are two types: yolo (txt) and pascalVOC (xml). yolo requires annotation files in txt file format, but here we choose pascalVOC, and then convert the annotation files in xml format into the required txt format.
(5) Press the W key or click Create\nRectBox to start creating a rectangular frame. Just mark the area to be trained for recognition. After selecting the frame, we select the category (predefined_classes file, in which the type to be trained is written in advance. Reason), after all the targets of the entire picture are marked, press Ctrl+S or click Save to save, then switch to the next picture to continue. The shortcut key is to press the D key. Each picture must be saved after being marked. This process is A rather cumbersome process
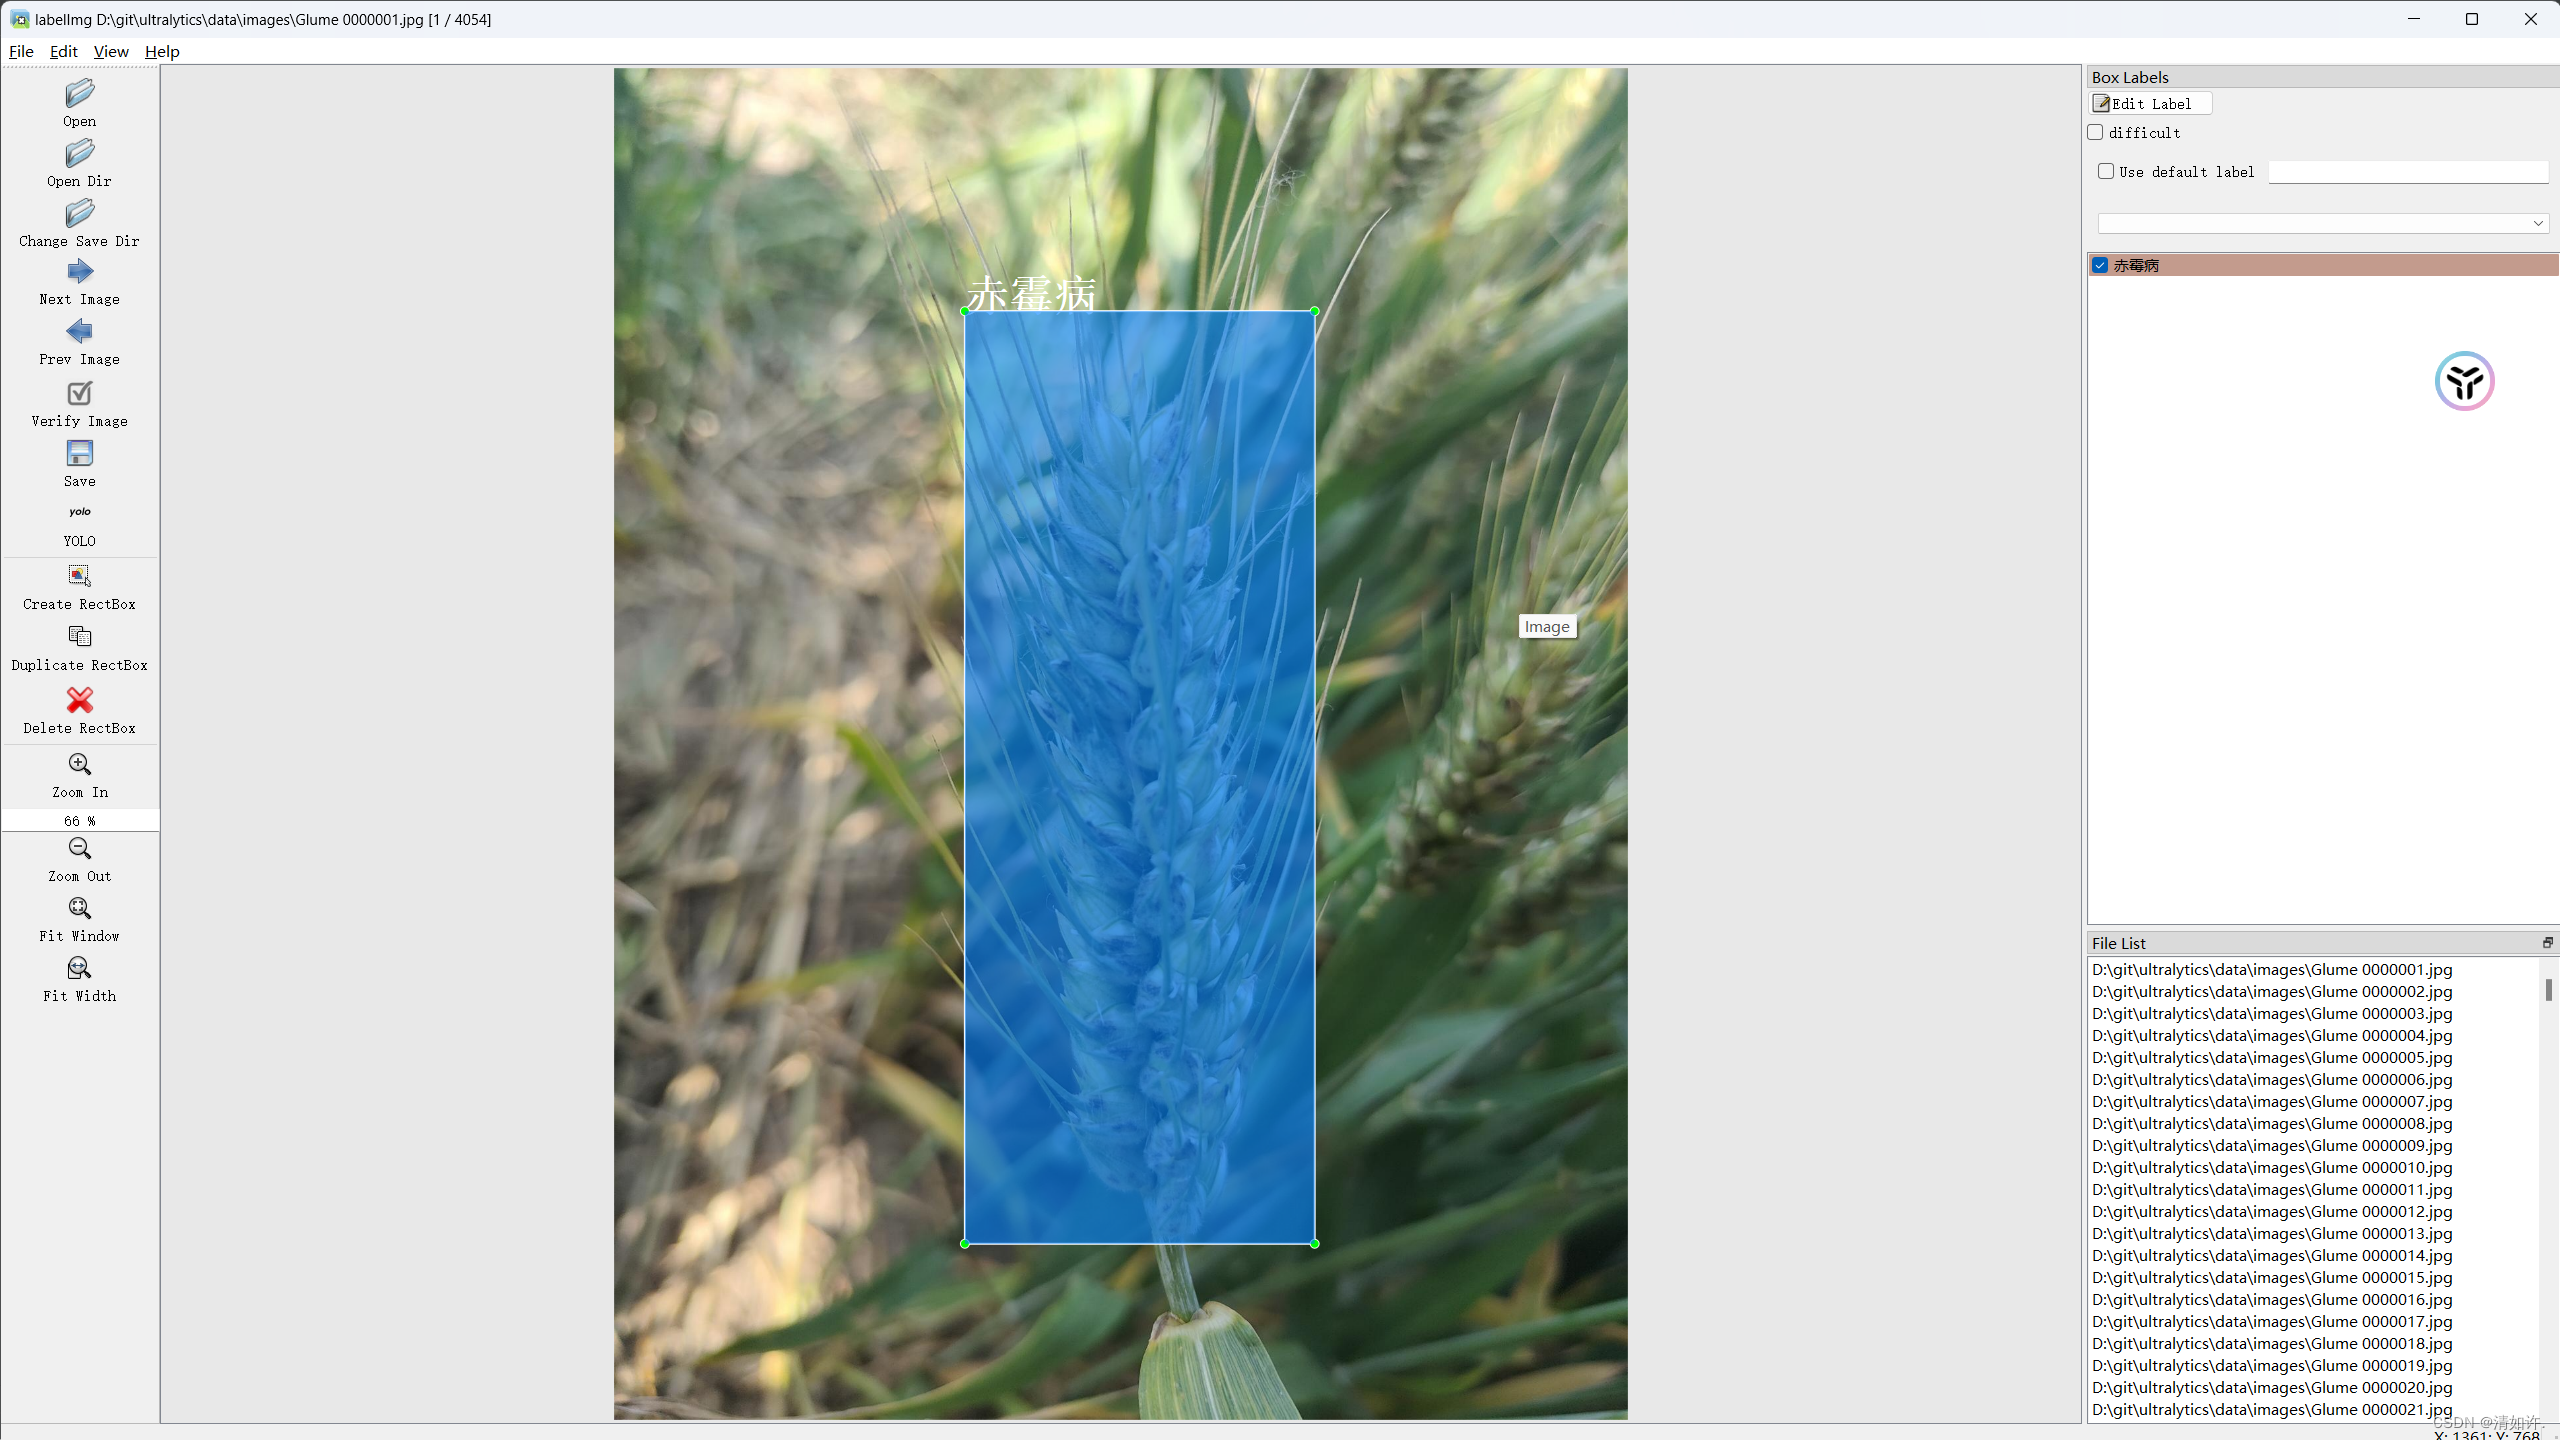
After all the targets of the entire picture are marked, press Ctrl+S or click Save to save, then switch to the next picture to continue. The shortcut key is to press the D key. Each picture must be saved after being marked. This process is quite cumbersome. the process of.
The effect after annotation is shown in the figure below. The corresponding xml file will be generated in the target directory.
2.4 4. Division of data set
Create a script in the root directory of ultralytics and create a split_train_val.py file. After running the file, the data set will be divided into training set, verification set, and test set under the imageSets folder. What is stored in it is for training, verification, The name of the test image. The code content is as follows:
import os
import random


trainval_percent = 0.9
train_percent = 0.9
xmlfilepath = 'data/Annotations'
txtsavepath = 'data/ImageSets'
total_xml = os.listdir(xmlfilepath)

num = len(total_xml)
list = range(num)
tv = int(num * trainval_percent)
tr = int(tv * train_percent)
trainval = random.sample(list, tv)
train = random.sample(trainval, tr)

ftrainval = open('data/ImageSets/trainval.txt', 'w')
ftest = open('data/ImageSets/test.txt', 'w')
ftrain = open('data/ImageSets/train.txt', 'w')
fval = open('data/ImageSets/val.txt', 'w')

for i in list:
    name = total_xml[i][:-4] + '\n'
    if i in trainval:
        ftrainval.write(name)
        if i in train:
            ftrain.write(name)
        else:
            fval.write(name)
    else:
        ftest.write(name)

ftrainval.close()
ftrain.close()
fval.close()
ftest.close()
2.5 5. Convert data set format
Create the voc_label.py file. Its functions: (1) Convert the xml format label file in Annoctions into a txt format label file. Each image corresponds to a txt file. Each line of the file contains information about a target, including class. , x_center, y_center, width, height.
(2) After running, in addition to generating txt files of 60 images in the converted labels folder, three txt files containing the data set path, train.tx, tes.txt, and val, will also be obtained in the data folder. The three txt files .txt are the absolute paths to the locations of the divided images. For example, train.txt contains the absolute paths of all training set images.
import xml.etree.ElementTree as ET
import os
from os import getcwd

sets = ['train', 'val', 'test']
classes = ['High Ripeness','Low Ripeness','Medium Ripeness']
abs_path = os.getcwd()
print(abs_path)

def convert(size, box):
    dw = 1. / (size[0])
    dh = 1. / (size[1])
    x = (box[0] + box[1]) / 2.0 - 1
    y = (box[2] + box[3]) / 2.0 - 1
    w = box[1] - box[0]
    h = box[3] - box[2]
    x = x * dw
    w = w * dw
    y = y * dh
    h = h * dh
    return x, y, w, h

def convert_annotation(image_id):
    in_file = open('data/Annotations/%s.xml' % (image_id), encoding='UTF-8')
    out_file = open('data/labels/%s.txt' % (image_id), 'w')
    tree = ET.parse(in_file)
    root = tree.getroot()
    size = root.find('size')
    w = int(size.find('width').text)
    h = int(size.find('height').text)
    for obj in root.iter('object'):
        # difficult = obj.find('difficult').text
        difficult = obj.find('difficult').text
        cls = obj.find('name').text
        if cls not in classes or int(difficult) == 1:
            continue
        cls_id = classes.index(cls)
        xmlbox = obj.find('bndbox')
        b = (float(xmlbox.find('xmin').text), float(xmlbox.find('xmax').text), float(xmlbox.find('ymin').text),
             float(xmlbox.find('ymax').text))
        b1, b2, b3, b4 = b
        # 标注越界修正
        if b2 > w:
            b2 = w
        if b4 > h:
            b4 = h
        b = (b1, b2, b3, b4)
        bb = convert((w, h), b)
        out_file.write(str(cls_id) + " " + " ".join([str(a) for a in bb]) + '\n')

wd = getcwd()
for image_set in sets:
    if not os.path.exists('data/labels/'):
        os.makedirs('data/labels/')
    image_ids = open('data/ImageSets/%s.txt' % (image_set)).read().strip().split()
    list_file = open('data/%s.txt' % (image_set), 'w')
    for image_id in image_ids:
        list_file.write(abs_path + 'data/images/%s.jpg\n' % (image_id))
        convert_annotation(image_id)
    list_file.close()
2.6 Write data set configuration file
Create wheat.yaml
The content is as follows, and its file path is exactly the division configuration set file generated above
nc represents the number of categories, such as my Here are 7 categories
names are the names of each category
train: D:\git\ai\yolov8\data\train.txt
val: D:\git\ai\yolov8\data\val.txt
test: D:\git\ai\yolov8\data\test.txt

nc: 7
names:
  0: Powdery Mildew  # 白粉病
  1: Scab            # 赤霉病
  2: Leaf Rust       # 叶锈病
  3: Stripe Rust     # 条锈病
  4: Glume Blotch    # 颖枯病
  5: Wheat Ear       # 正常麦穗
  6: Wheat Leaf      # 正常麦叶
At this point, the data set is ready! Let’s start training next
3. Train your own data set
3.1 Command line operation
(1) yolo provides its own command mode, which is very convenient in adjusting parameters and can be completed directly with commands.
yolo train data=你的配置文件(xx.yaml)的绝对路径 model=yolov8n.pt epochs=300 imgsz=640 batch=8 workers=0 device=0
(3) The training process will first display the hardware device information you are using for training, then the next paragraph will be your parameter configuration, followed by the backbone information, and finally the loading information and inform you of the training results. The results will be saved in runs\detect\trainxx. As shown in the picture, if it is normal, the following information will be output
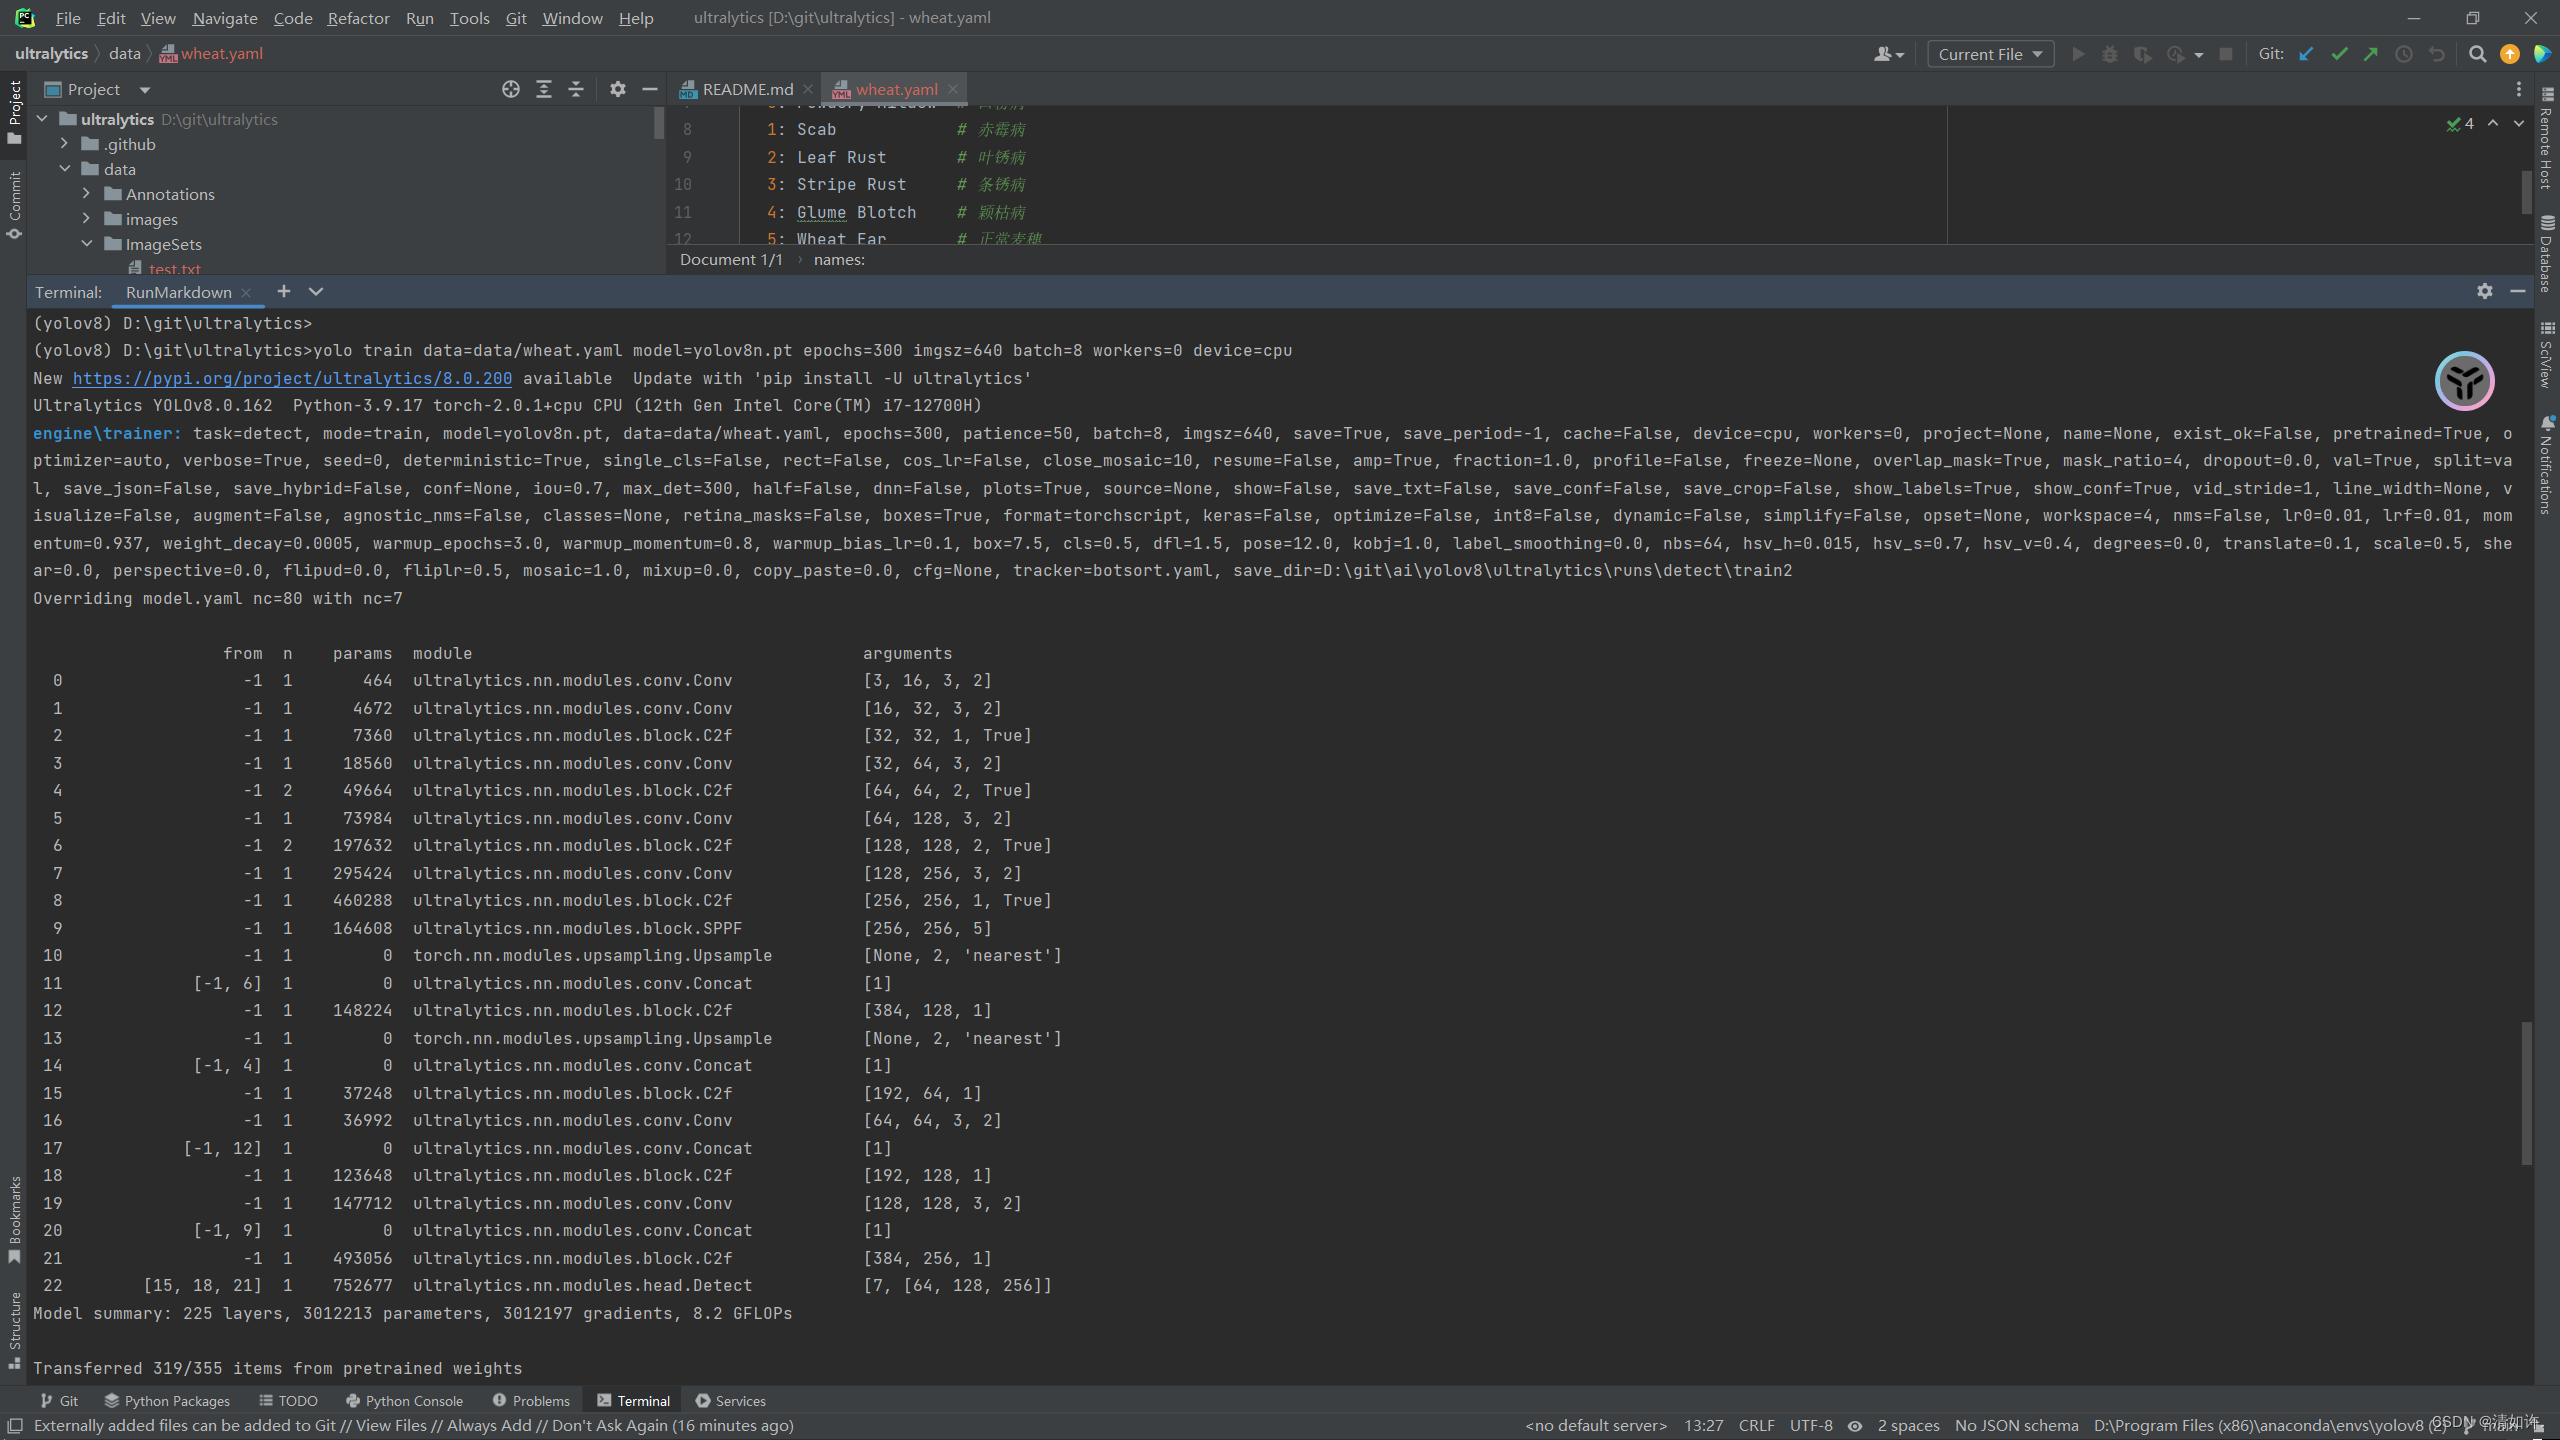
and then training can start!
3.2 File operation
Create the train.py file in the project and directory
from ultralytics import YOLO

if __name__ == '__main__':
    # 加载模型
    model = YOLO("D:/git/ultralytics/ultralytics/cfg/models/v8/yolov8.yaml")

    # 训练模型
    results = model.train(data="D:/git/ultralytics/data/wheat.yaml",
                          resume=True,
                          epochs=100,
                          project='wheat',
                          patience=30,
                          name='wheat-yolov8n-100',
                          amp=False)
Then run it directly to start training. This is the same as running from the command line, except that it is clearer and the parameters are clearer. Specific parameter descriptions are shown in the following table:
First, list all the parameters provided by the official website:https://docs.ultralytics.com/modes/train/
Some of the more commonly used parameters:
| key | explain |
|---|---|
| model | The passed in model.yaml file or model.pt file is used to build the network and initialize. The difference is that if only the yaml file is passed in, the parameters will be randomly initialized. |
| data | Configuration yaml file of training data set |
| epochs | Training rounds, default 100 |
| patience | The number of rounds for early stop training and observation is 50 by default. If there is no accuracy improvement in 50 rounds, the model will stop training directly. |
| batch | Training batch, default 16 |
| imgs | Training image size, default 640 |
| save | Save the training process and training weights, enabled by default |
| save_period | During the training process, the training model is saved every x rounds, the default is -1 (not enabled) |
| cache | Whether to use ram for data loading. Setting True will speed up training, but this parameter consumes very much memory and is generally set by servers. |
| device | The device to run on, i.e. cuda device =0 or Device =0,1,2,3 or device=cpu |
| workers | The number of threads to load data. Windows is generally 4, and the server can be larger. This parameter on Windows may cause thread errors. If you find that thread errors are reported, you can try to reduce this parameter. This parameter defaults to 8, and most of them need to be reduced. |
| project | The name of the project folder, defaults to runs |
| name | Used to save the training folder name, default exp, accumulated in sequence |
| exist_ok | Whether to overwrite the existing save folder, default is False |
| pretrained | Whether to load pre-trained weights, default is Flase |
| optimizer | Optimizer selection, default SGD, optional [SGD, Adam, AdamW, RMSProP] |
| verbose | Whether to print detailed output |
| seed | Random seed, used to reproduce the model, default 0 |
| deterministic | Set to True to ensure reproducibility of experiments |
| single_cls | Train multi-category data into a single category and treat all data as a single category for training. The default is Flase. |
| image_weights | Use weighted image selection for training, default is Flase |
| rect | Use rectangle training, which is the same as rectangle inference. The default is False. |
| cos_lr | Use cosine learning rate scheduling, default is Flase |
| close_mosaic | Mosaic enhancement is disabled for the last x rounds, default 10 |
| resume | Breakpoint training, default is Flase |
| lr0 | Initialization learning rate, default 0.01 |
| lrf | Final learning rate, default 0.01 |
| label_smoothing | Label smoothing parameter, default 0.0 |
| dropout | Use dropout regularization (classification only for training), default 0.0 |