The frosted glass effect, also known as the blur effect, is a popular visual effect in many modern applications. In Android, we can achieve this effect in many ways. This article will explore how to use Android's native Bitmap class and RenderScript to achieve a frosted glass effect.
1. Preparation
First, you need to make sure that your application has added RenderScript support. In your `build.gradle` file, add the following code:
gradle
android {
    defaultConfig {
        renderscriptTargetApi 21
        renderscriptSupportModeEnabled true
    }
}
2. Create a frosted glass effect function
The following is a function that uses RenderScript to create a frosted glass effect:
java
import android.content.Context;
import android.graphics.Bitmap;
import android.support.v8.renderscript.*;

public class BlurBuilder {
    private static final float BITMAP_SCALE = 0.4f;
    private static final float BLUR_RADIUS = 7.5f;

    public static Bitmap blur(Context context, Bitmap image) {
        int width = Math.round(image.getWidth() * BITMAP_SCALE);
        int height = Math.round(image.getHeight() * BITMAP_SCALE);

        Bitmap inputBitmap = Bitmap.createScaledBitmap(image, width, height, false);
        Bitmap outputBitmap = Bitmap.createBitmap(inputBitmap);

        RenderScript rs = RenderScript.create(context);
        ScriptIntrinsicBlur theIntrinsic = ScriptIntrinsicBlur.create(rs, Element.U8_4(rs));
        Allocation tmpIn = Allocation.createFromBitmap(rs, inputBitmap);
        Allocation tmpOut = Allocation.createFromBitmap(rs, outputBitmap);
        theIntrinsic.setRadius(BLUR_RADIUS);
        theIntrinsic.setInput(tmpIn);
        theIntrinsic.forEach(tmpOut);
        tmpOut.copyTo(outputBitmap);

        return outputBitmap;
    }
}
3. Use functions
Now, you can simply call the above function to add a frosted glass effect to your Bitmap image:
java
Bitmap originalBitmap = BitmapFactory.decodeResource(getResources(), R.drawable.your_image);
Bitmap blurredBitmap = BlurBuilder.blur(this, originalBitmap);
imageView.setImageBitmap(blurredBitmap);
---
This way, you can easily add a frosted glass effect to your Android apps. Remember, adjusting `BLUR_RADIUS` can achieve different levels of blur. You can also adjust `BITMAP_SCALE` to change the speed and quality of image processing.
4. Add a frosted glass background to the carousel background
@NonNull
private View getImageViewWithBlurredBackground(String url, final int position) {
FrameLayout frameLayout = new FrameLayout(getContext());
// Blurred ImageView
ImageView blurredImageView = new ImageView(getContext());
blurredImageView.setScaleType(ImageView.ScaleType.CENTER_CROP);
Glide.with(getContext())
.asBitmap()
.load(url)
.apply(new RequestOptions().priority(Priority.LOW))
.into(new CustomTarget<Bitmap>() {
@Override
public void onResourceReady(@NonNull Bitmap resource, @Nullable Transition<? super Bitmap> transition) {
Bitmap blurredBitmap = blurBitmap(resource, getContext());
blurredImageView.setImageBitmap(blurredBitmap);
}
@Override
public void onLoadCleared(@Nullable Drawable placeholder) {
}
});
frameLayout.addView(blurredImageView, new FrameLayout.LayoutParams(
ViewGroup.LayoutParams.MATCH_PARENT, ViewGroup.LayoutParams.MATCH_PARENT));
// Original ImageView
ImageView imageView = new ImageView(getContext());
imageView.setOnClickListener(new OnClickListener() {
@Override
public void onClick(View v) {
if (onBannerItemClickListener != null) {
onBannerItemClickListener.onItemClick(position);
}
}
});
imageView.setScaleType(ImageView.ScaleType.CENTER);
RequestOptions options = new RequestOptions()
.fitCenter()
.placeholder(defaultImage)
.priority(Priority.HIGH);
if (defaultImage != 0) {
Glide.with(getContext()).load(url).apply(options).transition(withCrossFade()).into(imageView);
} else {
Glide.with(getContext()).load(url).apply(options).into(imageView);
}
frameLayout.addView(imageView, new FrameLayout.LayoutParams(
ViewGroup.LayoutParams.MATCH_PARENT, ViewGroup.LayoutParams.MATCH_PARENT));
return frameLayout;
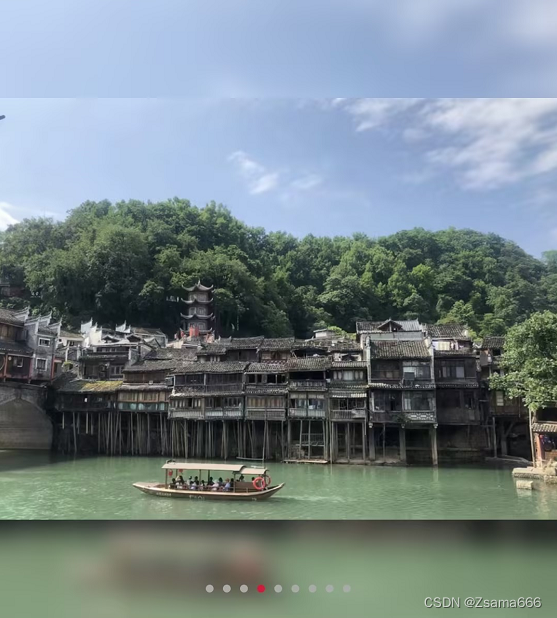
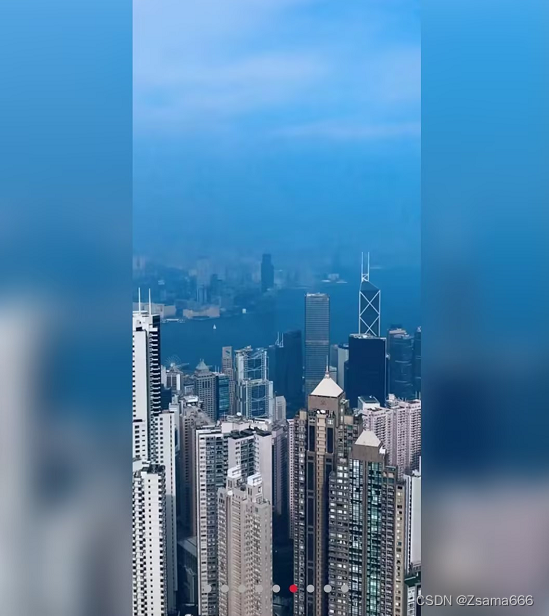
}Take a look at the final result: