Preface
This document will demonstrate theVMwareInstallUbuntu, the files used are as follows:
- VMware Workstation Pro
- ubuntu-16.04.6-desktop-amd64.iso
This document is divided into three parts:
text
1. Create a new virtual machine
-
Open VMware Workstation 16 Pro and click Create a new virtual machine .

-
A wizard window will appear
 where we select Customize and click Next.
 -
Select virtual machine hardware compatibility. You can use the default Workstation 16.x here , or you can choose a slightly lower configuration.

-
In the Install Guest Operating System window, we select Install the operating system later and click Next.

-
Select Linux as the client's operating system , Ubuntu 64-bit version , and click Next.

-
Name the virtual machine. Here it is named according to the individual. It is best to locate it on another hard disk (it doesn’t matter if the C drive is large enough).

-
For processor configuration, we can just follow the software recommendations, or we can increase the quantity.

-
The memory of the virtual machine is selected according to the recommendations. The recommendations are used directly here.

-
Just select NAT mode for the network type (can be changed later).

-
The recommended LSI Logic is used here.

-
Disk type selection system recommendations.

-
Select Create new virtual disk

-
Disk capacity depends on personal needs. It is best to be greater than or equal to the recommended size. Choose to split the virtual machine disk into multiple files .

-
Depending on personal needs, you can also use the default.

-
At this point, the virtual machine is created. You can click Finish directly, or you can customize the hardware settings.

-
Here we remove the printer (because it is not needed).

-
Click Close and you will see this page, which means the virtual machine has been created.

2. Install the system
After the above steps, you can see that there is an additional virtual machine in my computer , which means that we have successfully created it. At this time, we can install the operating system for it.
-
We click Edit Virtual Machine Settings in the picture above , select Use ISO image file in the connection section of CD/DVD (IDE) , here we select the Ubuntu image file.

-
Click to start this virtual machine and you will enter this interface.

-
After a while, the interface below will appear. We scroll to the bottom and select Chinese (Simplified) (the language here depends on personal choice, English is more commonly used). Then click Install Ubuntu

-
Entering this page, select neither option (install updates can be updated after installation).

-
Select the installation type to clear the entire disk and install Ubuntu (don't worry about causing damage to the disk or deleting files).

-
After clicking Install Now, this pop-up window will appear. We just choose to continue.

-
Just go to China at the right time (no matter where you go, it’s always Shanghai).

-
The default is fine here.

-
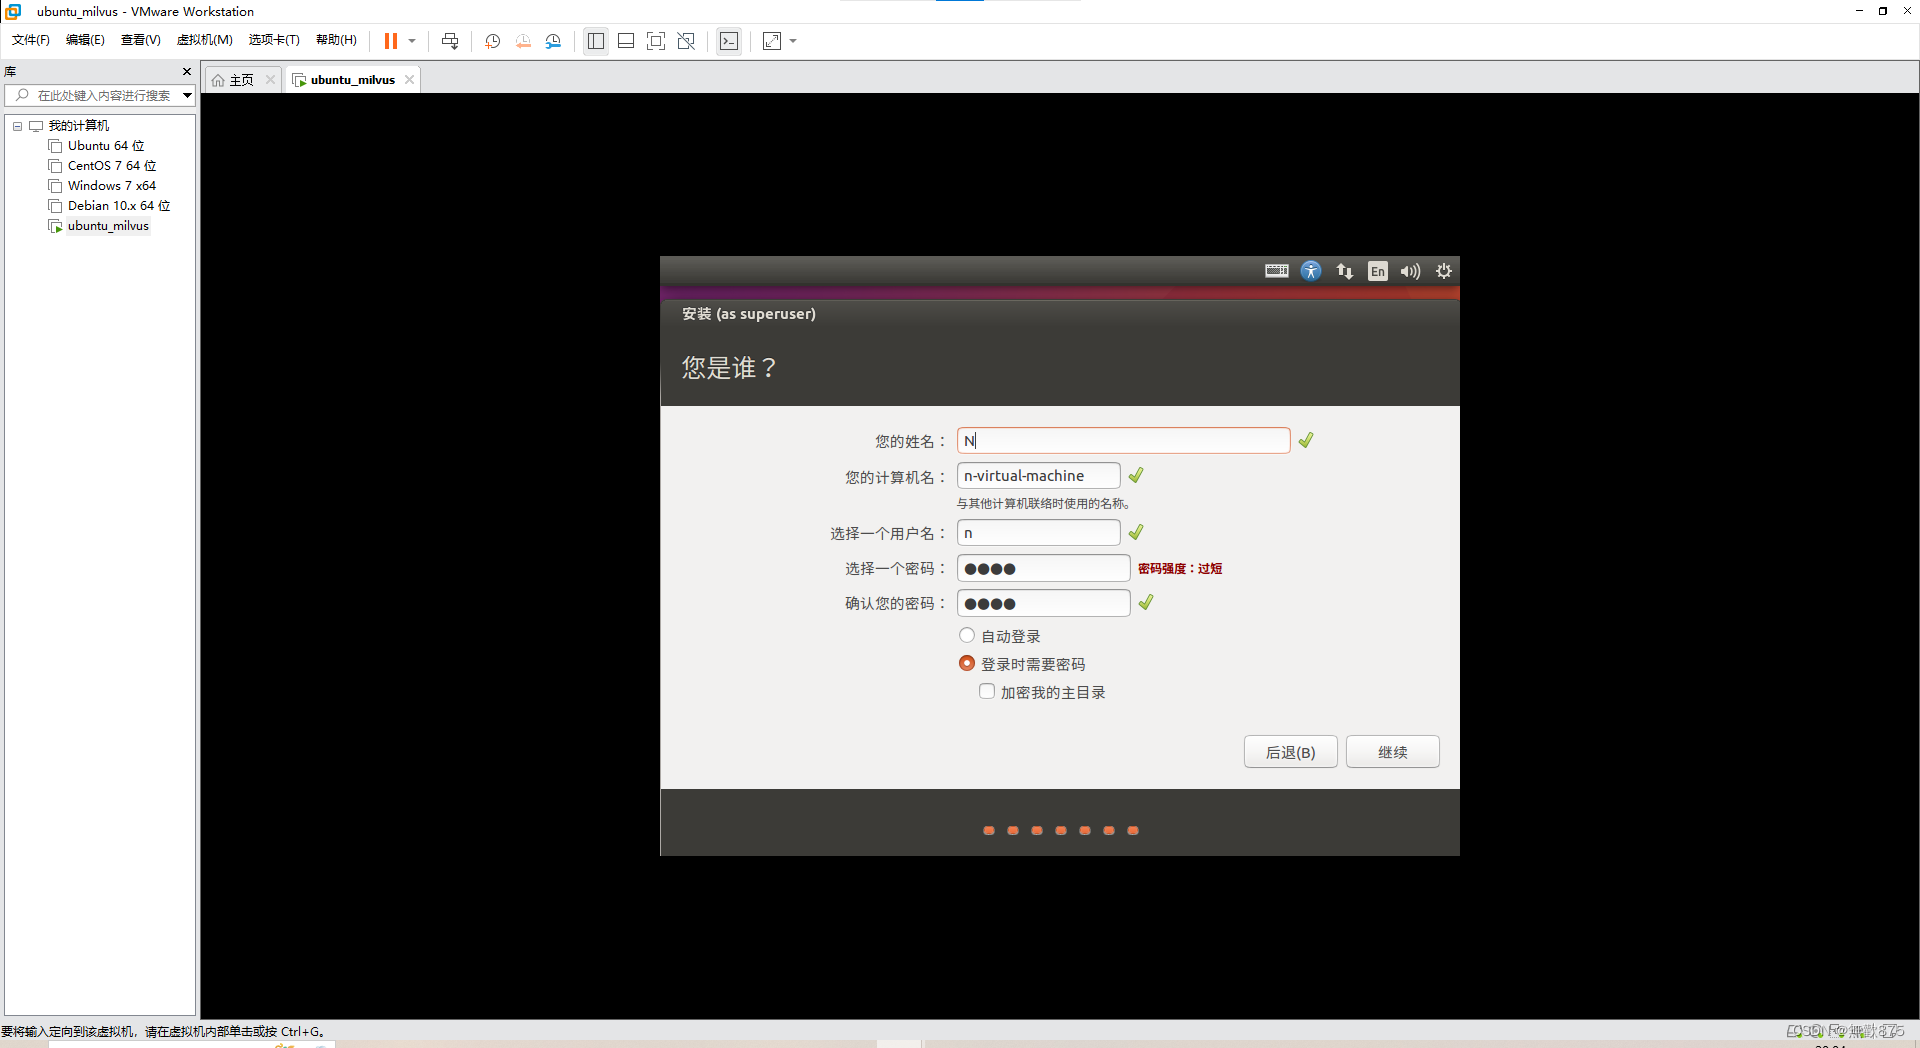
Here you can set the host name, password, etc. according to your needs.
-
After clicking Continue, you can wait for the installation to complete.

-
After the installation is complete, select Restart now

-
After waiting for a few minutes, if the restart is normal, the interface below will appear. If you wait for a long time, exit the virtual machine directly , then turn it on again, and you will enter the interface shown below.

-
After entering the password, we can enter the virtual machine.

3. Adjust the resolution
The above steps allow us to install the Ubuntu virtual machine, but the window is very small and the display is not complete, which is very inconvenient, so we need to adjust the resolution.
-
Click System Settings , the window shown below will pop up, then click Show .

-
After clicking Display , the page shown below will pop up. We modify the resolution to 1680×1050 (16:10), and then click Apply in the lower right corner of it (the page display here is very incomplete, only a small edge is exposed) .

-
After clicking Apply, this page will appear. If the modified resolution is suitable for our window, click Keep the current configuration . Otherwise, you can keep the current configuration and continue to adjust. Then click Free Stretch.

At this point, our Ubuntu virtual machine installation is complete and the page suitable for viewing has been adjusted.
