0 more software installation
For details, see >>
Commonly used development software installation directory navigation post
1 Materials required
We go to the Tsinghua University open source mirror website and search to find ubuntu
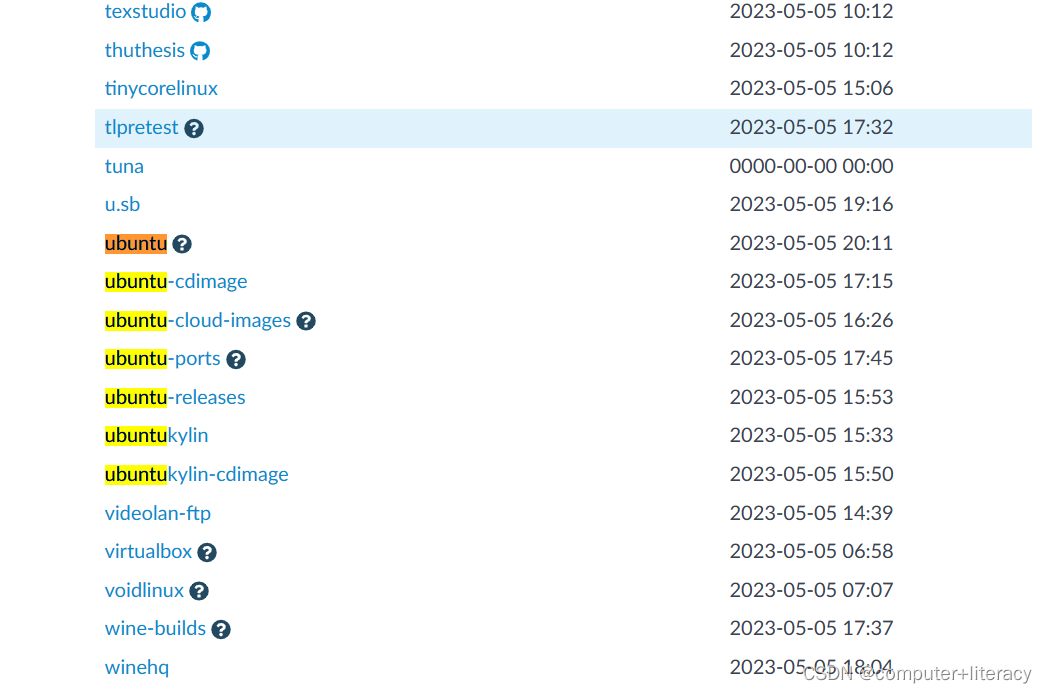
Click on the ubuntu release option:
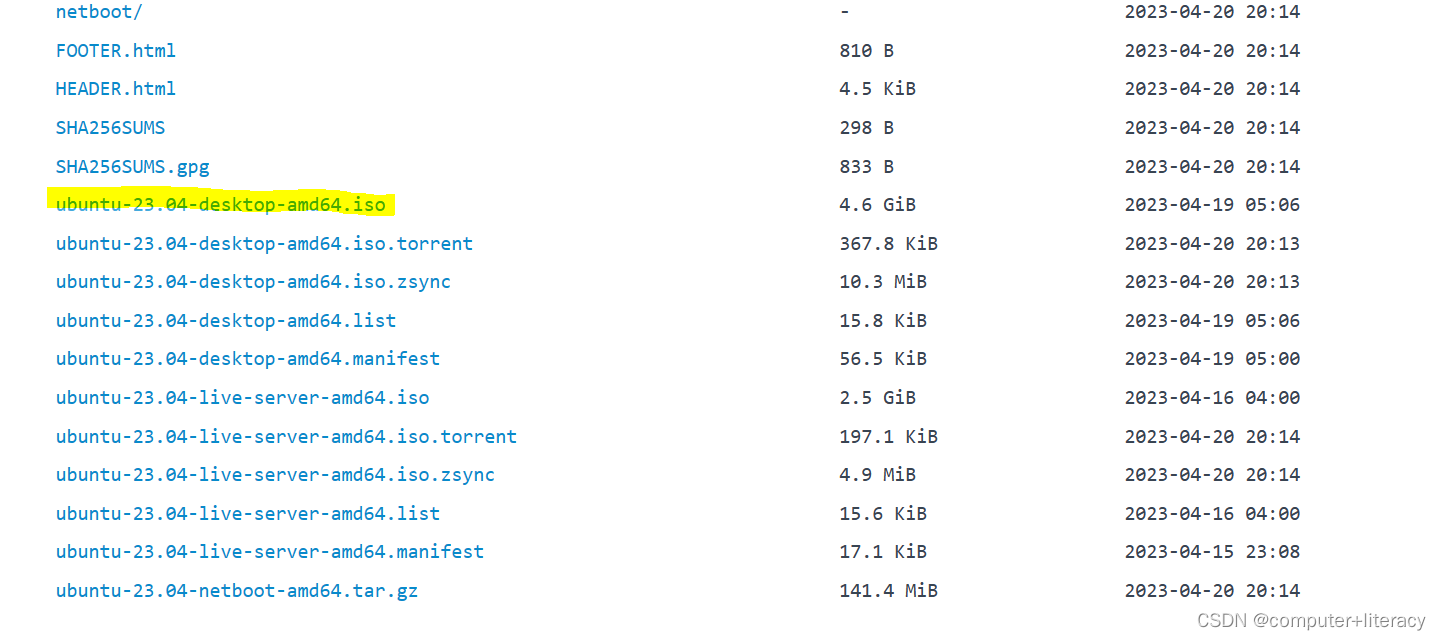
click on the yellow marked iso image and download it, so that we have the ubuntu image file!
2 installation steps
Next, start the formal installation of the Ubuntu system. First, open the installed MVware Workstations Pro 16. If this software has not been installed yet, please click on how to install MVware Workstations Pro 16. Follow the steps of the tutorial to complete the installation
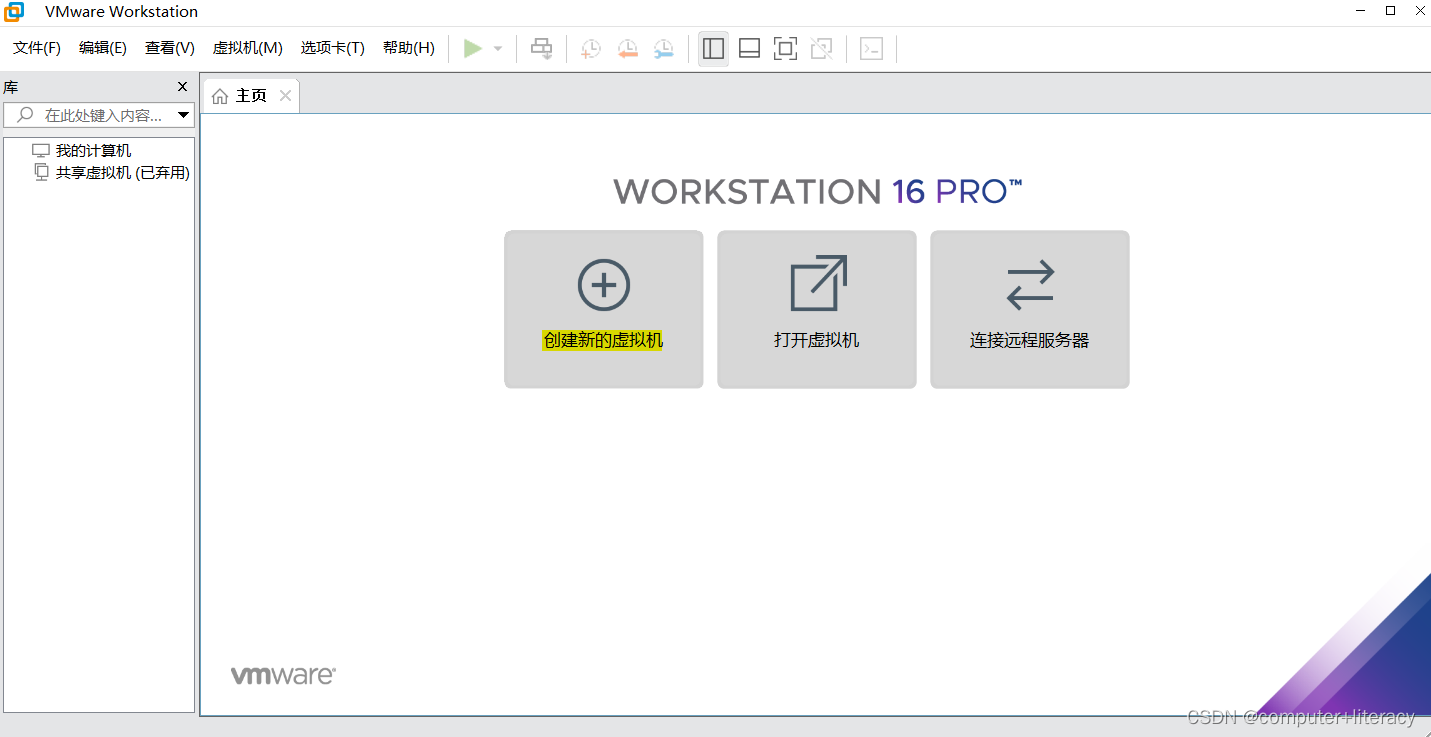
and click to create a new virtual machine (yellow mark) :
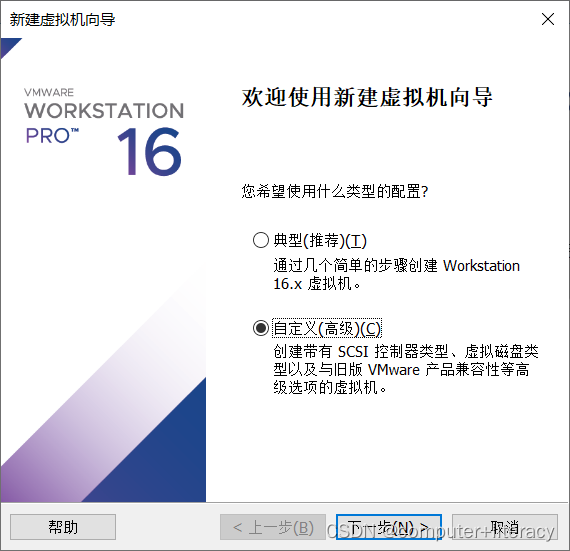
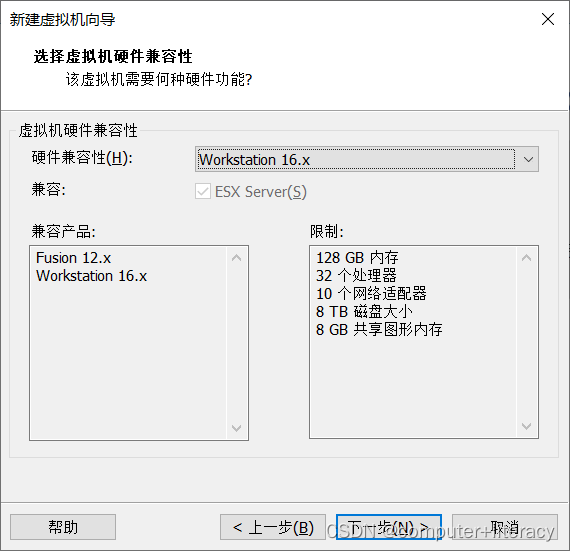
Select "Custom" (the purpose here is to freely allocate the core number, memory and hard disk space of the virtual machine), click Next: Click Next: Click "Browse" and
load
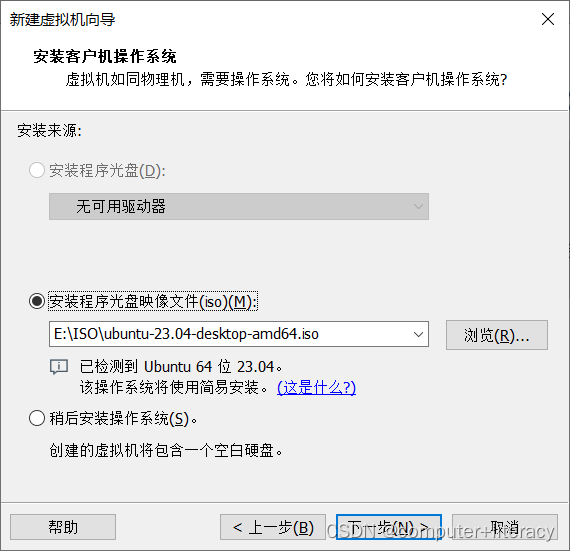
the image file downloaded from the required materials Come in and click Next:
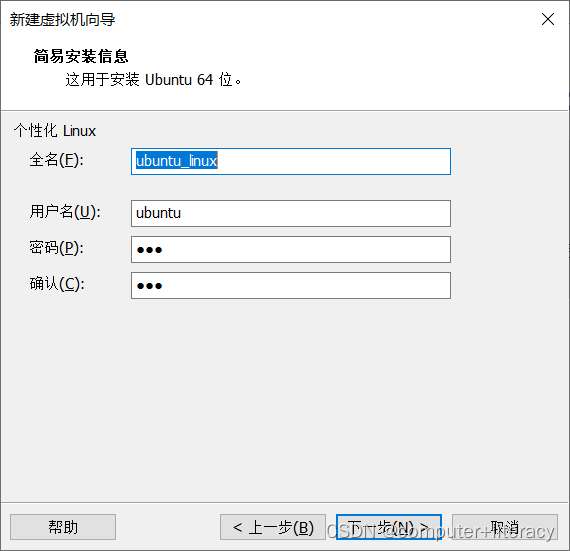
Set the user information of the virtual machine:
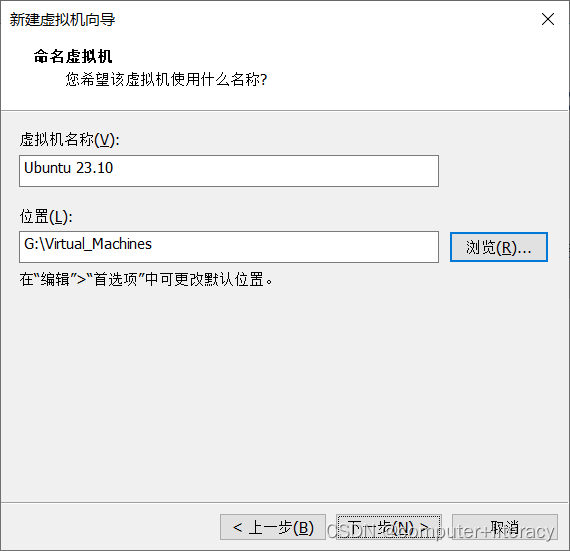
define the name of the virtual machine yourself, and it will be displayed in the virtual machine name column on the left side of MVWare.
The username and password are the username and password of the Ubuntu operating system in the virtual machine. You need to remember ! (In the future, sudo permissions will depend on it)
Click Next
Click Next
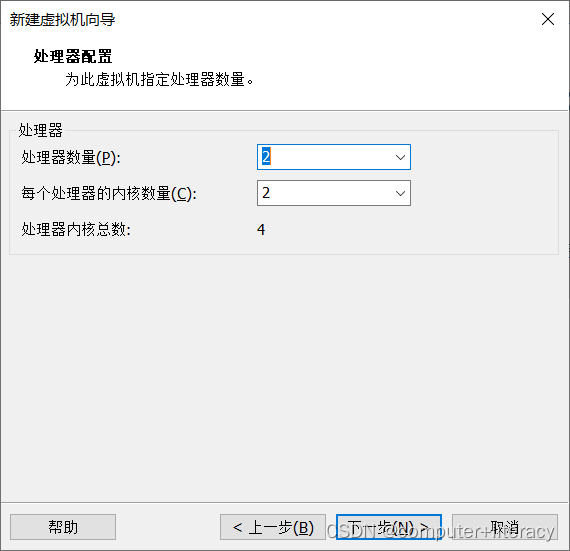
to set the number of processors and cores (set according to your computer configuration. Dual-core and dual-threading can meet most experimental needs). After setting, click Next to
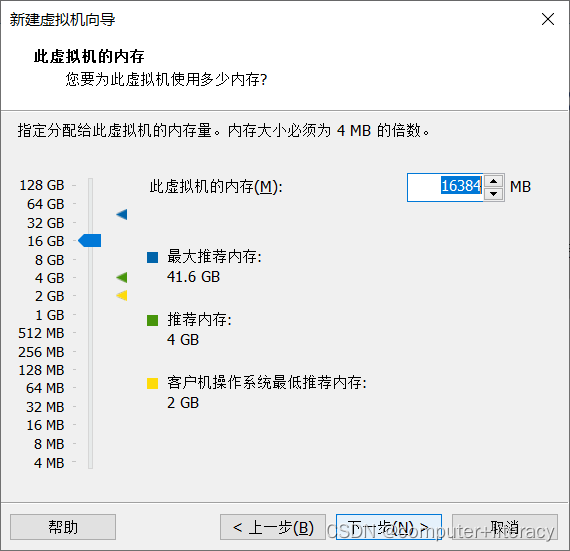
set the memory size, which is generally 1/4-1/2 of the host memory. Best (for example, 64GB memory, virtual machine settings 16GB), click Next after setting:
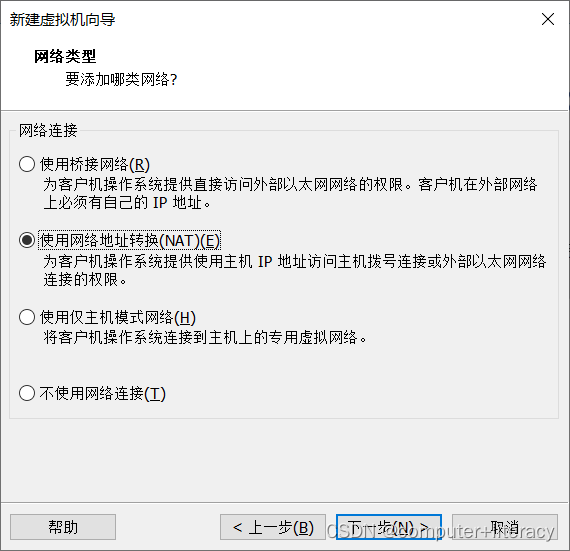
NAT or bridging are both possible, use NAT network directly here, click Next to

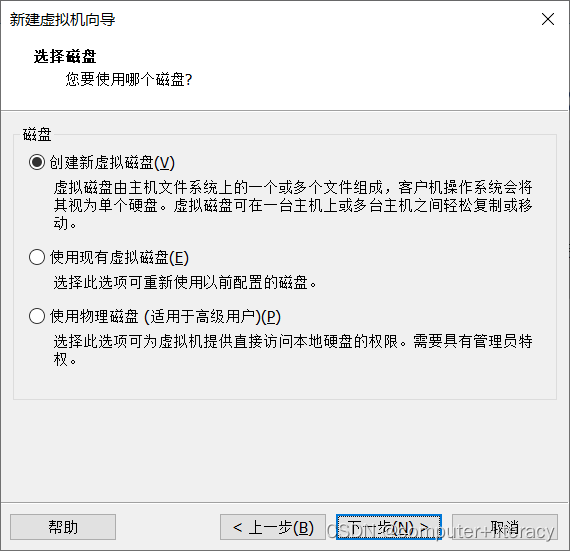
default options, click Next to

default options, click Next step
, click Next
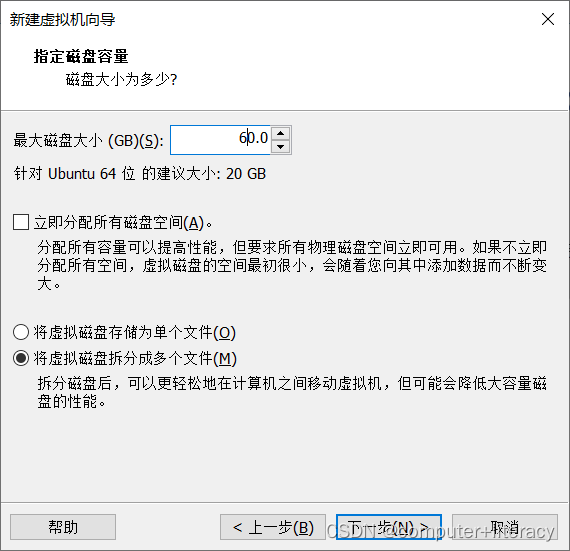
. The disk space is set according to the remaining size of the computer hard disk. Generally, 20-100GB is acceptable. Click Next and the
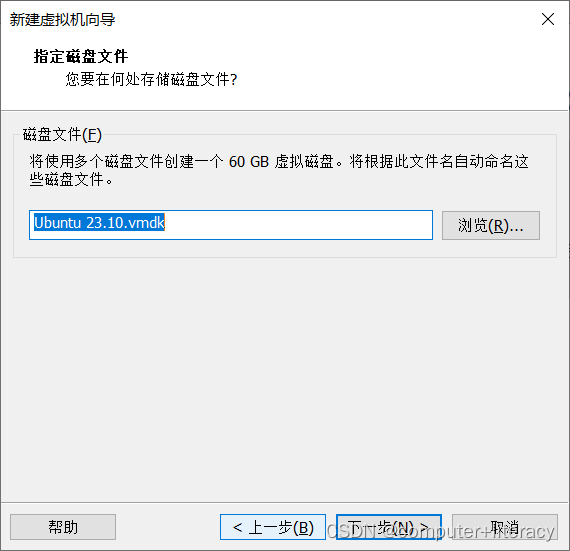
default option is enough. Click Next
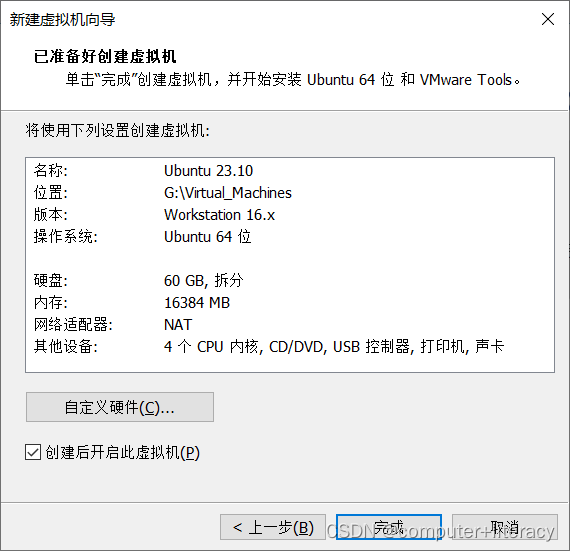
and click Finish
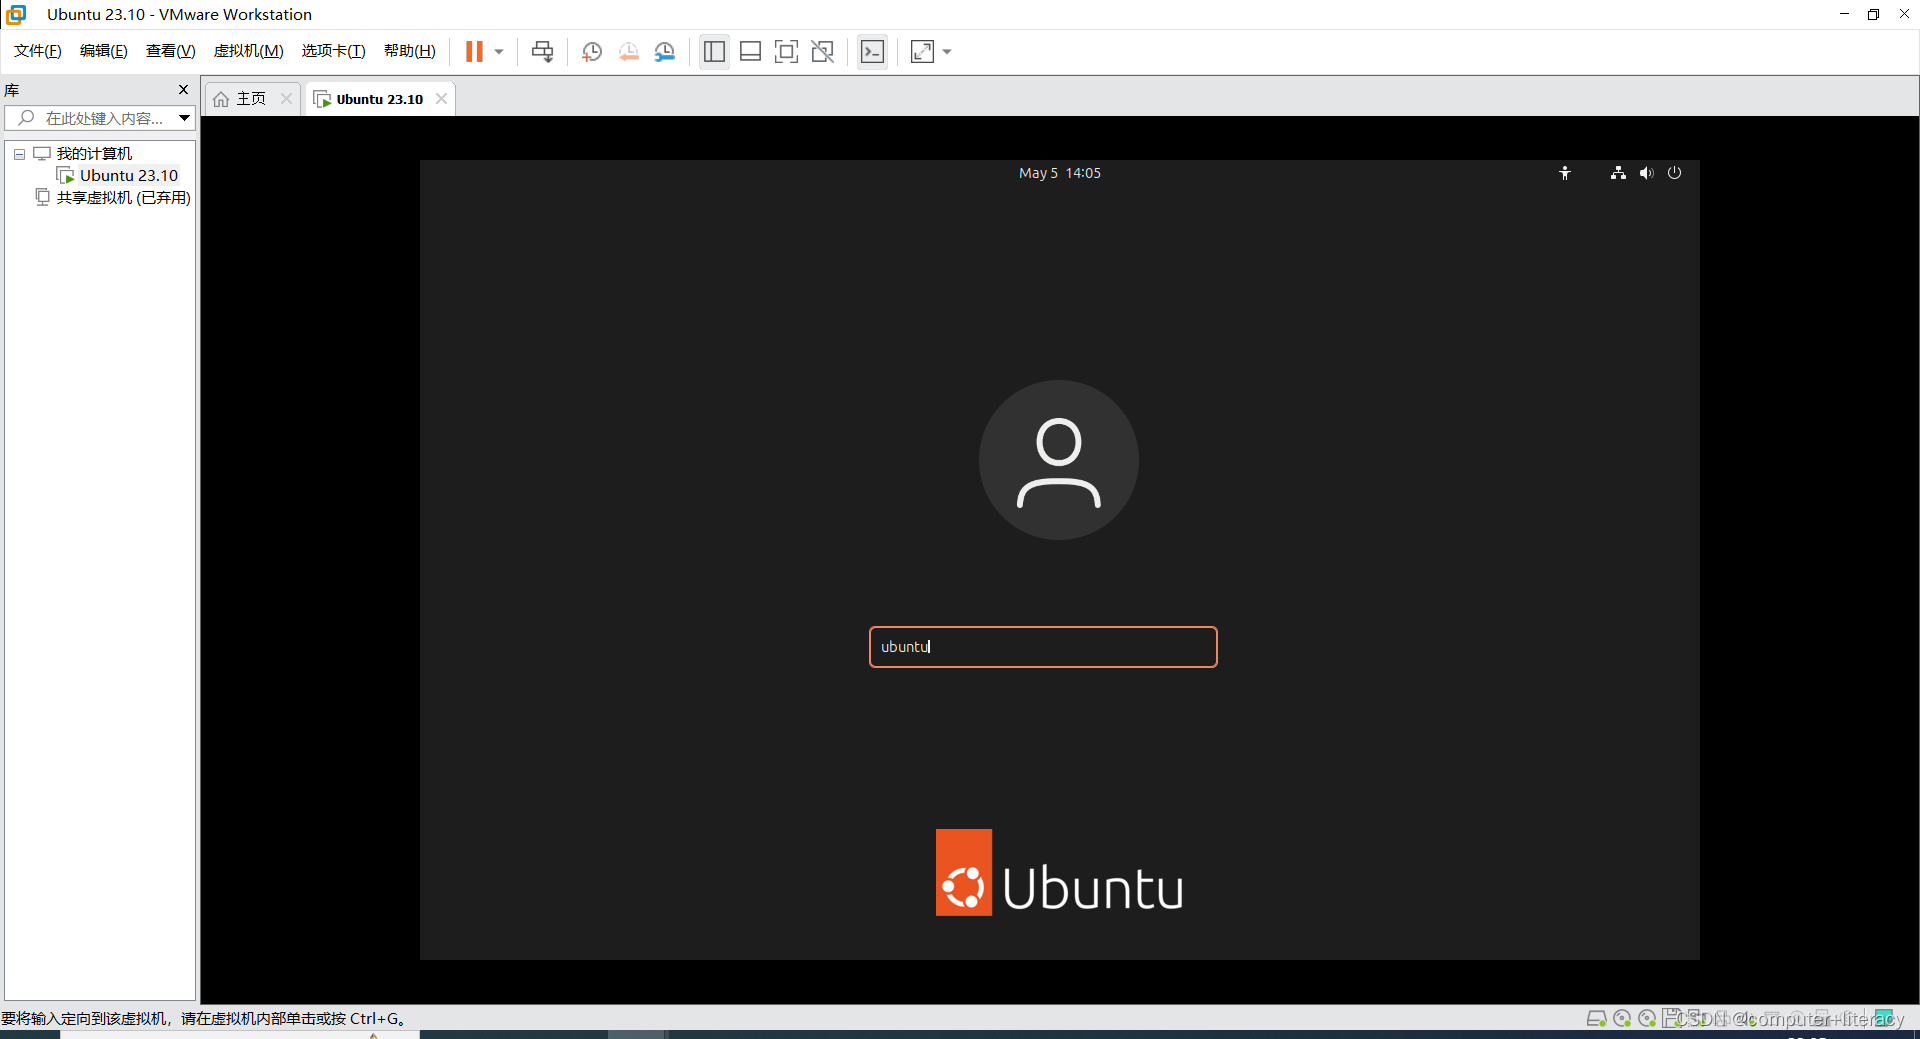
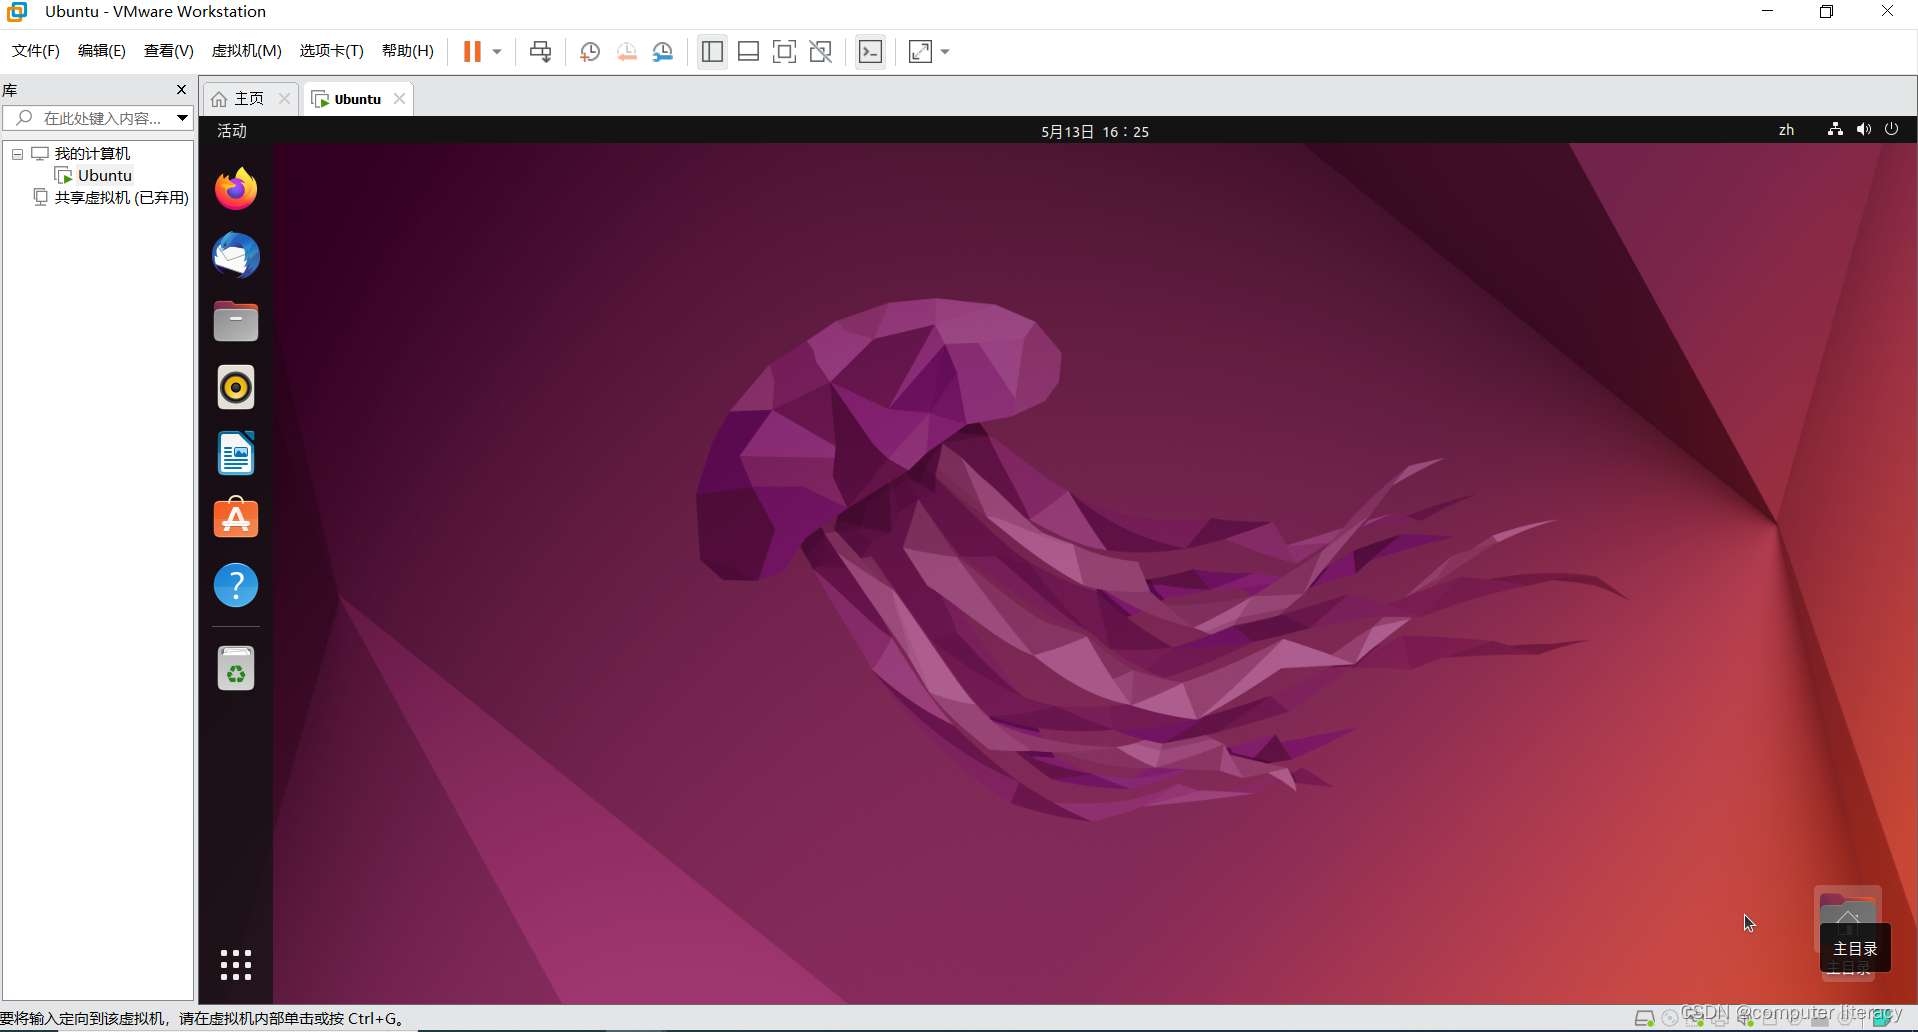
. At this time, the Ubuntu virtual machine is being installed automatically and is waiting for installation. When

the installation is complete, enter your username and password to log in to the system!