CentOS-7 configures SSH remote login
CentOS configures SSH remote login
1. Environment
Version number: CentOS-7-x86_64-Minimal-2009
Windows version: Windows 11 Home Chinese version 22H2
Vmware版本:VMware® Workstation 17 Pro - 17.0.1 build-21139696
insert image description here
2. Configure the network
1. Check the network status
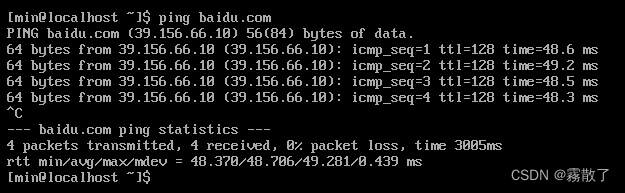
First of all, check whether the network is unblocked. We still use the method of pinging baidu.com, because there is still a problem of not being able to find the DNS server when directly pinging the IP, so we directly ping the domain name. Similar to the picture below, it is possible to connect to the network through the host.
2. Download the net-tools tool
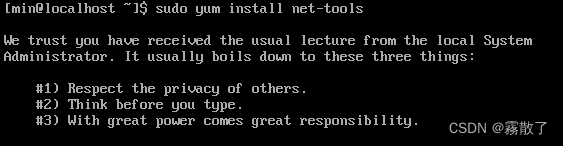
Check the network status between the virtual machine and the host, that is, whether the virtual machine can communicate with the host, because the CentOS minimal installation does not have network tools, that is, there is no net-tools, so you can’t use ifconfig to check the ip, so We first download net-tools with the command.
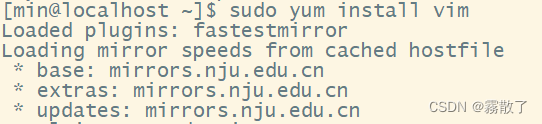
sudo yum install net-tools -y
If there is a dependency package in the download, the system will ask the user whether to download it. The -y here means that if this kind of inquiry occurs, it means that it will automatically agree. In simple terms, sudo is to elevate the user to administrator authority.
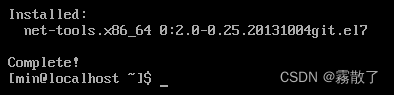
The second picture appears to indicate that the download is complete. At this time, we can use ifconfig to view the ip address of this virtual machine.
3. Check whether the host and virtual machine are connected normally
Use the ifconfig command to get the IP address of the virtual machine.
ifconfig
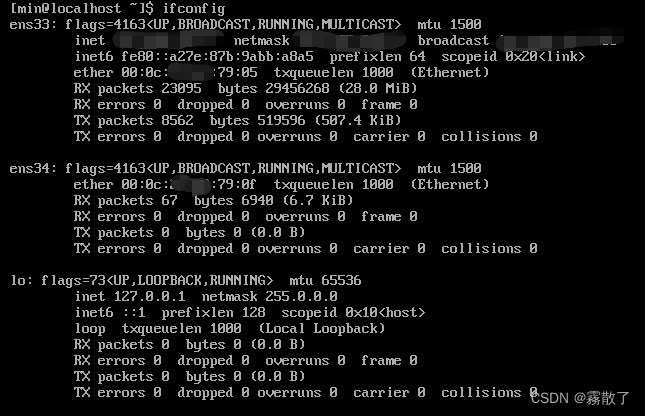
Type the code, there are two network cards here, because I have set up both bridge and NAT , so there will be two network cards, but this does not affect the use, mainly depends on the en33 network card, which is the NAT network card.
Then we open the Windows command line window cmd, and ping XXX.XXX.XXX.XXX (the IP address of the virtual machine) to check whether the virtual machine can connect to the virtual machine.
ping XXX.XXX.XXX.XXX
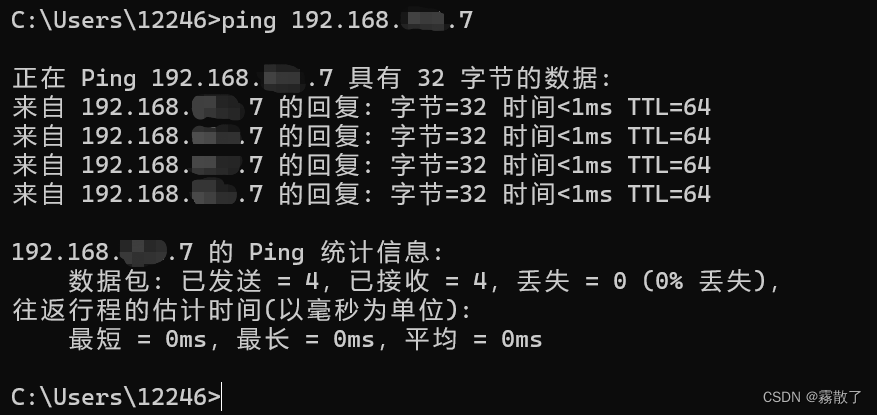
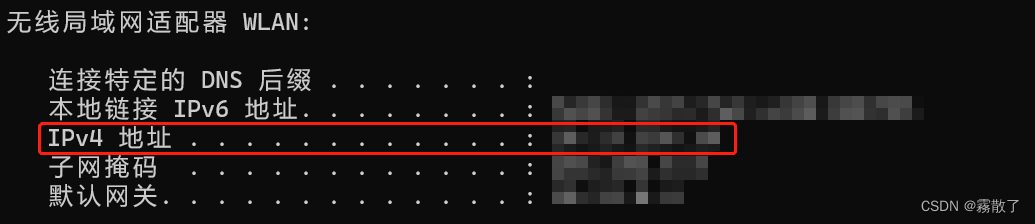
At this place, we confirm that the host can communicate with the virtual machine normally, and then we enter ipconfig in the command prompt to find the IP address of the host, look good! It is the IPV4 address of the wireless LAN, and we will not be responsible for wrong ones.
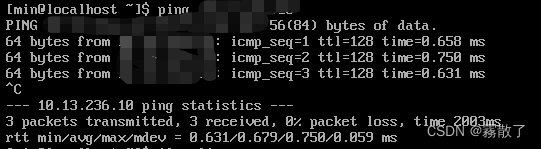
Then we use the virtual machine to ping the IP address of the host to confirm that the virtual machine can also communicate with the host.
3. SSH configuration
1. Check whether the CentOS system has installed the SSH service
There are many ways to check, but of course the easiest is to check whether the service is enabled, so directly enter ps -e | grep ssh to check whether the ssh service is running.
ps -e | grep ssh

The second is to check whether the openssh-server service is installed in the current centos (the openssh-server service is installed by default), and you can use the rpm -qa|grep -E ssh command.
rpm -qa|grep -E ssh
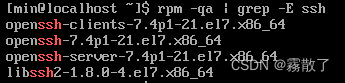
Seeing that the first three red-marked files in the display result can actually be connected, and I can connect directly here... But it seems that there is not much to write, so let me talk about the situation without SSH service.
2. Install SSH service
Here we still use yum installation. Many people may think, why not directly enter the administrator user but always use the sudo command? This question is actually easy to answer. Let’s not talk about the mixed situation in multi-user mode. The main It is to let everyone develop a good habit, because it is impossible to tell you to use the root user directly when you are working, which will not only have a great security risk, but if you accidentally delete something, the consequences will also be unpredictable. expected.
sudo yum install openssh-server -y
Because I have already installed this service, so there is no icon.
3. Configure SSH file
OpenSSH's main configuration file: /etc/ssh/sshd_config
Because we haven't downloaded the vim tool yet, we use the vi command first, or you can download the vim tool and execute the command afterward, depending on your needs.
sudo vi /etc/ssh/sshd_config
You can skip the step of downloading and installing the vim tool below
Download and install vim
Download the vim tool and open the configuration file
sudo install vim -y
sudo vi /etc/ssh/sshd_config
Modify file content
Common configuration options:
Port=22 Set the port number of SSH to 22 (the default port number is 22)
Protocol 2 Enable SSH version 2 protocol
ListenAddress 192.168.0.222 Set the address of service listening
DenyUsers user1 user2 foo Denied access users (separated by spaces)
AllowUsers root osmond vivek users allowed to access (separated by spaces)
PermitRootLogin no Prohibit root user login
PermitEmptyPasswords no User login requires password authentication
PasswordAuthentication yes Enable password authentication
There is no need to write Chinese into the document here, this is just for everyone to understand better.
4. Set up SSH service
Enter the command service sshd restart to restart the ssh service
service sshd restart
Similarly, in order to facilitate our connection in the future, we set it to start automatically
sudo systemctl enable ssh
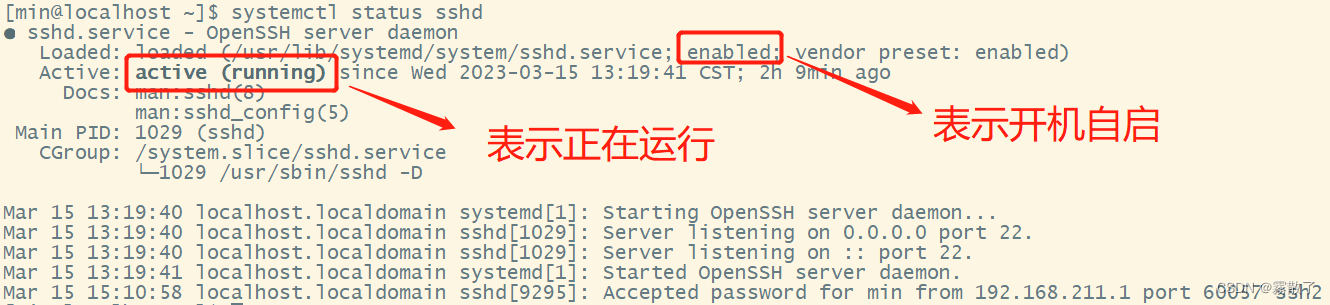
Finally, let's check the running status of the ssh service
systemctl status sshd
At this point we can declare the end, but there may still be a situation, that is, the evil firewall!
5. Configure the firewall
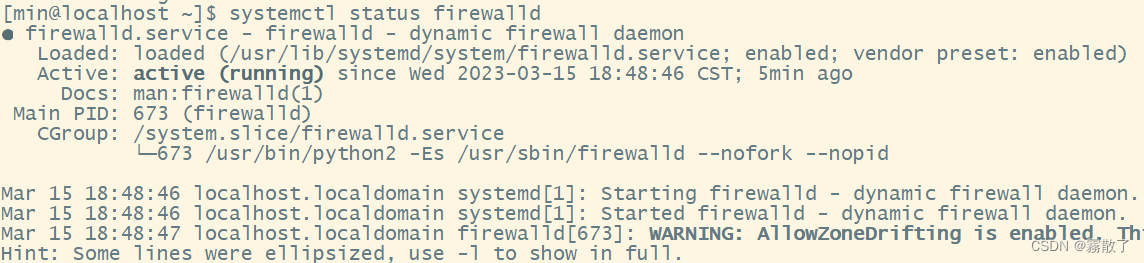
Generally speaking, the firewall will not be so strict and will not have so much impact, but there will still be contingencies. So we have two solutions. The first is relatively simple, which is to close the firewall directly. The second is to open the port required by the ssh service, that is, port 22, which is also possible.
Open port method
sudo firewall-cmd --zone=public --add-port=22/tcp --permanent
sudo service firewalld restart
The above is to add a 22 port for opening, and then restart the firewall operation.
Close the firewall mode
systemctl stop firewalld.service
Precautions
In fact, the above steps do not completely and absolutely guarantee that SSH remote login can be performed, because I have already done it, and there is no picture, so I will not test it.
1. Test whether the SSH connection is available
ssh localhost
This command is used to check whether a remote connection can be made. It is commonly known as self-connection. Generally speaking, as long as the SSH service is available, it can be connected, and probably there will be no major problems.
2. The host cannot ping the virtual machine, but the reverse can
This kind of problem is simply that the host cannot find the address of the virtual machine, but the virtual machine can find the address of the host, so it is a problem with the network card settings, so we first open the network adapter, there are many ways to enter, and one of them is introduced below kind.
Control Panel -> Network and Internet -> Advanced Network Settings -> More Network Adapter Options (Note: This is the win11 operating system, other may not necessarily be the same, but they all open the place in the picture below.
Note that this is the connection method of NAT. The set network adapter is VMnet8, but some are not set like this (although they are generally). If not, you can first check which one is set in the virtual network adapter of the virtual machine. Network adapter (to save time, I won't show it).
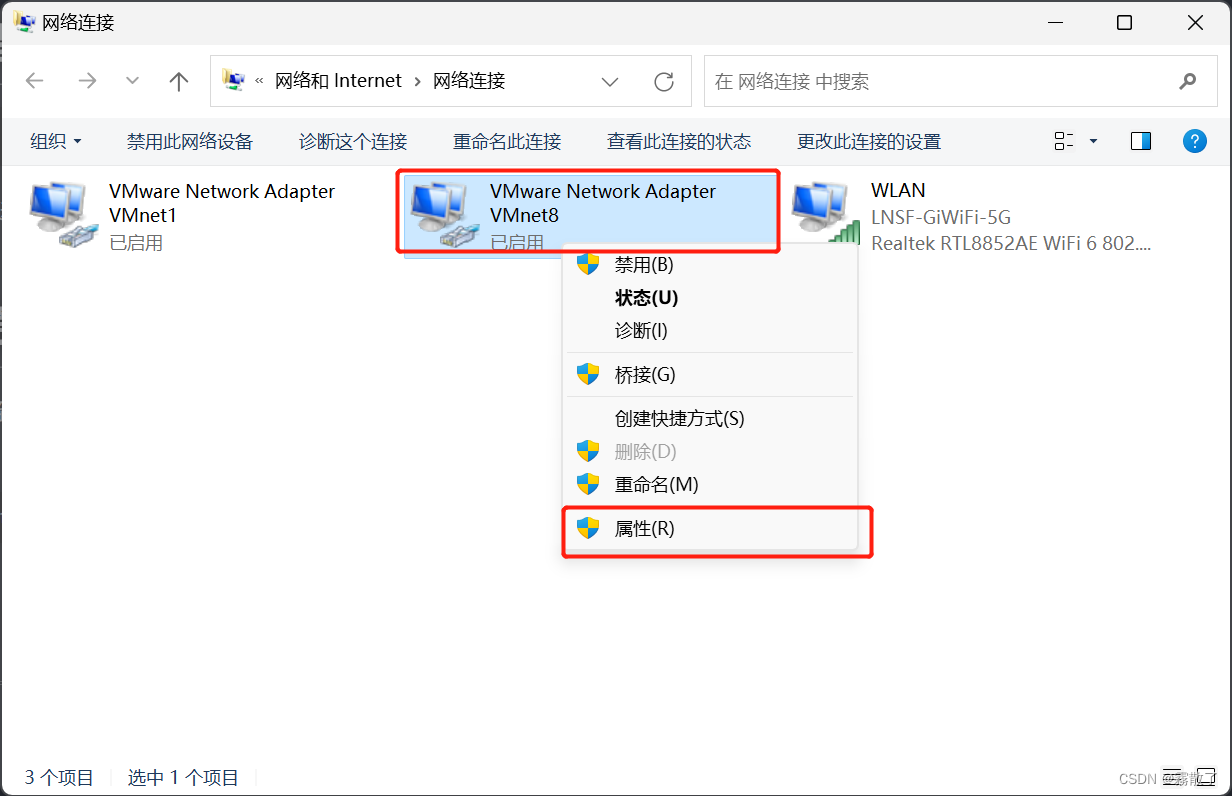
Right click -> Properties

Tick Obtain an IP address automatically (O) -> OK
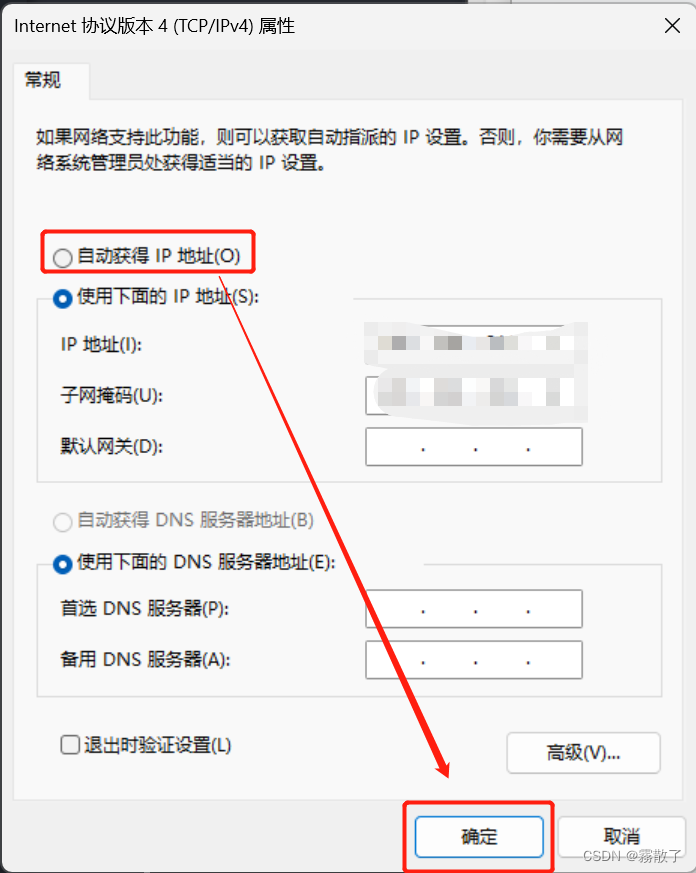
You should be able to connect here, if it doesn't work, let's discuss it again.