Linux, the full name of GNU/Linux, is a free-to-use and freely disseminated Unix-like operating system. It is a multi-user, multi-tasking, multi-threading and multi-CPU operating system based on POSIX and Unix. It can run major Unix utilities, applications and network protocols. It supports 32-bit and 64-bit hardware. Linux inherits Unix's network-centric design idea and is a multi-user network operating system with stable performance.
software resources

installation steps
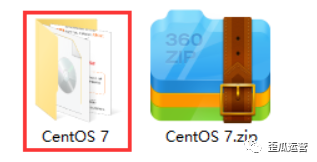
First select the [CentOS 7] software compression package we downloaded, right-click and directly select [Extract to CentOS 7].

2. Double-click to open the [CentOS 7] folder we just unzipped.
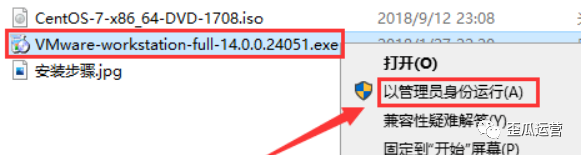
3. We select the [VMware-workstation-full-14.0.0.24051.exe] executable file, right-click with the mouse and select [Run as administrator].
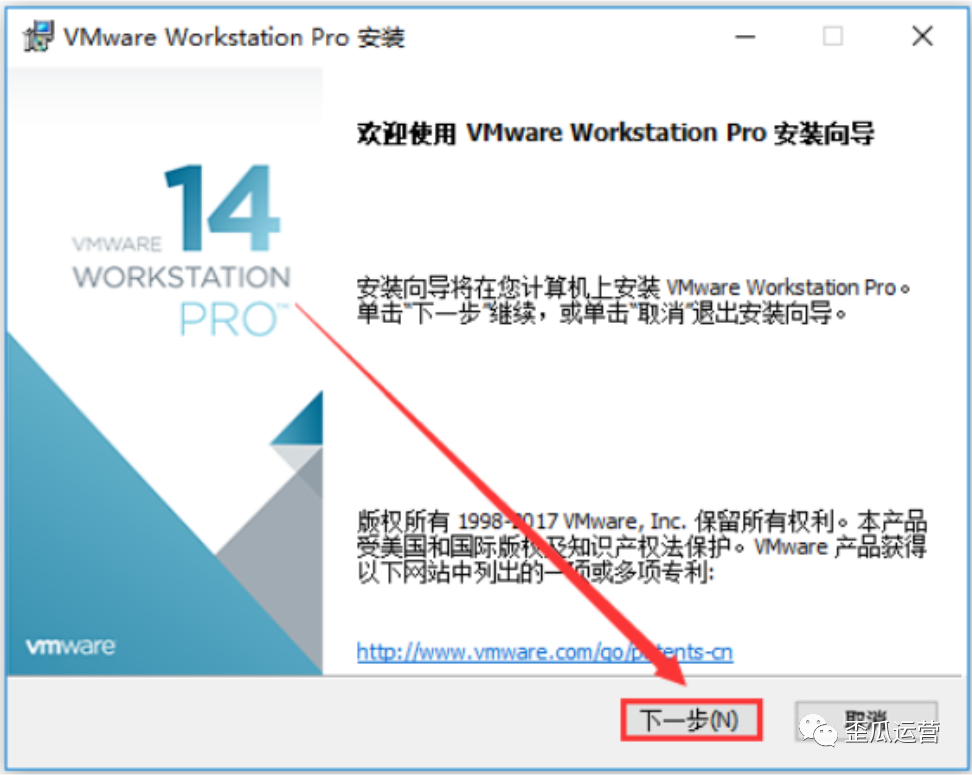
4. Then we directly click [Next].
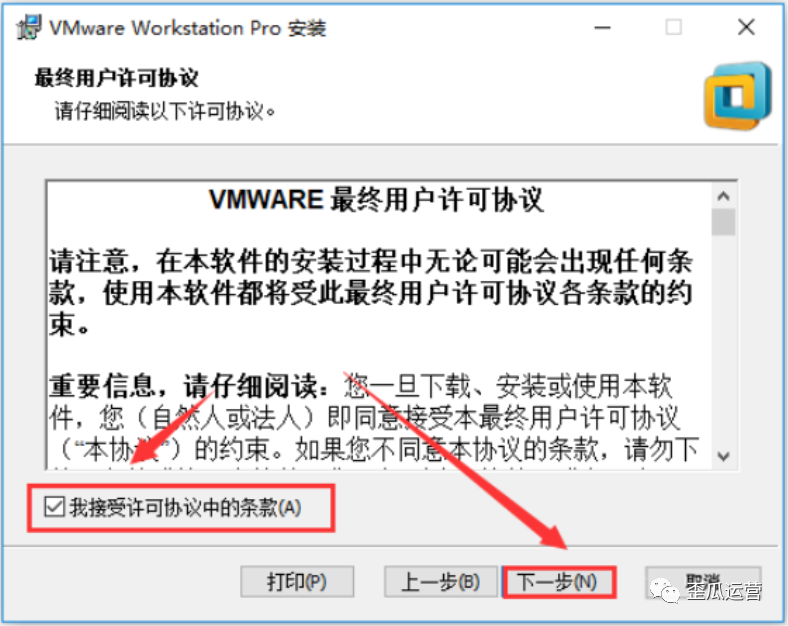
5. Check [I accept the terms in the license agreement] directly, and then click [Next].
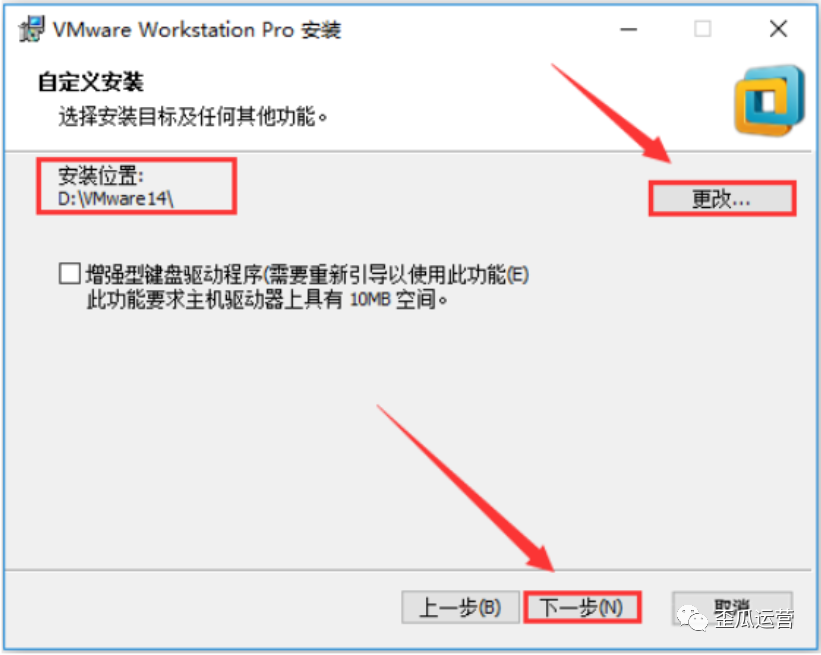
6. Click [Change] here to select the software installation path. It is recommended that you install it on a disk other than the C drive, and then click the [Next] button.
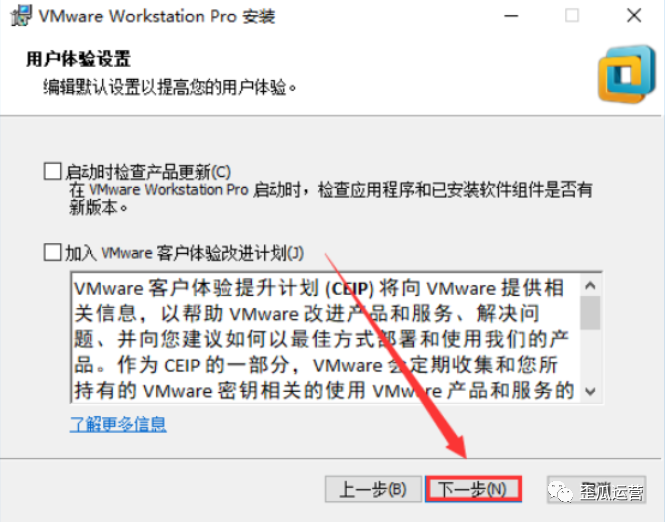
7. Here you need to uncheck [Check for Product Updates] and [Customer Experience Improvement Plan], and then click [Next].
8. We check the shortcut according to our own needs, and click [Next].

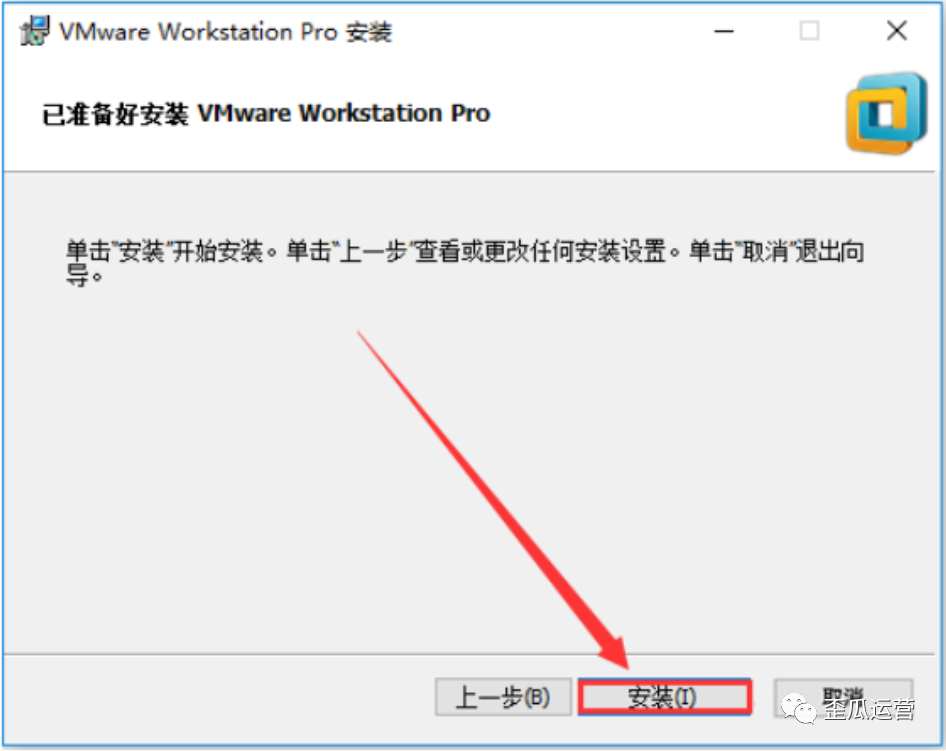
9. Then click [Install].
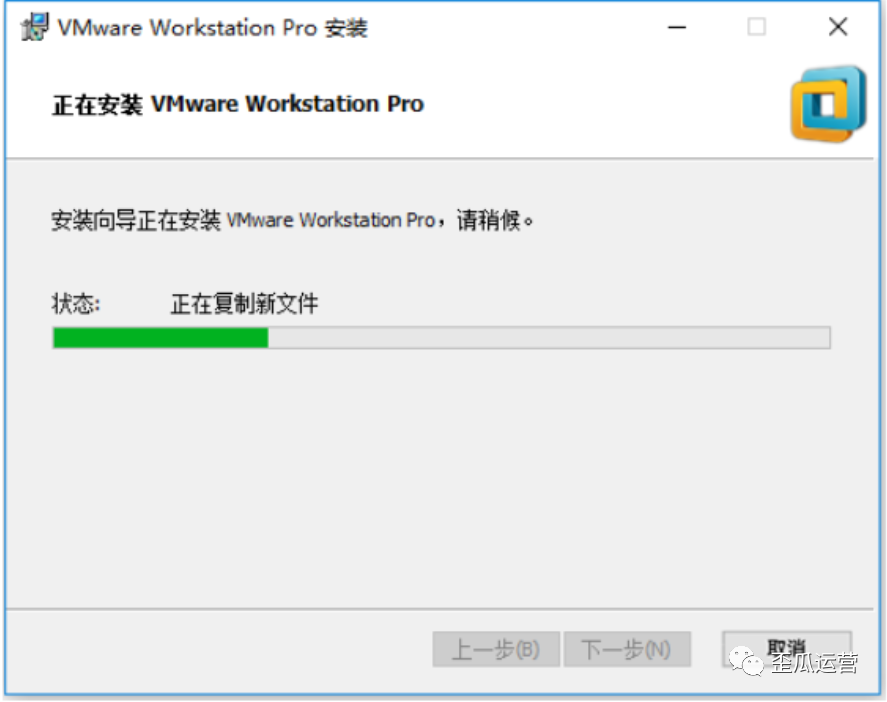
10. It will appear that the software is being installed, we need to wait patiently for a while.
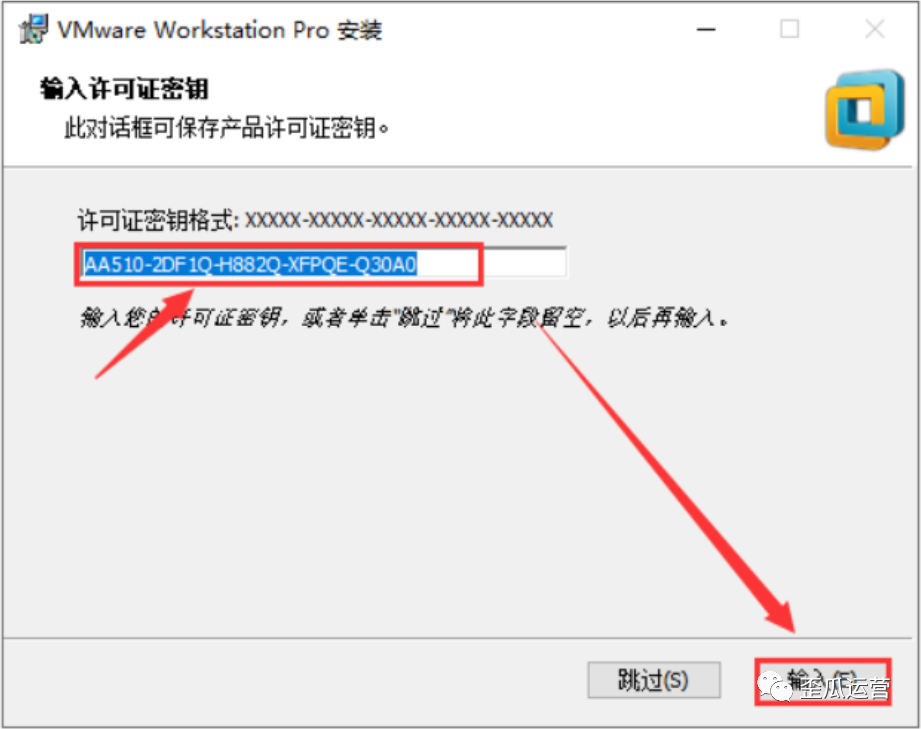
11. Then we click [License].

12. After we enter: [AA510-2DF1Q-H882Q-XFPQE-Q30A0], click the [Input] button.
13. We directly click the [Finish] button.

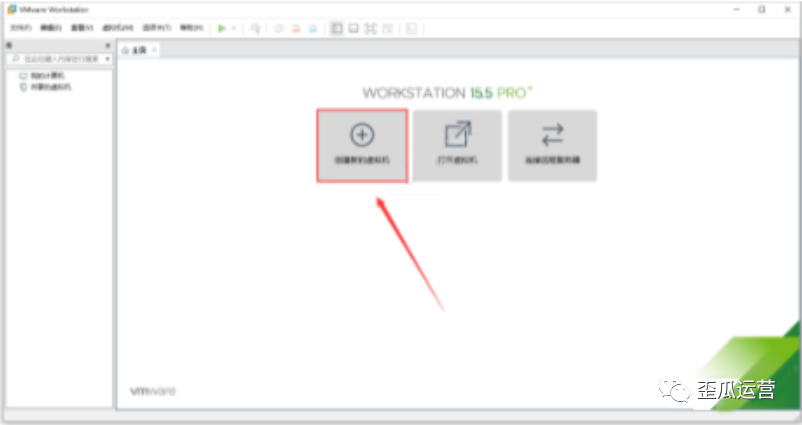
14. Then you need to return to the desktop and first find [VMware Workstation Pro], we double-click to open the virtual machine.

15. After we open the panel, we only need to find and click [Create a new virtual machine].
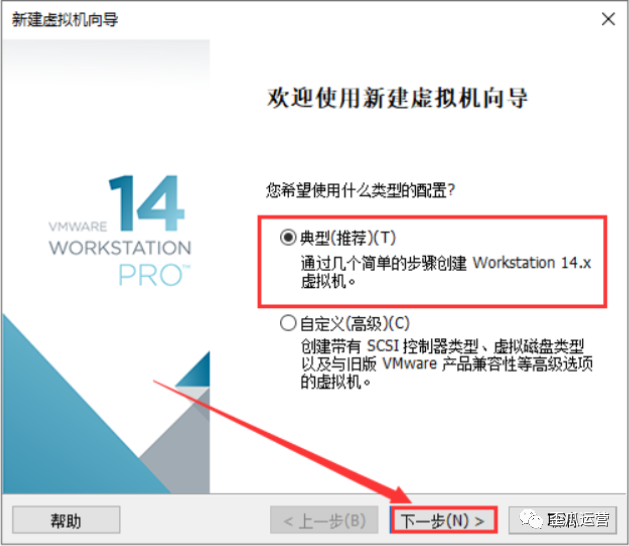
16. Then select [Typical], and then click [Next].
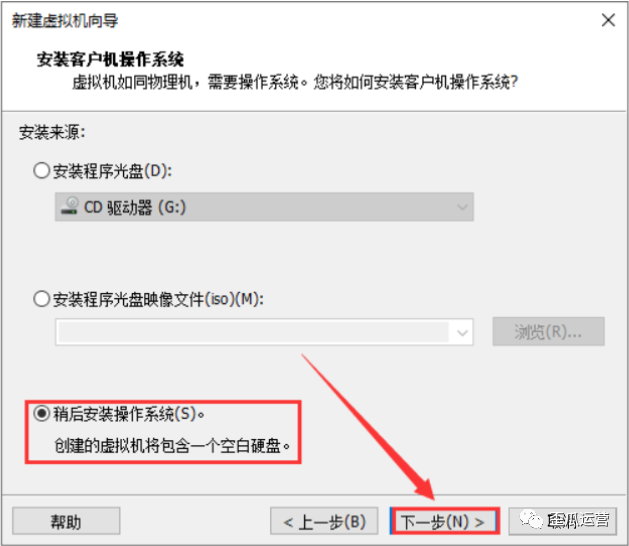
17. Here we select the [Install the operating system later] option, and then click the [Next] button.
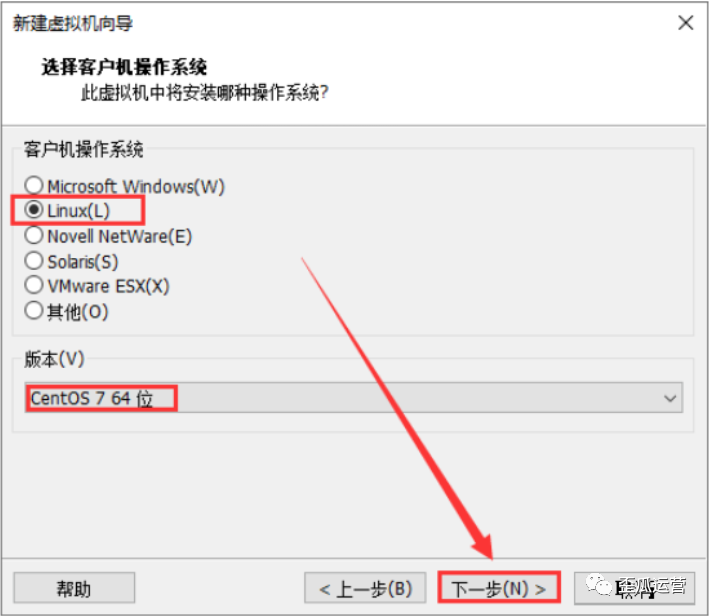
18. The operating system must select [Linux], the version selects [CentOS 7 64-bit], and click the [Next] button directly.
19.首先我们在虚拟机名称一栏输入【CentOS 7 64位】,然后点击【浏览】必须要更改系统的安装位置,在这里建议大家安装在除C盘之外的磁盘,再点击【下一步】即可。

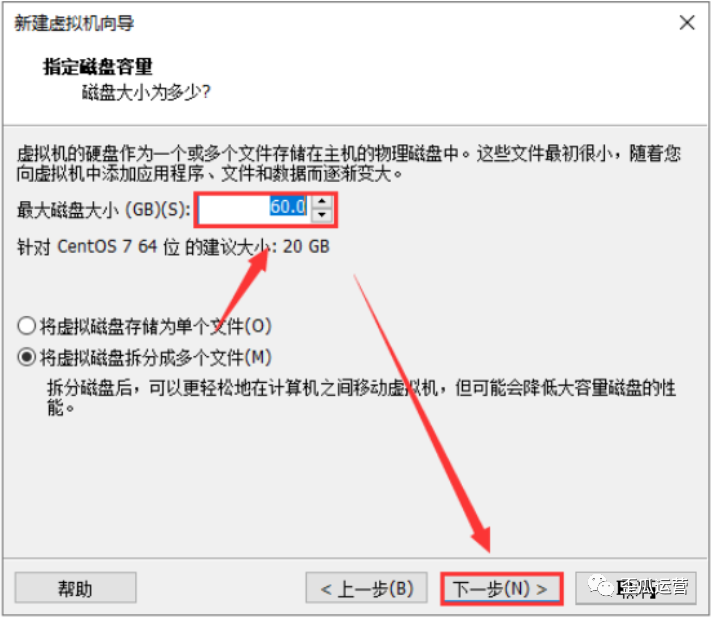
20.指定磁盘容量更改最大磁盘大小为60G,然后再点击【下一步】操作。
21.然后我们点击【自定义硬件】。

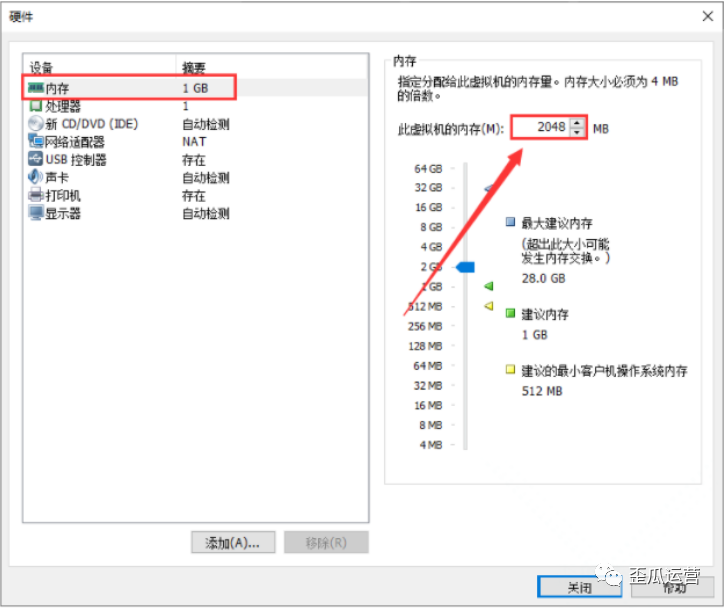
22.鼠标选择点击【内存】,在右边框中我们修改设置为【2048MB】。
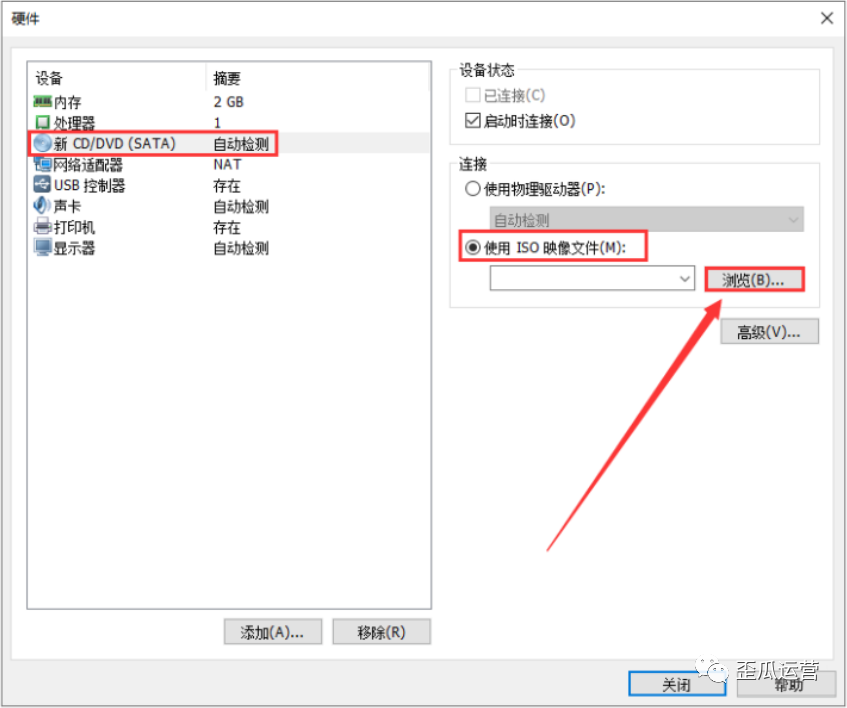
23.鼠标选择【新CD/DVD(SATA)】后选择【使用ISO镜像文件】后,点击【浏览】即可。
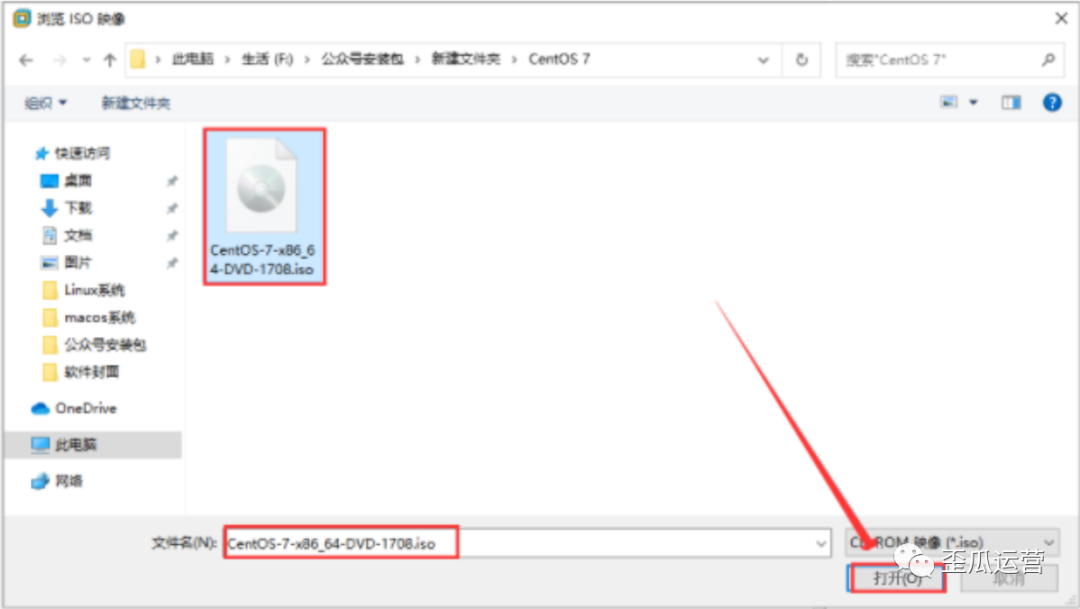
24.我们找到并选择解压后【CentOS 7】文件夹里面的【CentOS-7-x86_64-DVD-1708.iso】镜像文件,我们直接点击【打开】。
25.在这里需要点击【网络适配器】,网络连接我们选择【仅主机模式】即可。

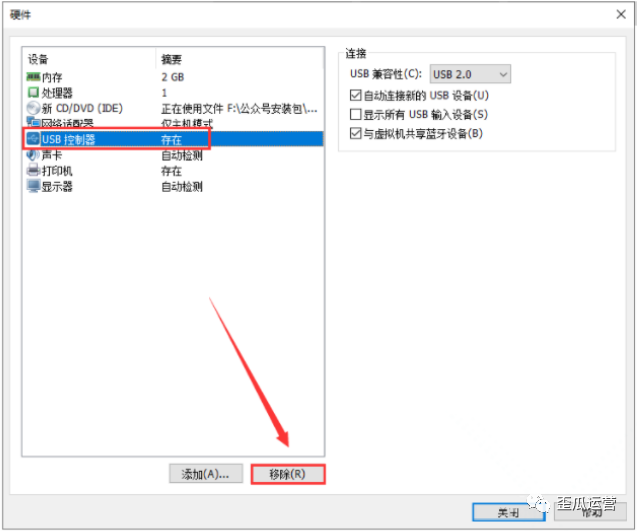
26.我们选中【USB控制器】,然后我们点击【移除】按钮。
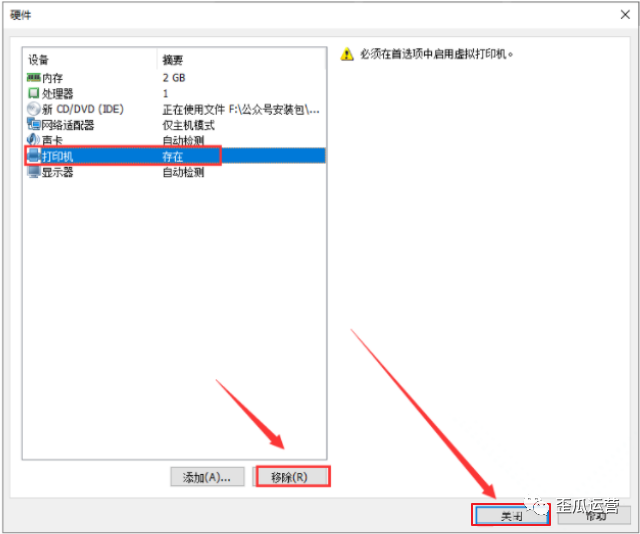
27.选中【打印机】后,我们再次点击【移除】,鼠标再点击【关闭】。
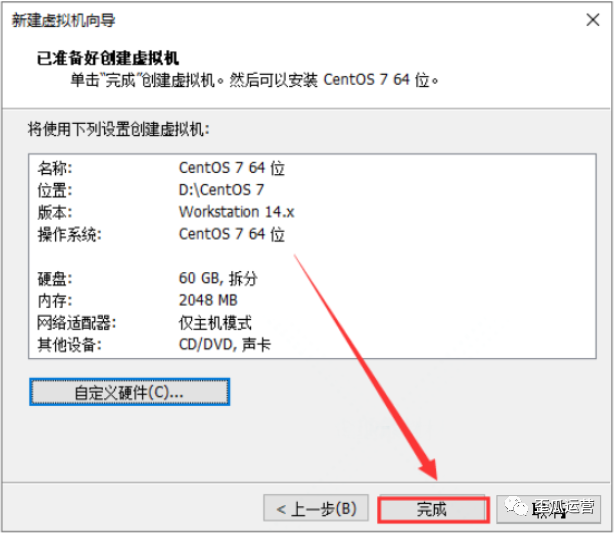
28.在这里我们点击【完成】操作。
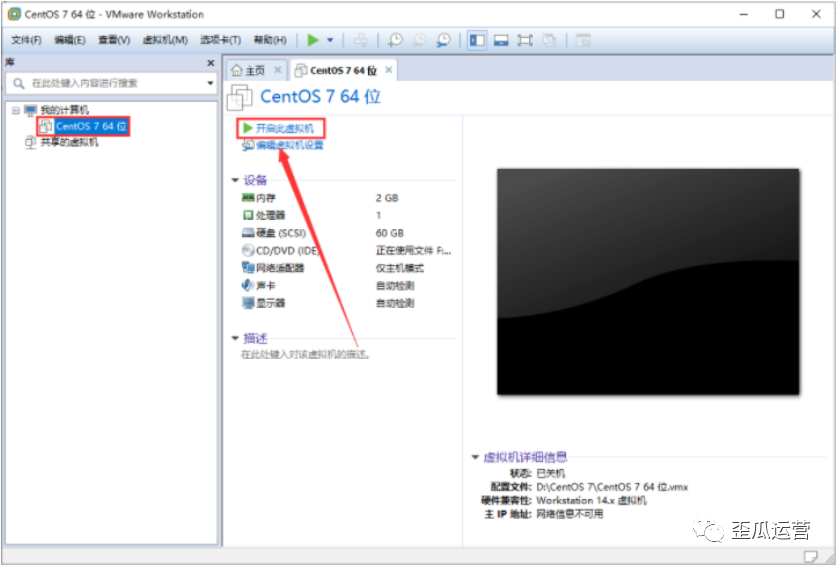
29.鼠标选中【CentOS 7 64位】,然后我们直接点击【开启此虚拟机】。
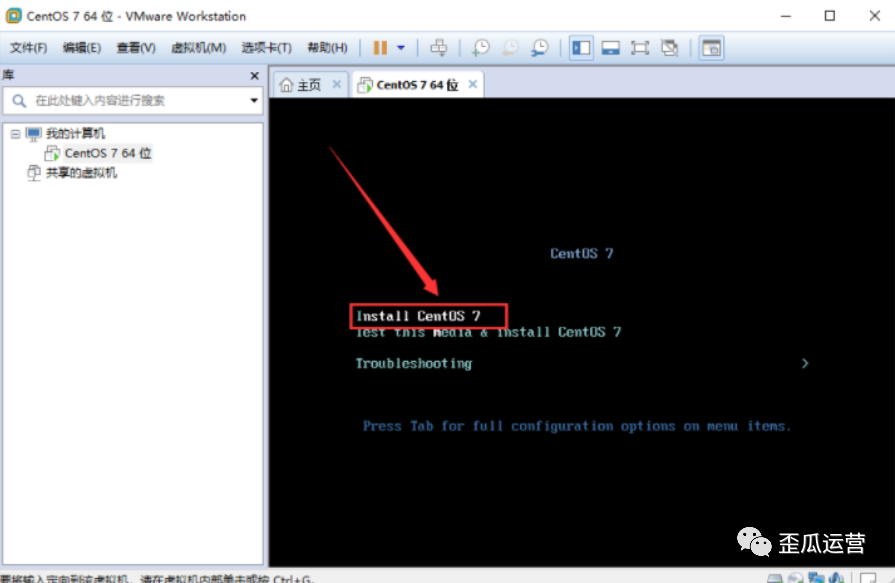
30.我们用键盘上的上下箭头,选择到【Install CentOS 7】,然后我们直接按键盘上的回车【Enter】键即可。
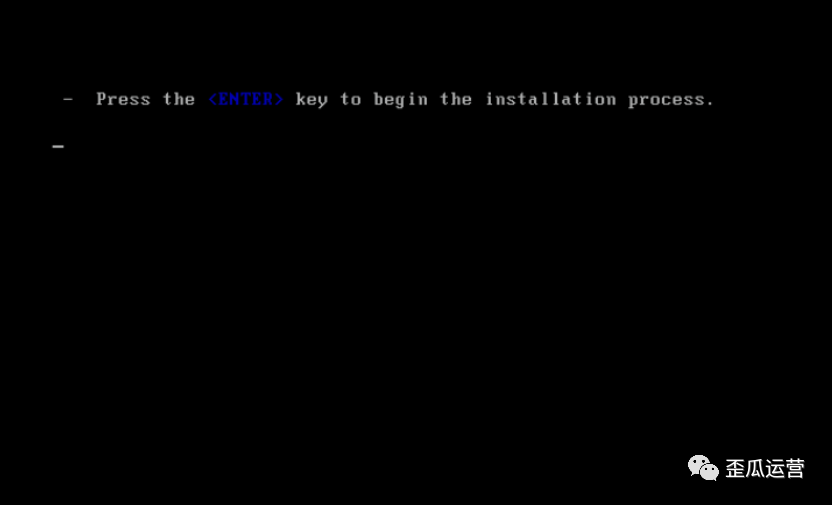
31.面板会出现正在加载镜像。
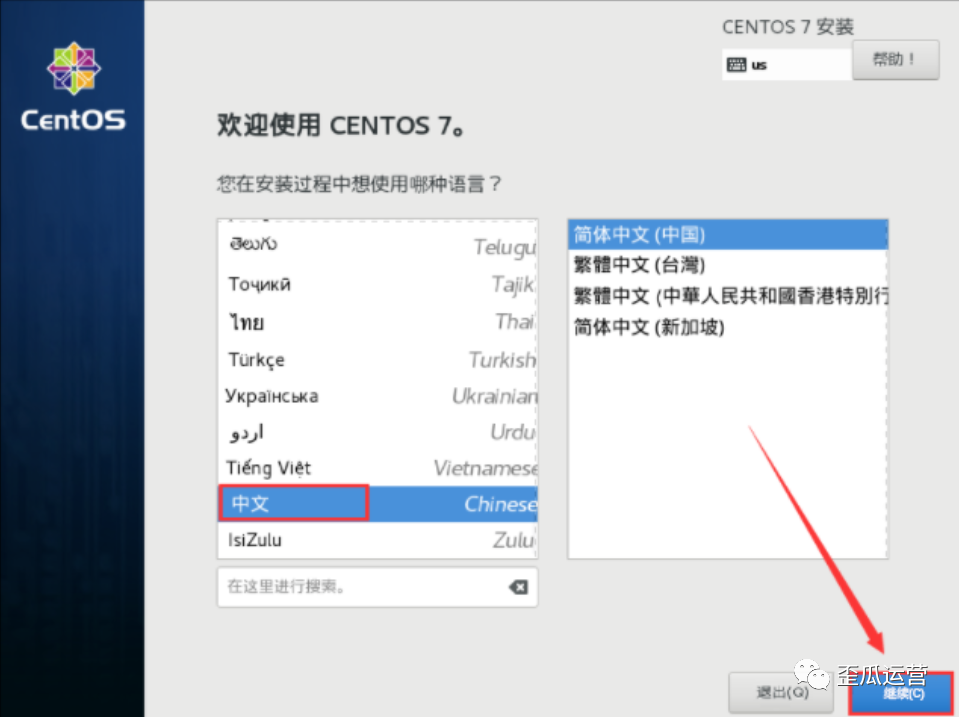
32.之后我们选择【中文】,再点击【继续】。
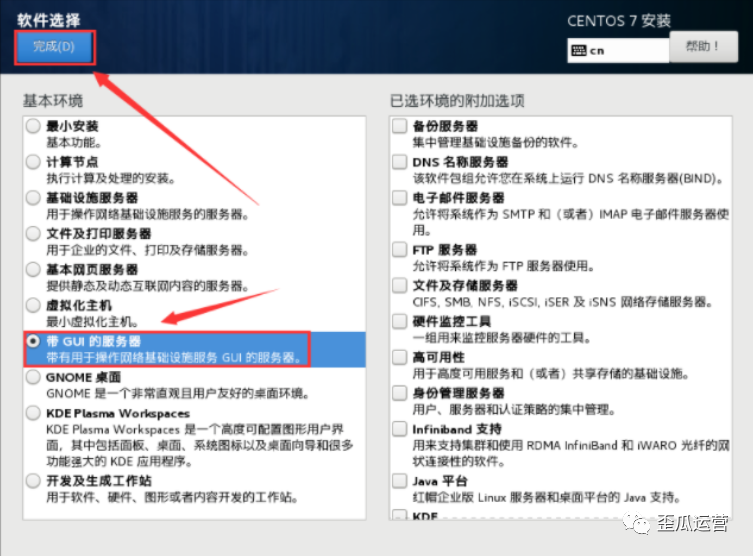
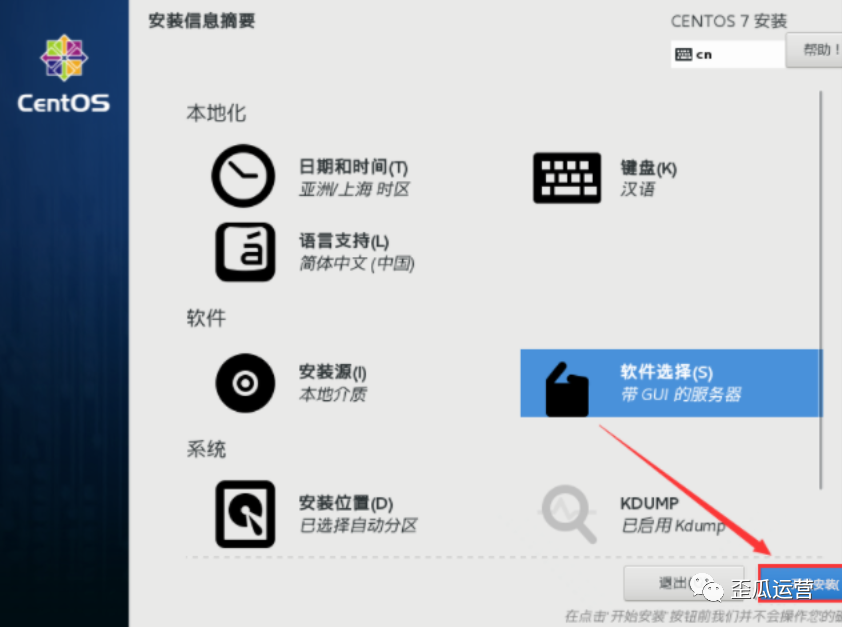
33.鼠标选择点击【软件选择】。

34.首先选择【带GUI的服务器】,然后再点击【完成】。
35.选择点击【网络和主机名】。

36.直接点击【完成】。

37.在这里点击【安装位置】。
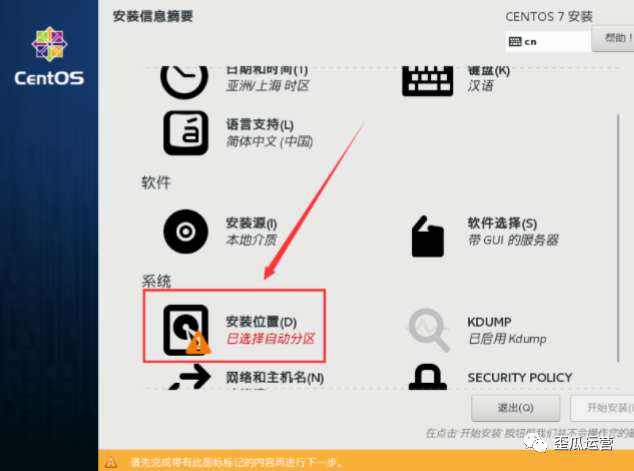
38.需要注意不让做任何修改,我们点击【完成】。
39.然后点击【开始安装】。
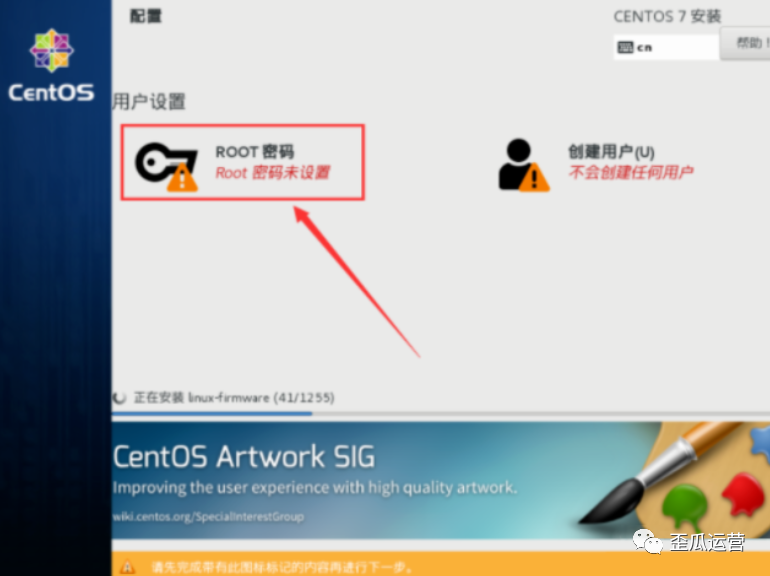
40.直接点击【Root密码】。
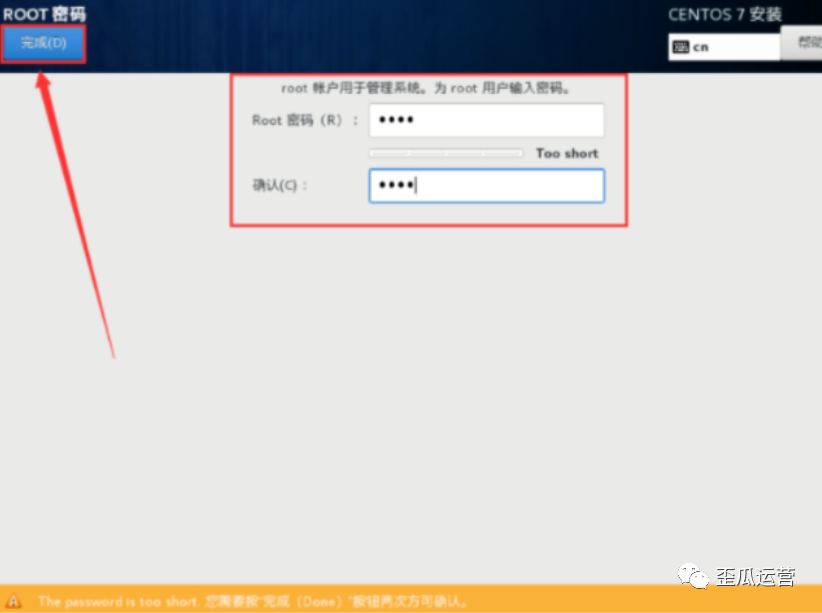
41.待我们输入Root密码后,直接点击【完成】。
温馨提示:如果我们输入的密码较弱则需要点击两次【完成】才可以。
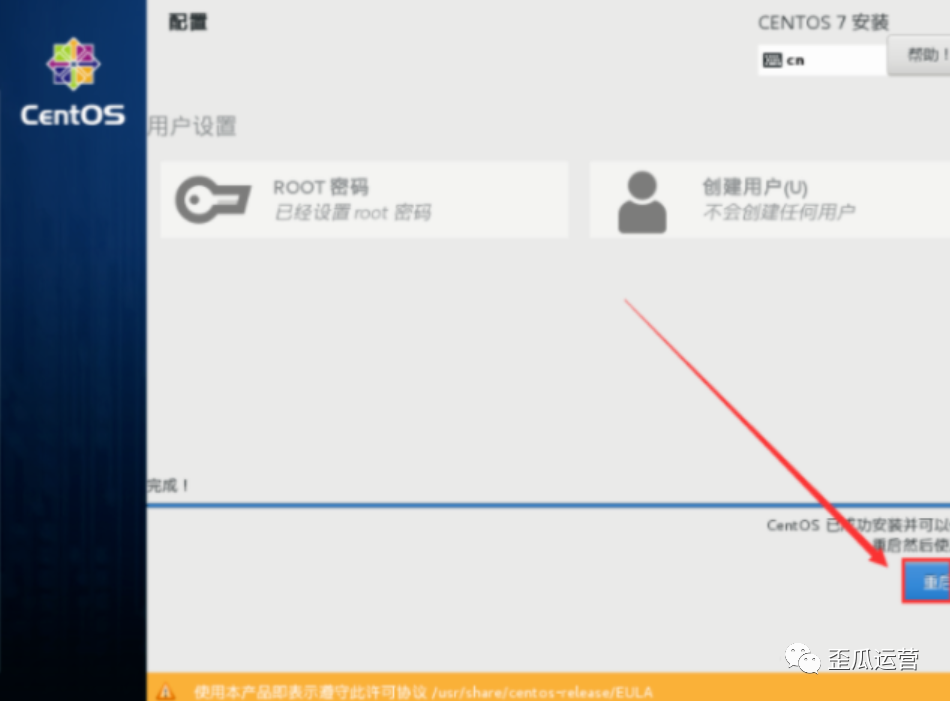
42.会出现CentOS 7正在安装中,我们稍等一会儿。

43.待安装完成后,我们点击【重启】。
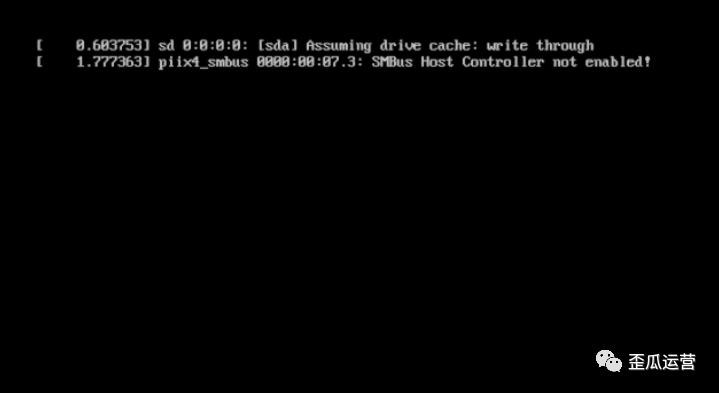
44.在重启后的过程中,大家不要有任何操作。
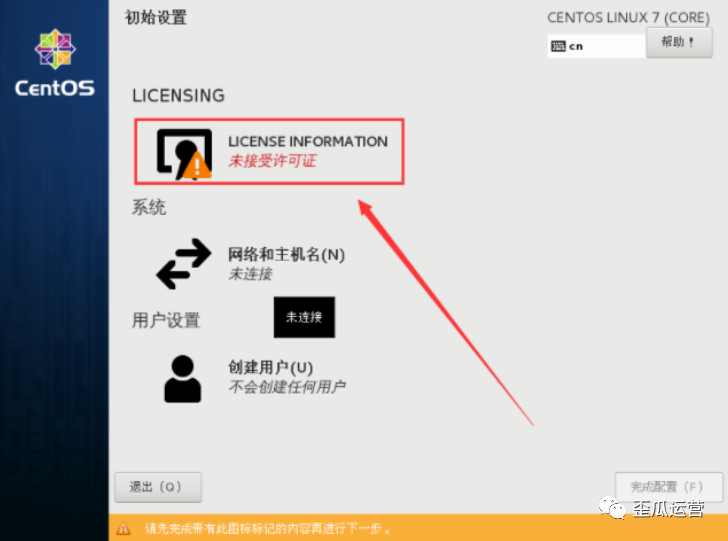
45.然后再点击【LICENSE INFORMATION】。
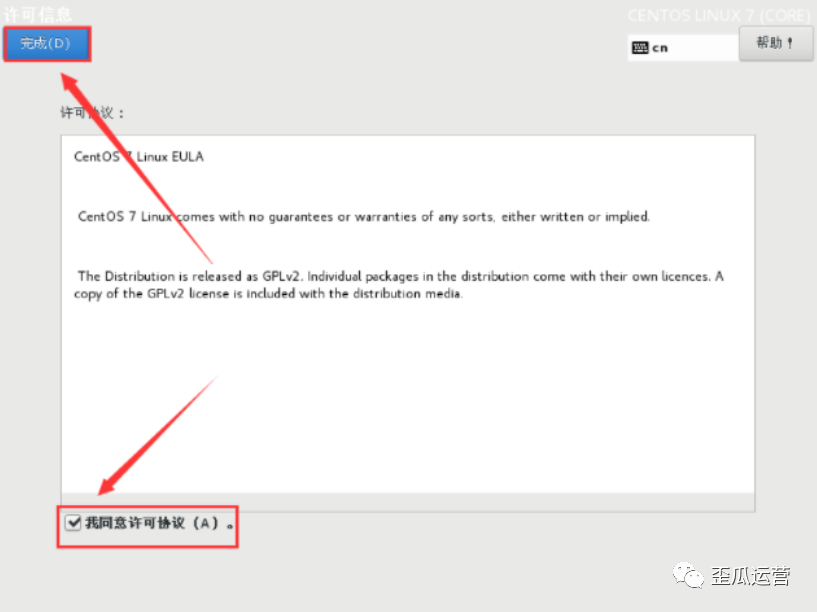
46.我直接勾选【我同意许可协议】,鼠标点击【完成】。
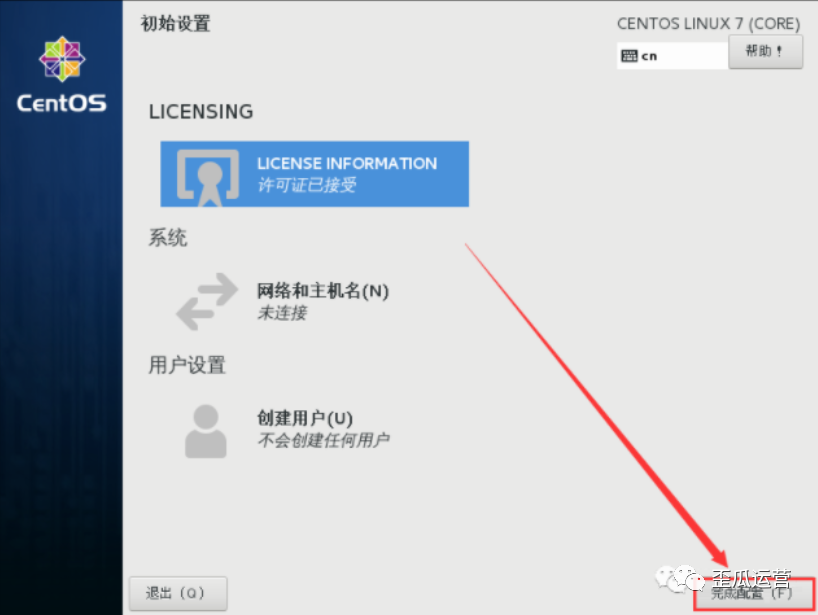
47.选择点击【完成配置】。
48.我们选择【汉语】。
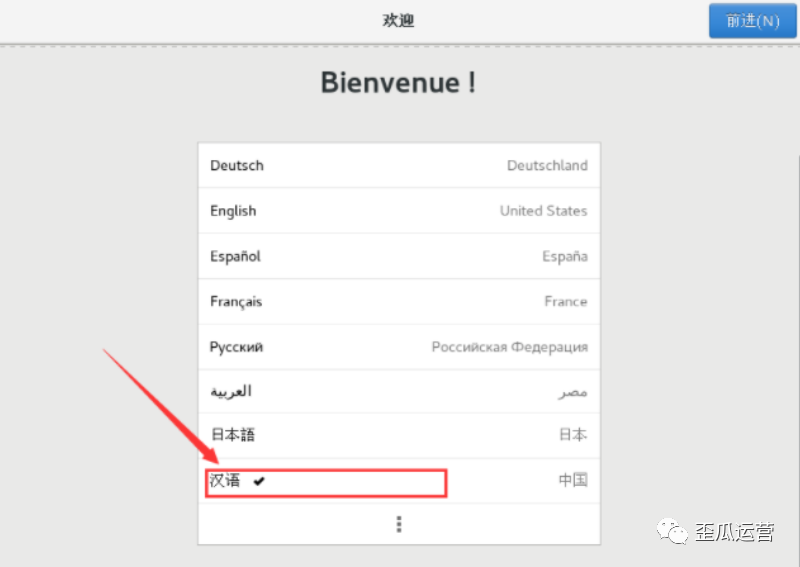
49.再次点击【汉语】。

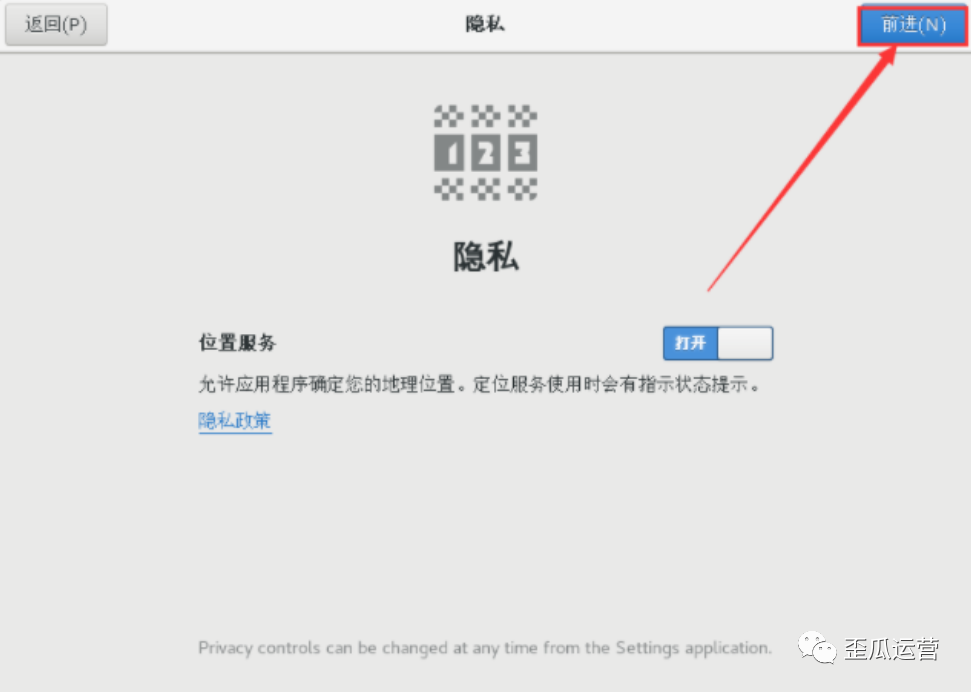
50.然后我们点击【前进】。
51.在地址框中输入【上海】,然后我们点击【前进】。

52.然后我们直接点击【跳过】即可。

53.需要我们建立【本地用户】,然后点击【前进】。

54.在设置完本地账户的密码,然后我们点击【前进】。

55.选择点击【开始使用 CentOS Linux】。
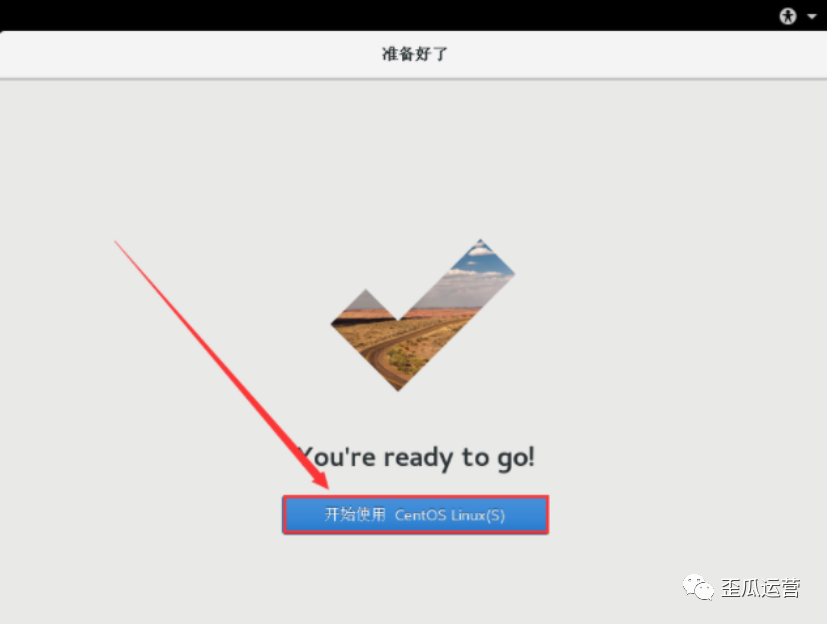
56.出现下图所示,则代表CentOS7系统已安装完成。
