Article directory
Reprinted from cpolar's article: Remote access to Jupyter Notebook from the public network [Cpolar Intranet Penetration]
foreword
Jupyter Notebook, which is an interactive data science and computing environment that supports multiple programming languages such as Python, R, Julia, etc. It has a wide range of applications in data science, machine learning, deep learning, education, and documentation.
The important thing is that Jupyter Notebook can be used in a web browser, so we can start the service on the server side, and remotely access and run the code through the web page for data analysis, and have a scientific computing environment that can be used anytime and anywhere without installing it locally Configure the Python environment.
video tutorial
[Remote Jupyter Notebook] Remotely connect to Jupyter on the external web for data analysis
1. Python environment installation
Install python environment on windows
https://www.python.org/downloads/windows/

2. Jupyter installation
Open the cmd command line and enter:
pip install jupyter

3. Start Jupyter Notebook
Jupyter Notebook is an open source web application that can be used to create and share documents containing live code, equations, visualizations, and text. It is also a derivative project of the IPython project. The IPython project itself once had an IPython Notebook project. Later, it was split out and called Jupyter Notebook.
Start Jupyter Notebook
jupyter notebook

After starting, it will automatically jump to the browser opening interface. If there is no jump, just enter the ip address that appears in the window

4. Remote access
Here we use cpolar for intranet penetration, supports http/https/tcp protocols, does not limit traffic, does not require public network IP, and does not need to set up routers. It is easy to use.
4.1 Install and configure cpolar intranet penetration
cpolar official website: https://www.cpolar.com/
Visit the cpolar official website, register an account, and then download and install the client. For specific installation tutorials, please refer to the official website documentation tutorial.
- Windows system: After downloading the installation package from the official website, double-click the installation package and install it by default.
- Linux system: supports one-click automatic installation scripts, please refer to the official website documentation for details - Getting Started Guide

4.2 Create a tunnel to map a local port
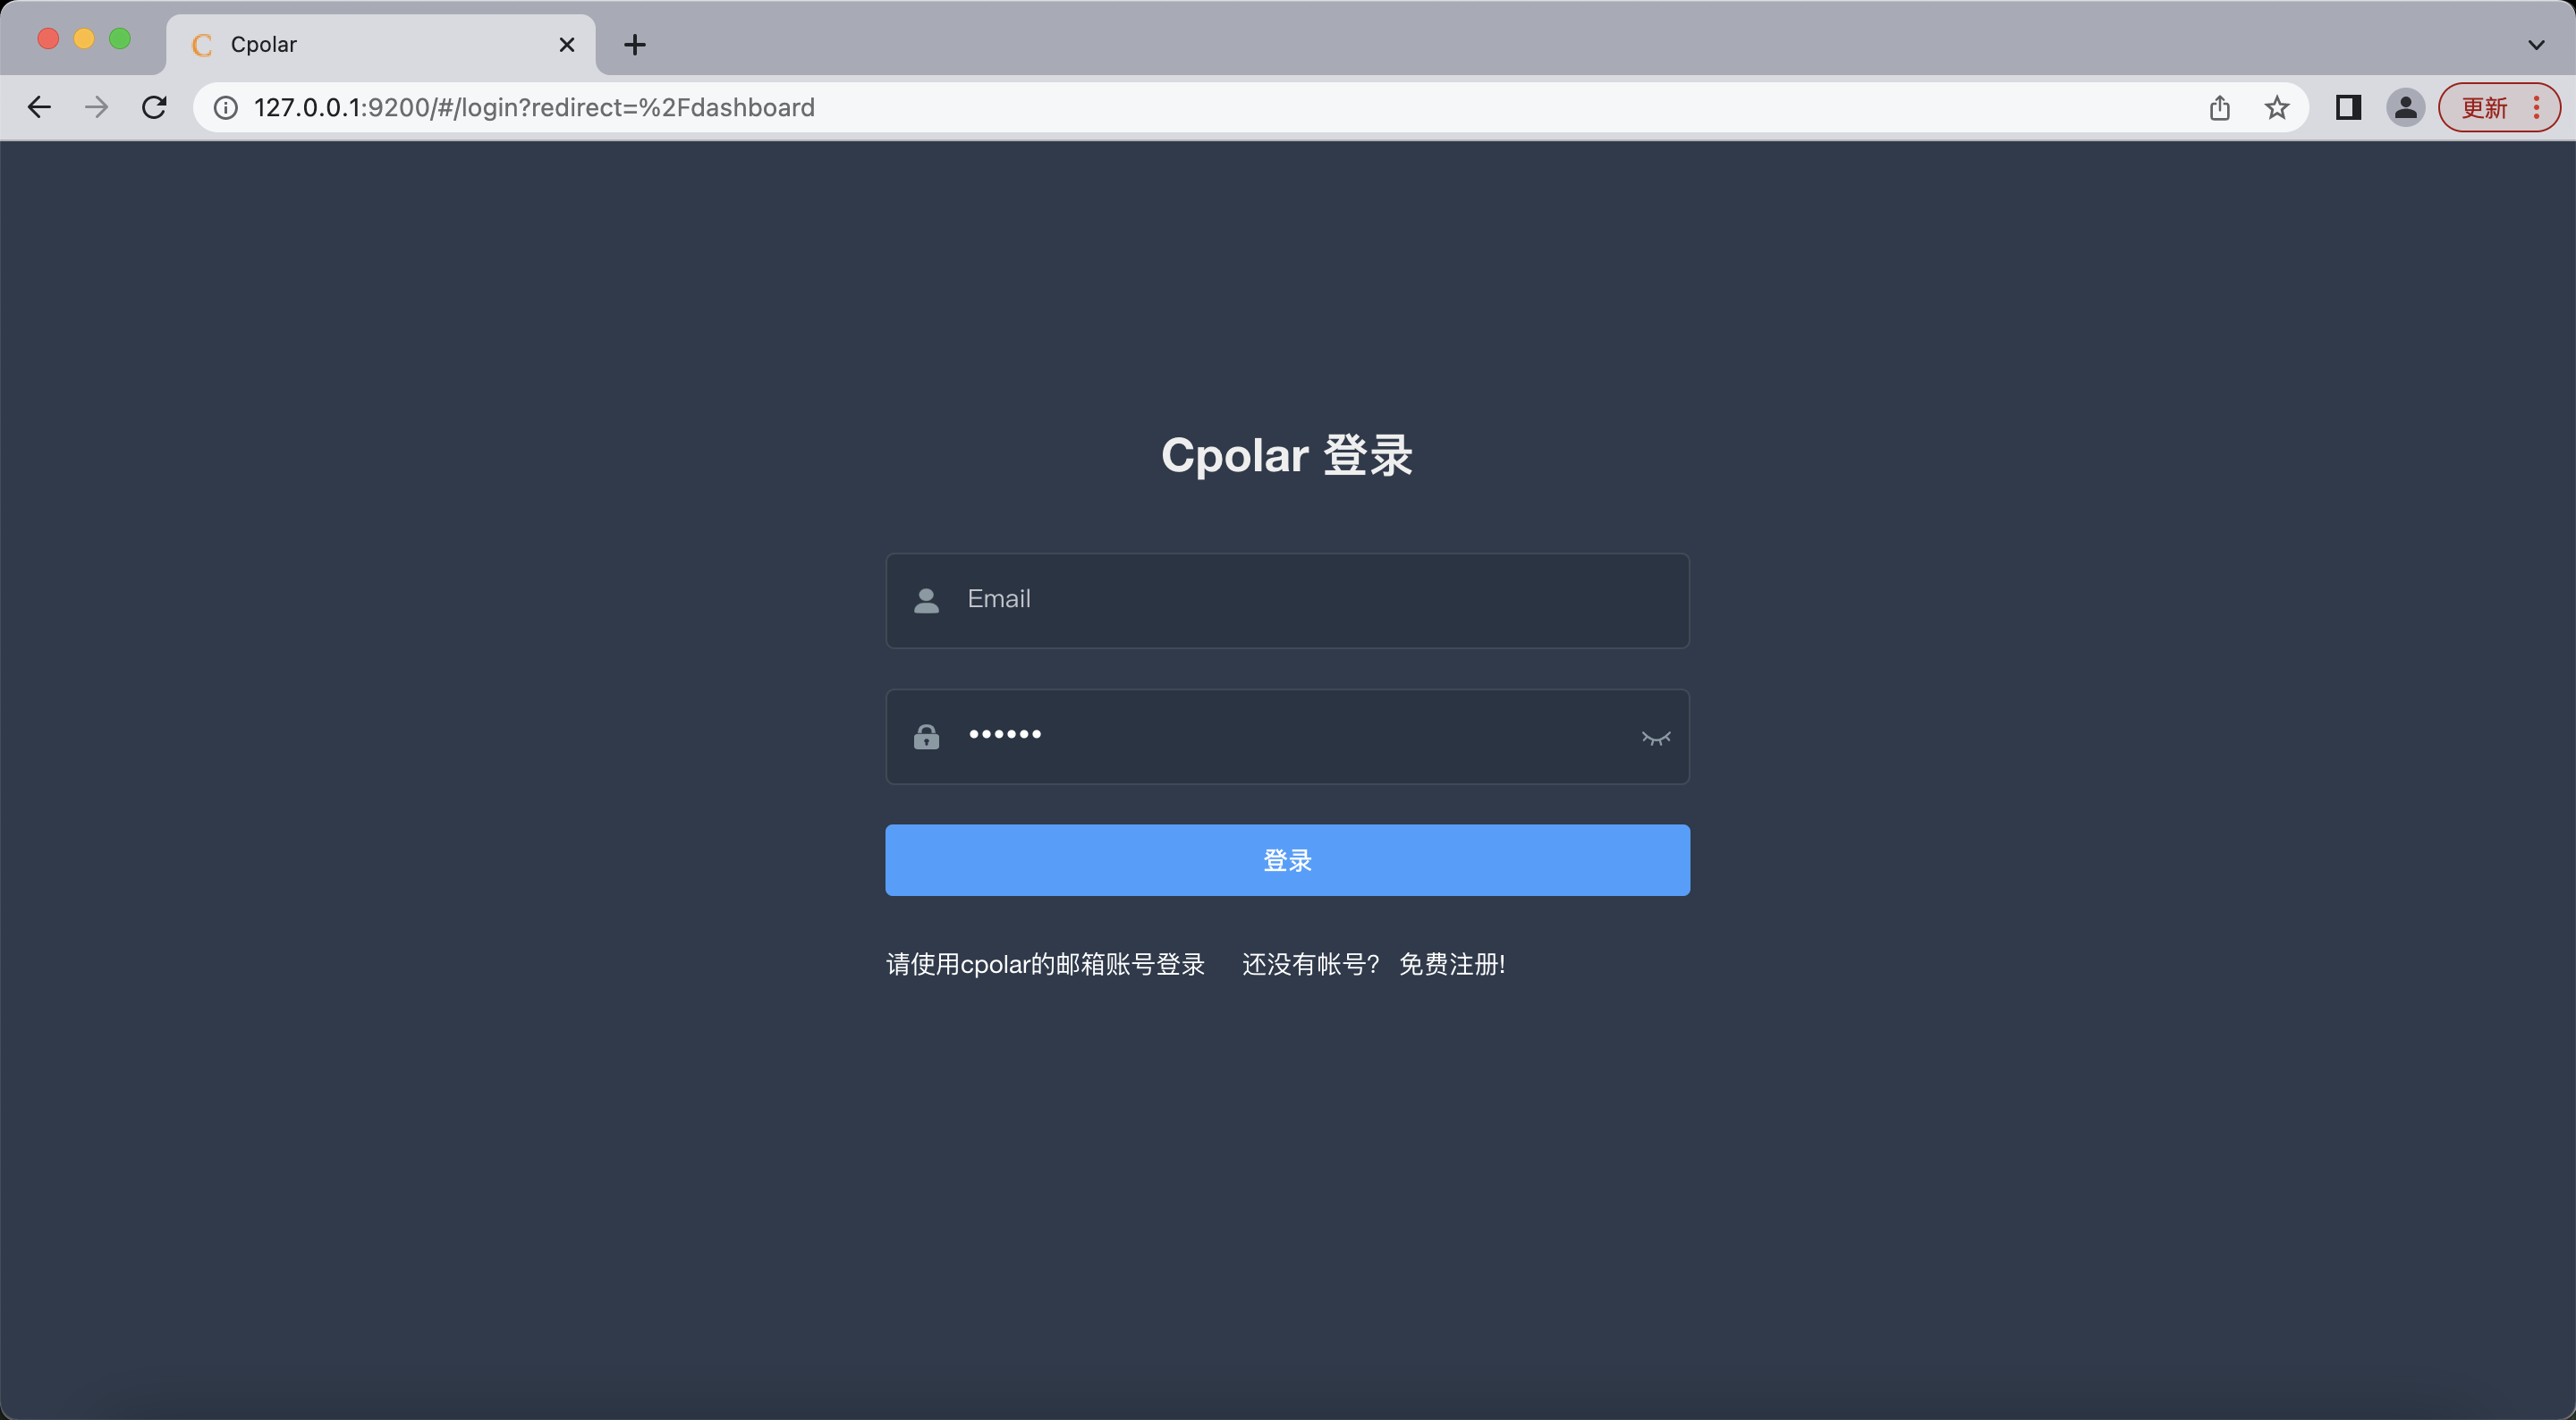
After cpolar is successfully installed, visit the local port 9200 [ http://localhost:9200 ] on the browser , and log in with the cpolar account.
Click Tunnel Management on the left dashboard - Create Tunnel to create a port 8888 http tunnel, because jupyter notebook defaults to port 8888
- Tunnel name: you can customize the name, be careful not to duplicate the existing tunnel name
- Protocol: select http
- Local address: 8888
- Domain name type: choose a random domain name for free
- Region: Select China VIP
click创建

After the tunnel is successfully created, click on the status on the left - online tunnel list, view the generated public network address, and then copy the address

Open the browser, we use the above public network address to connect, the following problem will occur, this problem is that jupyter notebook restricts ip access

Solution:
First close the cmd running window, open a new window, execute the following command to generate a configuration file, remember the path of the configuration file
jupyter notebook --generate-config

set access code
jupyter notebook password

Enter the above json file path, open the jupyter_notebook_config.json configuration file, copy the ciphertext

Then open the above jupyter_notebook_config.py configuration file, add the following parameters, save after adding
c.NotebookApp.ip='*' #允许访问的IP地址,设置为*代表允许任何客户端访问
c.NotebookApp.password = u'argon2:$argon2id$v=19$m=10240,t=10,p=8$QcZlyMBu9icwhDDiUl+lZw$y4EP3WI4gZjc'#刚才生成密码时上面复制的密文
c.NotebookApp.open_browser = False
c.NotebookApp.port =8888 #可自行指定一个端口, 访问时使用该端口
c.NotebookApp.allow_remote_access = True

Then cmd starts again

Open the browser, we use the above public network address to connect again, the password appears, enter the password set above to log in

5. Fixed public network address
Since the above tunnel created by using cpolar uses a random public network address, it will change randomly within 24 hours, which is not conducive to long-term remote access. Therefore, we can configure a second-level subdomain name for it, which is a fixed address and will not change randomly [ps: cpolar.cn has been filed]
Note that the cpolar package needs to be upgraded to the basic package or above, and the bandwidth corresponding to each package is different. [cpolar.cn has been filed]
Reserve a second-level subdomain
Log in to the cpolar official website, click Reserve on the left, choose to reserve the second-level subdomain name, set a second-level subdomain name, click Reserve, and copy the reserved second-level subdomain name after the reservation is successful

After the reservation is successful, copy the reserved second-level subdomain address

Visit http://127.0.0.1:9200/, log in to the cpolar web UI management interface, click Tunnel Management on the left dashboard - Tunnel List, find the 8888 tunnel to be configured, and click Edit on the right

Modify the tunnel information, and configure the successfully reserved second-level subdomain name into the tunnel
- Domain name type: select a second-level subdomain name
- Sub Domain: Fill in the reserved sub-domain name
click更新

After the update is complete, open the online tunnel list. At this time, you can see that the public network address has changed, and the address name has also changed to the reserved second-level subdomain name. Copy it down

Then use the fixed http address to open the browser to access, the login is successful, and the access is successful
