tip: The first project is the main file, and the subsequent functions are mainly to use Cubemx to generate code and then transplant it to the motor control project.
1 project establishment
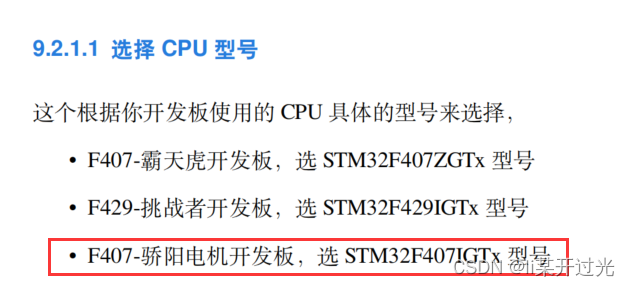
You can directly browse the wildfire information, here is the configuration to match the hot sun board
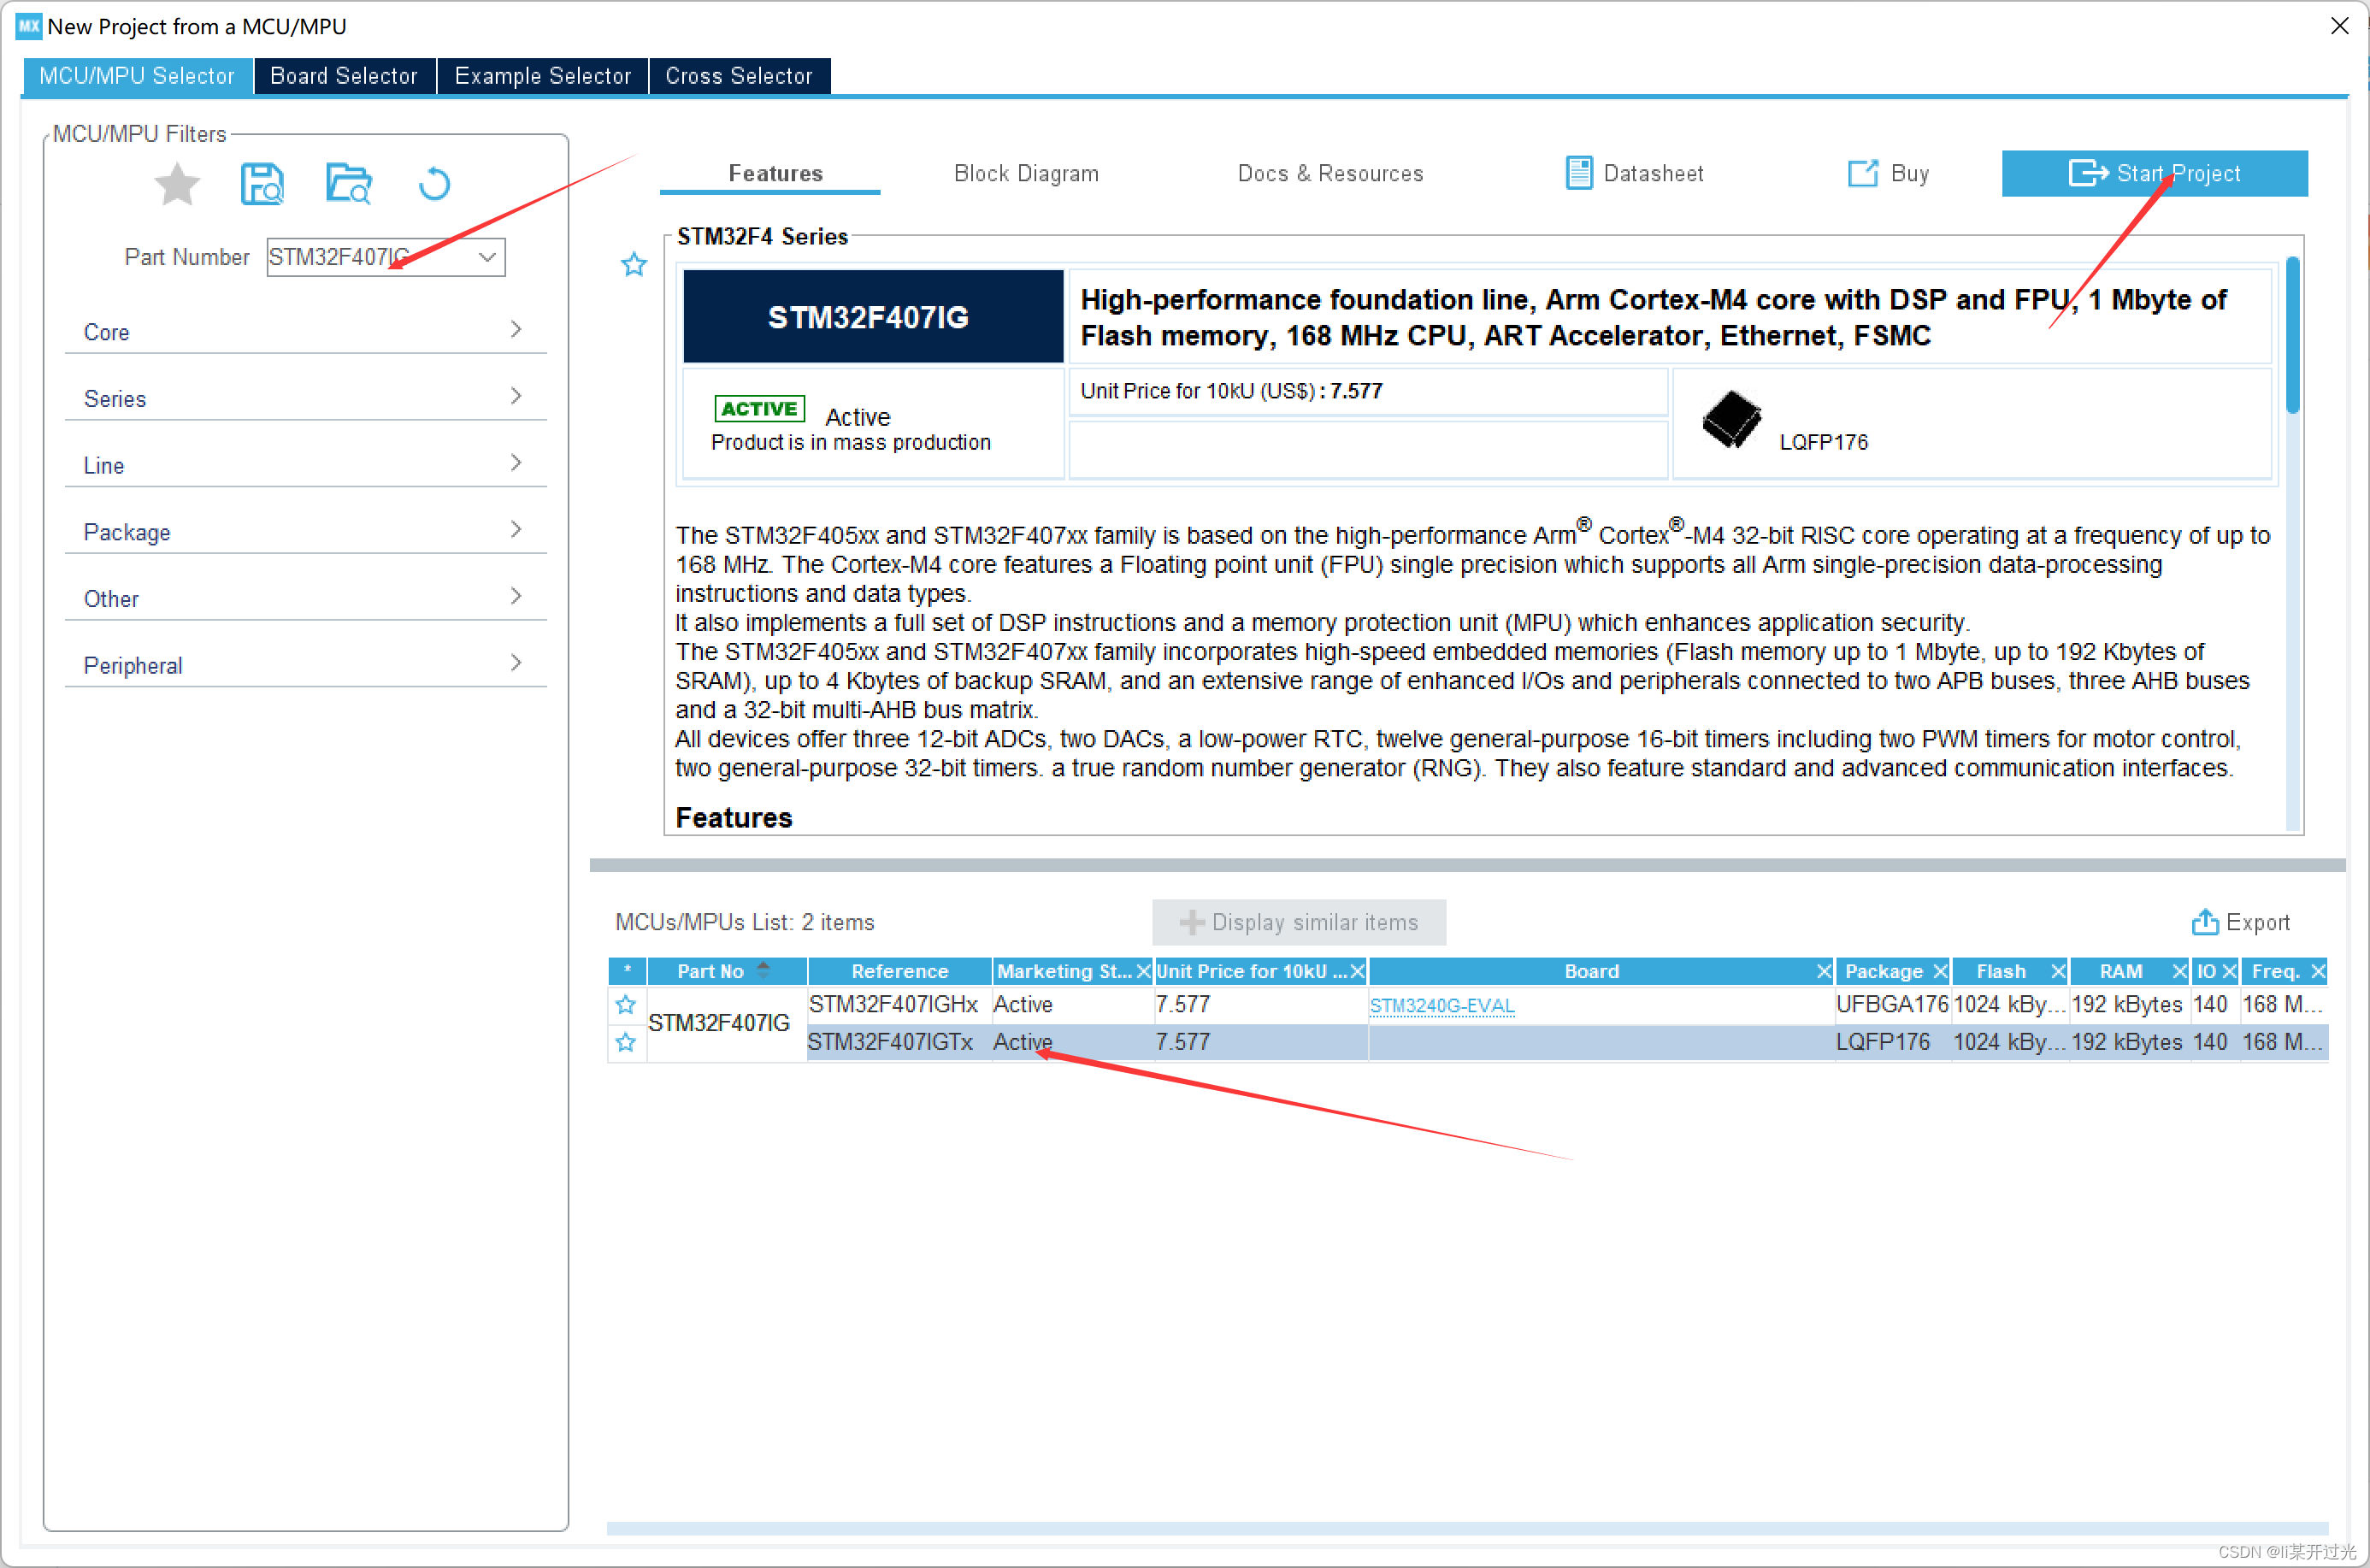
1.1 Create a project as shown below

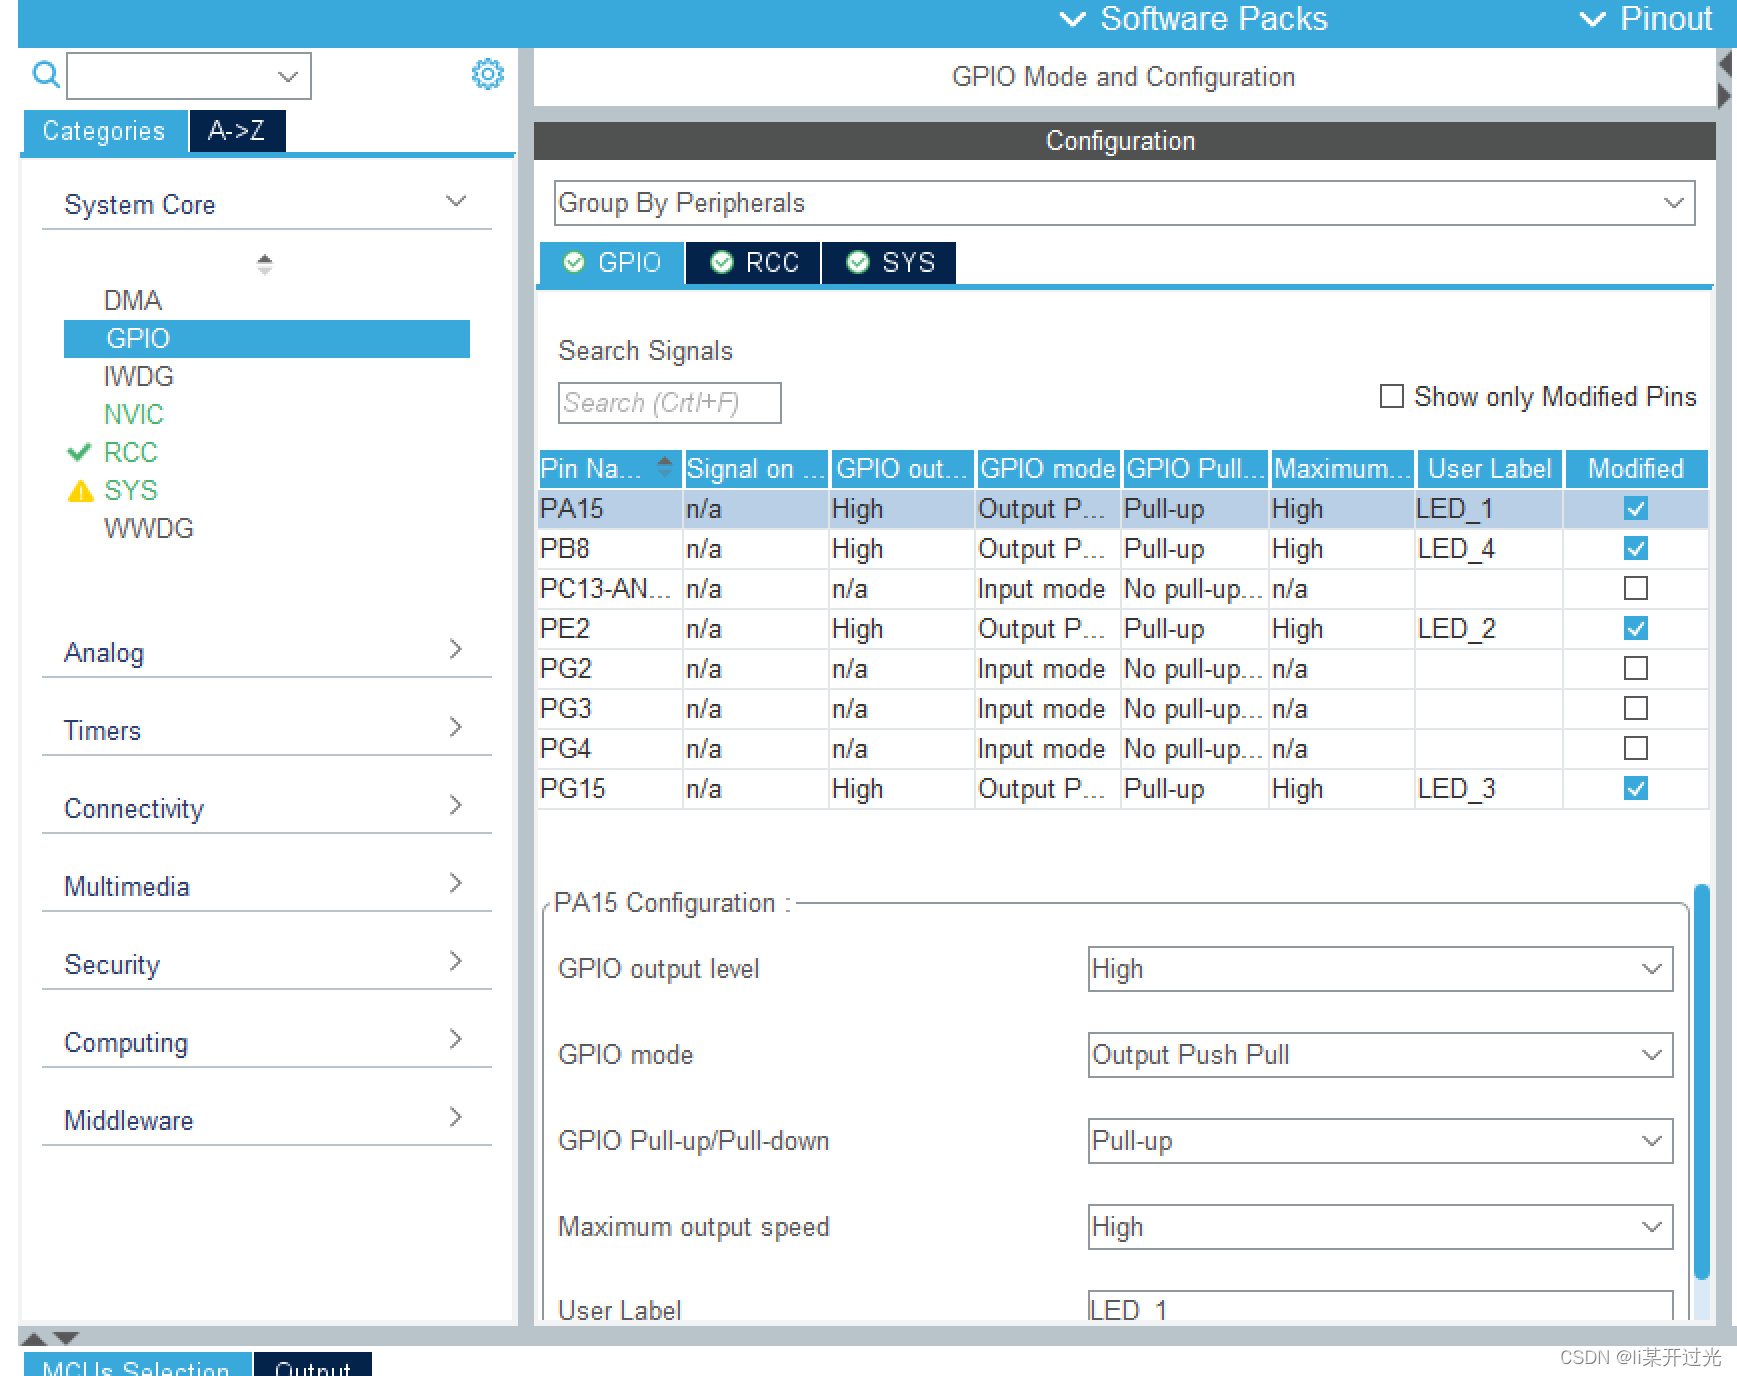
1.2 GPIO port
The button (GPIO input press is high level) pin is
SW7/RESET
KEY1/SW2=PA0
KEY2/SW3=PG2
KEY3/SW3=PC13
KEY4/SW4=PG3
KEY5/SW5=PG4
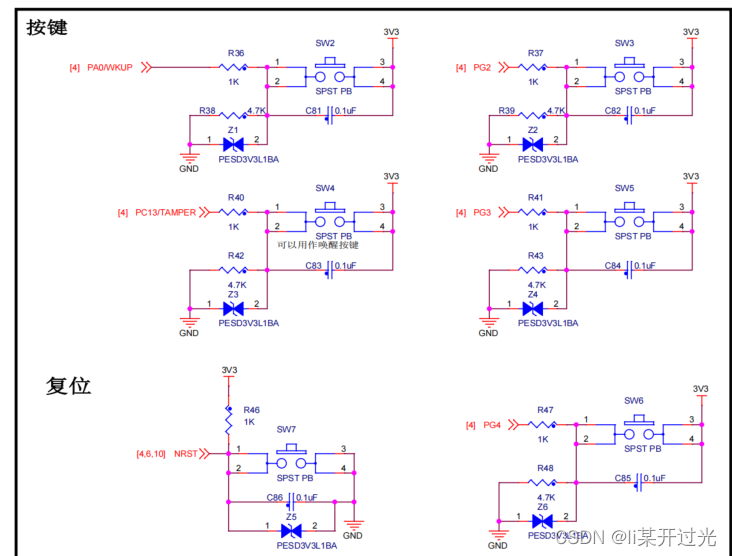
The lamp (GPIO output active high) pin is
LED1=PA15
LED2=PE2
LED3=PG15
LED4=PB8

Configure the GPIO one by one, press the button to select output, led to select input

Below, the LED needs to be changed (high-level push-pull pull-up high-speed mode)
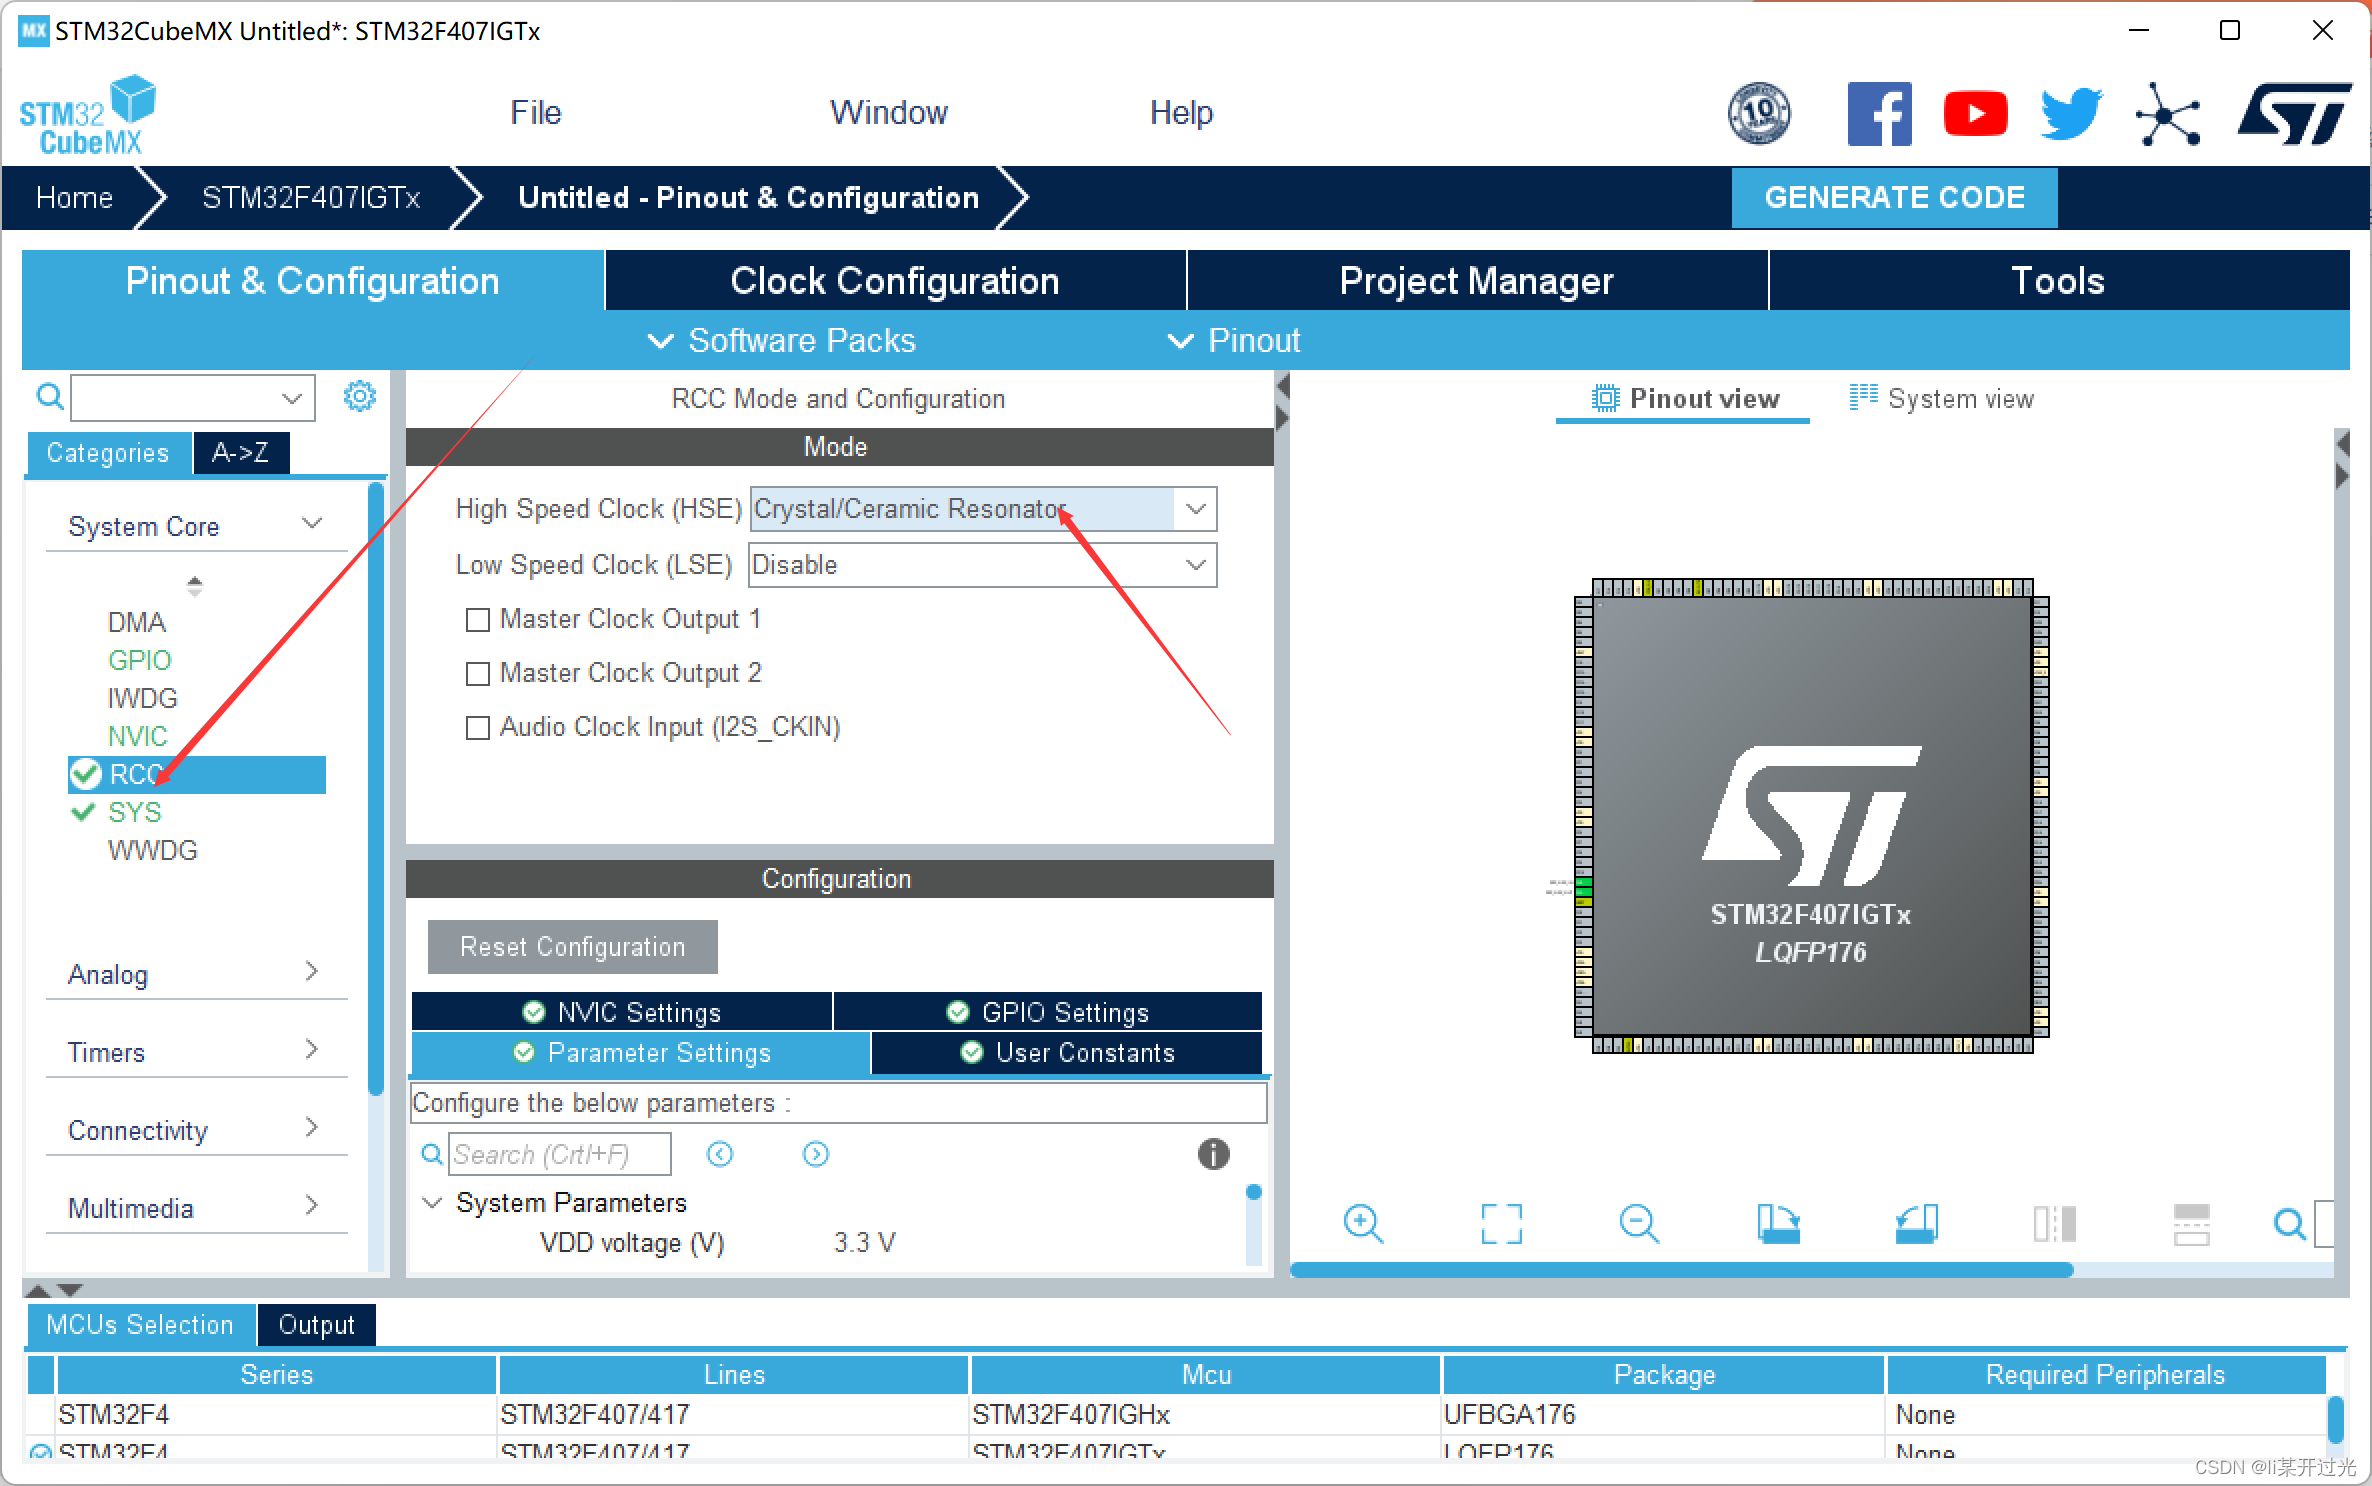
1.3 Clock and other configurations
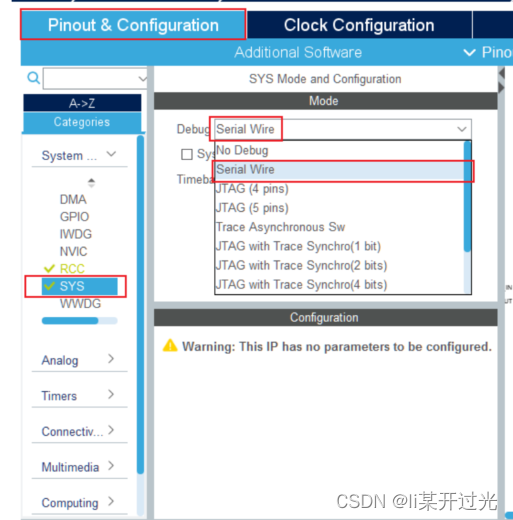
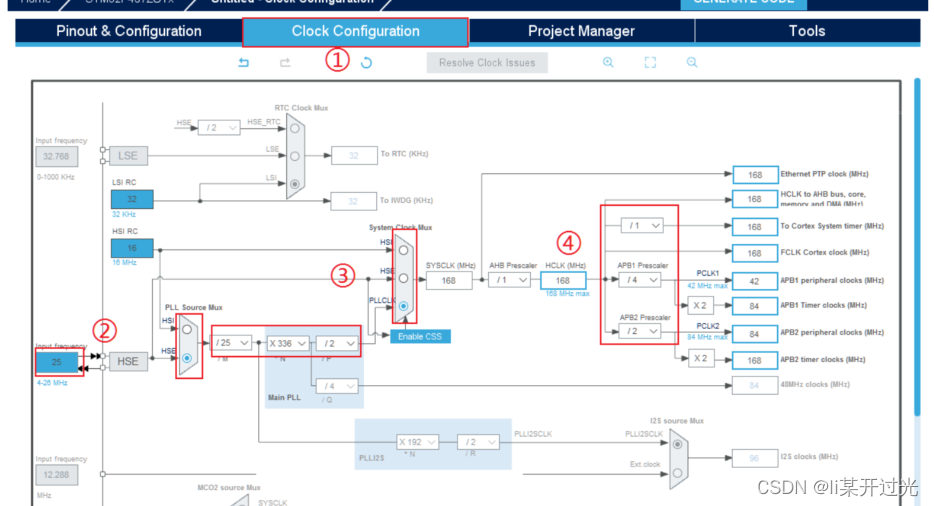
Configured here as a personal habit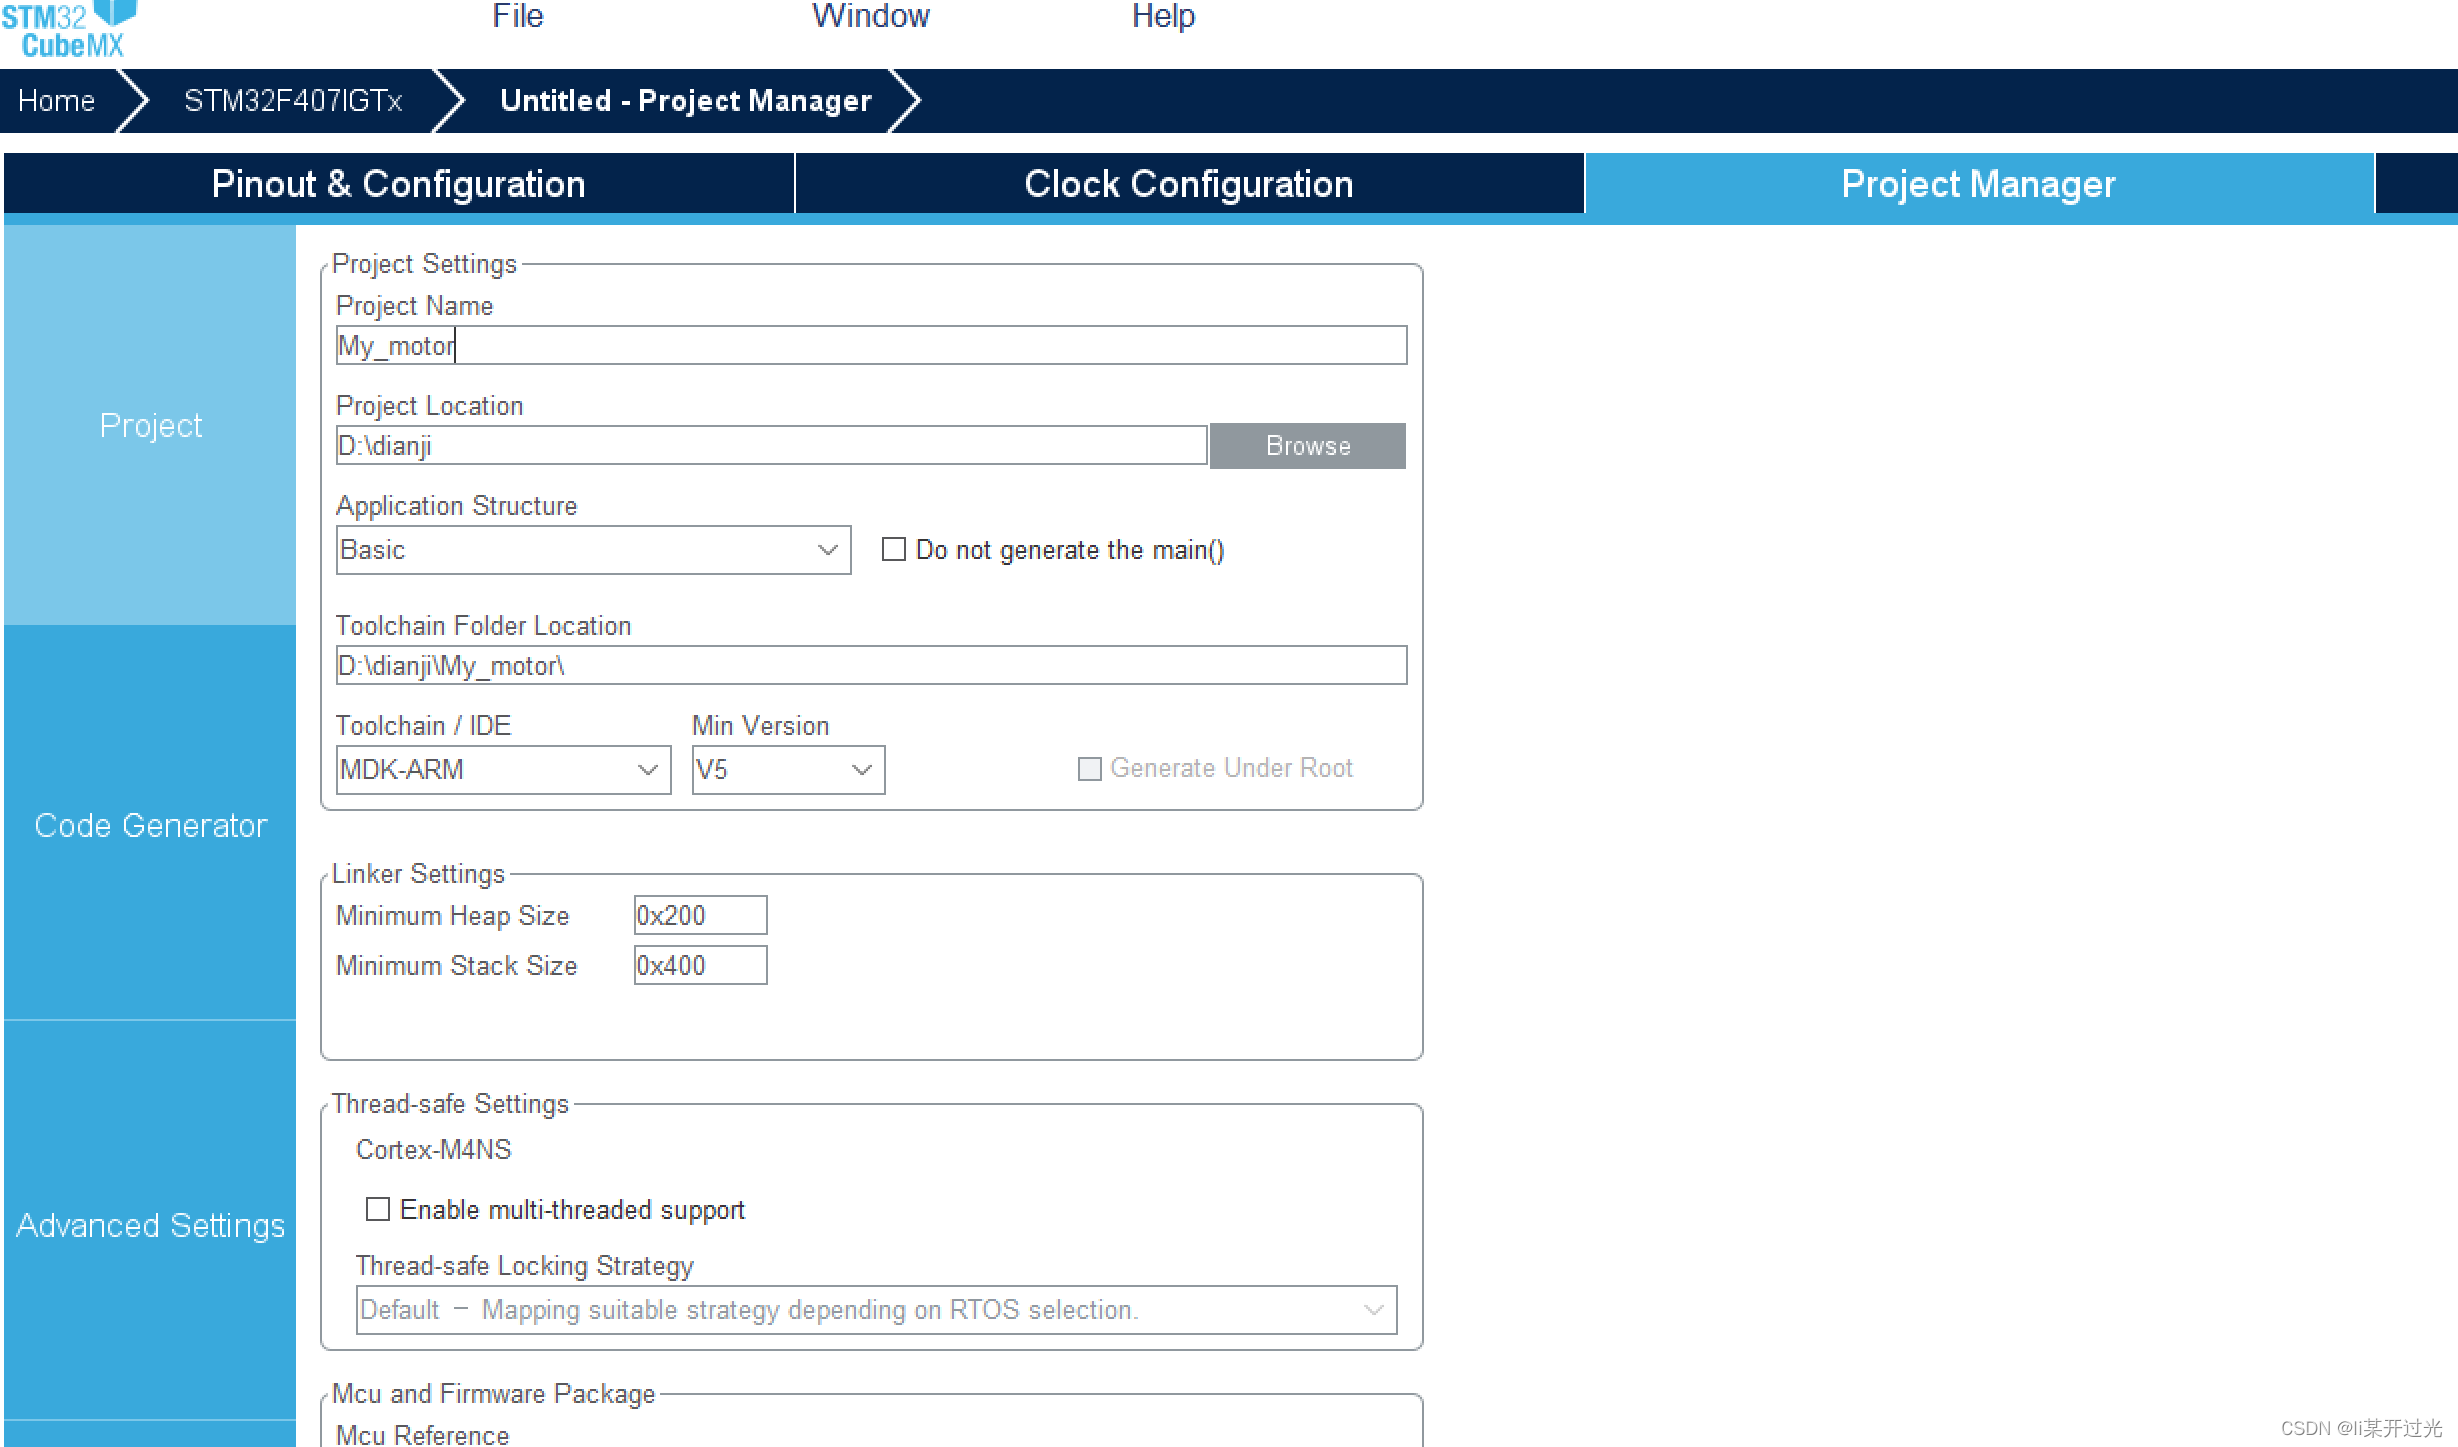
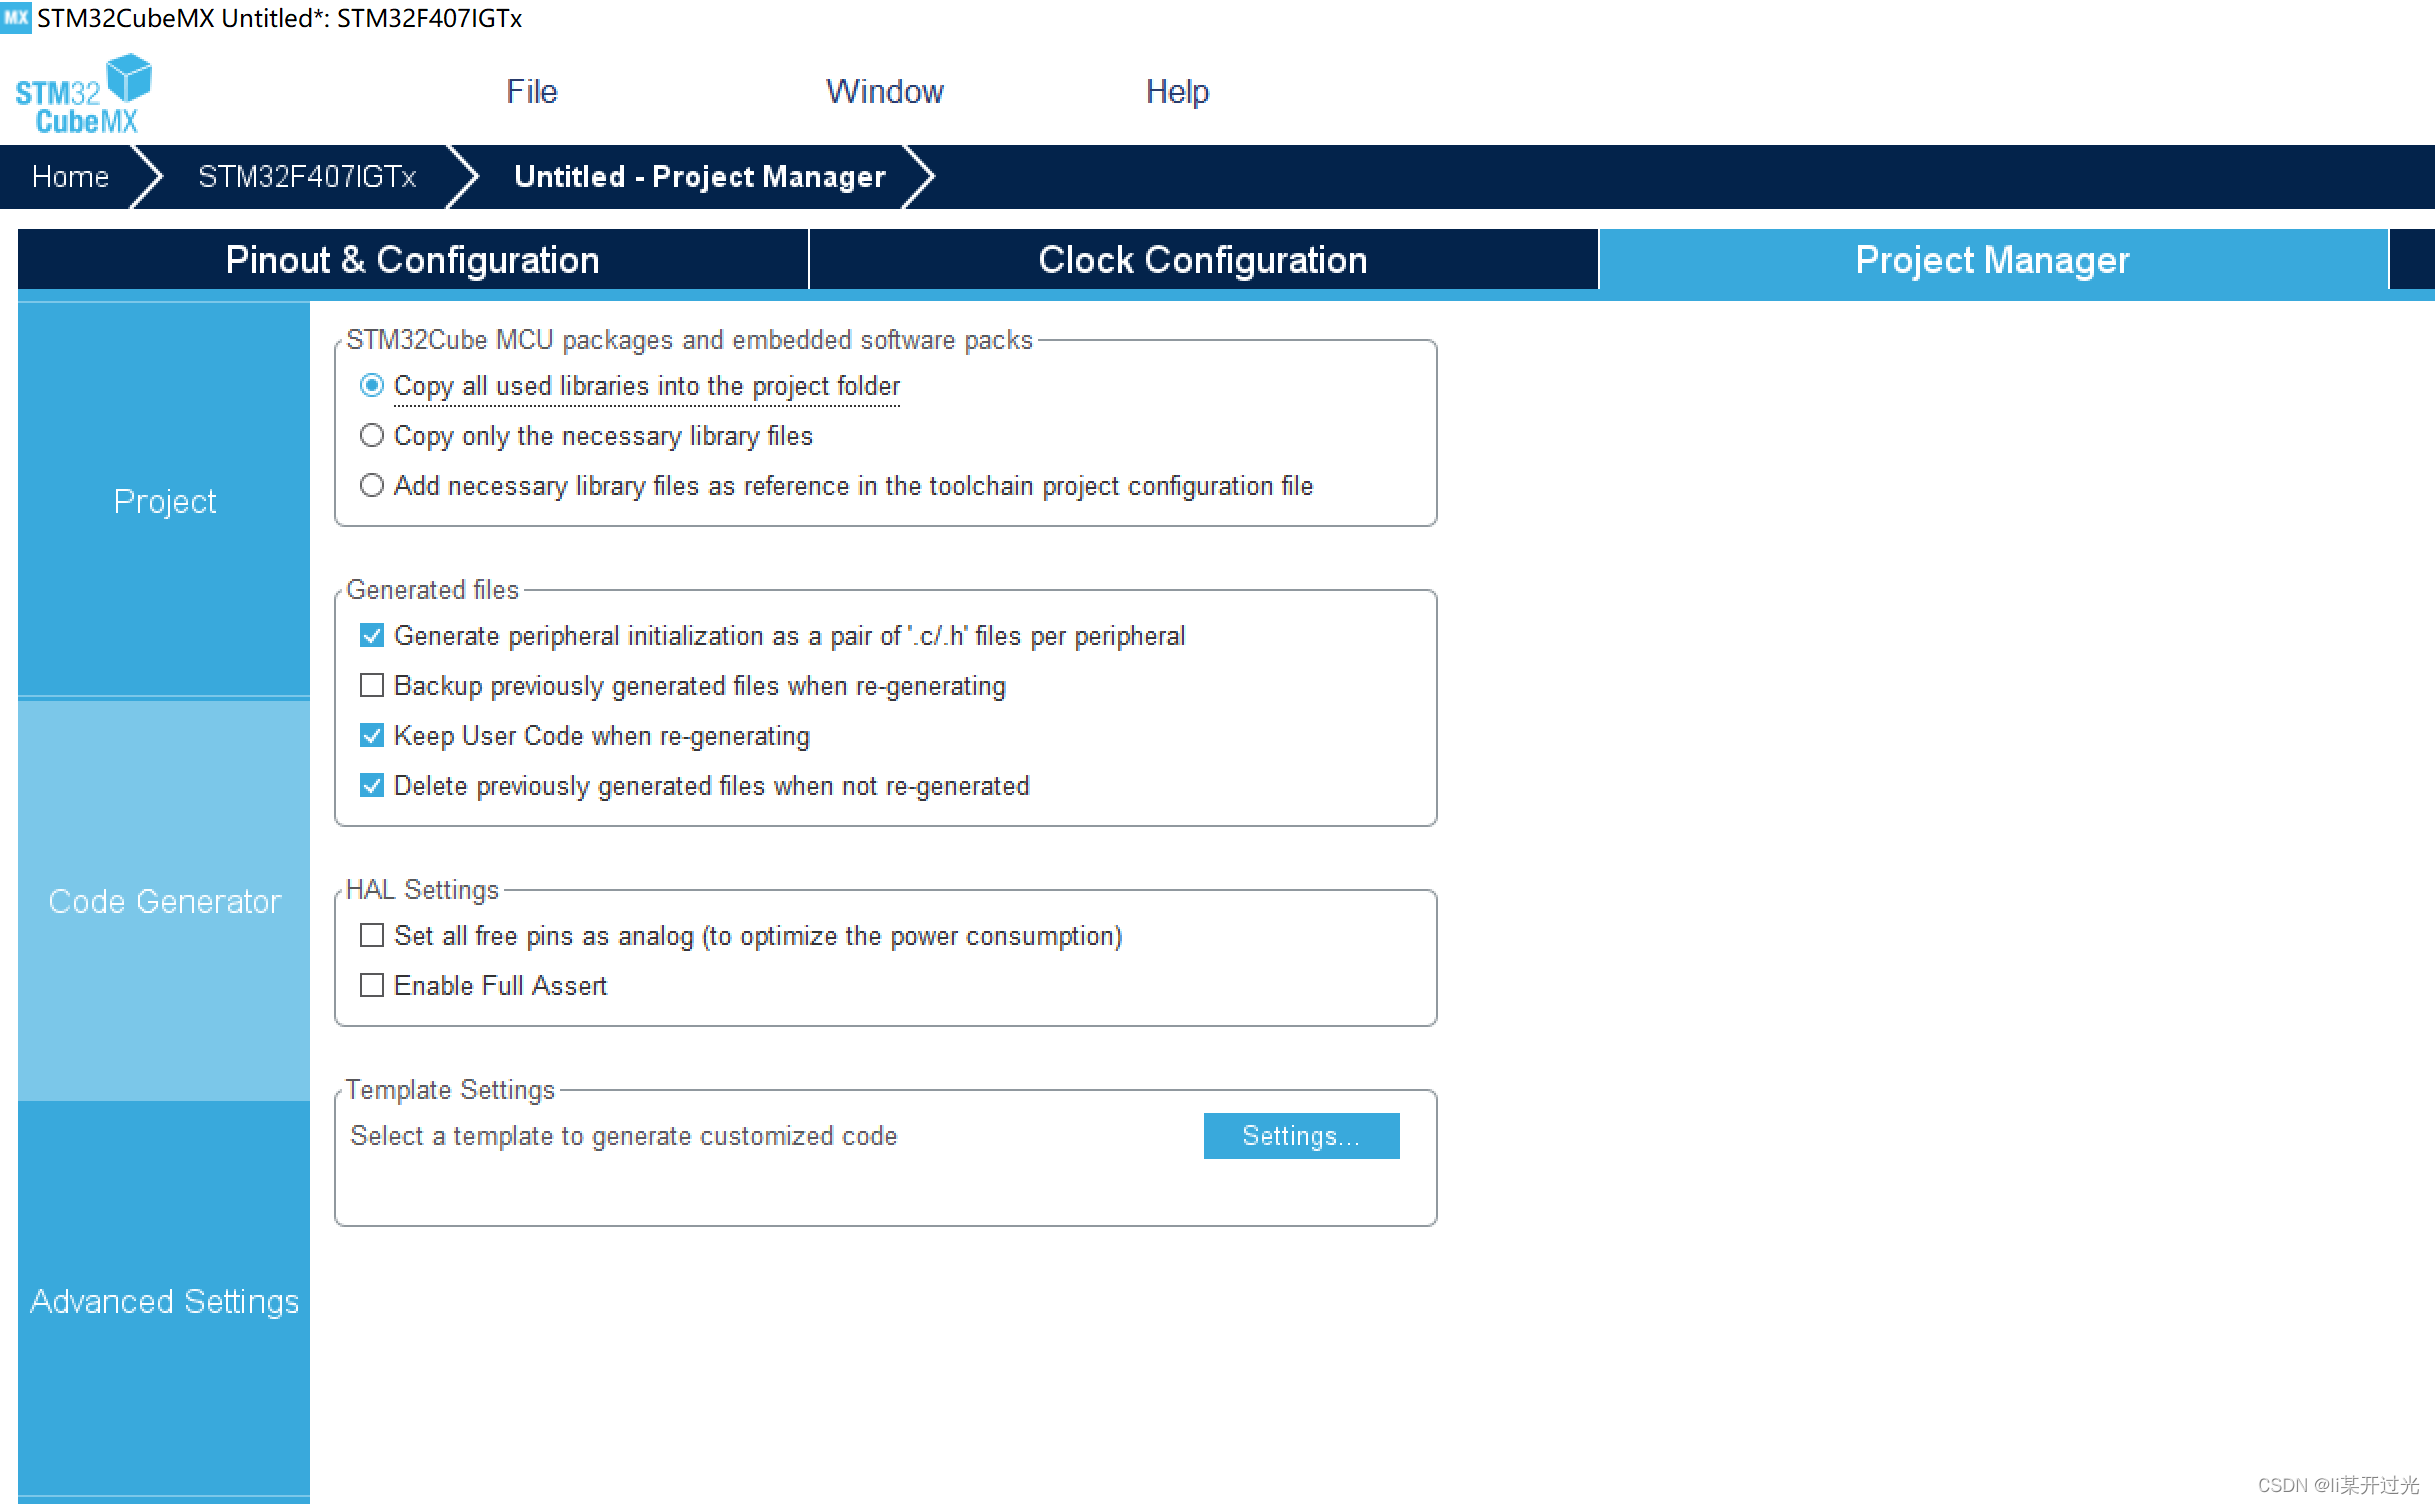
Click to generate code
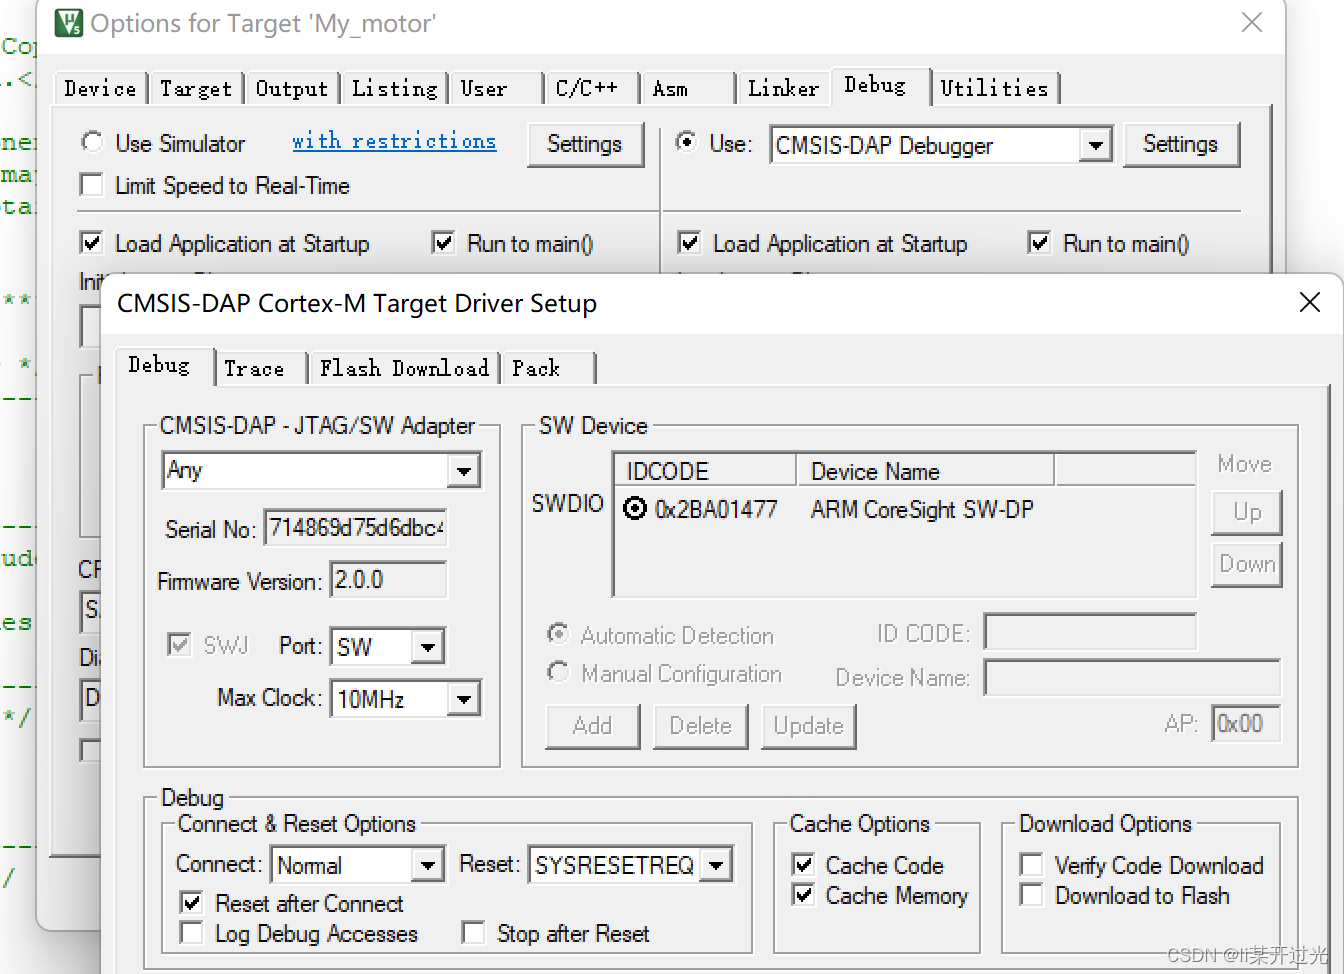
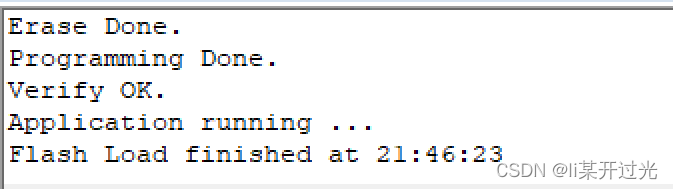
2 Engineering Verification
Simply configure the emulator and try to see if it can be burned into it
3 function function added
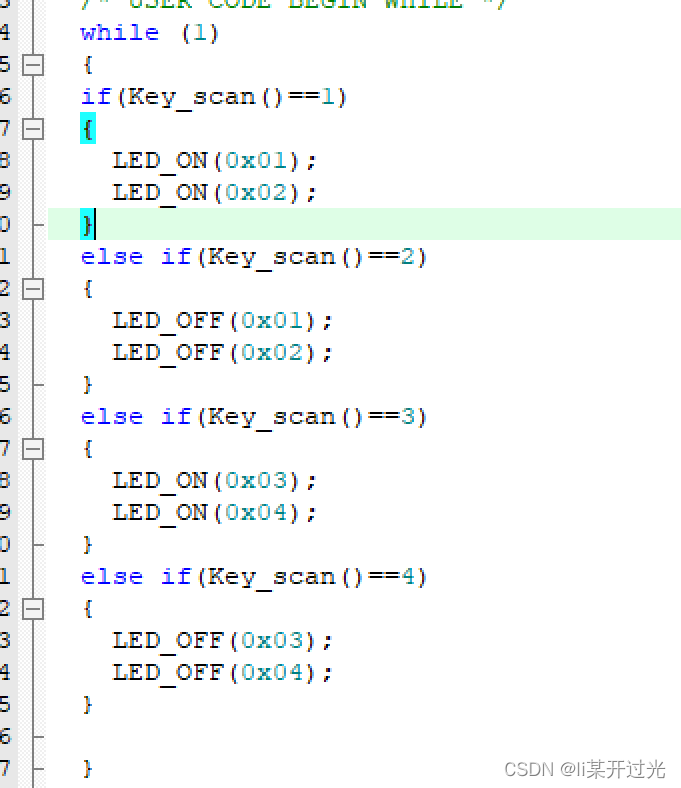
1. Add a function to determine whether the button is pressed and turn on and off the LED light
2. The main function uses the button to light up the LED light to test the configuration and function
3. Finally tidy up the code
The specific code is as follows
//根据输入数字点亮对应LED灯
void LED_ON(unsigned char c)
{
	if(c==1)
	{
		HAL_GPIO_WritePin(LED_1_GPIO_Port, LED_1_Pin, GPIO_PIN_RESET);
	}
	if(c==2)
	{
		HAL_GPIO_WritePin(LED_2_GPIO_Port, LED_2_Pin, GPIO_PIN_RESET);
	}
	if(c==3)
	{
		HAL_GPIO_WritePin(LED_3_GPIO_Port, LED_3_Pin, GPIO_PIN_RESET);
	}
	if(c==4)
	{
		HAL_GPIO_WritePin(LED_4_GPIO_Port, LED_4_Pin, GPIO_PIN_RESET);
	}
}
//根据输入数字关闭对应LED灯
void LED_OFF(unsigned char c)
{
	if(c==1)
	{
		HAL_GPIO_WritePin(LED_1_GPIO_Port, LED_1_Pin, GPIO_PIN_SET);
	}
	if(c==2)
	{
		HAL_GPIO_WritePin(LED_2_GPIO_Port, LED_2_Pin, GPIO_PIN_SET);
	}
	if(c==3)
	{
		HAL_GPIO_WritePin(LED_3_GPIO_Port, LED_3_Pin, GPIO_PIN_SET);
	}
	if(c==4)
	{
		HAL_GPIO_WritePin(LED_4_GPIO_Port, LED_4_Pin, GPIO_PIN_SET);
	}
}
//按键检测
unsigned char Key_scan(void)
{
	unsigned char unKey_Val = 0;

	if(HAL_GPIO_ReadPin(GPIOA, GPIO_PIN_0)==GPIO_PIN_SET)
			unKey_Val = 1;
	if(HAL_GPIO_ReadPin(GPIOG, GPIO_PIN_2)==GPIO_PIN_SET)
			unKey_Val = 2;
	if(HAL_GPIO_ReadPin(GPIOC, GPIO_PIN_13)==GPIO_PIN_SET)
			unKey_Val = 3;
	if(HAL_GPIO_ReadPin(GPIOG, GPIO_PIN_3)==GPIO_PIN_SET)
			unKey_Val = 4;

	return unKey_Val;
}
The main function test code is as follows
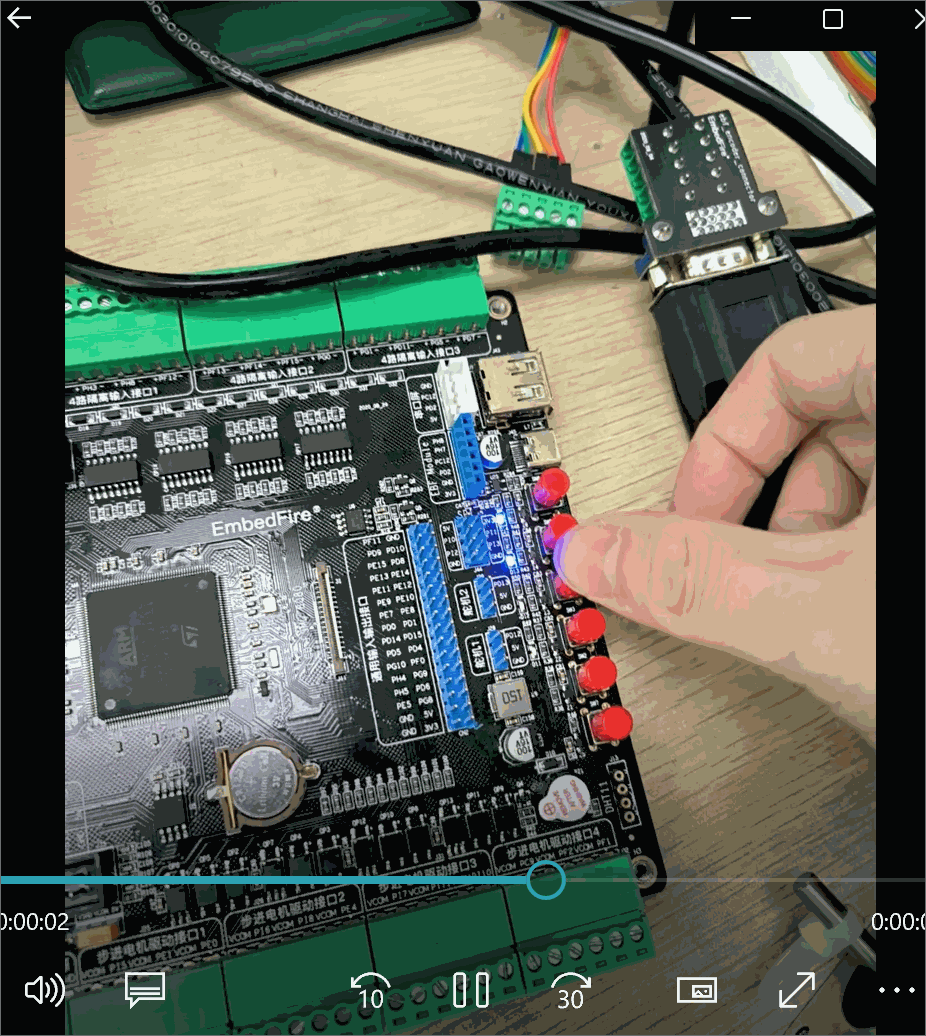
4 Effect display