One, yum installation software
1. Install lrzsz, wget, vim
yum -y install lrzsz
yum -y install wget
View vim: rpm -qa|grep vim
vim-enhanced-XXXXXXX
vim-minimal-XXXXXXXX
vim-common-XXXXXXXXX
yum -y
install
vim*
2. Modify to domestic yum source
Change directory: cd /etc/yum.repos.d/
Preparation: mv CentOS-Base.repo CentOS-Base.repo.backup
Choose any of the following:
Ali: wget -O /etc/yum.repos.d/CentOS-Base.repo http://mirrors.aliyun.com/repo/Centos-7.repo
NetEase: wget Centos7: http://mirrors.163.com/.help/CentOS7-Base-163.repo
USTC: wget Centos7: https://lug.ustc.edu.cn/wiki/_export/code/mirrors/help/centos?codeblock=3
Sohu: wget http://mirrors.sohu.com/help/CentOS-Base-sohu.repo
Clean cache: yum clean all
Generate cache: yum makecache
Update: yum -y update
3. Add nginx source
Installation source: rpm -ivh http://nginx.org/packages/centos/7/noarch/RPMS/nginx-release-centos-7-0.el7.ngx.noarch.rpm

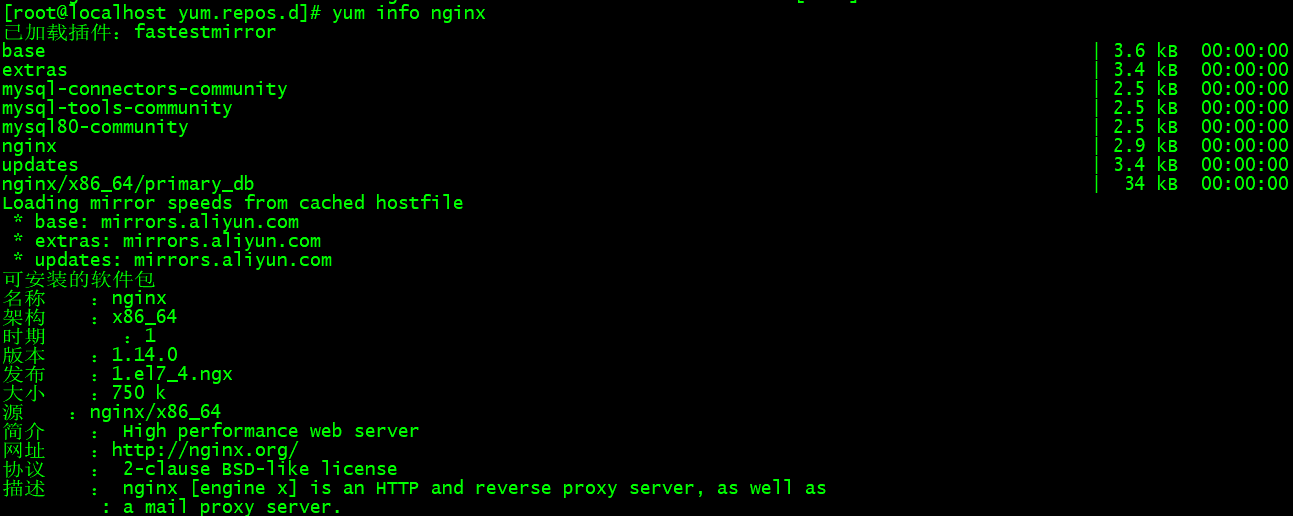
View the installable Nginx software: yum info nginx
 Install Nginx software: yum install nginx

The nginx.conf configuration file can be modified in /etc/nginx
Start the Nginx service: service nginx start

4.epel 源
Installation source: rpm -ivh http://dl.fedoraproject.org/pub/epel/7/x86_64/Packages/e/epel-release-7-11.noarch.rpm

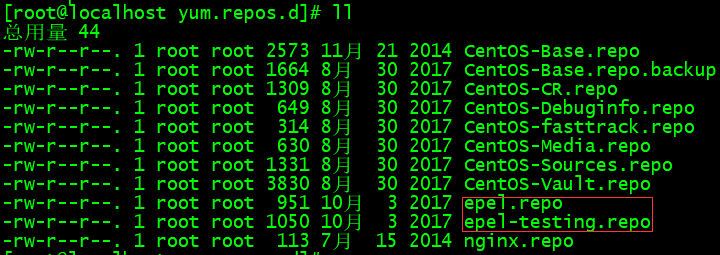
You will see the following two yum sources (in the /etc/yum.repos.d directory): ll
View available keepalived software: yum search keepalived

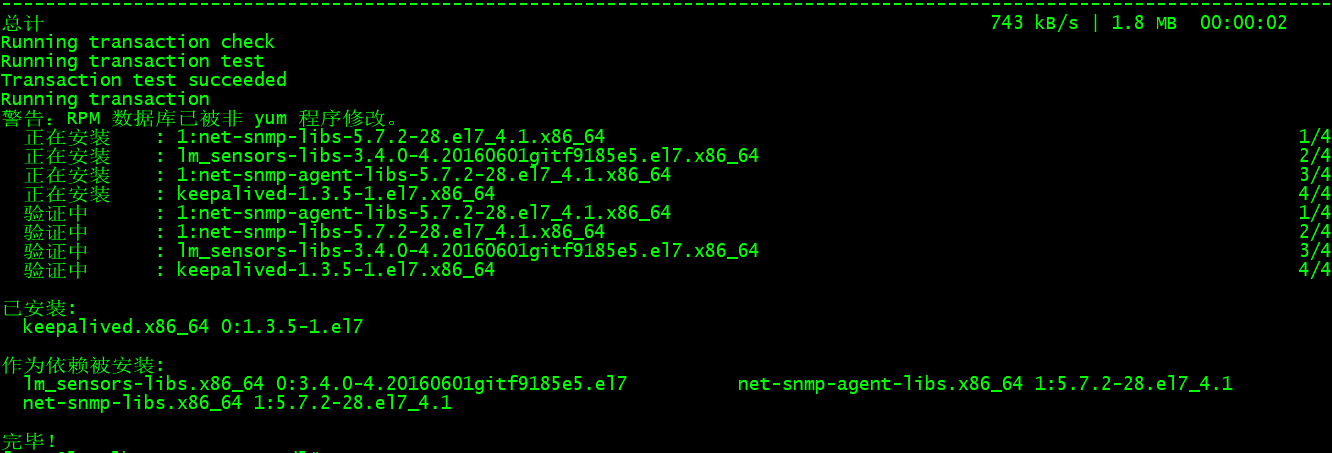
Install keepalived software: yum install keepalived
The /etc/keepalived/keepalived.conf configuration file can be modified
Start the keepalived service: service keepalived start

5. Install jdk
Check: yum search java|grep jdk
Installation: yum install java-1.8.0-openjdk
Configure environment variables: vi /etc/profile
Add to:
JAVA_HOME=/usr/lib/jvm/java-1.8.0-openjdk-1.8.0.161-0.b14.el7_4.x86_64
JRE_HOME=$JAVA_HOME/jre
CLASS_PATH=.:$JAVA_HOME/lib/dt.jar:$JAVA_HOME/lib/tools.jar:$JRE_HOME/lib
PATH=$PATH:$JAVA_HOME/bin:$JRE_HOME/bin
export JAVA_HOME JRE_HOME CLASS_PATH PATH

Save settings: source /etc/profile
Verify: java -version
6. Install tomcat
It is recommended to install in the /home directory
Download: wget http://mirror.bit.edu.cn/apache/tomcat/tomcat-9/v9.0.7/bin/apache-tomcat-9.0.7.tar.gz
Unzip: tar -xzvf apache-tomcat-9.0.7.tar.gz
Start under the path of /home/apache-tomcat-9.0.7: sh bin/startup.sh
View the startup log in the /home/apache-tomcat-9.0.7 path: tail -f logs/catalina.out
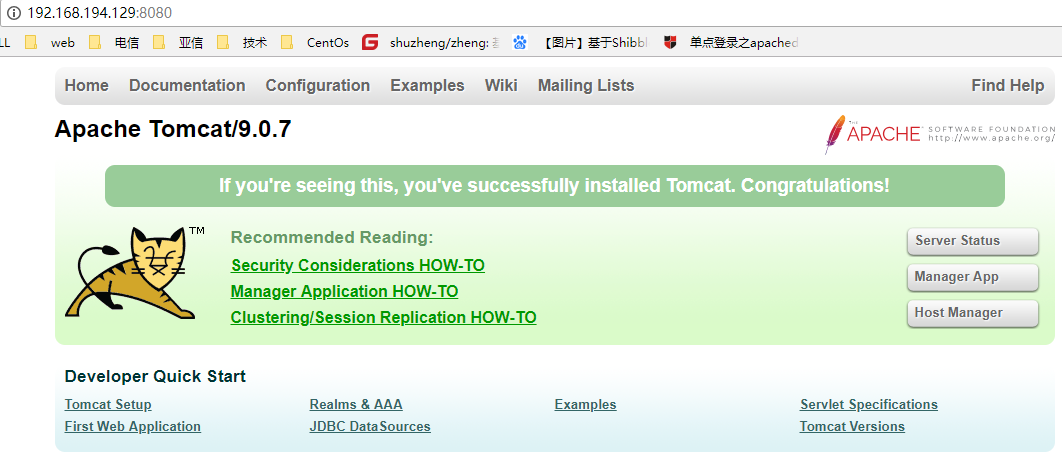
Access: curl localhost:8080
2. Firewall configuration
1. Check the firewall (firewall)
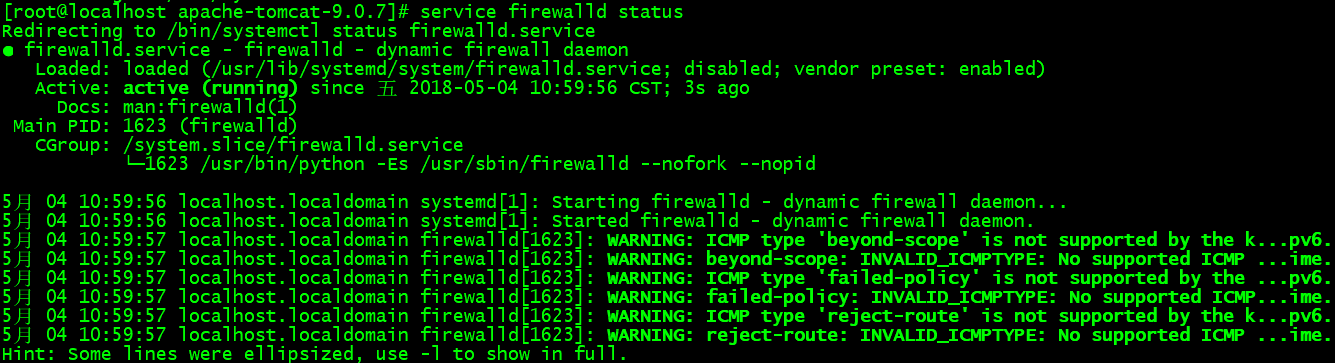
Check the status: service firewalld status
Turn off the firewall: service firewalld stop

Start the firewall: service firewalld start

2. View all configurations: firewall-cmd --list-all

View open ports: firewall-cmd --zone=public --list-ports

Open port 8080: firewall-cmd --zone=public --add-port=8080/tcp --permanent
Reload: firewall-cmd --reload

At this point, you can access the 8080 port of the virtual machine under Windows, as shown below (my virtual machine IP is http://192.168.194.129):
Remove port 8080: firewall-cmd --remove-port=8080/tcp --permanent
Reload: firewall-cmd --reload
Of course, if you turn off the firewall, you don't need to configure open ports