Virtual machine learning and installation nanny level detailed steps
1. Installation of VMware Workstation
1.1 Download software
Download address:
Link: link .
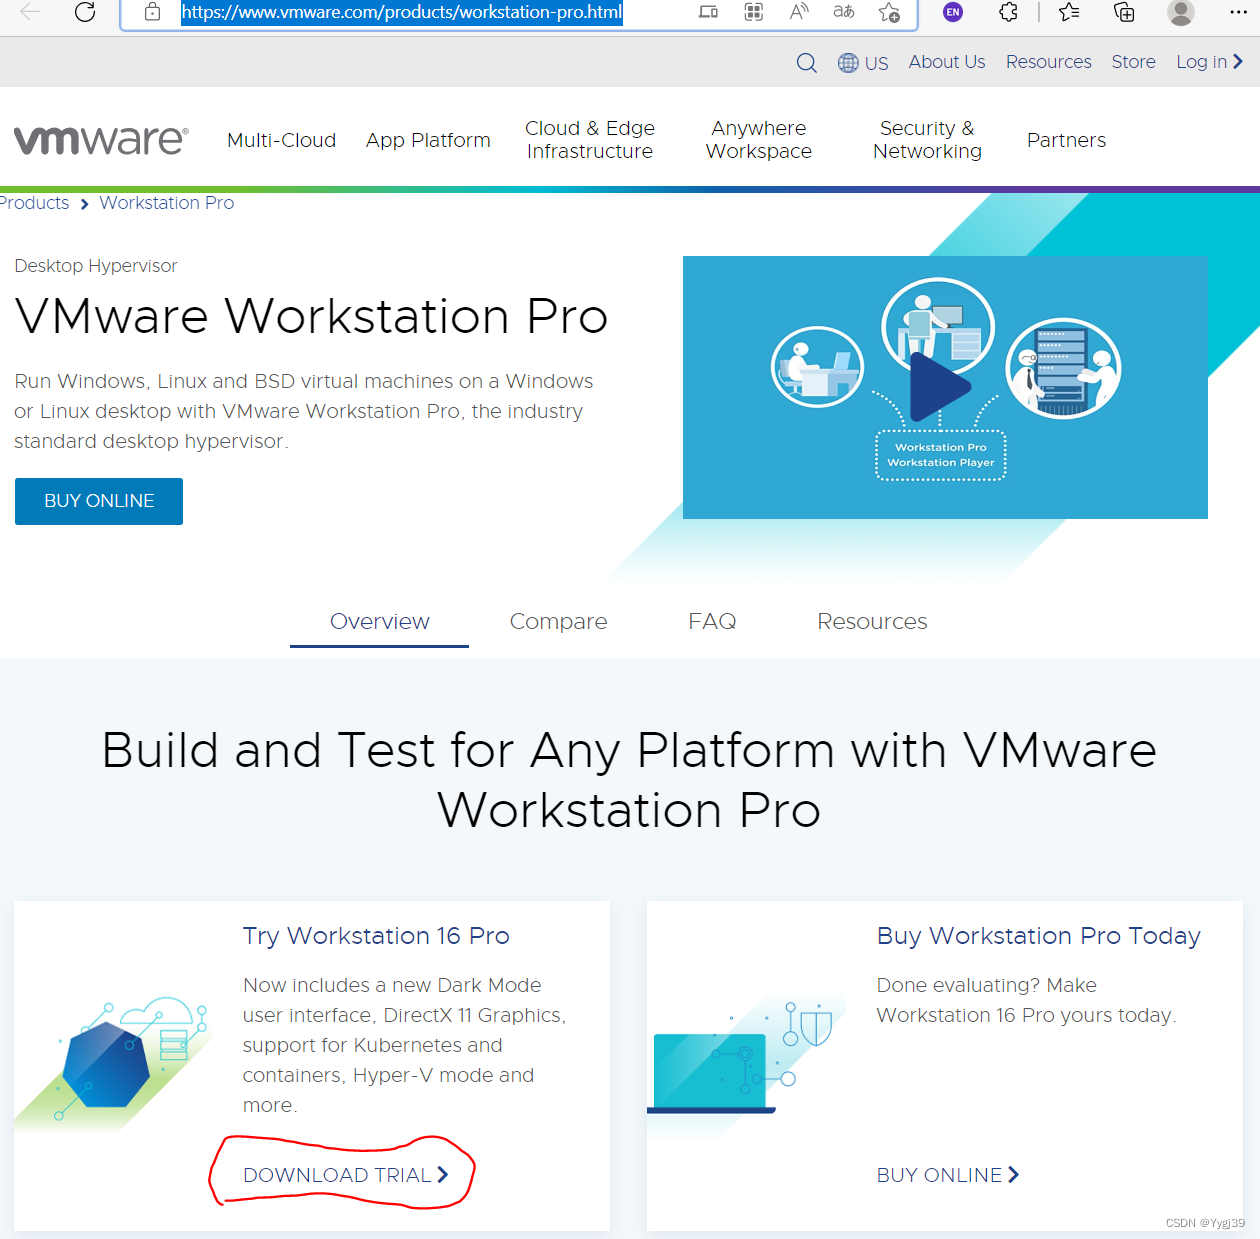
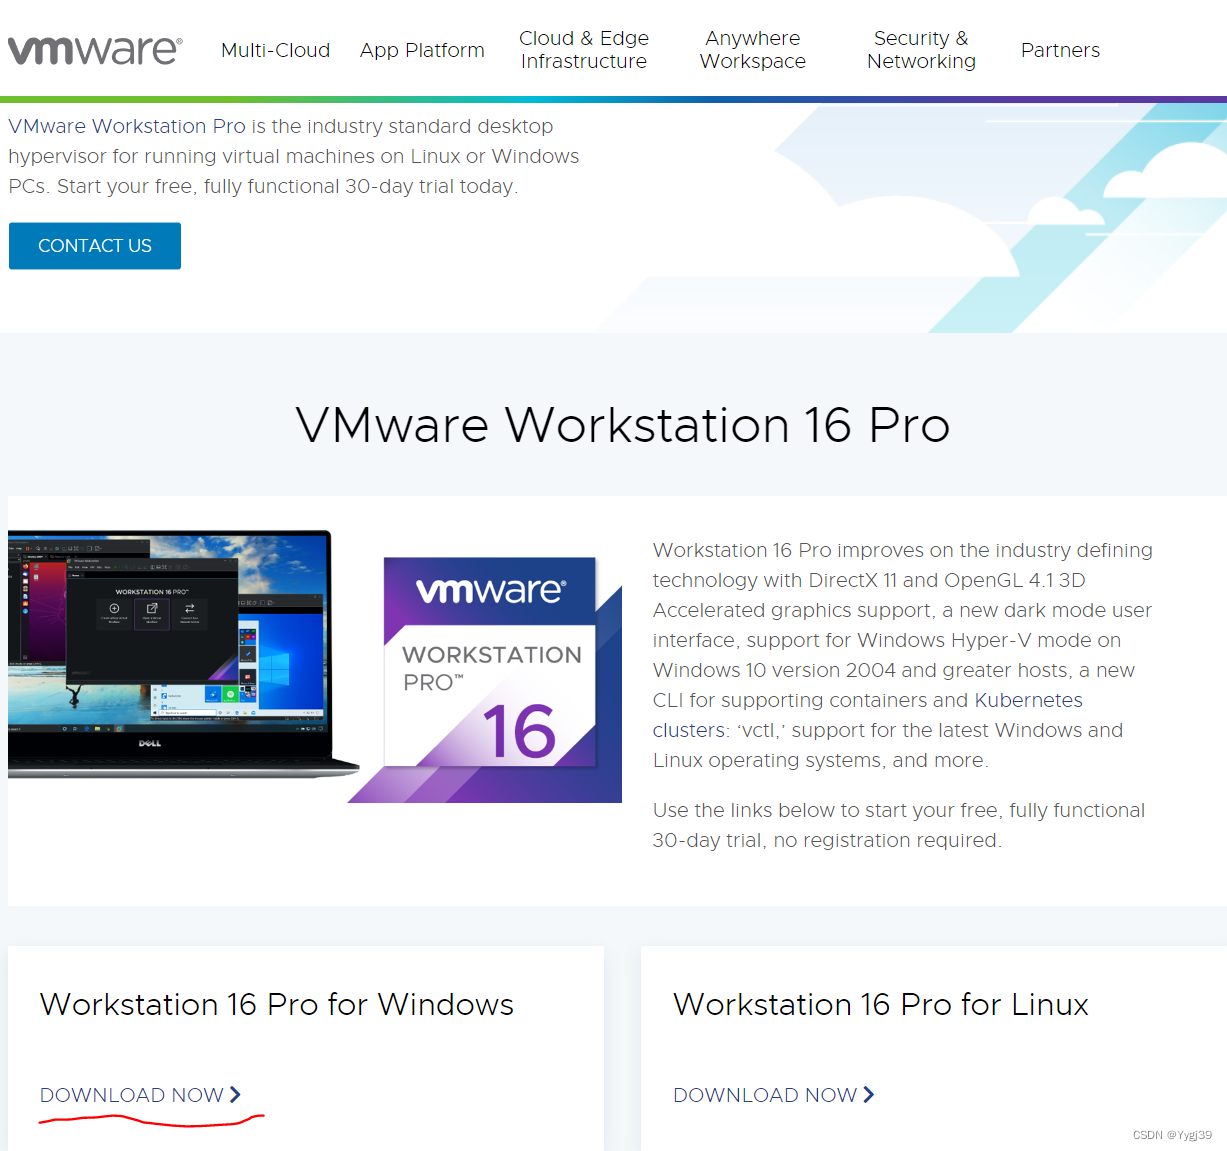
Download and save directly
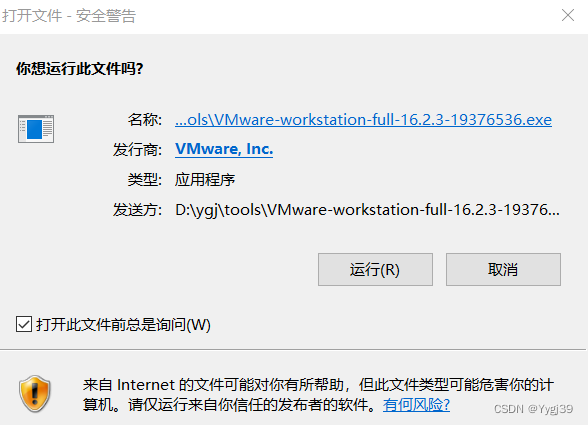
1.2 Install the software
Double click to run directly
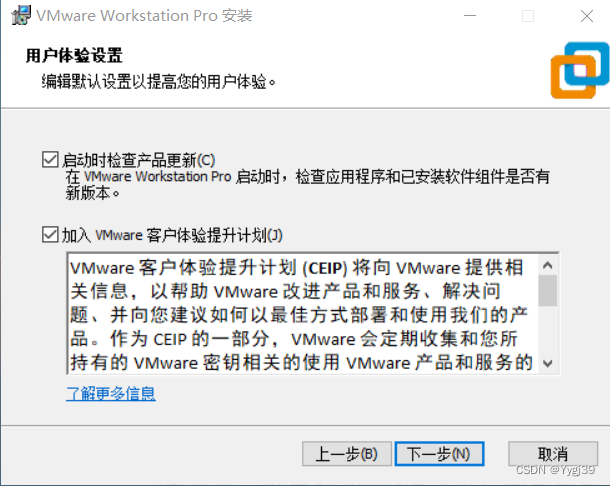
Next step to accept the license

Default configuration, custom installation in its own folder

It can be modified appropriately, and this article defaults all the way

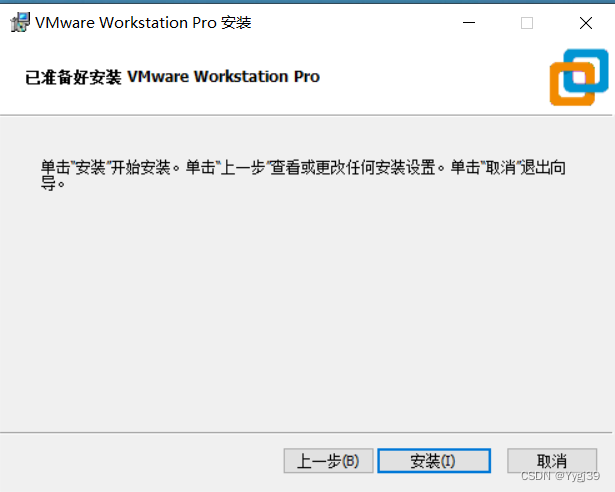
start installation
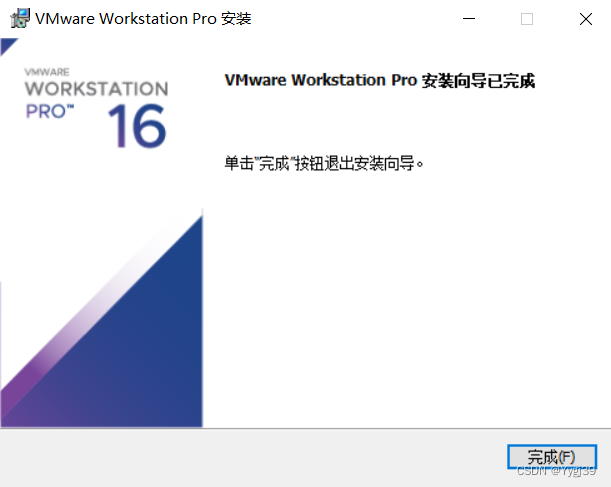
After the installation is complete, you can enter the license: Baidu can get it
Two, CentOS7 download and installation
2.1 CentOS7 Download
Download link:
link: link .
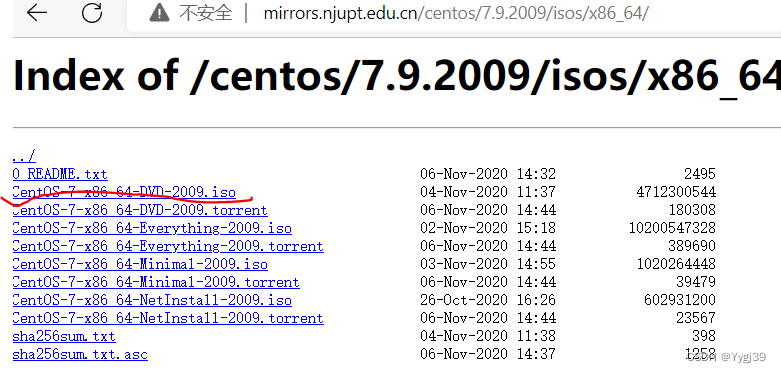
Just
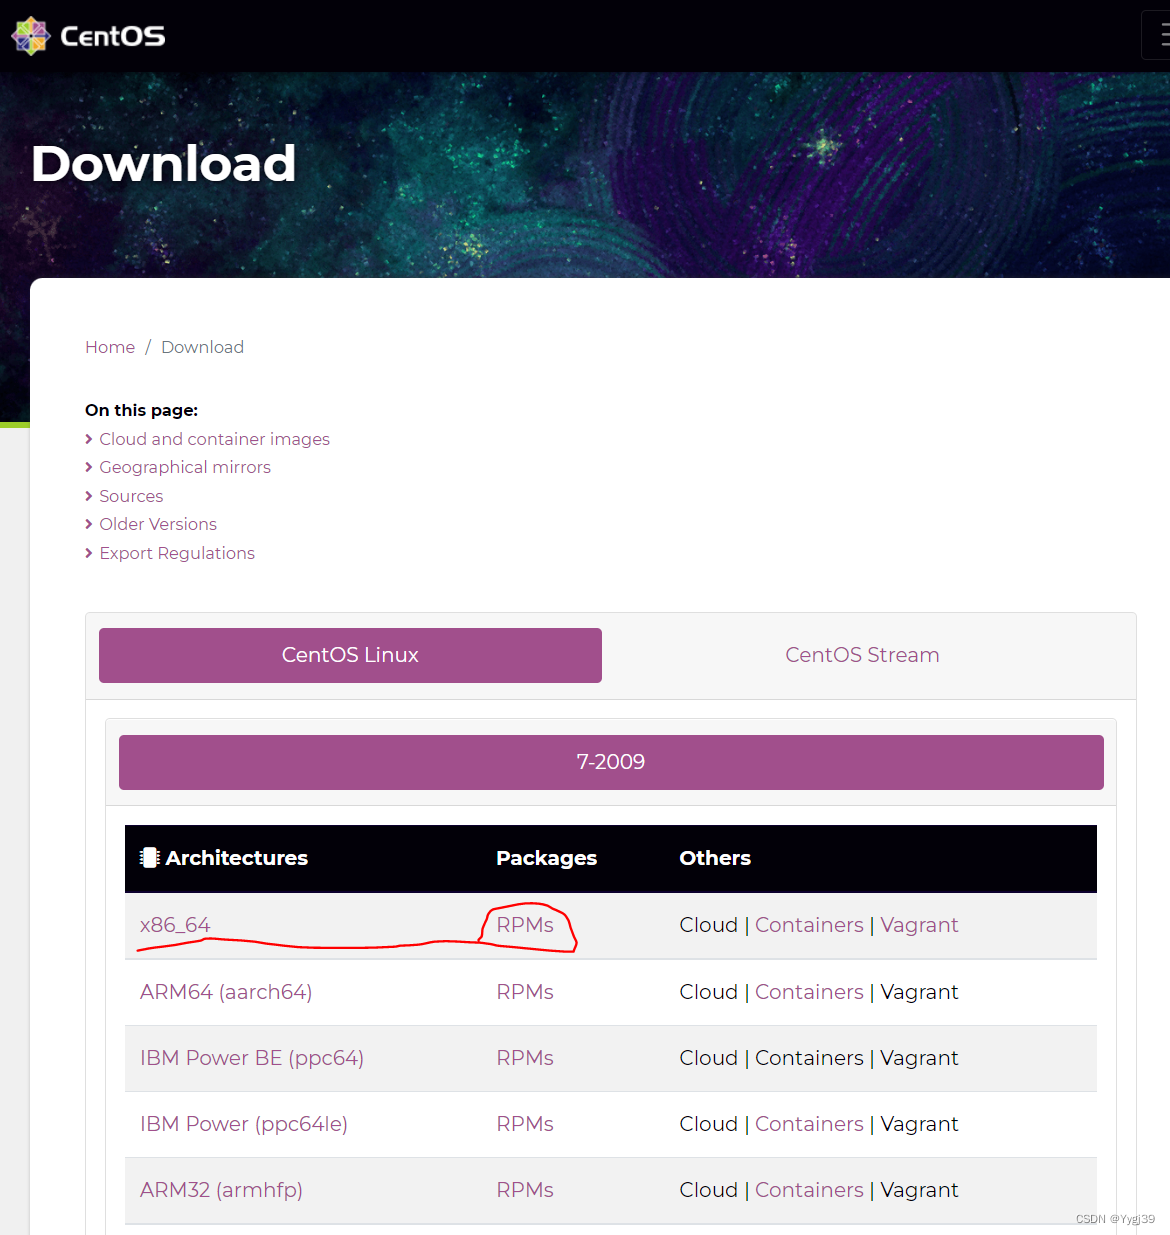
choose the ISO of a DVD
2.2 Installation
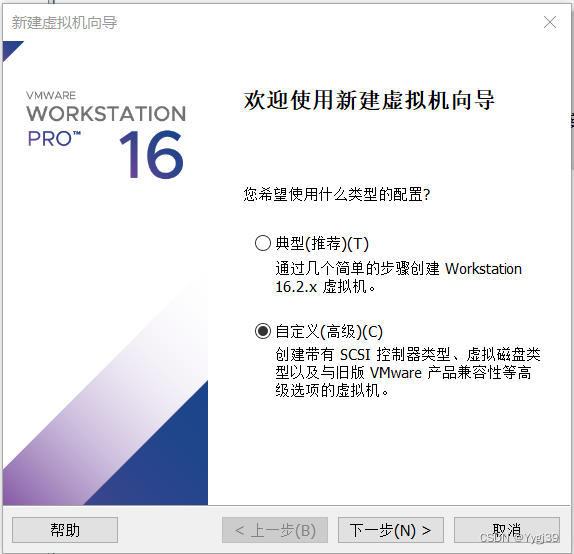
Turn on the VM and create a new virtual machine
Custom (Advanced) Next step
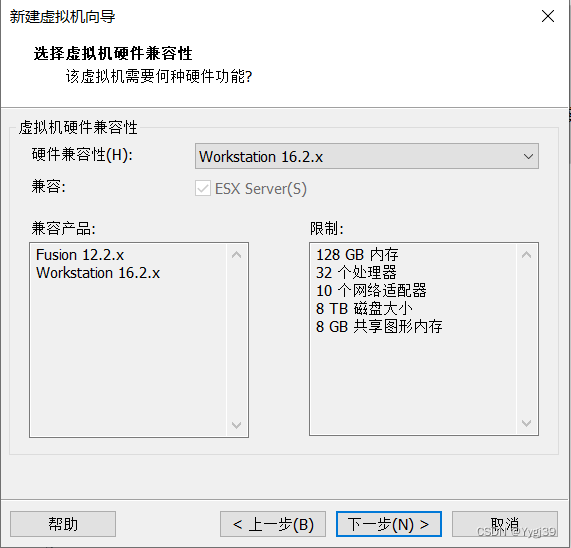
default next step
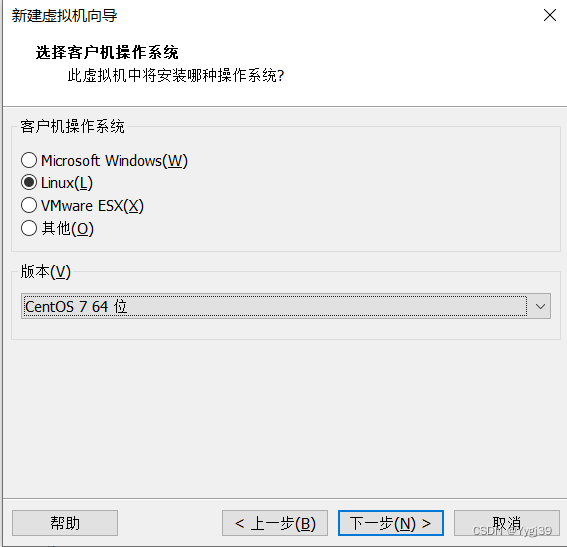
Choose to install the operating system later

Select Linux (CentOS7 64-bit)
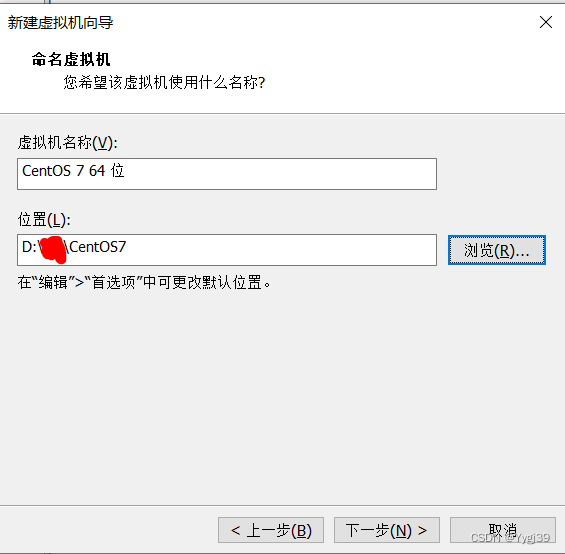
given location and name
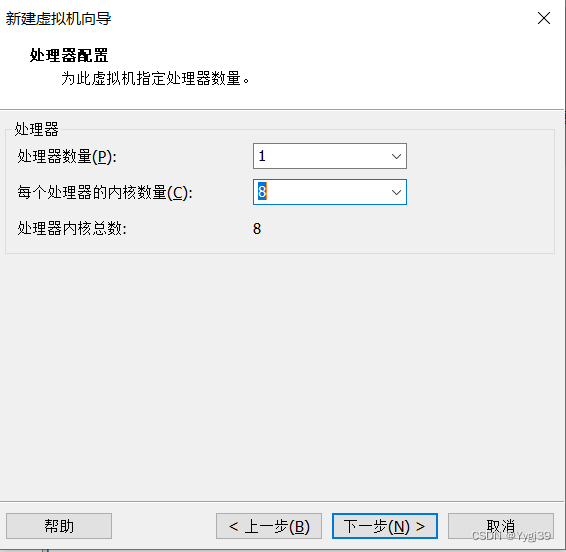
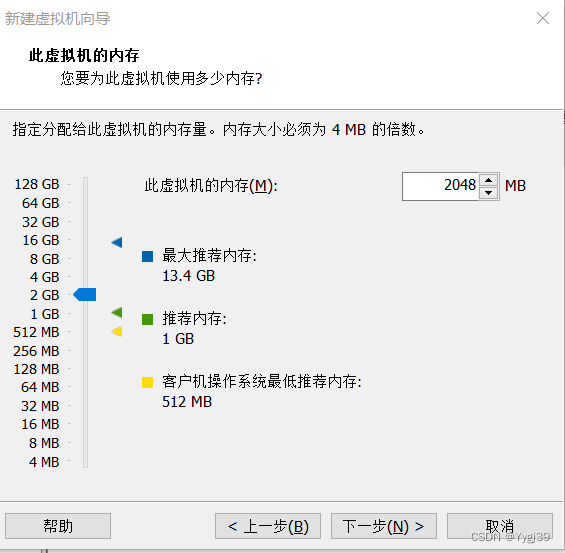
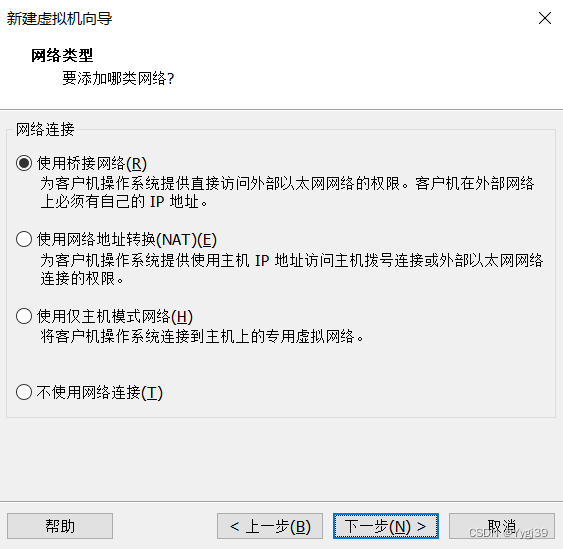
Processor, memory, network, and hard disk are configured according to individual needs
The next three are all default (recommended, recommended, create a new virtual disk)
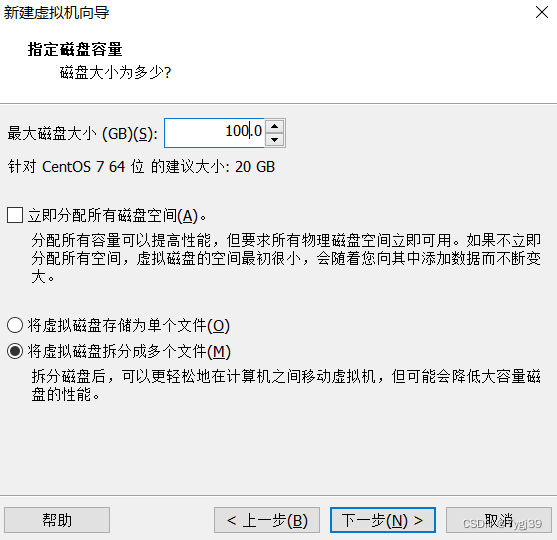
Specify the disk file to complete the above process by default in the next step

2.3 Boot
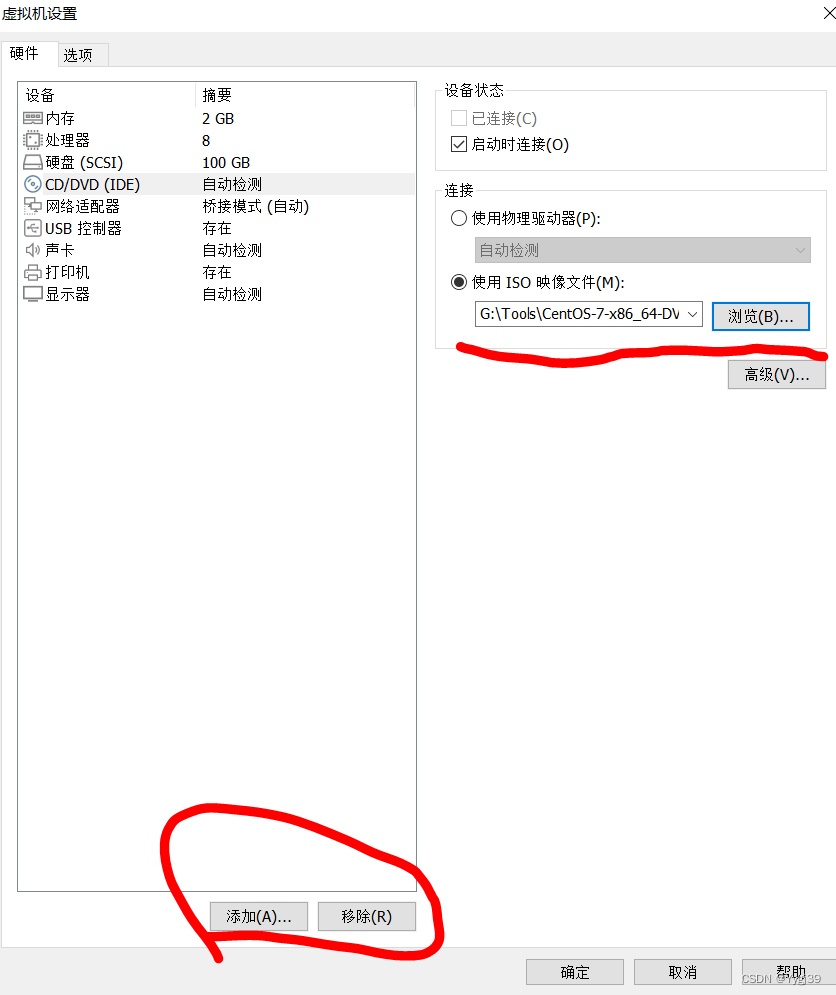
First edit the virtual machine settings,

and secondly, you can add and delete the hardware you don’t want. At the same time, put the downloaded CentOS7 ISO file into it and confirm it, then you can start it. Keyboard
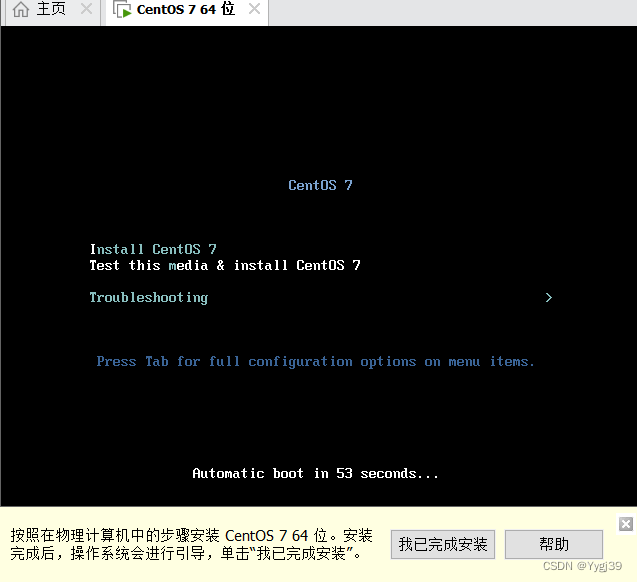
control select the first press Enter to start the installation.
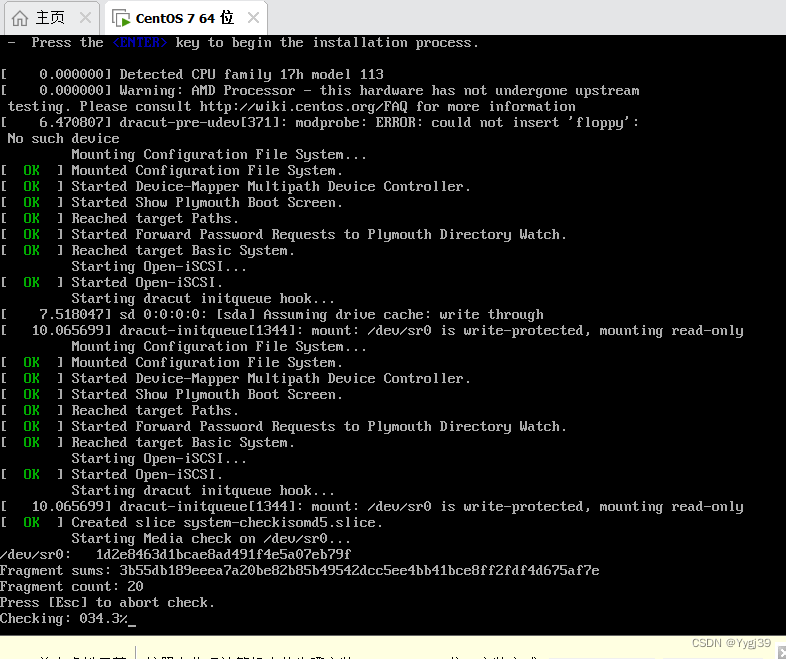
100% complete and enter the next step
2.4 System Settings
By default, enter Continue
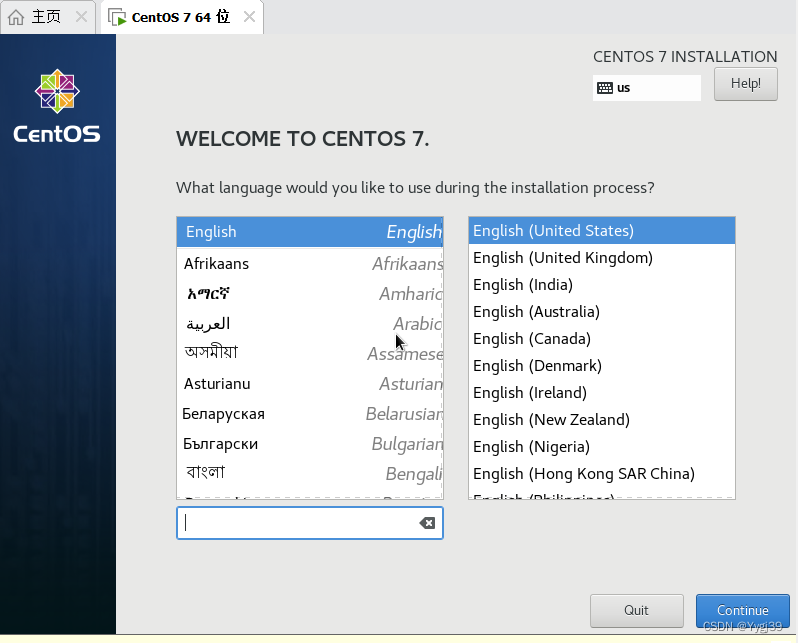
step by step.
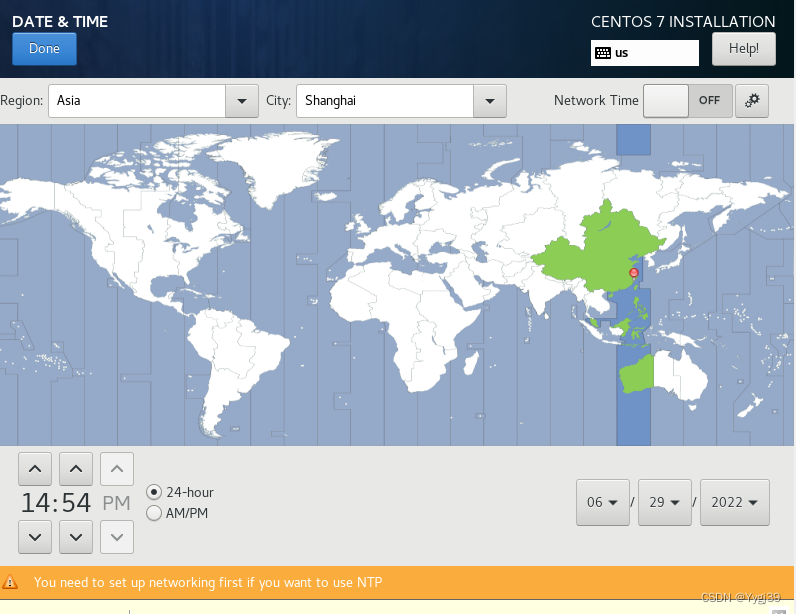
First, the time Date&Time (depending on personal needs to change) is completed and click Done.
The language supports English by default, and Chinese can be added according to needs.

Keyboard settings can also be added according to needs.
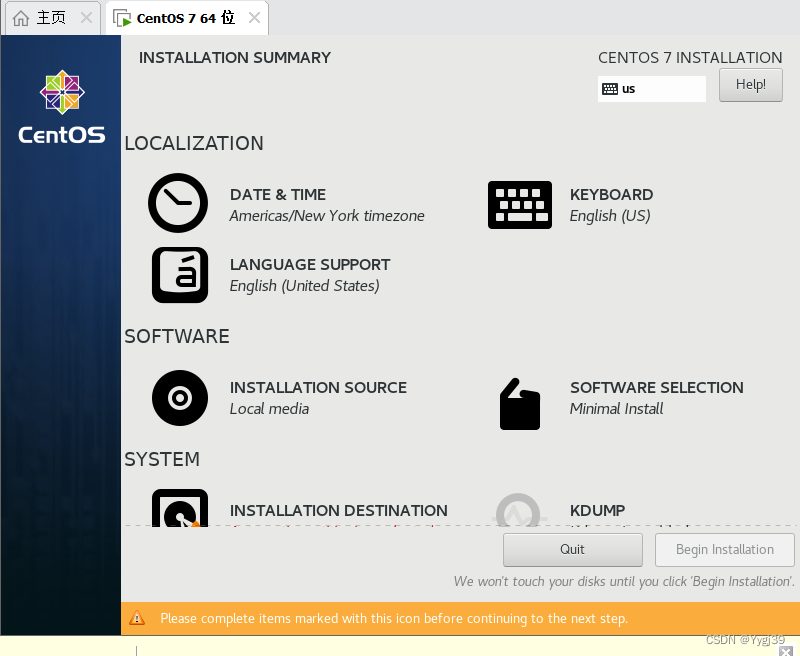
In SOFTWARE SELECTION, select the friendly GNOME Desktop (graphical interface, if you don’t need Minimal Install),

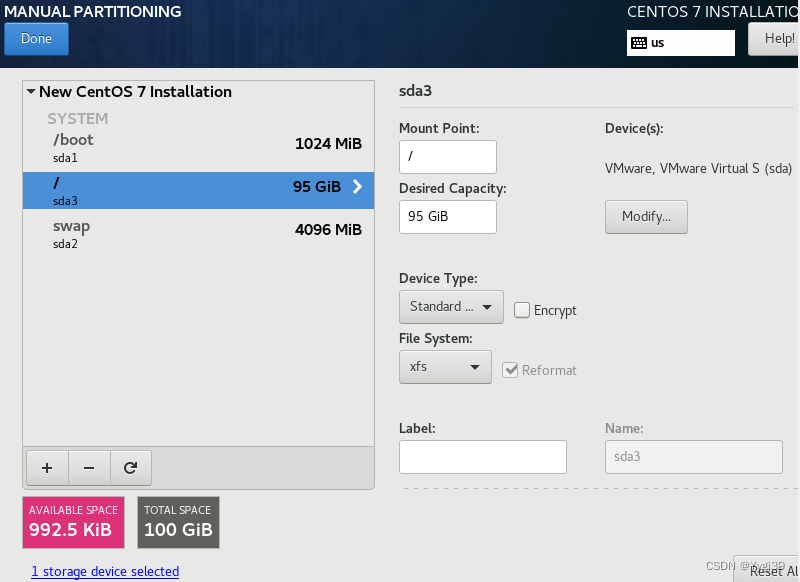
the first disk setting of SYSTEM, select I will... and then Done to enter the specific configuration,
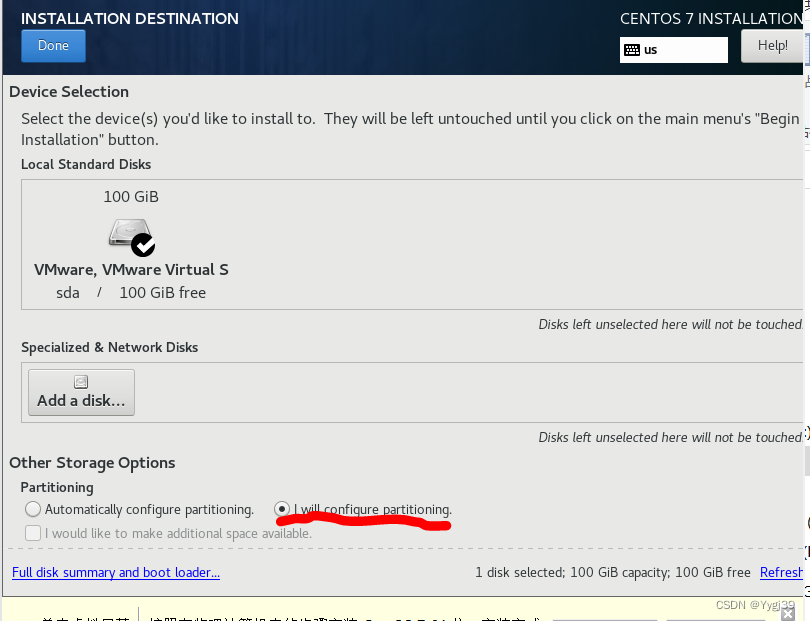
select Standard Partition, and then add different allocations.
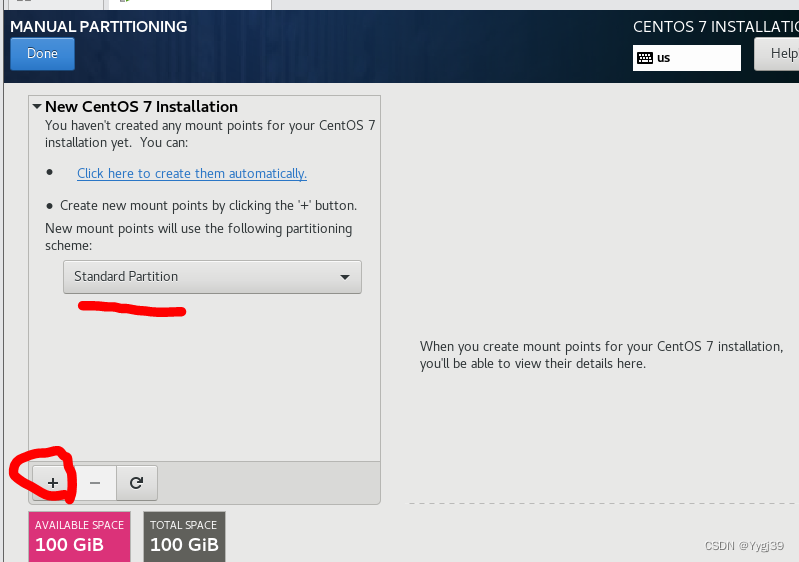
The details are as follows After completion, Done (Accept Changes)
NETWORK&HOSTNAME according to personal modification

and finally start the installation

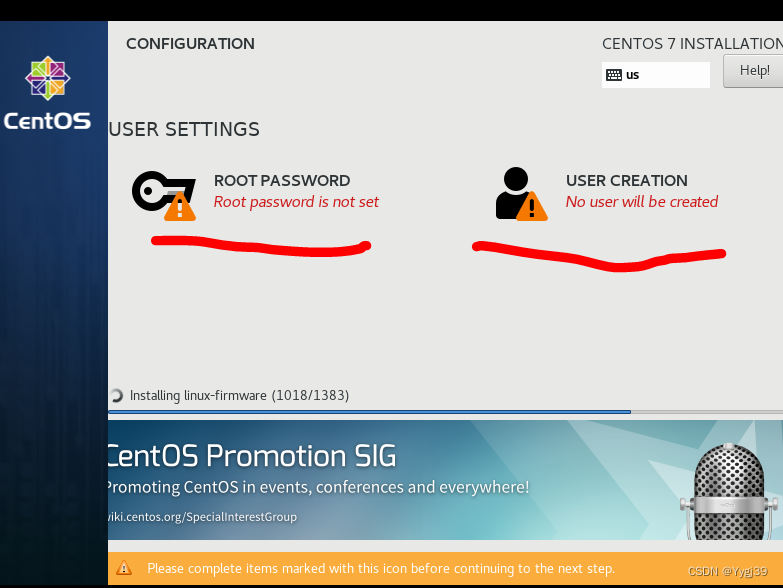
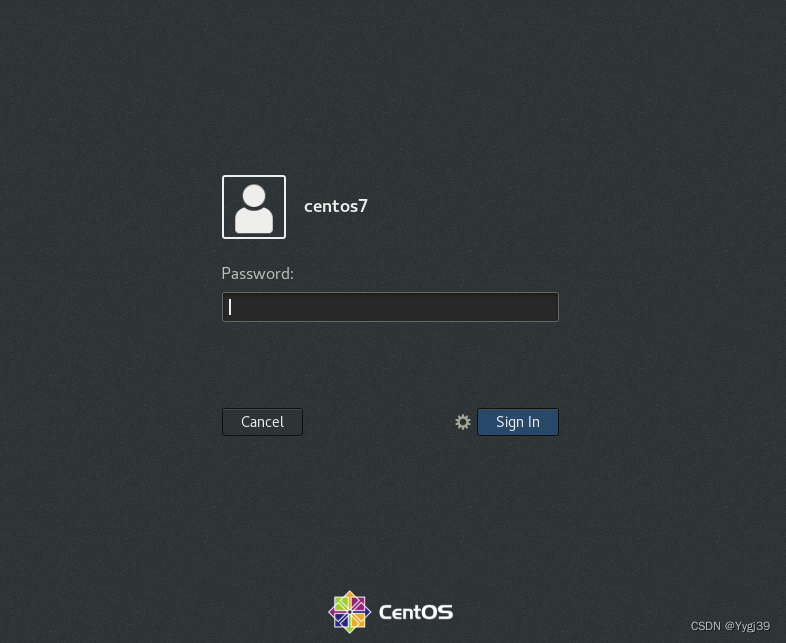
In this step, set a password for root, and then create a personal account (if the password is too simple, you need to press Done twice)
and wait for the installation to complete to restart the machine.
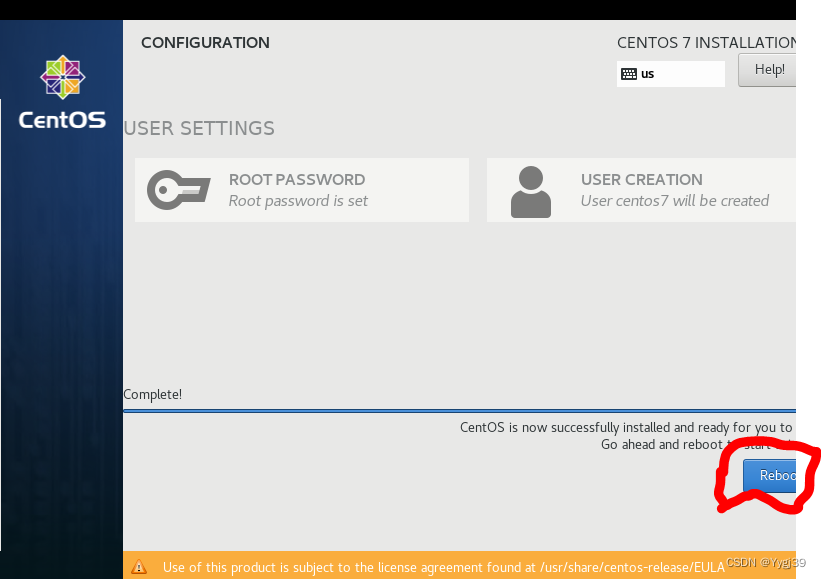
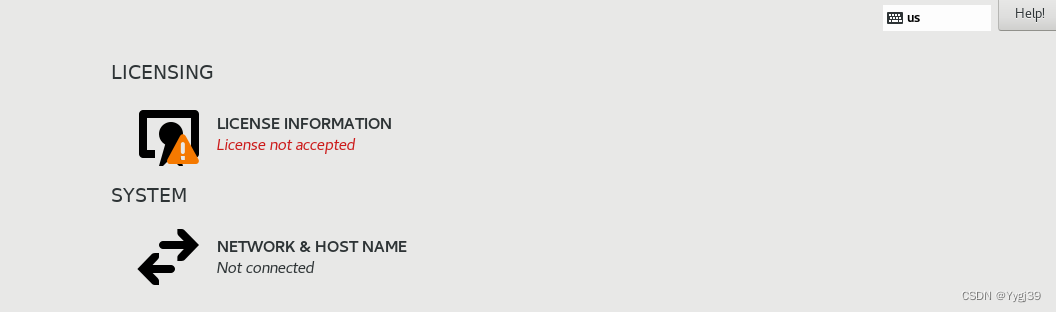
Accept the license I accept... (Done) Finish Configuration in the lower right corner to complete the configuration. Enter
the password to complete and start the
system configuration The default is next, you can also choose Chinese (may be unfriendly)

to enter the interface (on the right side you can choose to open the network, set -network)
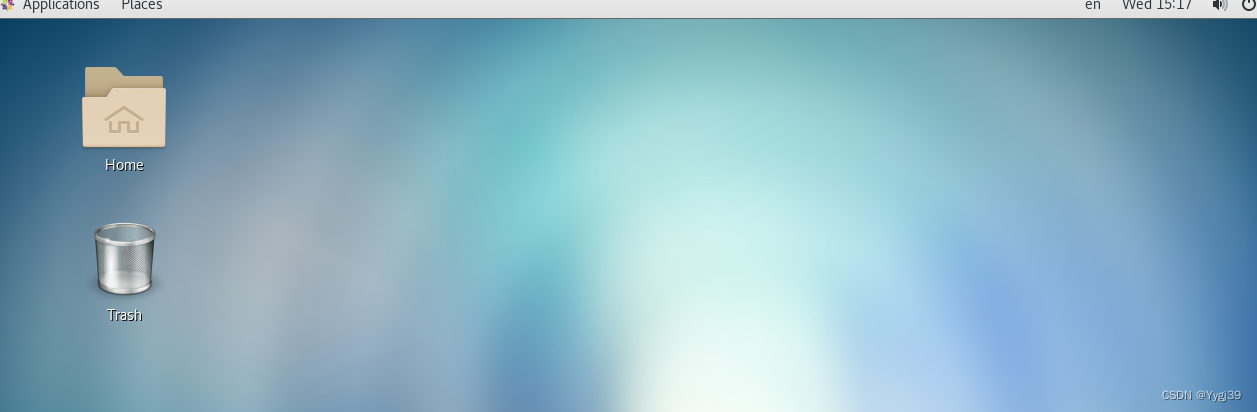
so far all the installation is complete