Open the virtual machine and configure the CD first
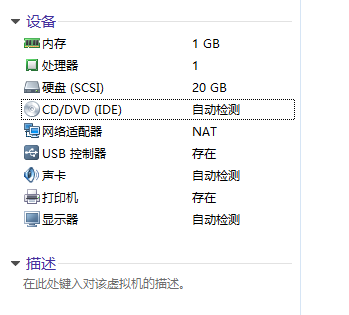

As shown above, configure the CD first, click OK, and then you can execute the boot.
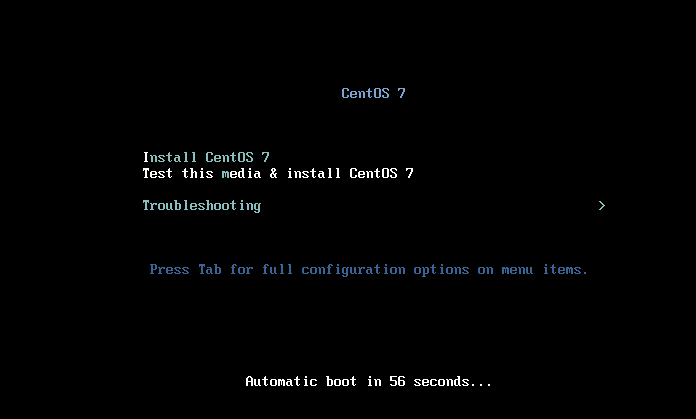
When this interface appears, press Enter directly, and then wait for it! After the installation is complete, the view installation interface will appear.
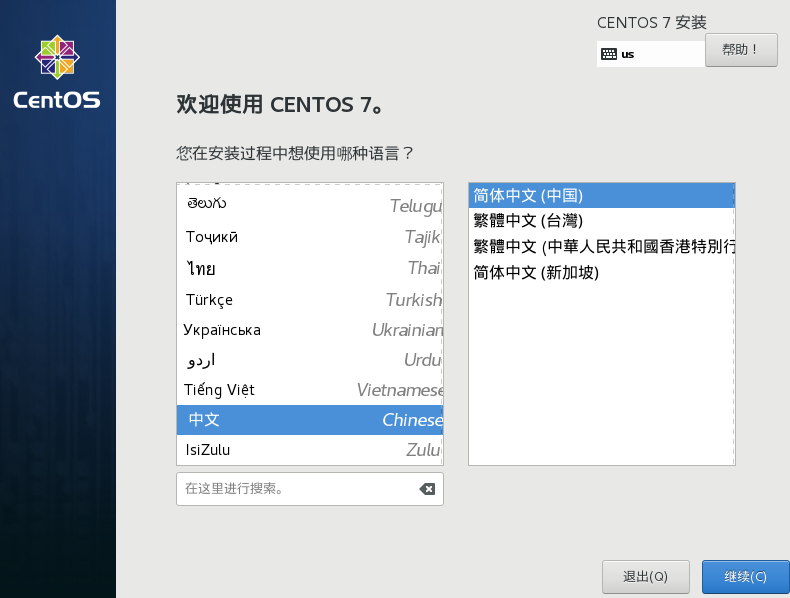
Select Chinese--Simplified Chinese and click Continue

So many, so let's start with the time setting
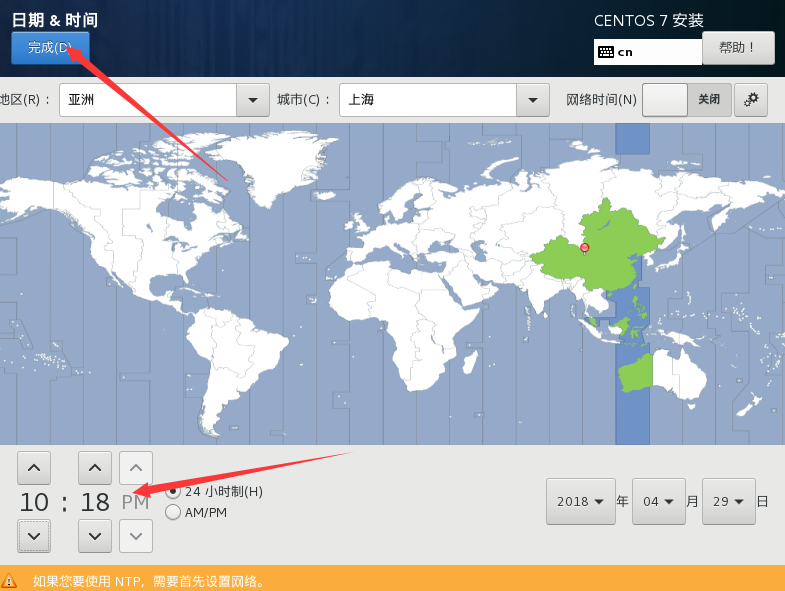
Set the time and click Finish. then the next step
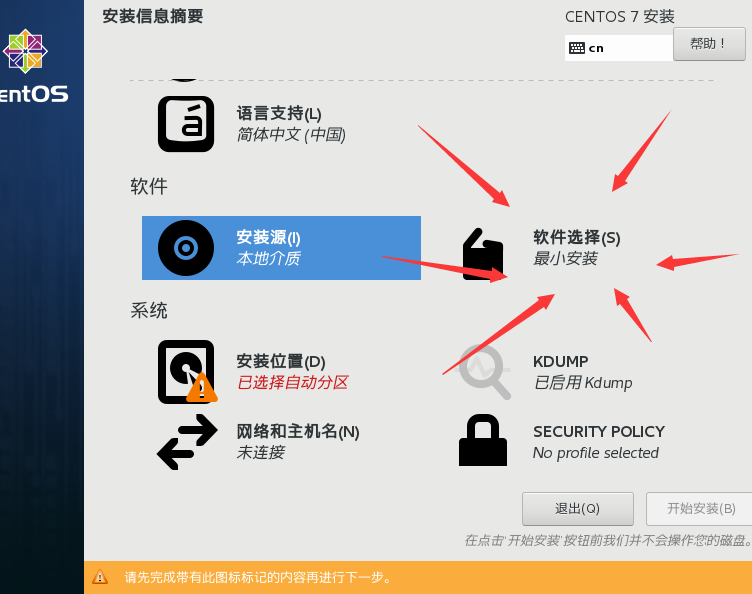
Click "Software Selection" and change the mode

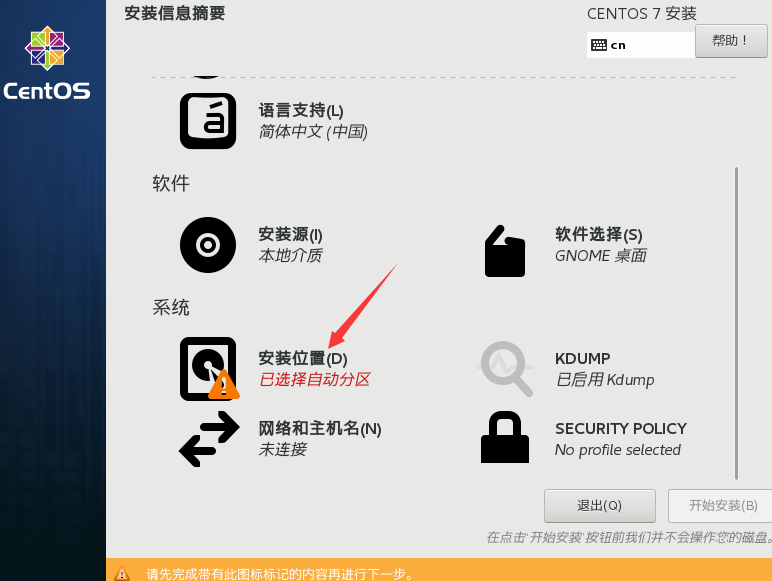
You can choose to become the desktop, and then choose to complete the system will re-detect the "installation source" and "software selection", and we will continue after the detection is completed.
Click the installation location to proceed to the next configuration
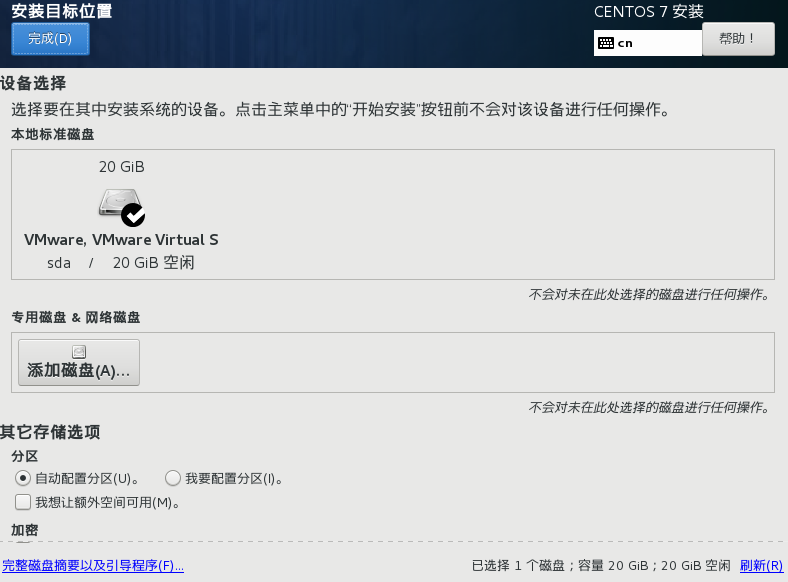
The default is good, the automatic configuration can be done, the 20G disk has been checked, just complete it directly
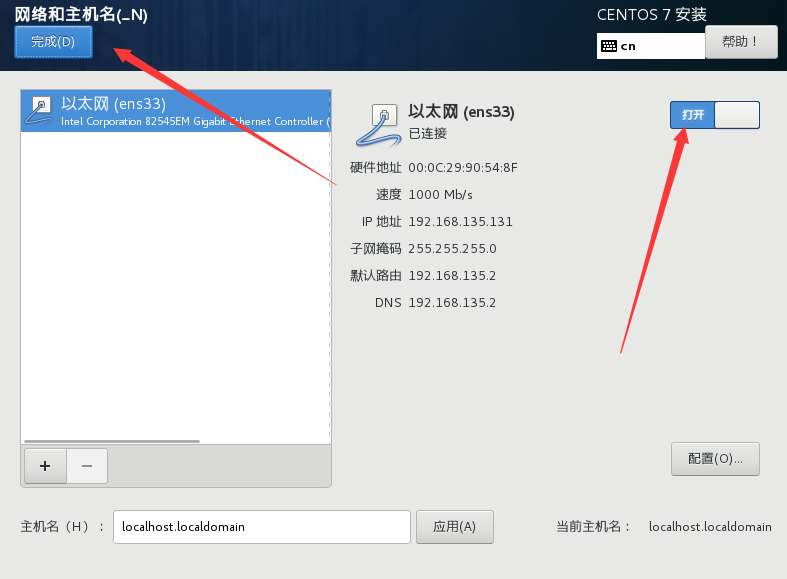
Select the network and hostname and turn on the Ethernet
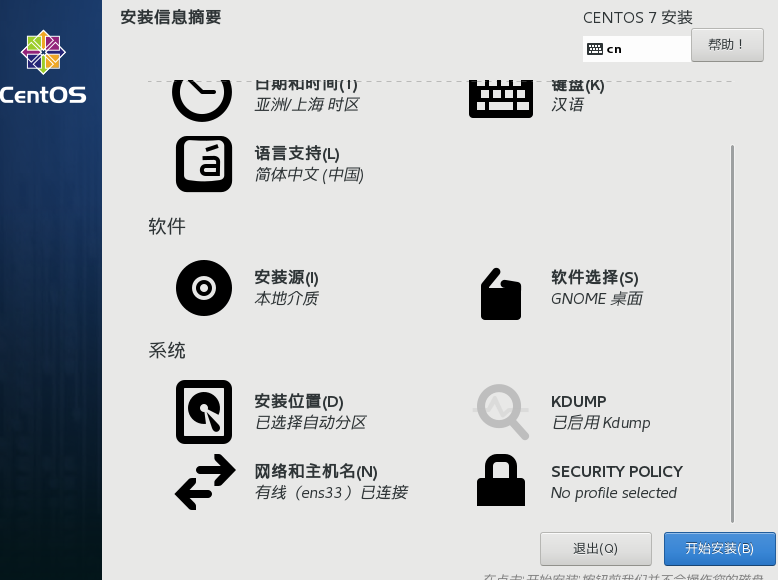
After all configuration is complete, click Start Installation
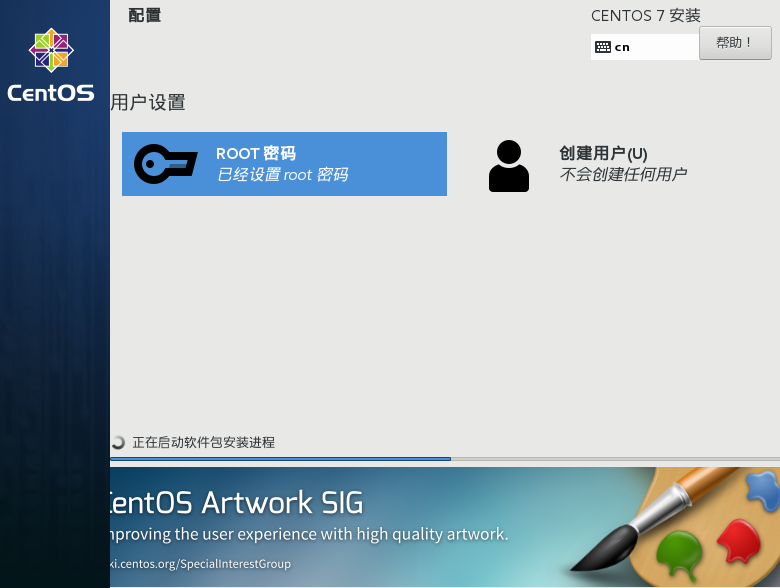
Then click to set the root password, the default login name (root), the default login password (root), you can also create an account or not.

After the installation is complete, click Restart!
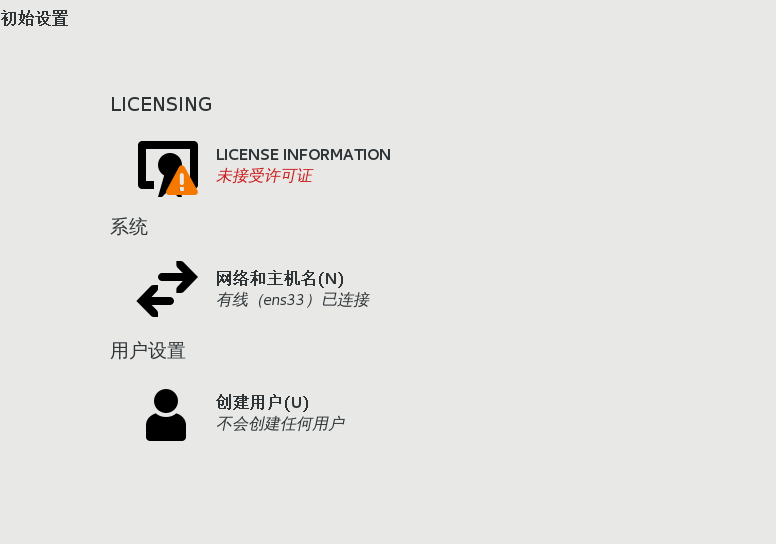
After entering, this interface will appear, let's open it and take a look
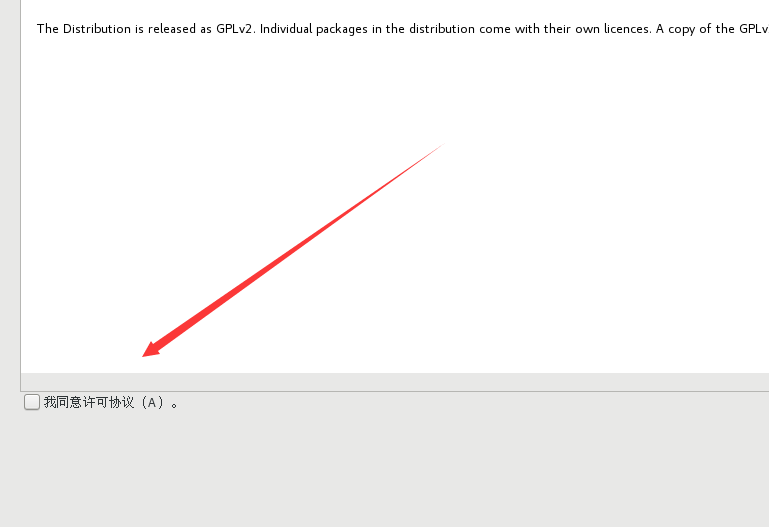
There is Agree in the lower right corner, check it and click Finish!
Then there is a create user at the bottom
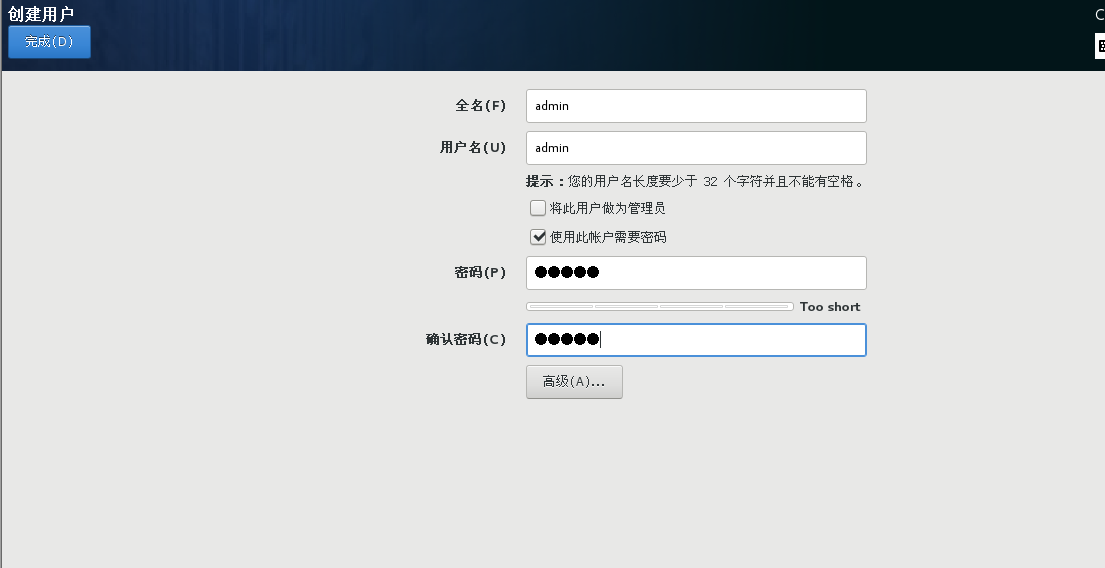
The admin I gave you, you can give it here (if you selected this item when you first started the installation, it will not appear here), click twice to complete, and then click to complete the configuration in the lower right corner, do not click the lower left Corner's Exit!
It's done!

Enter the password you just set to log in!

success!
Note: At this time, you can link through software such as xshell! The ip address is the ipv4 address! The account password is the account password of the user created by yourself!