# Learn
Article Directory
Preface
Learning makes me happy!Tip: The following is the content of this article, the following cases are for reference
One, api factory
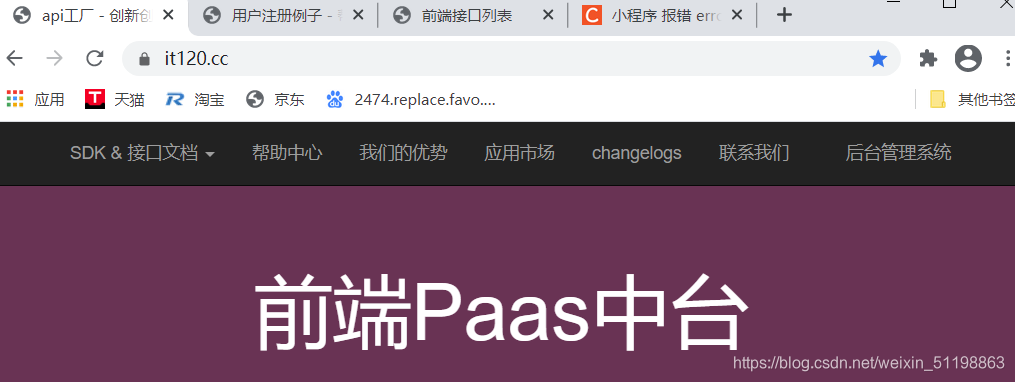
This is a front-end Paas middle station, which fully supports Web & Mini Program & App development!
Develop your application through the middle station, you will not need to write the interface, no need to write the background, no need to buy a server!
WeChat is only authorized to us, you can get the user account data, login and registration need to be submitted to our server (company server), use the api factory to simulate the WeChat server login and registration interface, and return the openid, token and other information we need,
api Factory address

{domain} is replaced by its own domain name, the
actual path used is
"https://api.it120.cc/whz/user/wxapp/login"
Two, encapsulate the network request path
The packaging process at a glance
1. Create an http folder, create a new config.js, and place the request path
export default {


  //取自前端api工厂我的专属服务器
  "registor":"/user/wxapp/register/complex",//注册
  "login":"/user/wxapp/login",//登陆
  "userDetail":"/user/detail"//用户详细信息
}
2. Create a new Request.js, package function
export const Request=function (url,method,data) {


  let p=new Promise((resolve,reject)=>{


    wx.request({


      url: url,
      method:method,
      //请求头依据情况设置
      header:{

    'Content-Type': 'application/x-www-form-urlencoded'},
      data:Object.assign({

    },data),
      success(res){


        resolve(res)
      },
      fail(err){


        reject(err)
      }
    })
  })
  return p;
}
3. Create a new index.js as the entry file
import {

    Request} from './request'
// console.log(Request);
const baseUrl='https://api.it120.cc/whz' //公共域名
import url from './config'

//注册
function registor(data){


  console.log(data);
  return Request(baseUrl+url.registor,"post",data)
}
//登录
function login(data){


  return Request(baseUrl+url.login,'post',data)
}
//用户详细信息
function userDetail(data){


  return Request(baseUrl+url.userDetail,'get',data)
}
export default {


  registor,login,userDetail
}
The code is as follows (example):
import numpy as np
import pandas as pd
import matplotlib.pyplot as plt
import seaborn as sns
import warnings
warnings.filterwarnings('ignore')
import  ssl
ssl._create_default_https_context = ssl._create_unverified_context
4. Mount to the global object, introduce the global object in the page and call
//app.js
import http from './http/index'
App({


  http,
  ……
  })
 //页面
 var app=getApp()
 app.http.方法().then(res=>{

    })
The code is as follows (example):
data = pd.read_csv(
    'https://labfile.oss.aliyuncs.com/courses/1283/adult.data.csv')
print(data.head())
3. About the interface of WeChat applet
Preface
A friend recommended you a small program. As soon as you opened it, the pop-up window asked for your user information. You are a little disgusted;you open the small program and find that the home page is particularly interesting and the functions are fun. You want to experience more, and then click to log in. Authorize your name and start killing the Quartet
wx.getUserInfo()
The interface for obtaining user information. This method must be authorized by the user before it can be used. It cannot be used during initial loading. Click events cannot be called. You must call this interface after authorization to return user information.
Authorization will trigger a pop-up box, which is the pop-up box that is allowed to obtain data.
Official document

wx.getUserInfo() official description
Easy-to-understand instructions written by others
How to obtain user authorization
<button open-type="getUserInfo" bindgetuserinfo="login">立即登录</button>
The method provided by WeChat official, click on it and a pop-up box will appear to allow authorization, execute the callback function after authorization, you can get user data through e.detail.userInfo;
login(e){


  // console.log(e.detail.userInfo);
  if(!e.detail.userInfo){

     //点击拒绝后弹框
    wx.showToast({


      title: '登陆失败',
      icon:"none"
    })
    return
  }
  //已经能拿到头像等信息了,但还要执行后续代码获取token和openid
      this.setData({


      avatar:e.detail.userInfo.avatarUrl,
      nickname:e.detail.userInfo.nickName,
      showlogin:true
    })
  this.registor() //授权后执行函数回调,去注册登录啥的
},
wx.login()
Call the interface to obtain the login credentials (code). The credentials are then used to exchange user login status information, including the user's unique identifier (openid) and the session key (session_key) for this login, etc. The encryption and decryption communication of user data needs to rely on the session key to complete.
This interface is executed silently and will not pop up.
You can call this method during initialization and get the code to complete simple registration. For
detailed registration, you need to obtain user data (wx.getUserInfo()), and complete the detailed registration together with the code, so that the registered account will have your WeChat account. Associated.
wx.authorize()
Initiate an authorization request to the user in advance to obtain a certain authorization. The scope attribute indicates the requested permission, and only one can be written; three callback functions can be executed
success success callback
fail callback, you can pop up the prompt after rejecting the request
complete callback that will be executed on success or failure
This interface is allowed to be called in the onLoad life cycle, and it can also be called through events; a window will pop up after the call. After denying authorization, the window will not pop up again. It seems that you need to re-enter or delete the applet, but you can change the permission setting in the upper right corner to achieve this.
 wx.authorize({


  scope: 'scope.record',
  success(res){


   console.log(res)
  },
 })
Complete process
- Write two views in wxml, which are the unlogged style and the style after login. Use hidden or wx:for to set the hidden display
<view wx:if="{

    {showlogin}}" class="header-box">
    <image class="avatar" src="{

    {avatar}}"></image>
    <view class="r">
      <view class="uid">用户ID:</view>
      <view class="nick">{

    {

    nickname}}</view>

    </view>
  </view>
  <view wx:else class="header-box">
    <image class="avatar" src="/images/nologin2.png"></image>
    <button open-type="getUserInfo" bindgetuserinfo="login">立即登录</button>
  </view>
- Get user information after js authorization
login(e) {


    let that = this
    console.log(e);
    if (!e.detail.userInfo) {

     //点击拒绝授权的情况
      wx.showToast({


        title: '登陆失败',
        icon: "none"
      })
      return
    }
    let iv = e.detail.iv //加密算法的初始向量
    let encryptedData = e.detail.encryptedData    //加密的数据
    //存下头像和数据
    this.setData({


      avatar: e.detail.userInfo.avatarUrl,
      nickname: e.detail.userInfo.nickName,
      showlogin: true
    })
    that.registor(iv,encryptedData) //注册函数
  },
- Registration request, judge whether the user is an old user according to the actual development
registor(iv,encryptedData){


    let that=this
    wx.login({

        //开始登录
      success(res) {


        let code = res.code   //获取动态凭据
        app.http.registor({

     code, iv, encryptedData }).then(res => {

        //先请求一次注册路径,判断有没有注册过
          console.log(res);
          if (res.data.code != 10000) {

     //没有注册过
            wx.showToast({


              title: '注册成功',
            })
          }
          that.getOpenId()  //登录函数
          //没注册过会注册成功,注册过会显示已经注册过,看需求如何定义用户是否注册过

        })
      },
    })
  },
- Login request
getOpenId() {

        //向后台发送code,获取token和uid
    wx.login({


      success(res) {


        // console.log(res);
        let code = res.code
        app.http.login({

     code }).then(res => {


          console.log(res); //返回的是openid,uid,token
          res = res.data;
          if (res.code != 0) {


            // 登录错误
            wx.showModal({


              title: '无法登录',
              content: res.msg,
              showCancel: false
            })
            return;
          }
          // 本地存储token和id
          wx.setStorageSync('token', res.data.token)
          wx.setStorageSync('uid', res.data.uid)
        })
      },
    })
  },
to sum up
Too tired, I will be more proficient in learning in the future, and I am perfecting it; comments are welcome, and I am sincerely apprehensive and grateful.