前言
RecyclerView相较于ListView有更高的扩展性和可操作性,使用起来也更加灵活,但目前的IDE中还都需要引入RecyclerView的依赖包才能够使用,其中也是很多坑啊,因此,本篇将会介绍RecyclerView的配置和基本使用方法,以及期间可能遇到的问题。(PS:如果您是开发新项目,那么使用RecyclerView完全没问题;但如果是在旧项目中添加新功能,请一定考虑版本兼容性问题)
配置
AndroidStudio
在AndroidStudio中的配置还是比较简单的,毕竟官方亲儿子,使用时只需要在app/build.gradle中的dependencies内添加RecyclerView的依赖库即可,如下:
        dependencies{
            compile 'com.android.support:appcompat-v7:25.3.1'
            compile 'com.android.support:recyclerview-v7:25.3.1'
            compile 'com.android.support.constraint:constraint-layout:1.0.0-alpha7'
            testCompile 'junit:junit:4.12' }
修改完成后会看到提示,要求sync now使改动生效,记得要这一步哦~
Eclipse
Eclipse中的配置则需要将sdk\extras\android\support\v7\recyclerview作为Android项目导入Eclipse,并在properties中设置为IsLibrary,再由项目引入才可以使用。配置过程如下:
导入recyclerview项目:

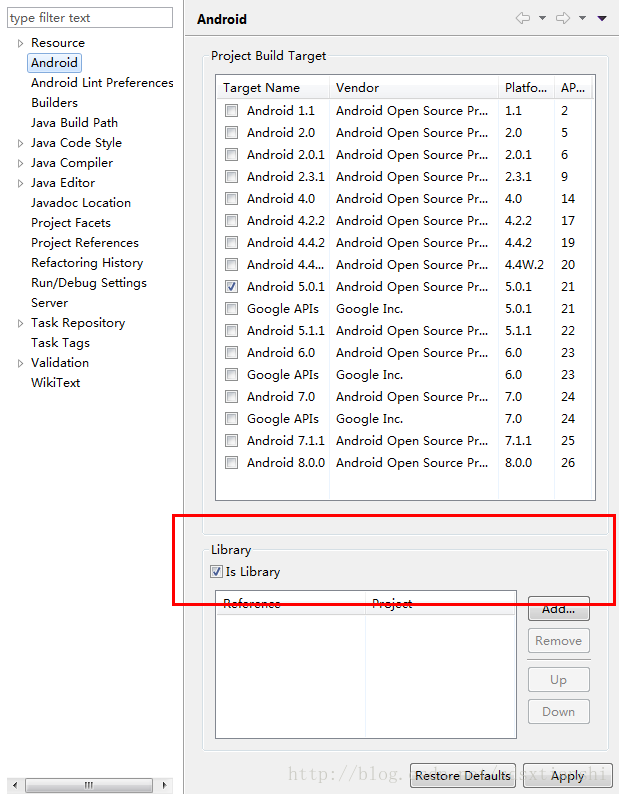
打开recyclerview的properties,在Android栏里选中IsLibrary:
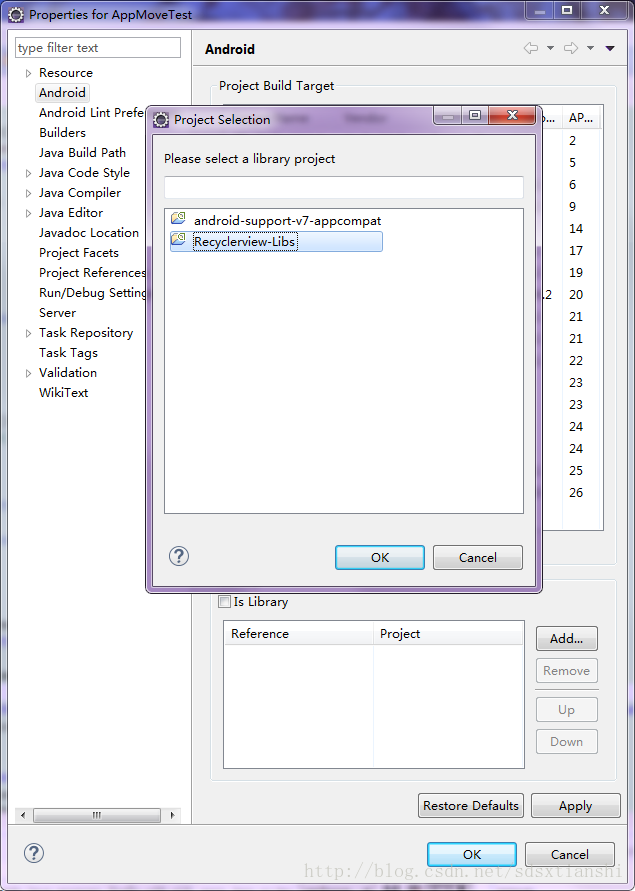
再打开项目的properties,在Android栏里使用Add添加recyclerview项目作为依赖库:
至此,就可以在Eclipse的项目里正常使用RecyclerView啦!
可能遇到的问题
1. 仅导入了sdk\extras\android\support\v7\recyclerview\libs\android-support-v7-recyclerview.jar,这个jar包是不包含资源的,因此,导入后可以编译通过,但是一旦运行就会崩溃,正确方法如上所说,要导入整个项目作为依赖包;
2. 崩溃报错:
java.lang.Object android.support.v4.view.AccessibilityDelegateCompat.getBridge()’ on a null object reference
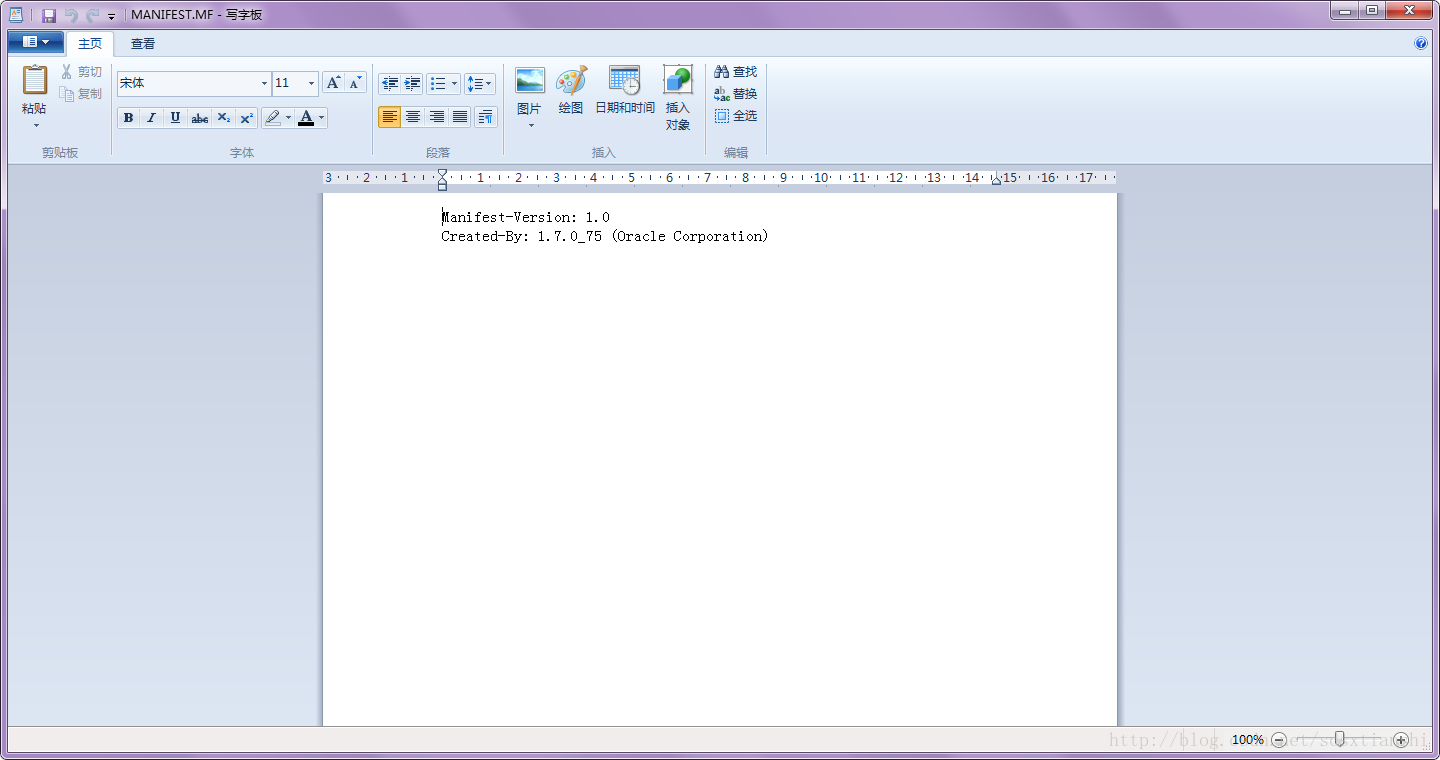
原因是V4包的版本与引入的RecyclerView包的版本不一致,具体的信息可以在项目的libs目录里以压缩包的形式打开android-support-v4.jar,查看META-INF/META-INF.MF中的Created-By,查看RecyclerView版本的方式相同,将v4包更换为sdk\extras\android\support下相同的版本即可解决此问题。如下:
基本用法
RecyclerView的实现与ListView相似,以下三者缺一不可:
- Item内容类:即每个Item要展示的内容,例如图片的ImageId、TextView中要填充的内容等;
- Item布局文件: 决定了每个Item展示的布局样式;
- Adapter:适配器类,负责以上两者的绑定及事件处理等。
那接下来一 一进行介绍。
Item内容类
根据每个Item要展示的内容来定制我们需要的内容类,这里就先以简单的图片加文字的样式进行介绍。我们定义一个ItemContent的实体类,里面包含一个name 和 imageId:
    public class ItemContent {
        private String name;
        private int imageId;
        public ItemContent(String name, int imageId) {
            this.name = name;
            this.imageId = imageId;
        }
        public String getName(){
            return name;
        }
        public int getImageId(){
            return imageId;
        }
    }
Item布局文件
配置布局文件item_layout.xml,这个就不多介绍了,注意设置LinearLayout的orientation为horizontal,横向布局。
<?xml version="1.0" encoding="utf-8"?>
<LinearLayout xmlns:android="http://schemas.android.com/apk/res/android"
    android:orientation="horizontal"
    android:layout_width="wrap_content"
    android:layout_height="wrap_content">
    <ImageView
       android:id="@+id/item_image"
       android:layout_gravity="center_horizontal"
       android:layout_width="wrap_content"
       android:layout_height="wrap_content" />
    <TextView
       android:id="@+id/item_text"
       android:layout_width="wrap_content"
       android:layout_height="wrap_content"
       android:layout_gravity="center_vertical"
    />
</LinearLayout>
Adapter适配器类
接下来要为RecyclerView设置一个适配器,不同于ListView,这里要继承于Recyclerview.Adapter,并将泛型指定为MyAdapter.ViewHolder,代码如下:
public class MyAdapter extends RecyclerView.Adapter<MyAdapter.ViewHolder> {
    private List<ItemContent> mItemContentList;
    public MyAdapter(List<ItemContent> ItemContentList) {
        mItemContentList = ItemContentList;
    }
    static public class ViewHolder extends RecyclerView.ViewHolder{
        ImageView itemImage;
        TextView itemName;
        public ViewHolder(View itemView) {
            super(itemView);
            itemImage = (ImageView)itemView.findViewById(R.id.item_image);
            itemName = (TextView)itemView.findViewById(R.id.item_text);
        }
    }

    @Override
    public ViewHolder onCreateViewHolder(ViewGroup parent, int viewType) {
        View view = LayoutInflater.from(parent.getContext()).inflate(R.layout.item_layout,parent,false);
        ViewHolder viewHolder = new ViewHolder(view);
        return viewHolder;
    }
    @Override
    public void onBindViewHolder(ViewHolder holder, int position) {
        ItemContent mContent = mItemContentList .get(position);
        holder.itemImage.setImageResource(mContent.getImageId());
        holder.itemName.setText(mContent.getName());
    }
    @Override
    public int getItemCount() {
        return mItemContentList.size();
    }
}
MyAdapter类咋一看很负载,但是我们来一 一分析后会发现逻辑是很清晰的。首先
MyAdapter(List ItemContentList)构造函数将保存ItemContent类的List传入,用于内容提供。然后我们来看这个关键的内部类ViewHolder,虽然它包含很多东西,但是只要我们继承了RecyclerView.Adapter<MyAdapter.ViewHolder>,IDE会自动为我们添加这些方法的重写,因此不必刻意去记这些,但要知道每个方法的作用。
那么ViewHolder到底是什么呢?顾名思义,ViewHolder就是视图持有者,它手中掌管着每个Item视图的所有资源,在ViewHolder的构造函数中要传入一个view参数,这个参数就是RecyclerView子项的布局,通过这个view即可通过findviewbyId()来获取到布局中的控件实例了。
然后我们来看onCreateViewHolder、onBindViewHolder和getItemCount(),这三个方法是继承ViewHolder后必须重写的,IDE会自动帮我们添加。其中,onCreateViewHolder 方法用于创建ViewHolder实例,使用LayoutInflater将Item布局文件加载进来,并通过ViewHolder的构造函数创建一个实例,并将该实例返回;
当某个个Item滚动到屏幕内时,会触发onBindViewHolder来加载资源文件,通过position来确定Item位置和加载的资源对应,同时也可以在此处配置Item的事件监听和处理;
getItemCount()方法则是返回RecyclerView一共有多少子项,也就是mItemContentList的长度。
所以,回头看整个MyAdapter类,它的执行顺序是这样的:
构造函数MyAdapter()获取Item内容类 - - - -> onCreateViewHolder加载布局文件 - - - -> 构造函数ViewHolder获取控件实例 - - - -> Item滚动到屏幕内时触发onBindViewHolder方法,为Item中的控件加载资源。
而getItemCount()则是由自己调用运行的,这样一看逻辑就很清晰了。
activity_main.xml
主布局文件中通过完整的包路径引用RecyclerView:
<?xml version="1.0" encoding="utf-8"?>
<LinearLayout xmlns:android="http://schemas.android.com/apk/res/android"
    android:orientation="vertical" android:layout_width="match_parent"
    android:layout_height="match_parent">

    <android.support.v7.widget.RecyclerView
        android:id="@+id/recycle_view"
        android:layout_height="match_parent"
        android:layout_width="match_parent"
        />
</LinearLayout>
MainActivity
public class MainActivity extends AppCompatActivity {
private List<ItemContent> mItemContentList = new ArrayList<>();
@Override
protected void onCreate(Bundle savedInstanceState) {
super.onCreate(savedInstanceState);
setContentView(R.layout.activity_main);
initItemContent();
RecyclerView recyclerView = (RecyclerView) findViewById(R.id.recycle_view);
LinearLayoutManager linerManager = new LinearLayoutManager(this);
recyclerView.setLayoutManager(linerManager);
MyAdapter adapter = new MyAdapter (mItemContentList );
recyclerView.setAdapter(adapter);
}
private void initItemContent() {
for(int i=0; i<20; i++)
{
ItemContent kola = new ItemContent("kola",R.drawable.koala);
mItemContentList .add(kola);
}
}
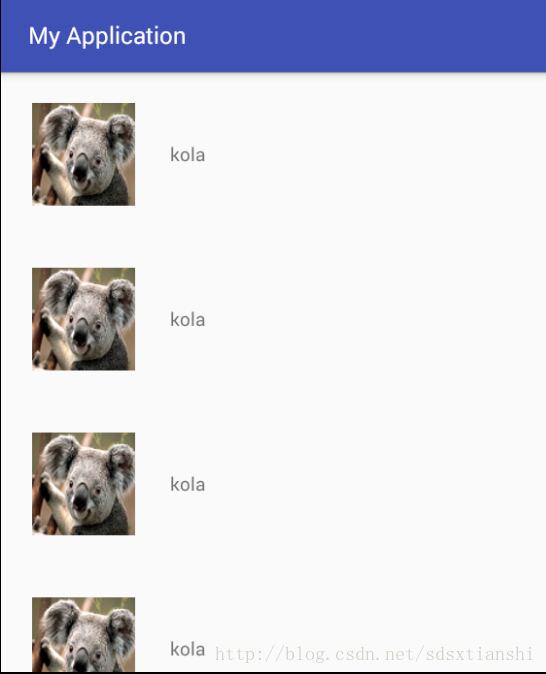
} 在MainActivity中,需要注意的是要为RecyclerView配置一个LayoutManager,用来指定RecyclerView的布局方式。因为ListView的布局排列是由自身管理的,而RecyclerView则是交给了LayoutManager去管理,根据LayoutManager的不同,就可以展示不同的样式,这也使RecyclerView拥有了更多的扩展性,目前提供的主要有三种:LinearLayoutManager(线性布局,可以实现纵向、横向的列表样式),GridLayoutManager(可以实现网格布局),StaggeredGridLayoutManager可以实现瀑布流布局。然后,通过创建MyAdapter实例以及通过setAdapter()方法来为RecyclerView设置适配器,这样,RecyclerView和数据之间就绑定完成了。
运行后的效果图如下: