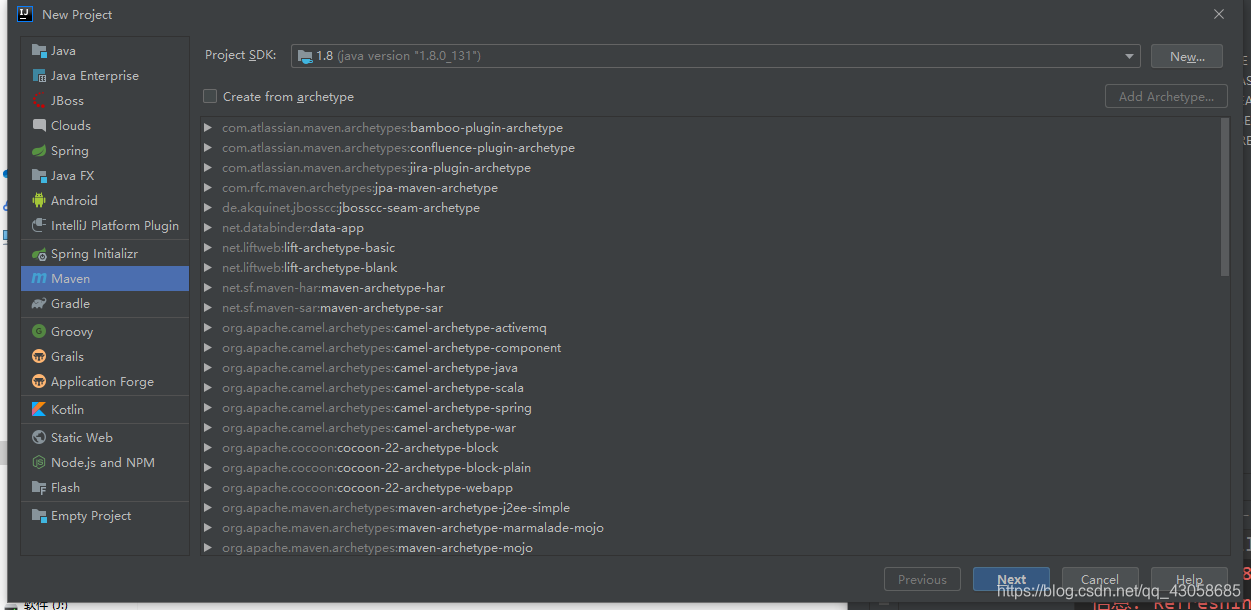
1.用IDEA创建一个maven项目
选择默认结构
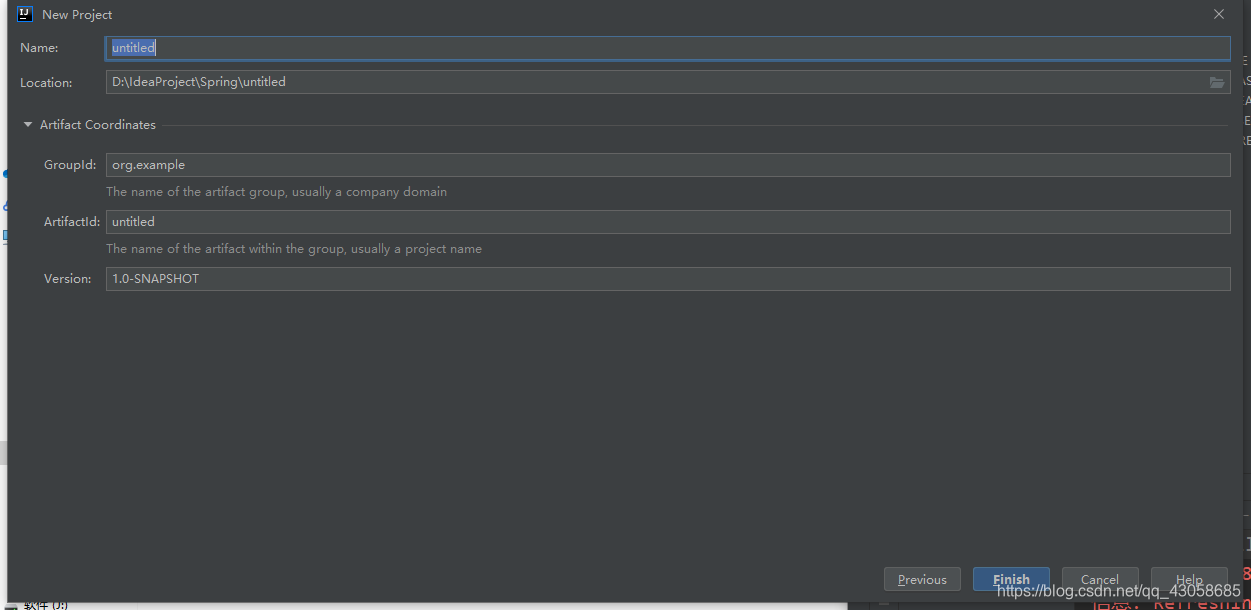
改下项目名称和GroupId
2.导入响应的坐标
在pom文件中导入下面两个坐标,junit用于测试,spring-context包含spring框架的一些依赖jar包
        <dependency>
            <groupId>junit</groupId>
            <artifactId>junit</artifactId>
            <version>4.13</version>
            <scope>test</scope>
        </dependency>
        <dependency>
            <groupId>org.springframework</groupId>
            <artifactId>spring-context</artifactId>
            <version>5.0.2.RELEASE</version>
        </dependency>
3.编写配置文件和相关类文件
为了方便测试,这里就只创建一个student类好了。
Student.java
package com.jxj4869.domain;

public class Student {
    private Integer id;
    private String name;
    private String gender;
    private Integer Score;

    public Integer getId() {
        return id;
    }

    public void setId(Integer id) {
        this.id = id;
    }

    public String getName() {
        return name;
    }

    public void setName(String name) {
        this.name = name;
    }

    public String getGender() {
        return gender;
    }

    public void setGender(String gender) {
        this.gender = gender;
    }

    public Integer getScore() {
        return Score;
    }

    public void setScore(Integer score) {
        Score = score;
    }

    @Override
    public String toString() {
        return "Student{" +
                "id=" + id +
                ", name='" + name + '\'' +
                ", gender='" + gender + '\'' +
                ", Score=" + Score +
                '}';
    }
}
spring配置文件的约束
基本约束
<?xml version="1.0" encoding="UTF-8"?>
<beans xmlns="http://www.springframework.org/schema/beans"
       xmlns:xsi="http://www.w3.org/2001/XMLSchema-instance"
       xsi:schemaLocation="http://www.springframework.org/schema/beans http://www.springframework.org/schema/beans/spring-beans.xsd">

</beans>
下面这个约束包含spring框架中可能使用到的所有约束。
<beans xmlns="http://www.springframework.org/schema/beans"
       xmlns:mvc="http://www.springframework.org/schema/mvc"
       xmlns:context="http://www.springframework.org/schema/context"
       xmlns:xsi="http://www.w3.org/2001/XMLSchema-instance"
       xsi:schemaLocation="
        http://www.springframework.org/schema/beans
        http://www.springframework.org/schema/beans/spring-beans.xsd
        http://www.springframework.org/schema/mvc
        http://www.springframework.org/schema/mvc/spring-mvc.xsd
        http://www.springframework.org/schema/context
        http://www.springframework.org/schema/context/spring-context.xsd">
</beans>
然后把创建对象的过程交给spring管理
<?xml version="1.0" encoding="UTF-8"?>
<beans xmlns="http://www.springframework.org/schema/beans"
       xmlns:xsi="http://www.w3.org/2001/XMLSchema-instance"
       xsi:schemaLocation="http://www.springframework.org/schema/beans http://www.springframework.org/schema/beans/spring-beans.xsd">

	<!- 通过默认构造方式注入-->
    <bean id="student" class="com.jxj4869.domain.Student">
        <property name="gender" value="male"></property>
        <property name="id" value="20200225"></property>
        <property name="name" value="小明"></property>
        <property name="score" value="100"></property>
    </bean>
</beans>
4.测试
package com.jxj4869;


import com.jxj4869.domain.Student;
import org.junit.Test;
import org.springframework.context.ApplicationContext;
import org.springframework.context.support.ClassPathXmlApplicationContext;

public class SpringTest{
    @Test
    public void test() {
        // 1.获取核心容器对象
        ApplicationContext ac= new ClassPathXmlApplicationContext("bean.xml");
        // 2.根据id获取Bean对象
        Student student = (Student)ac.getBean("student");

        System.out.println(student);
    }
}
这样spring的开发环境就搭建好了

附上完整代码链接:代码
