1. 新建工程,选择maven项目,选择如下图选项,next

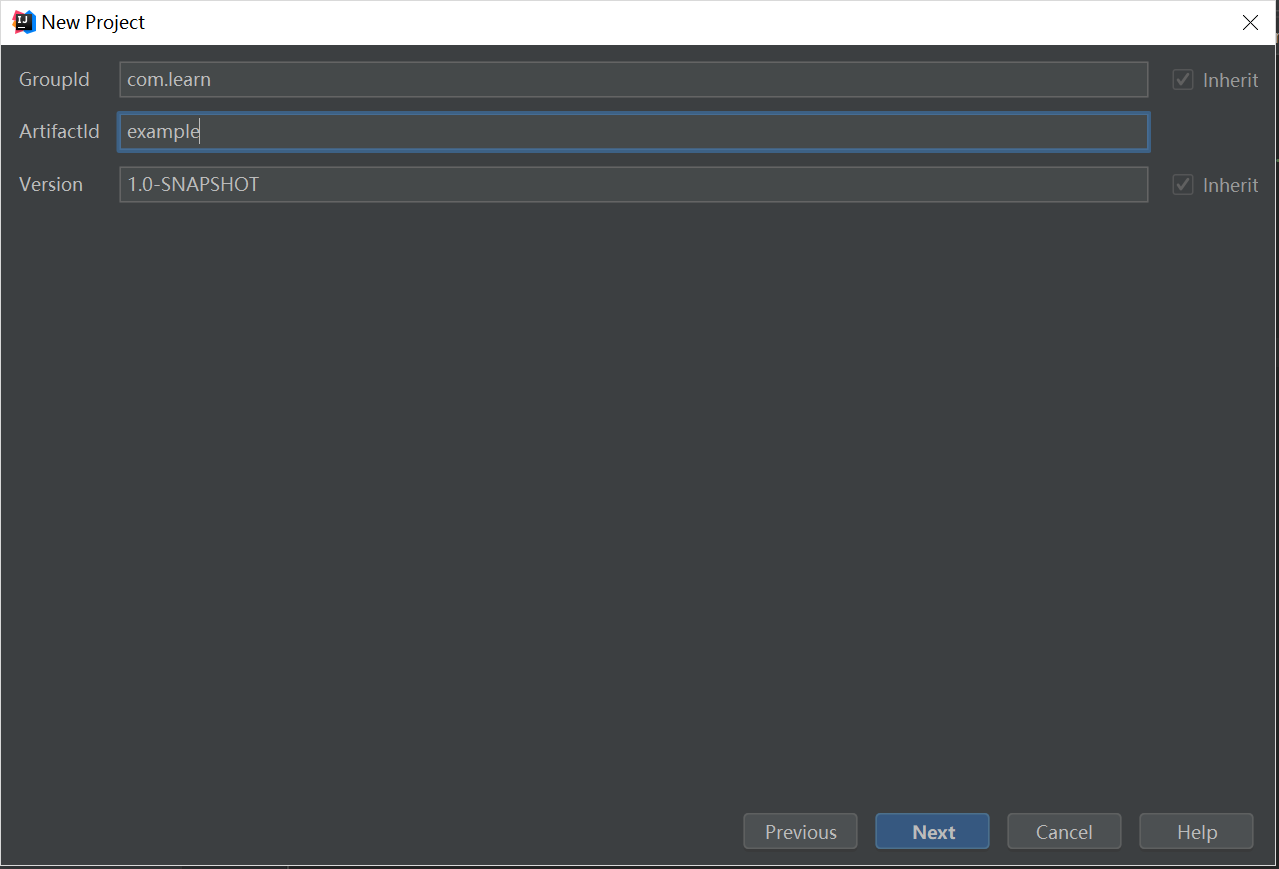
2. 填写groupId和artifactId,这是maven为了确定项目在maven仓库中的唯一性而设置的。groupId一般写域名.公司名,artifactId则是项目名。
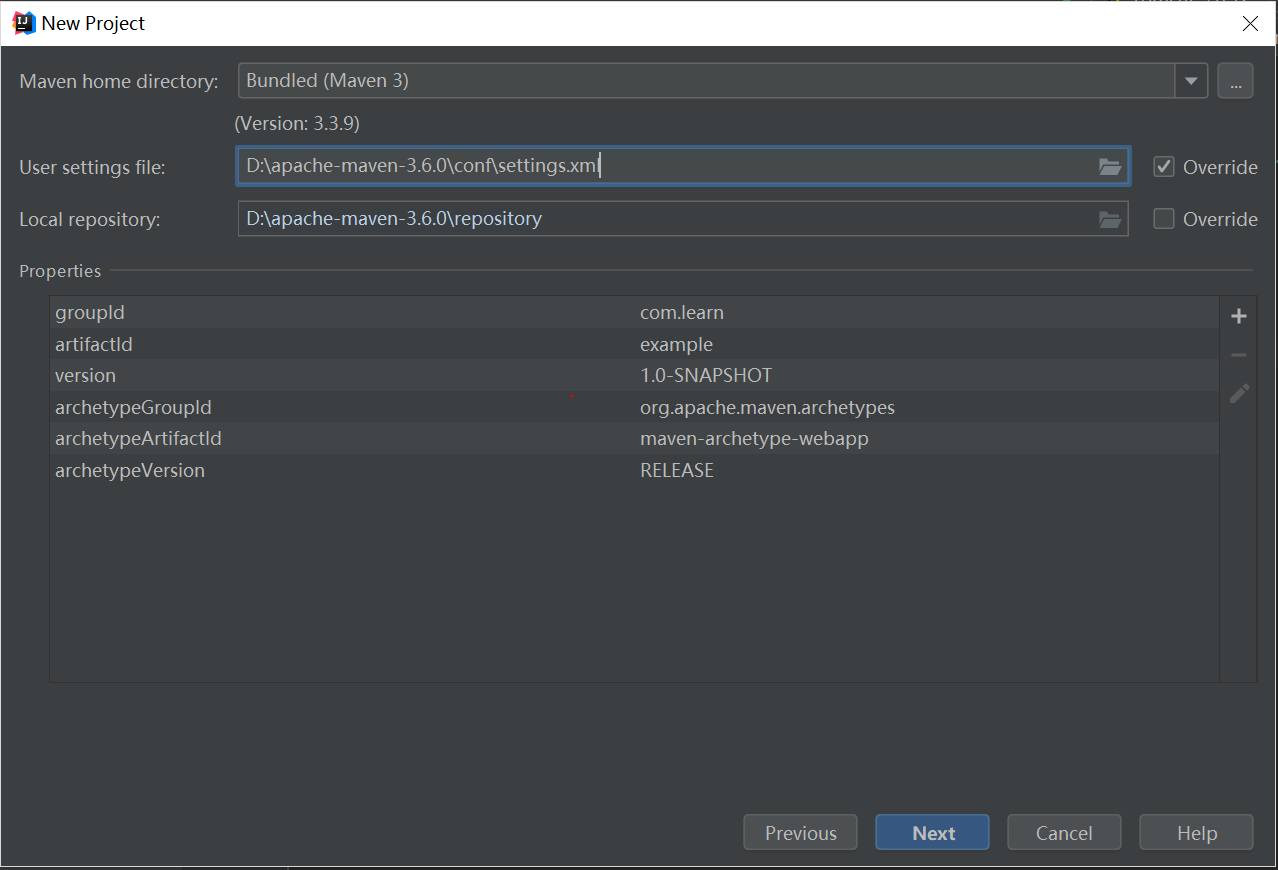
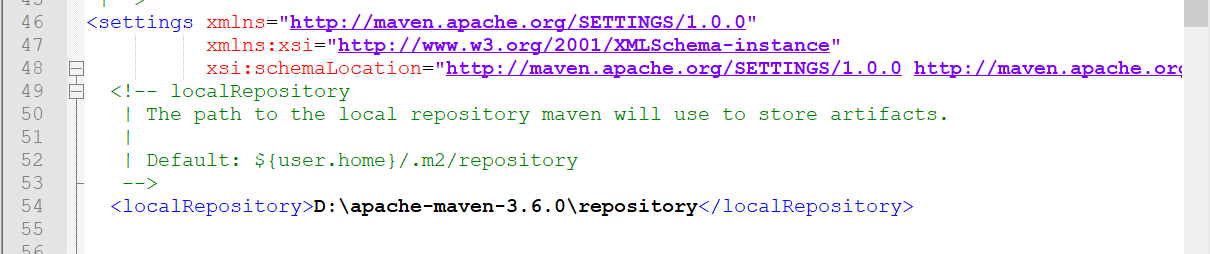
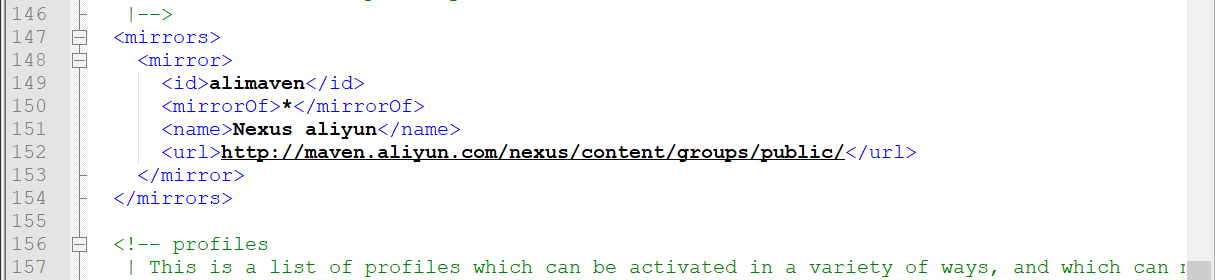
3.选择maven配置文件地址,可以选择自己下载的maven,然后自定义配置文件中的仓库地址,就不用所有东西都堆在C盘了。以及将远程仓库地址改为阿里云仓库,这样下载速度会快一些。
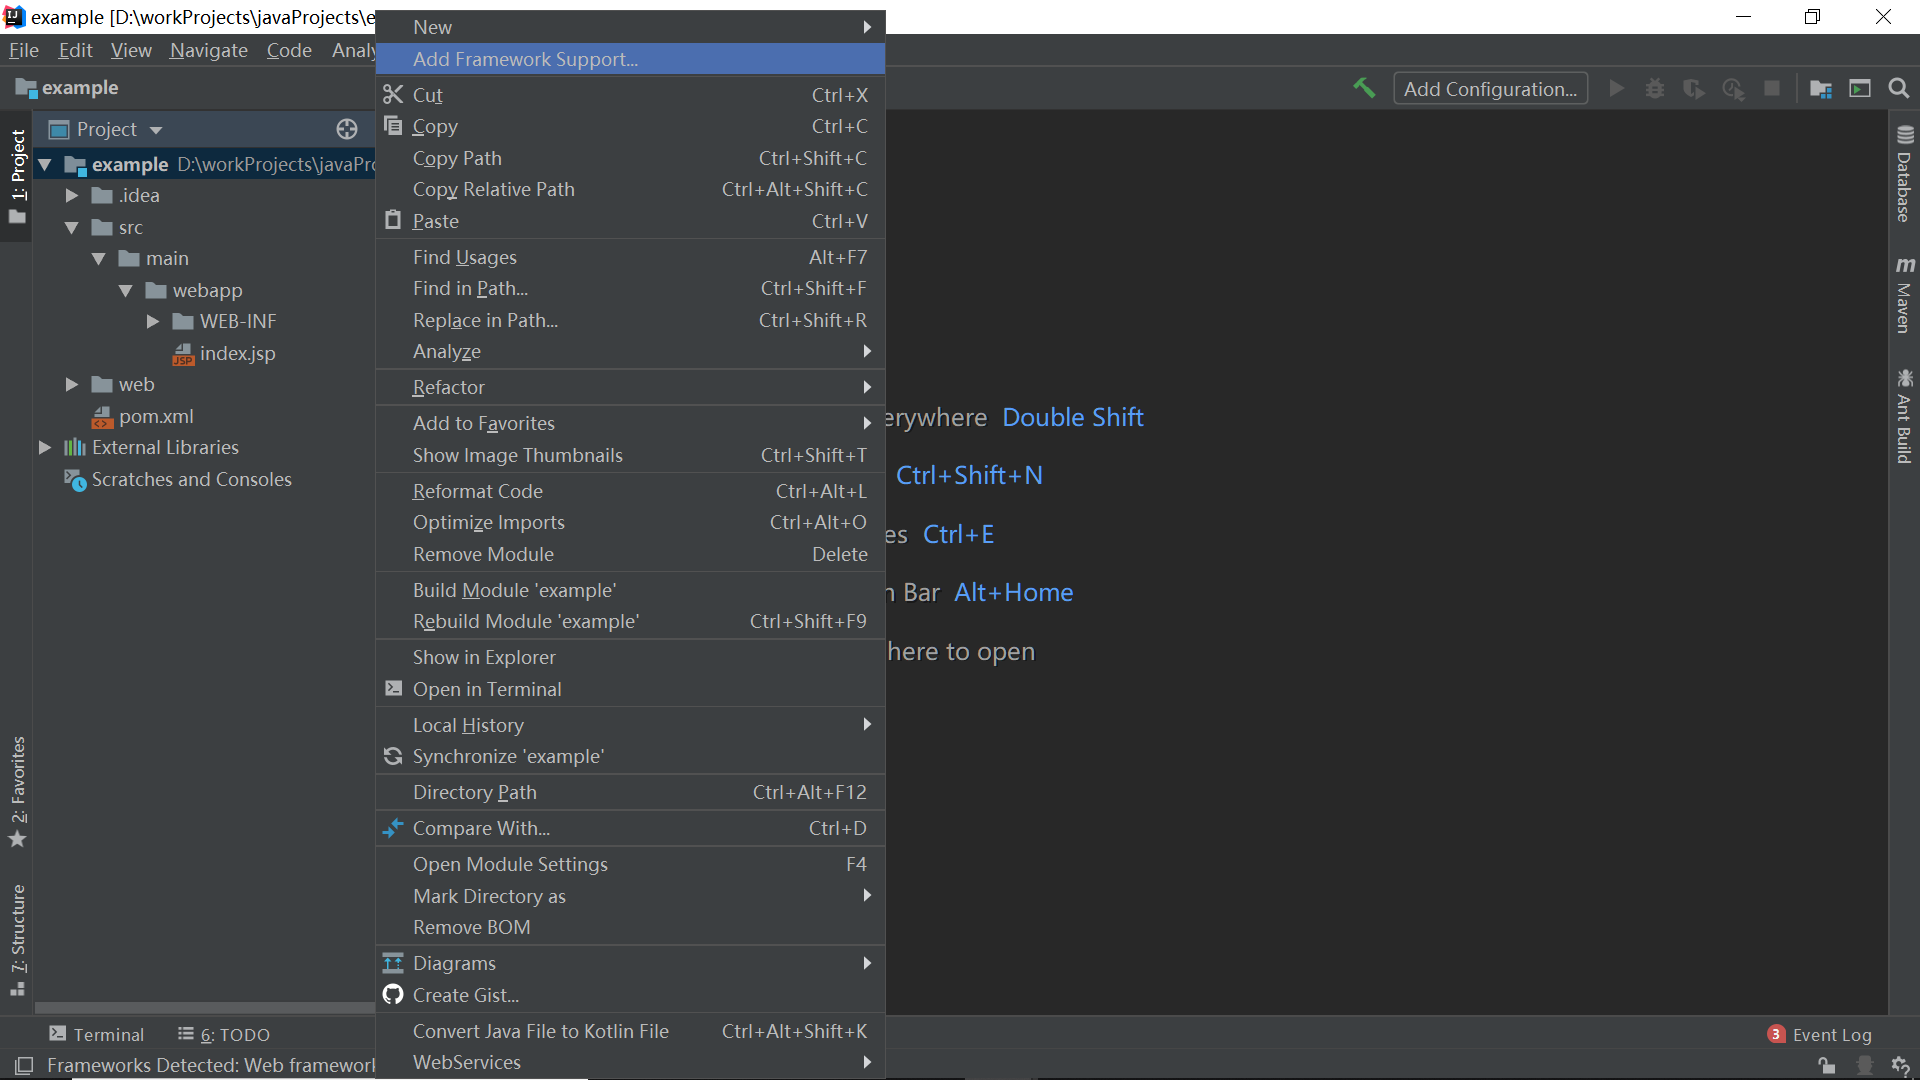
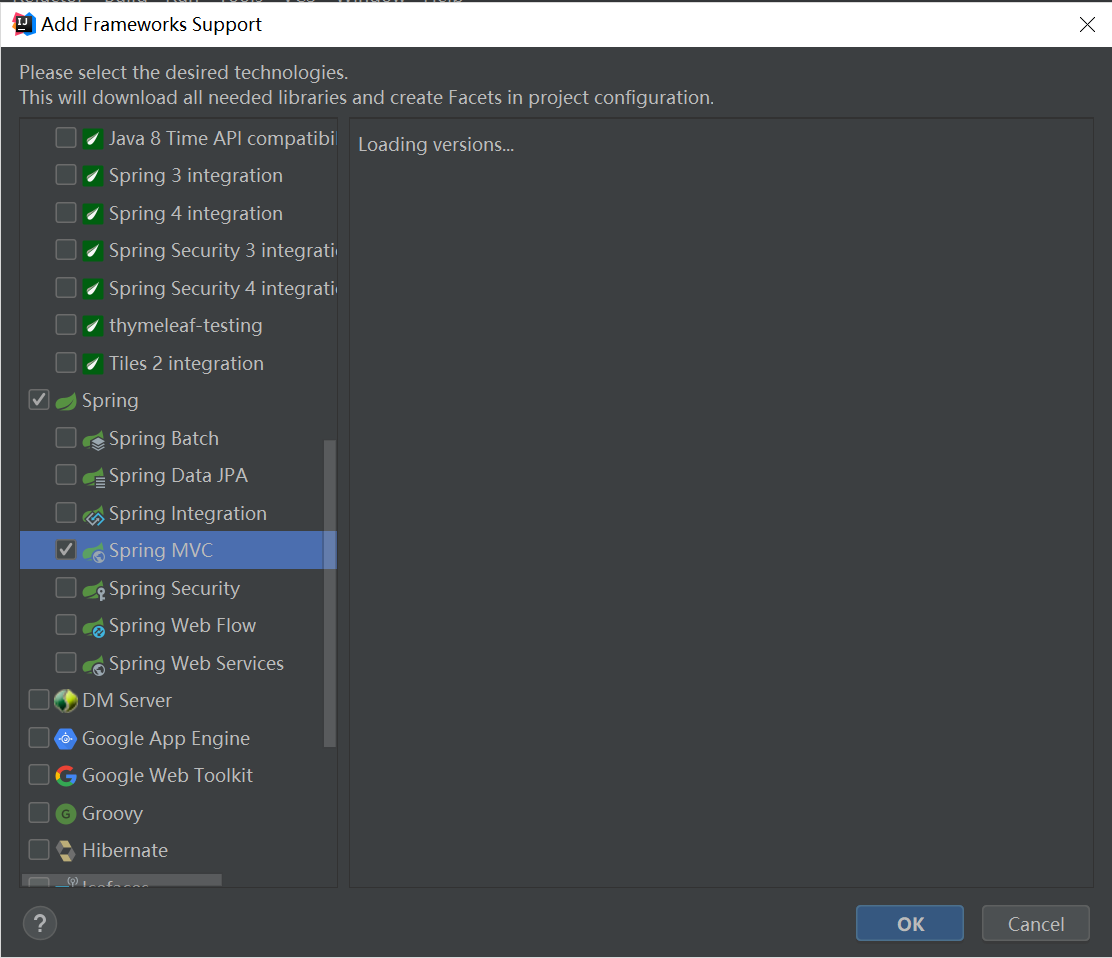
4.然后一路next,就可以完成maven工程的构建了。接下来配置spring MVC的环境,右键工程名,选择add framework support,选择spring mvc,然后编译器就会开始构建spring mvc的环境了。
5. 在pom.xml中加入spring依赖
<!--spring依赖-->
    <dependency>
      <groupId>org.springframework</groupId>
      <artifactId>spring-core</artifactId>
      <version>4.1.3.RELEASE</version>
    </dependency>
    <dependency>
      <groupId>org.springframework</groupId>
      <artifactId>spring-context</artifactId>
      <version>4.1.3.RELEASE</version>
    </dependency>
    <dependency>
      <groupId>org.springframework</groupId>
      <artifactId>spring-webmvc</artifactId>
      <version>4.1.3.RELEASE</version>
    </dependency>

    <dependency>
      <groupId>org.springframework</groupId>
      <artifactId>spring-web</artifactId>
      <version>4.1.3.RELEASE</version>
    </dependency>
    <dependency>
      <groupId>org.springframework</groupId>
      <artifactId>spring-orm</artifactId>
      <version>3.2.4.RELEASE</version>
    </dependency>
    <dependency>
      <groupId>org.springframework</groupId>
      <artifactId>spring-beans</artifactId>
      <version>4.1.3.RELEASE</version>
    </dependency>
    <dependency>
      <groupId>org.springframework</groupId>
      <artifactId>spring-aop</artifactId>
      <version>4.1.3.RELEASE</version>
    </dependency>
6.配置web.xml,Spring IoC上下文配置文件appliacitonContext.xml和映射请求上下文配置文件dispatcher-servlet.xml
web.xml
<?xml version="1.0" encoding="UTF-8"?>
<web-app xmlns="http://xmlns.jcp.org/xml/ns/javaee"
         xmlns:xsi="http://www.w3.org/2001/XMLSchema-instance"
         xsi:schemaLocation="http://xmlns.jcp.org/xml/ns/javaee http://xmlns.jcp.org/xml/ns/javaee/web-app_4_0.xsd"
         version="4.0">
  <!--配置SpringIoC容器的配置文件路径-->
  <context-param>
    <param-name>contextConfigLocation</param-name>
    <param-value>/WEB-INF/applicationContext.xml</param-value>
  </context-param>
  <!--配置ContextLoaderListener用以初始化Spring IoC容器-->
  <listener>
    <listener-class>org.springframework.web.context.ContextLoaderListener</listener-class>
  </listener>
  <!--配置DispatcherServlet-->
  <servlet>
    <servlet-name>dispatcher</servlet-name>
    <servlet-class>org.springframework.web.servlet.DispatcherServlet</servlet-class>
    <load-on-startup>2</load-on-startup>
  </servlet>
  <!--servlet拦截配置,拦截以后缀“form”结束的请求-->
  <servlet-mapping>
    <servlet-name>dispatcher</servlet-name>
    <url-pattern>*.do</url-pattern>
  </servlet-mapping>
</web-app>
applicationContext.xml
<?xml version="1.0" encoding="UTF-8"?>
<beans xmlns="http://www.springframework.org/schema/beans"
       xmlns:xsi="http://www.w3.org/2001/XMLSchema-instance"
       xmlns:p="http://www.springframework.org/schema/p"
       xmlns:tx="http://www.springframework.org/schema/tx"
       xmlns:context="http://www.springframework.org/schema/context"
       xmlns:mvc="http://www.springframework.org/schema/mvc"
       xsi:schemaLocation="http://www.springframework.org/schema/beans
        http://www.springframework.org/schema/beans/spring-beans.xsd
        http://www.springframework.org/schema/tx
        http://www.springframework.org/schema/tx/spring-tx-4.0.xsd
        http://www.springframework.org/schema/context
        http://www.springframework.org/schema/context/spring-context-4.0.xsd
        http://www.springframework.org/schema/mvc
        http://www.springframework.org/schema/mvc/spring-mvc-4.0.xsd">

    <!--使用注解驱动-->
    <context:annotation-config/>


</beans>
dispatcher-servlet.xml
<?xml version="1.0" encoding="UTF-8" ?>
<beans xmlns="http://www.springframework.org/schema/beans"
       xmlns:xsi="http://www.w3.org/2001/XMLSchema-instance"
       xmlns:p="http://www.springframework.org/schema/p"
       xmlns:tx="http://www.springframework.org/schema/tx"
       xmlns:context="http://www.springframework.org/schema/context"
       xmlns:mvc="http://www.springframework.org/schema/mvc"
       xsi:schemaLocation="http://www.springframework.org/schema/beans
    http://www.springframework.org/schema/beans/spring-beans-4.0.xsd
       http://www.springframework.org/schema/tx
    http://www.springframework.org/schema/tx/spring-tx-4.0.xsd
        http://www.springframework.org/schema/context
    http://www.springframework.org/schema/context/spring-context-4.0.xsd
        http://www.springframework.org/schema/mvc
    http://www.springframework.org/schema/mvc/spring-mvc-4.0.xsd">

    <!--使用注解驱动-->
    <mvc:annotation-driven/>
    <!--定义扫描装载的包-->
    <context:component-scan base-package="com.leran.example.*"/>
    <!--定义视图解析器-->
    <bean id="viewResolver"
          class="org.springframework.web.servlet.view.InternalResourceViewResolver"
          p:prefix="/WEB-INF/jsp/" p:suffix=".jsp"/>

    <!--
    <tx:annotation-driven transaction-manager="transactionManager"/>
    -->
</beans>
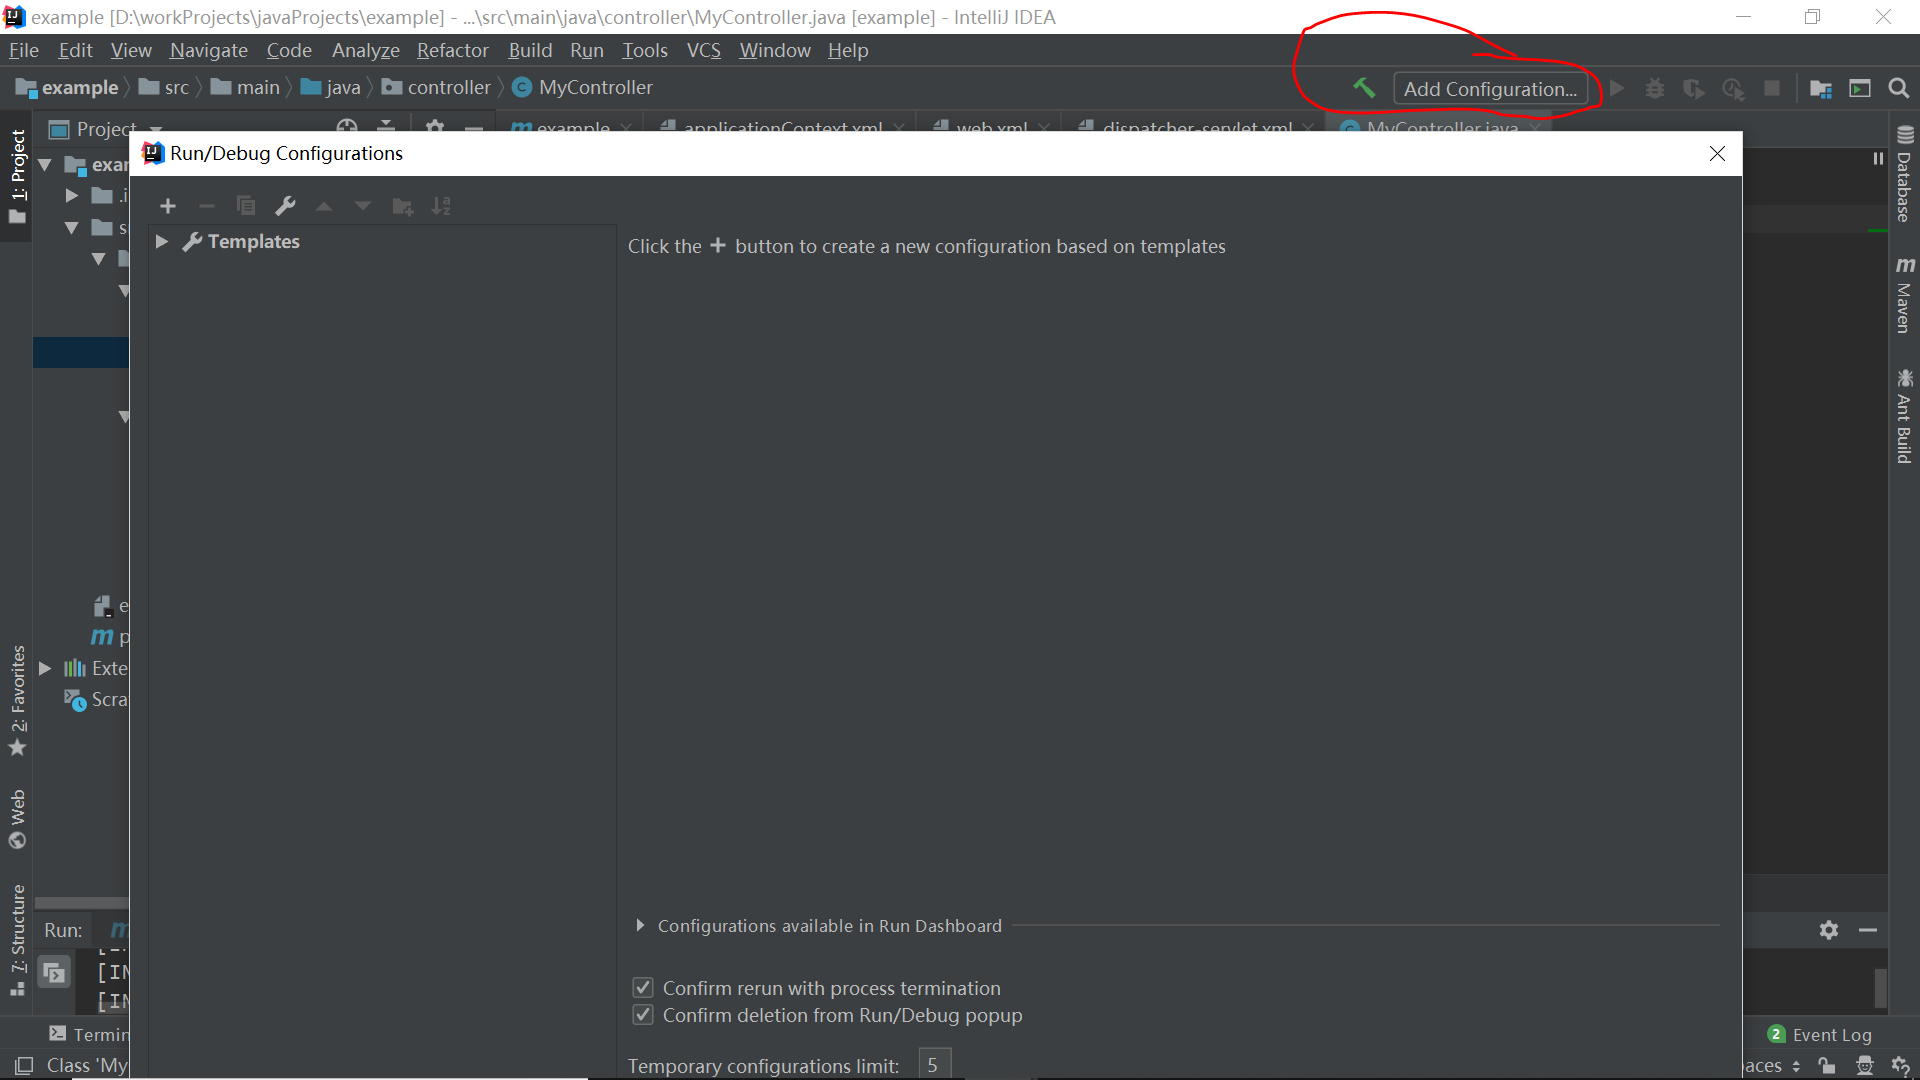
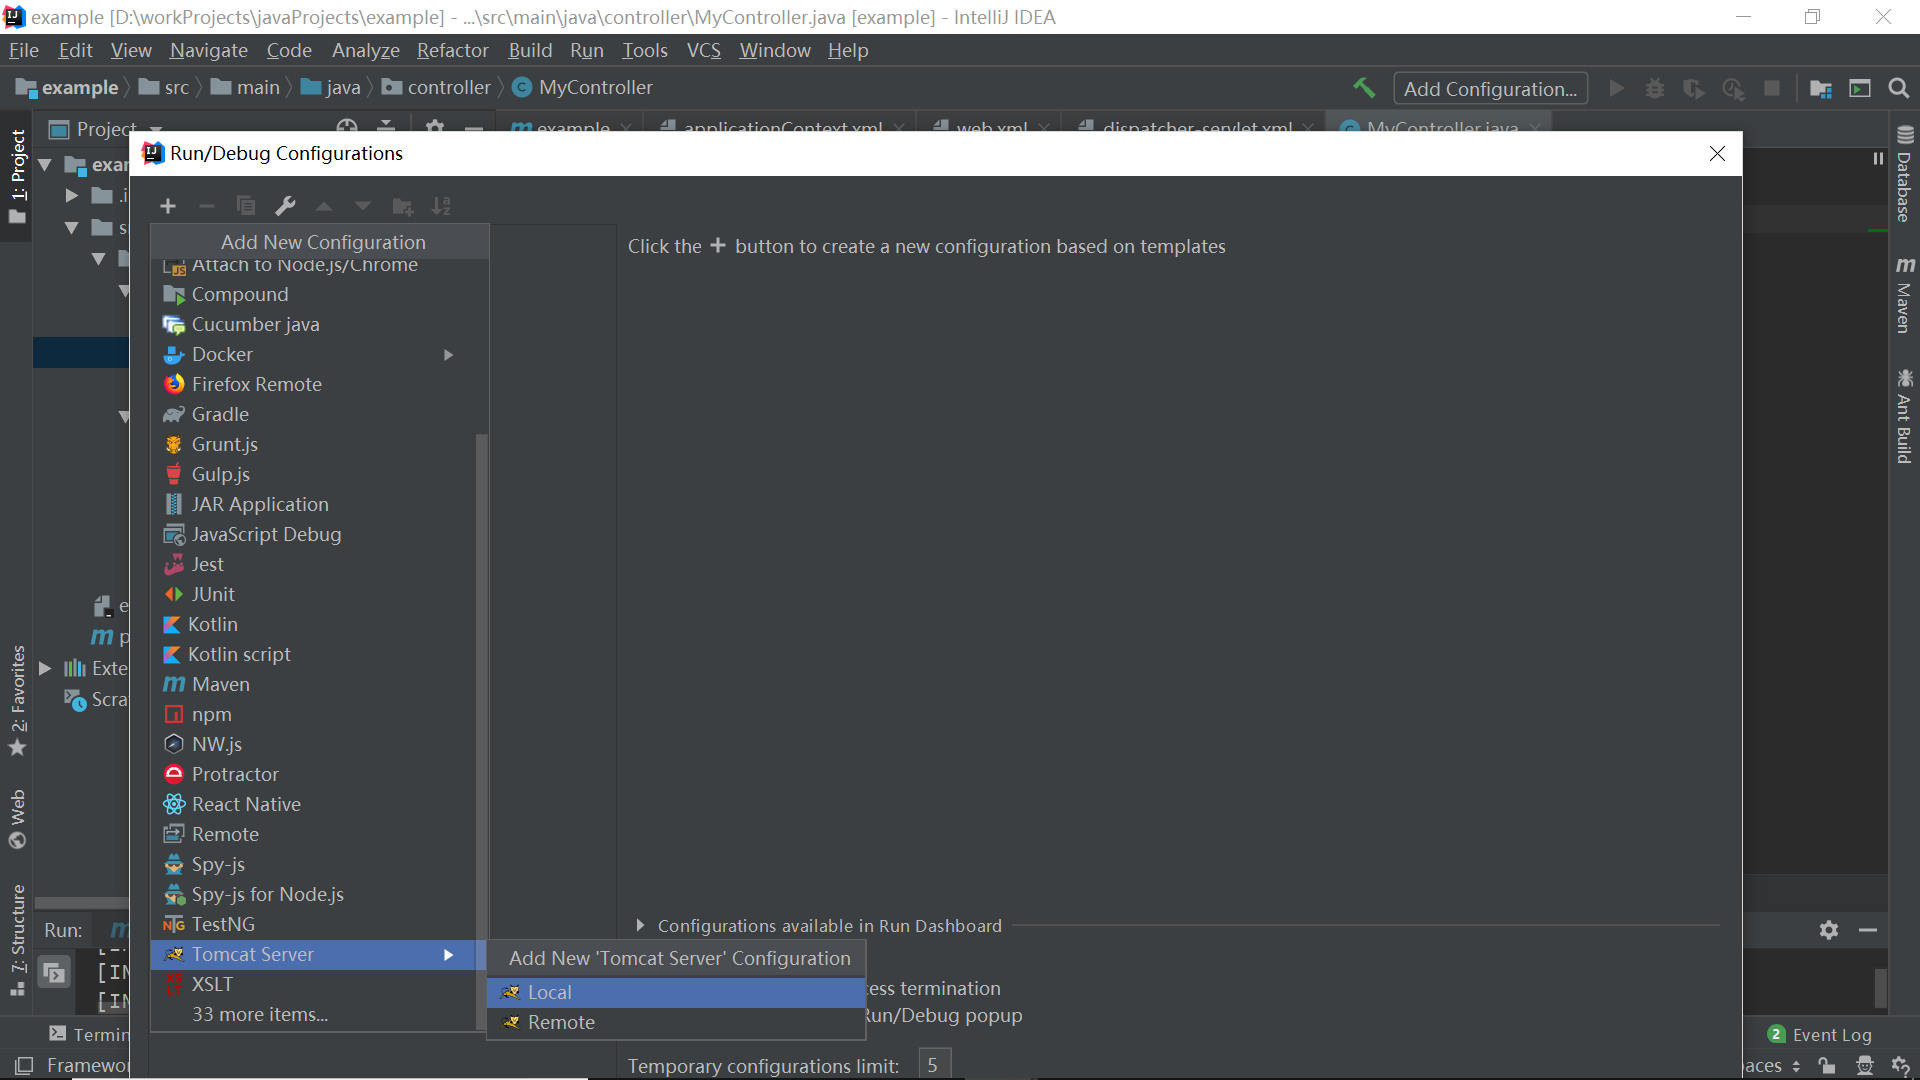
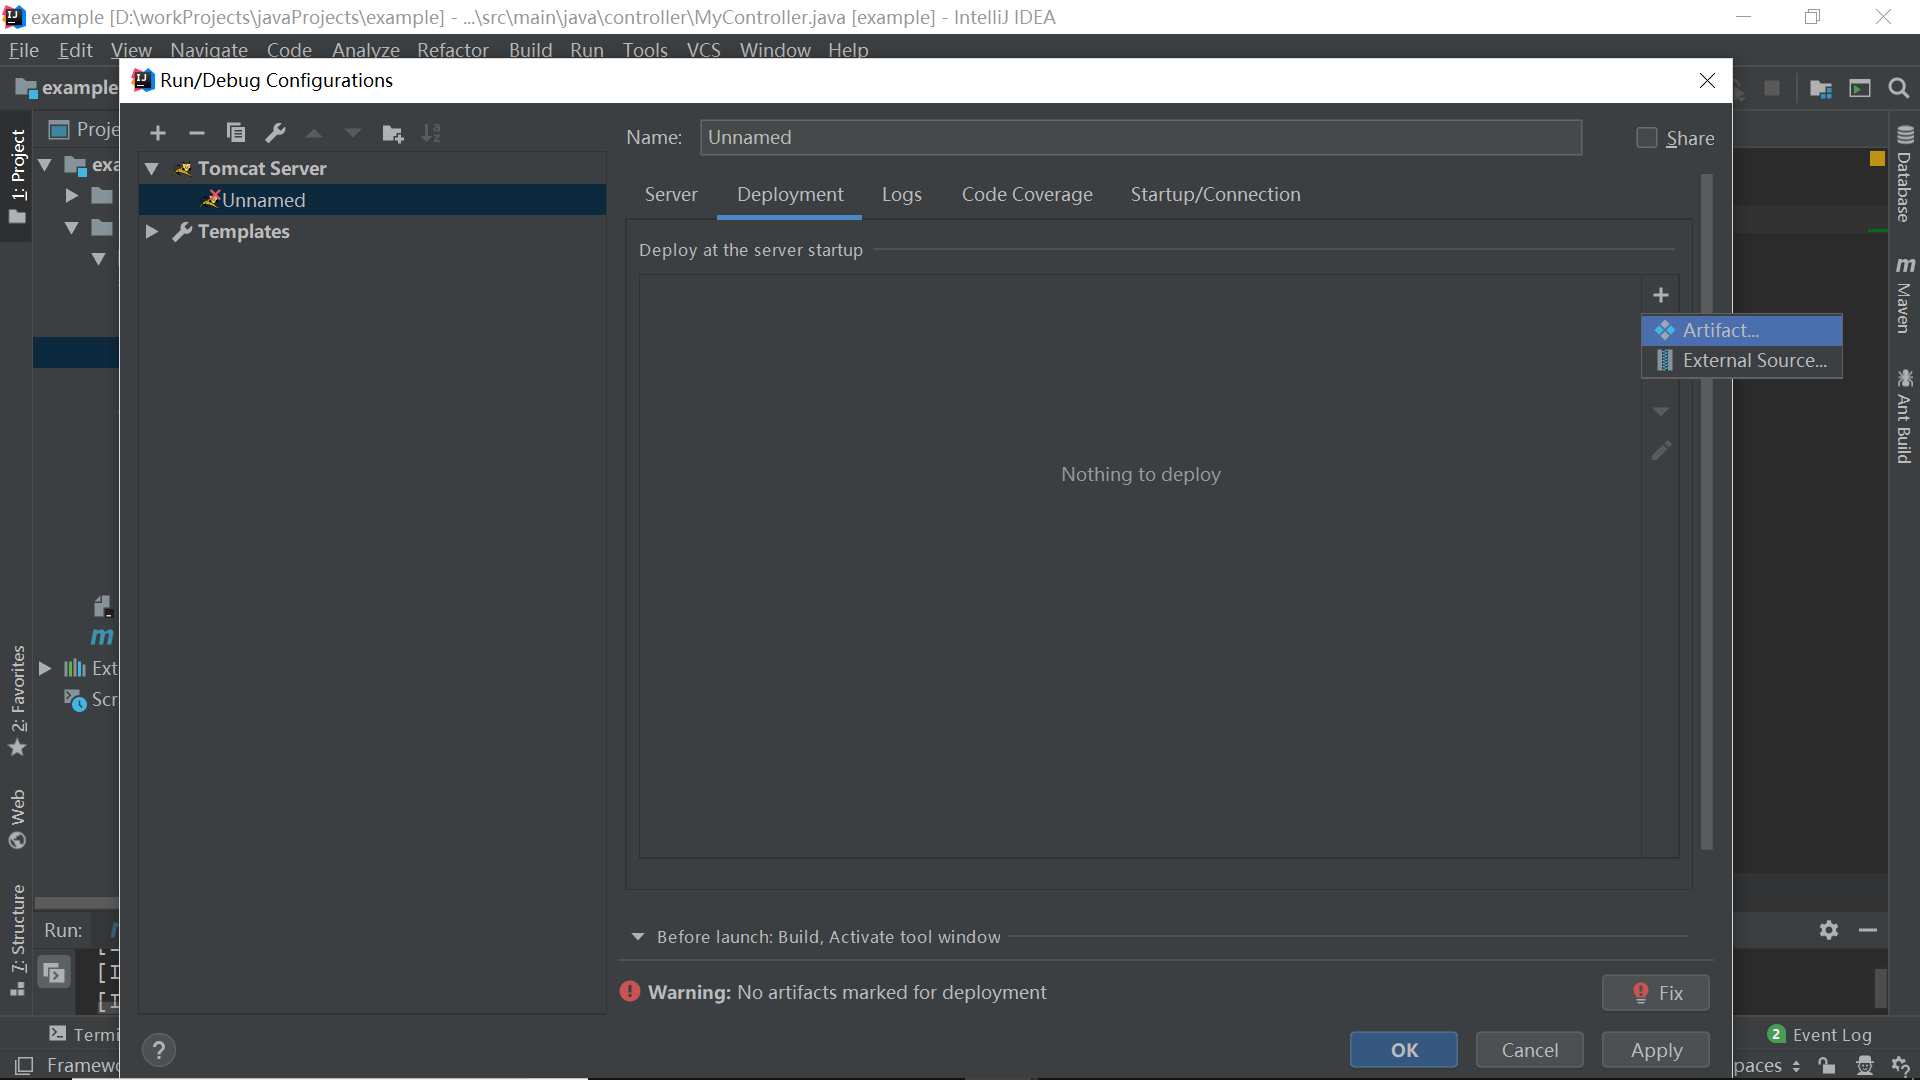
8. 接着配置tomcat服务器,右上角Add Configuration,点左上角的加号,选择tomcat server,local,进入tomcat配置页面,选择deployment,添加Artifact,选择第一个就可以了

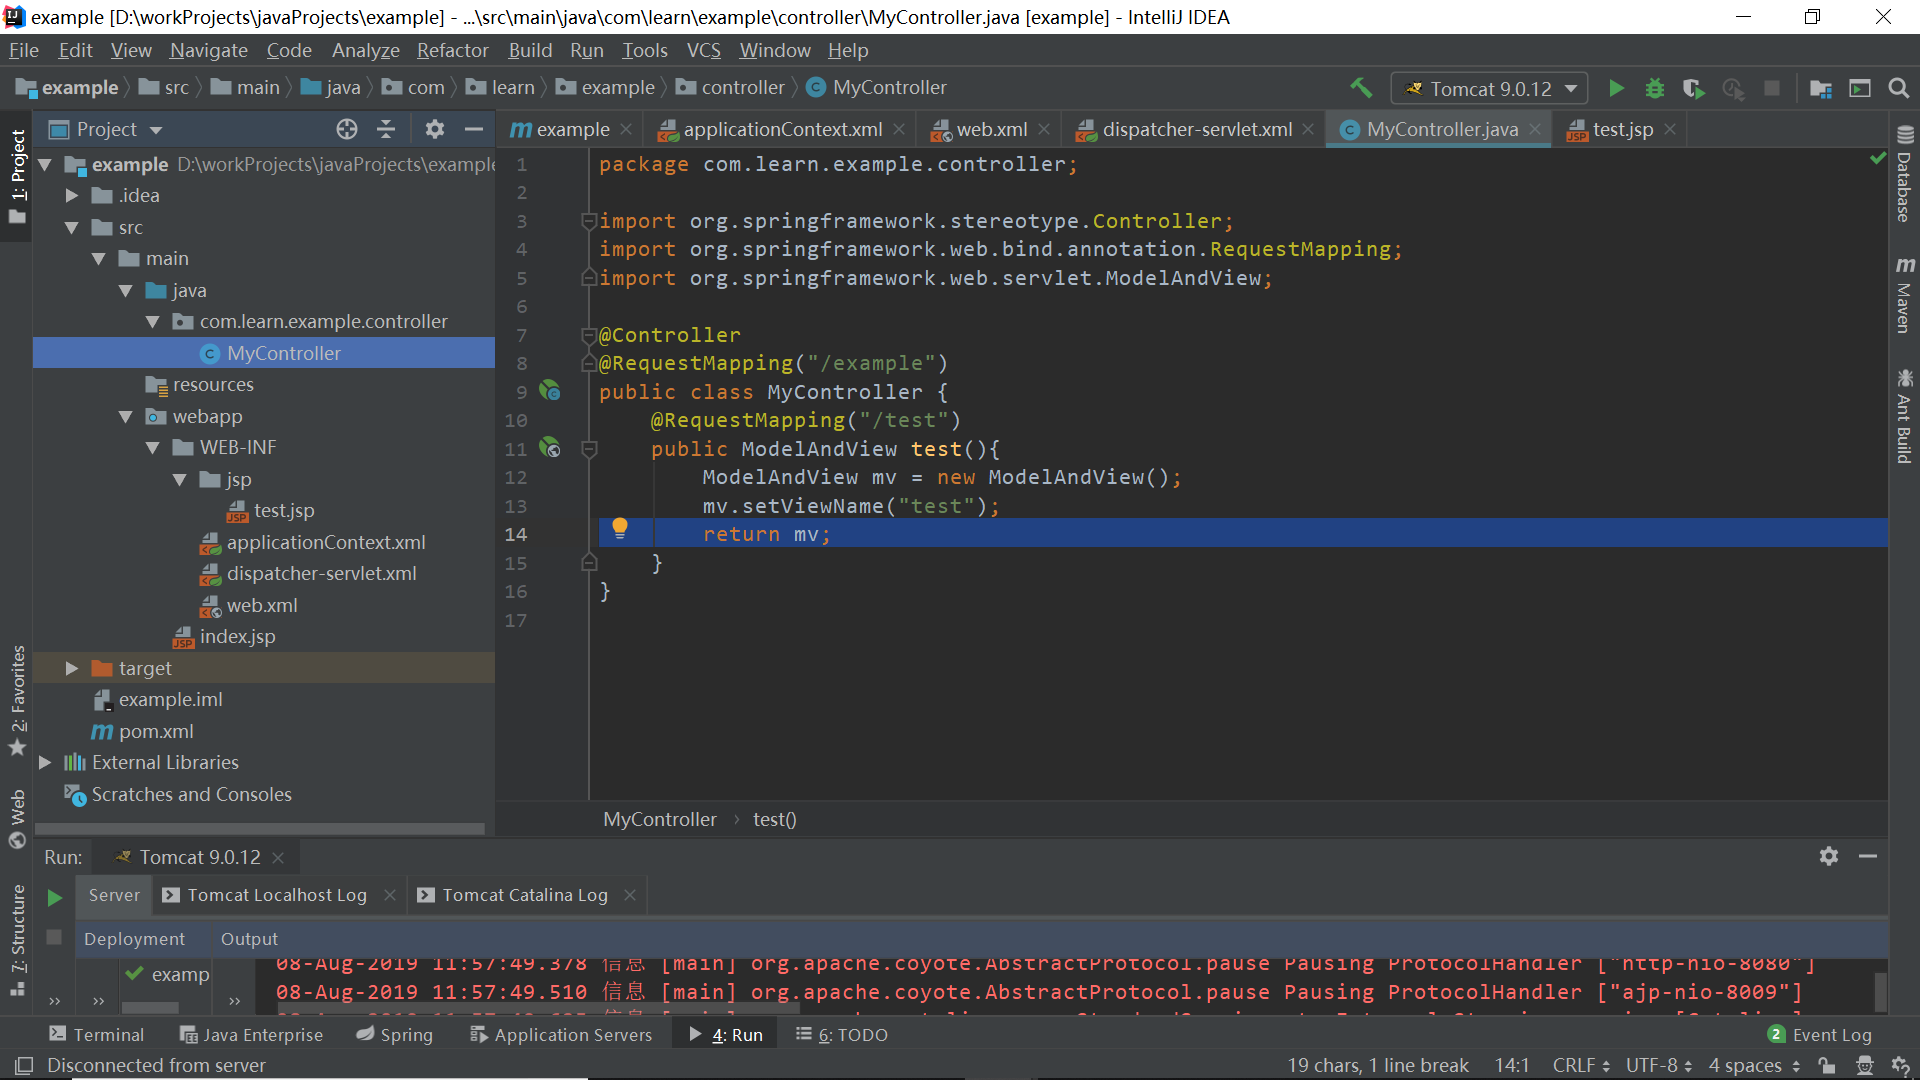
9.现在环境就配完了,写一个controller测试一下,工程结构配置如图,注意test.jsp的位置,和diapatcher-servlet.xml中的配置位置是相对应的
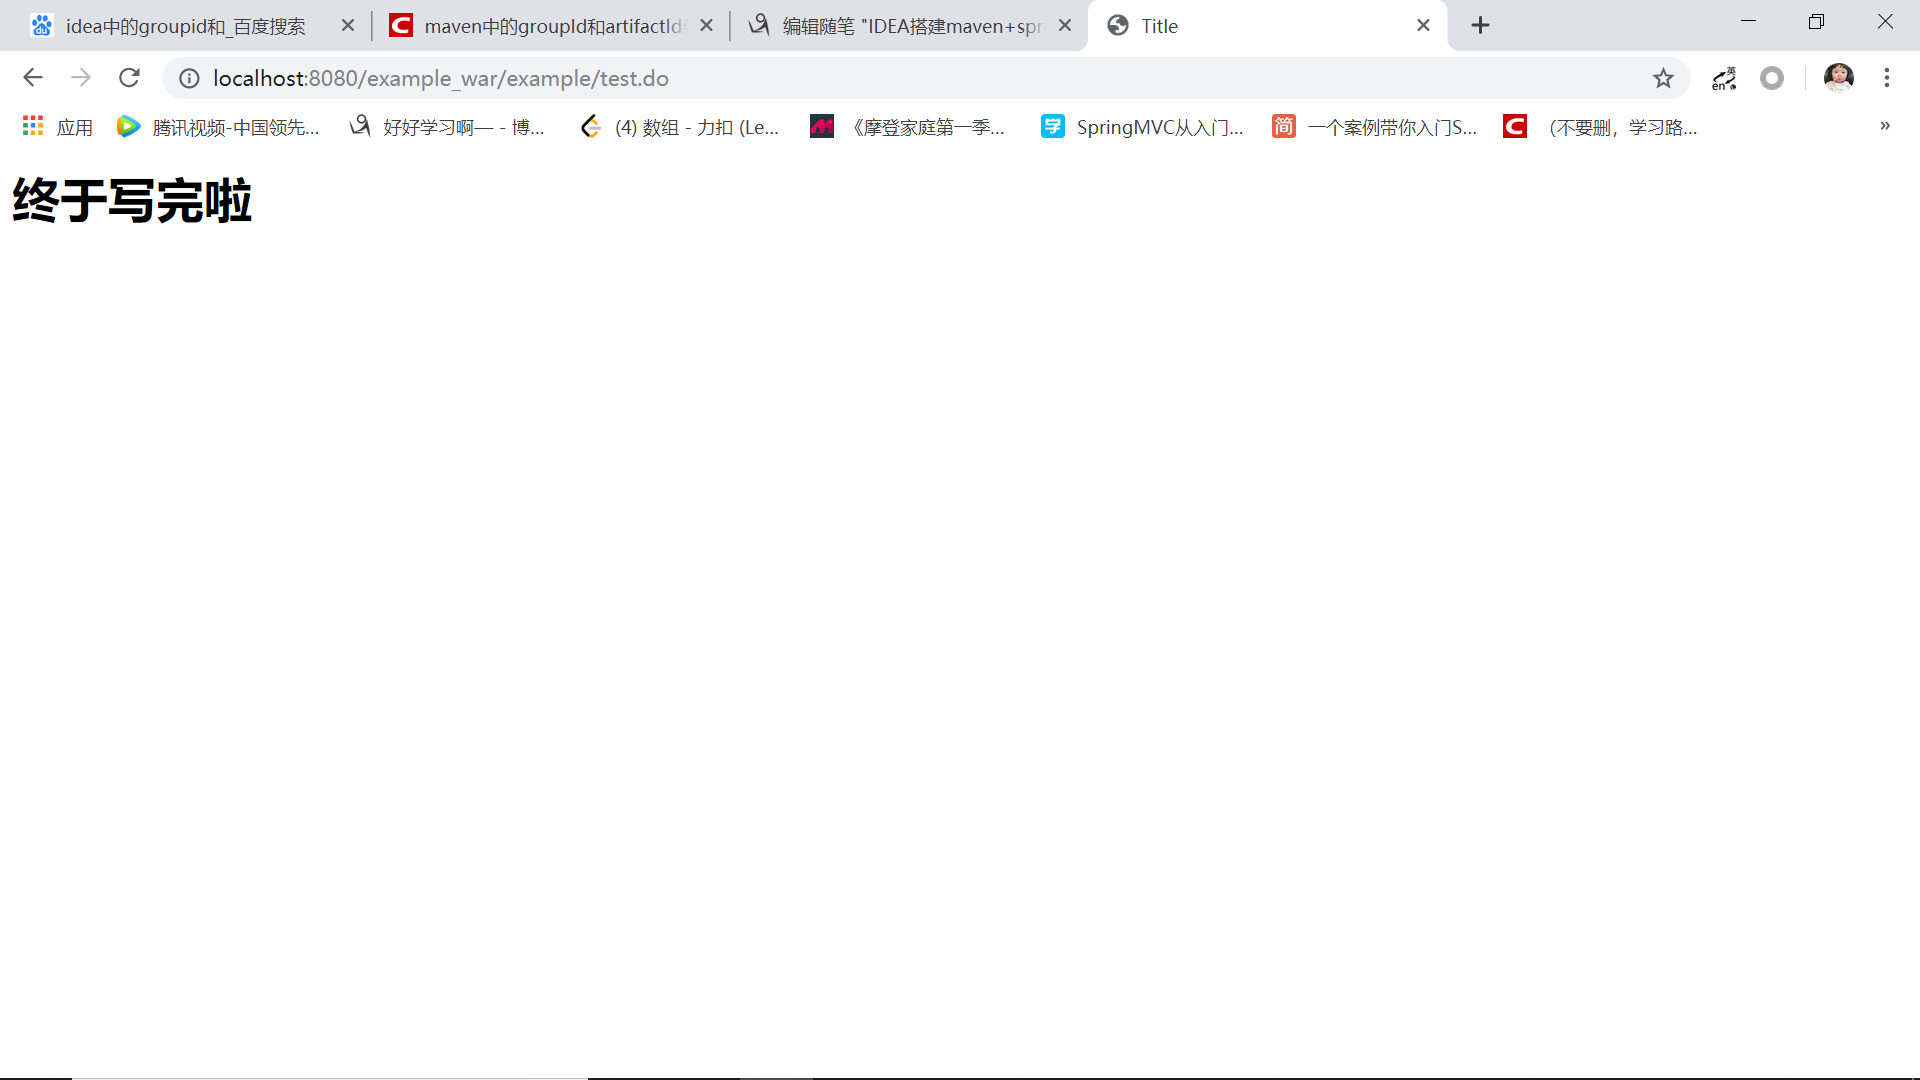
10.写的不是特别完善,如有问题还请指正