01 基础环境准备
02 一文读懂Eureka
03 Zookeeper注册中心
04 Consule注册中心
05 Ribbon
06 OpenFegin
07 Hystrix全面解析
08 Gateway全面解析
09 Config配置中心
10 Bus消息总线
1 简介
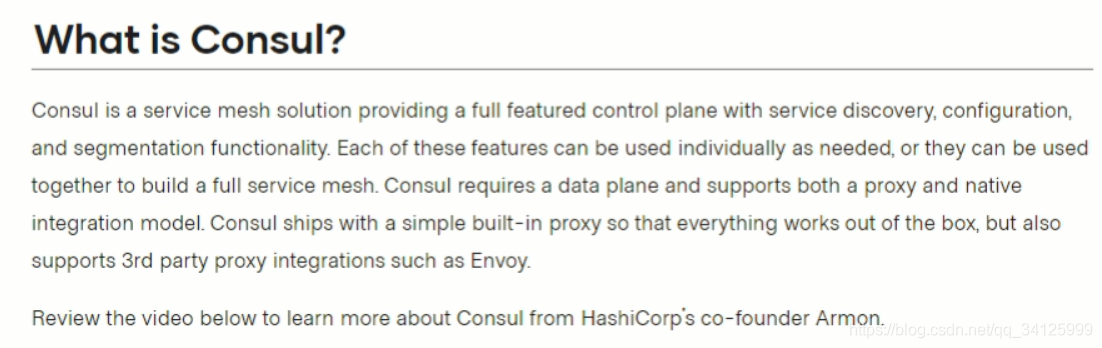
Consul是一套开源的分布式服务发现和配置管理系统,由 Hashicorp公司用Go语言开发。提供了微服务系统中的服务治理、配置中心、控制总线等功能。这些功能中的每个都可以根据需要单独使用,也可以一起使用以构建全方位的服务网格,总之 Consul提供了一种完整的服务网格解決方案。
它具有很多优点。包括:基于raft协议,比较简洁;支持健康检查,同时支持HTTP和DNS协议支持跨数据中心的WAN集群提供图形界面跨平台,支持 Linux、Mac、 Windows。
2 下载 安装
(1) 下载
#地址
https://www.consul.io/downloads.html

(2) 安装

#查看版本命令
consul --version
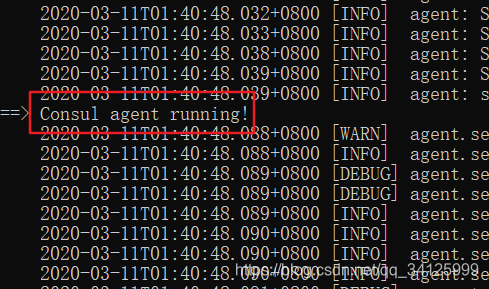
#启动命令
consul agent -dev
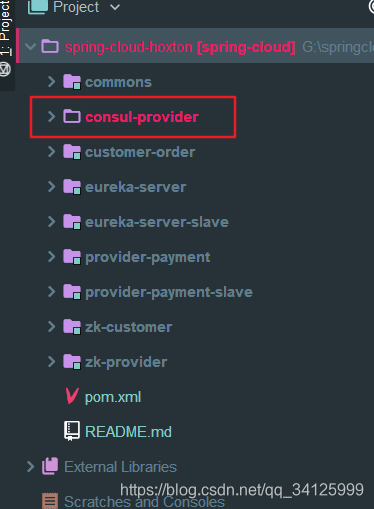
3 建立工程 consul-provider
3.1 pom
<dependencies>
    <!-- consul server-->
    <dependency>
        <groupId>org.springframework.cloud</groupId>
        <artifactId>spring-cloud-starter-consul-discovery</artifactId>
    </dependency>
    <dependency>
        <groupId>org.springframework.boot</groupId>
        <artifactId>spring-boot-starter-web</artifactId>
    </dependency>
    <dependency>
        <groupId>org.springframework.boot</groupId>
        <artifactId>spring-boot-starter-actuator</artifactId>
    </dependency>
    <dependency>
        <groupId>org.springframework.boot</groupId>
        <artifactId>spring-boot-devtools</artifactId>
        <scope>runtime</scope>
        <optional>true</optional>
    </dependency>
    <dependency>
        <groupId>org.projectlombok</groupId>
        <artifactId>lombok</artifactId>
    </dependency>
    <dependency>
        <groupId>junit</groupId>
        <artifactId>junit</artifactId>
    </dependency>
    <dependency>
        <groupId>org.springframework.boot</groupId>
        <artifactId>spring-boot-starter-test</artifactId>
    </dependency>
</dependencies>
3.2 application.yml
server:
  port: 7003
spring:
  application:
    name: consul-provider
  cloud:
    consul:
      host: localhost
      port: 8500
      discovery:
        service-name: consul-provider
3.3 主启动类
@SpringBootApplication
@EnableDiscoveryClient
public class ConsulProviderApplication {
    public static void main(String[] args) {
        SpringApplication.run(ConsulProviderApplication.class);
    }
}
3.4 controller
@RestController
public class ProviderController {
    @Value("${server.port}")
    private String serverport;
    @RequestMapping("/consul")
    public String zk(){
        return "springcloud with consul: "+serverport;
    }
}
3.5 启动
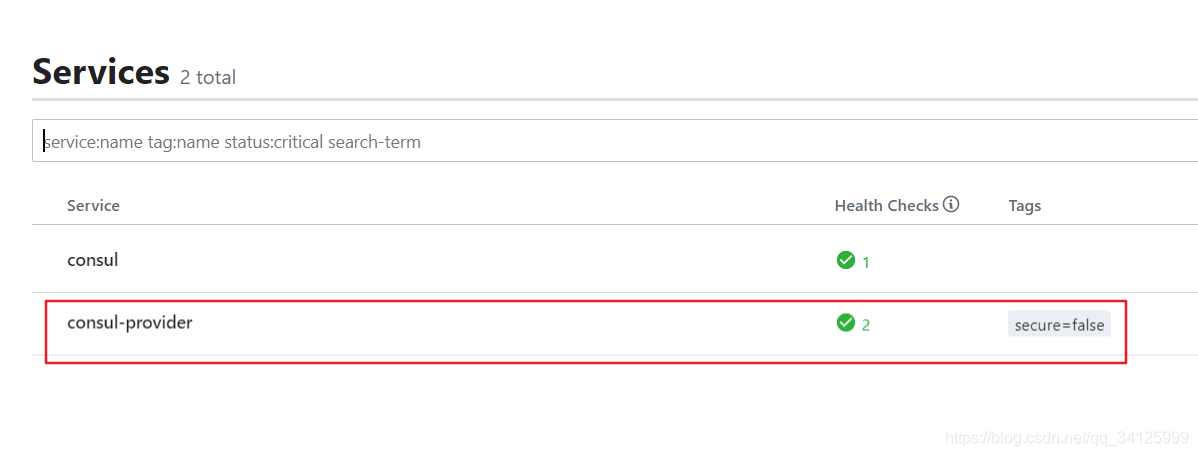
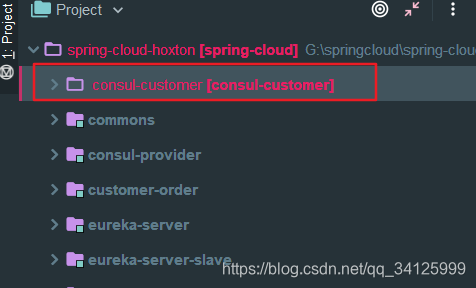
4 建立工程 consul-customer
4.1 pom
<dependencies>
    <!-- consul server-->
    <dependency>
        <groupId>org.springframework.cloud</groupId>
        <artifactId>spring-cloud-starter-consul-discovery</artifactId>
    </dependency>
    <dependency>
        <groupId>org.springframework.boot</groupId>
        <artifactId>spring-boot-starter-web</artifactId>
    </dependency>
    <dependency>
        <groupId>org.springframework.boot</groupId>
        <artifactId>spring-boot-starter-actuator</artifactId>
    </dependency>
    <dependency>
        <groupId>org.springframework.boot</groupId>
        <artifactId>spring-boot-devtools</artifactId>
        <scope>runtime</scope>
        <optional>true</optional>
    </dependency>
    <dependency>
        <groupId>org.projectlombok</groupId>
        <artifactId>lombok</artifactId>
    </dependency>
    <dependency>
        <groupId>junit</groupId>
        <artifactId>junit</artifactId>
    </dependency>
    <dependency>
        <groupId>org.springframework.boot</groupId>
        <artifactId>spring-boot-starter-test</artifactId>
    </dependency>
</dependencies>
4.2 application.yml
server:
  port: 8002
spring:
  application:
    name: consul-customer
  cloud:
    consul:
      host: localhost
      port: 8500
      discovery:
        service-name: consul-customer
4.3 主程序
@SpringBootApplication
@EnableDiscoveryClient
public class ConsulCustomerApplication {
    public static void main(String[] args) {
        SpringApplication.run(ConsulCustomerApplication.class);
    }
}
4.4 配置文件
@Configuration
public class ApplicatrionConfig {
    @Bean
    @LoadBalanced
    public RestTemplate restTemplate(){
        return new RestTemplate();
    }
}
4.5 controller
@RestController
@RequestMapping("/consul")
public class CustomerController {
public static final String PROVIDER_URL="http://consul-provider";
@Autowired
private RestTemplate restTemplate;
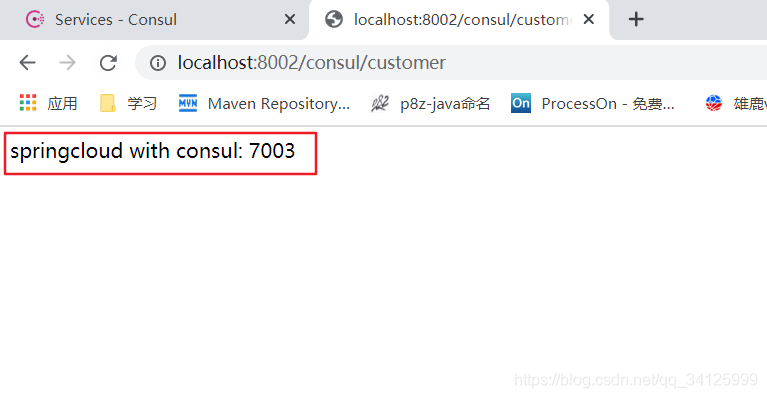
@GetMapping("/customer")
public String customer(){
ResponseEntity<String> forEntity = restTemplate.getForEntity(PROVIDER_URL+"/consul", String.class);
return forEntity.getBody();
}
}
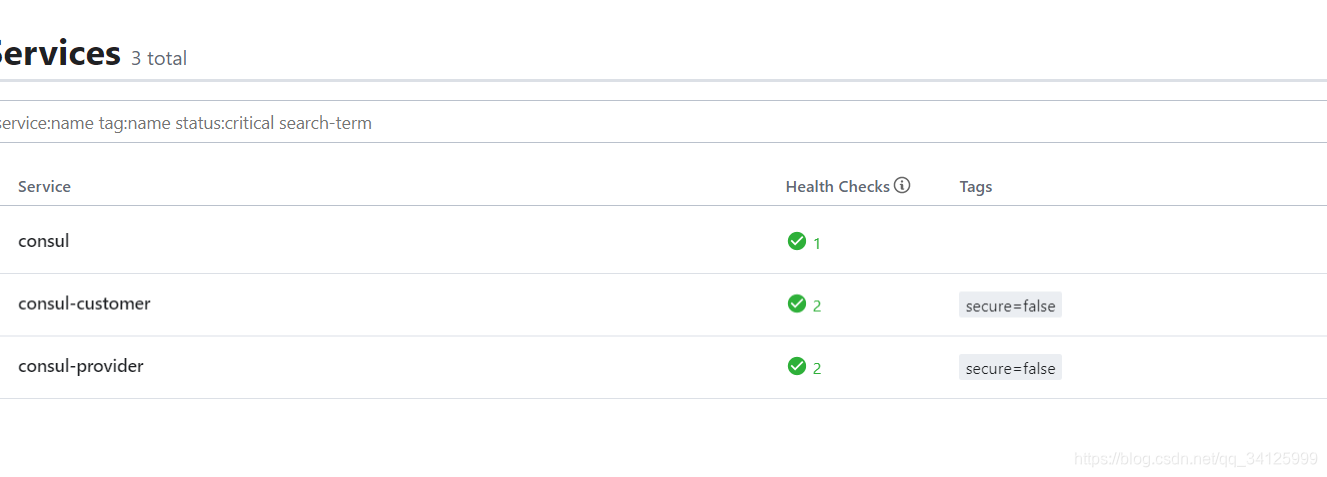
4.6 启动
5 consul 高可用
5.1 环境准备
192.168.0.39
192.168.0.40
192.168.0.41
5.2 解压
#3台
unzip consul_1.5.0_linux_amd64.zip
5.3 启动命令
(1) 命令解释
server: 以server身份启动。默认是client
bootstrap-expect:集群要求的最少server数量,当低于这个数量,集群即失效。
data-dir:data存放的目录,更多信息请参阅consul数据同步机制
node:节点id,集群中的每个node必须有一个唯一的名称。默认情况下,Consul使用机器的hostname
bind:监听的ip地址。默认绑定0.0.0.0,可以不指定。表示Consul监听的地址,而且它必须能够被集群中的其他节点访问。Consul默认会监听第一个private IP,但最好还是提供一个。生产设备上的服务器通常有好几个网卡,所以指定一个不会出错
client: 客户端的ip地址,0.0.0.0是指谁都可以访问(不加这个,下面的ui :8500无法访问)
ui: 可以访问UI界面
-config-dir指定配置文件夹,Consul会加载其中的所有文件
-datacenter 指定数据中心名称,默认是dc1
(2) 启动集群
#第一台
nohup consul agent -server -bootstrap-expect=3 -data-dir=/usr/data/consul -node=192.168.0.39  -bind=192.168.0.39  -client=0.0.0.0 -datacenter=shenzhen -ui  >consul.log 2>&1 &
#第二台
nohup consul agent -server -bootstrap-expect=3 -data-dir=/usr/data/consul -node=192.168.0.40  -bind=192.168.0.40 -client=0.0.0.0 -datacenter=shenzhen -ui >consul.log 2>&1 &
#第三台
nohup consul agent -server -bootstrap-expect=3 -data-dir=/usr/data/consul -node=192.168.0.41 -bind=192.168.0.41 -client=0.0.0.0 -datacenter=shenzhen -ui >consul.log 2>&1 &
(3) 加入节点
#第二台,第三台
consul join  192.168.0.39
consul join  192.168.0.39
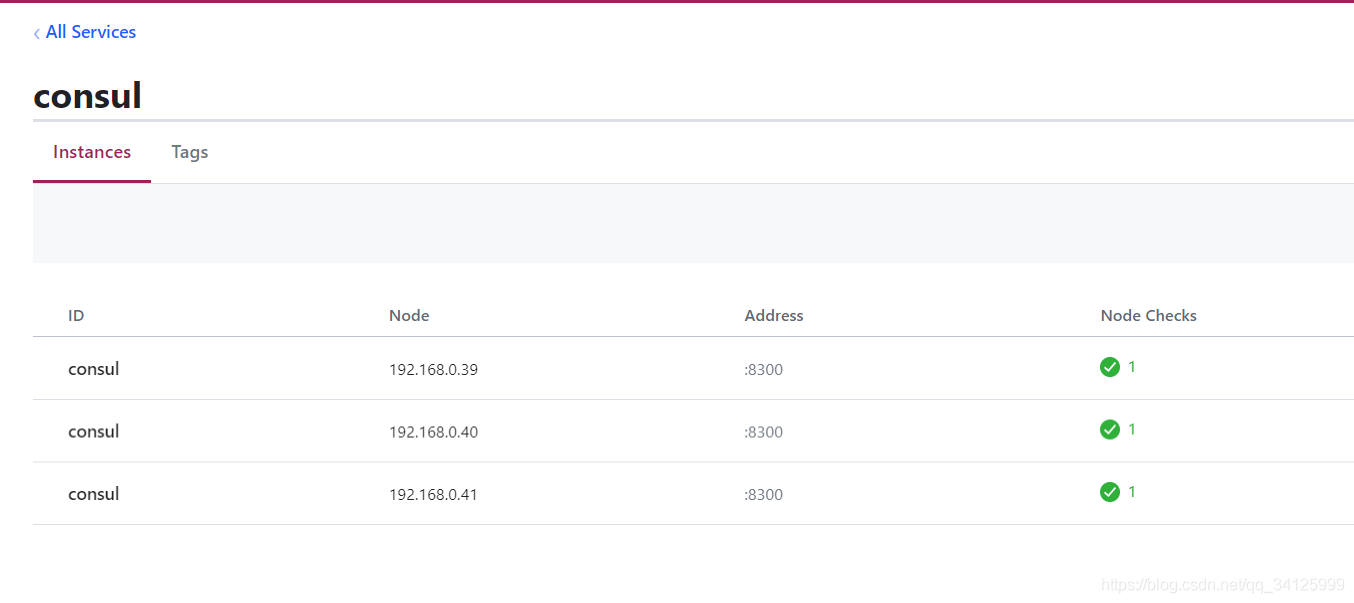
(4) 查看集群状态
./consul members

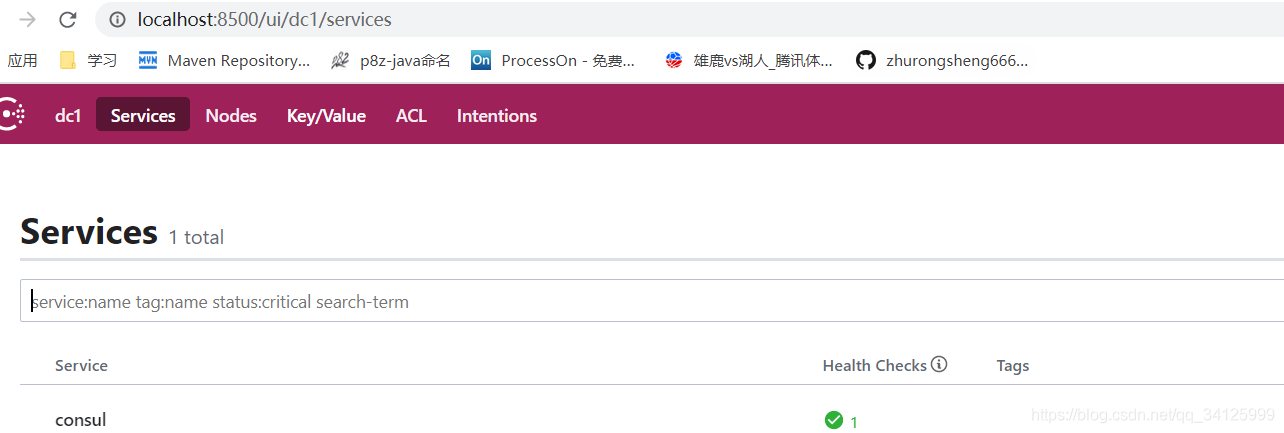
(5) 访问UI
GITHUB
#分支 consul-enviroment-release-v1.0
https://github.com/zhurongsheng666/spring-cloud-hoxton
