一、实现 Spring Boot · HelloWorld
Hello World 要实现的功能
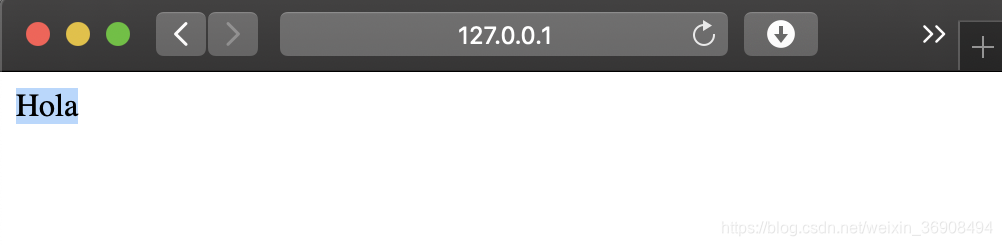
浏览器发送 hola 请求,服务器接受并处理,响应 Hola 字符串。
步骤
-
创建maven功能;
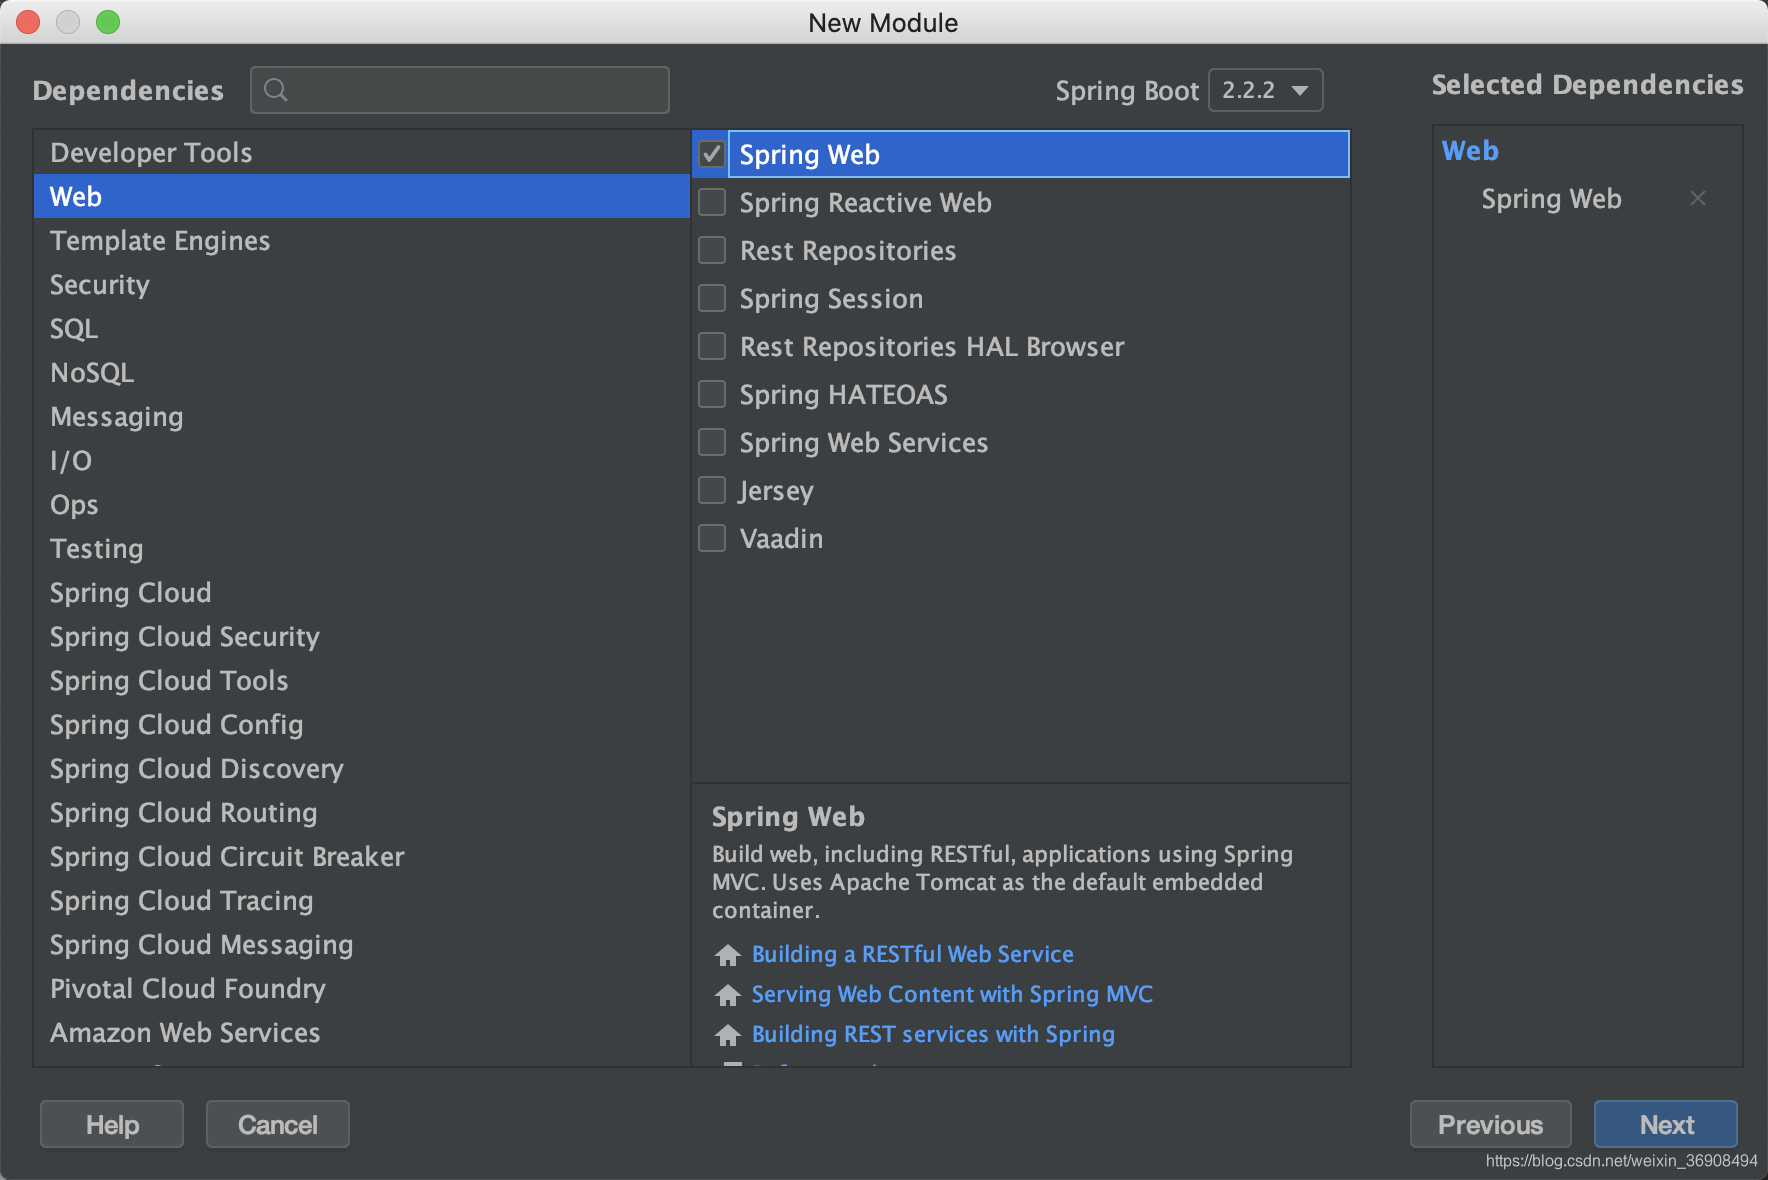
可使用 Spring Initializr 快速创建一个基于 maven 的工程,并且手动选择需要引入的依赖,例如常见的 web 模块。
1.1 使用 IDEA 进行开发,利用 Spring Initializr 快速创建 Spring Boot 项目。见下图: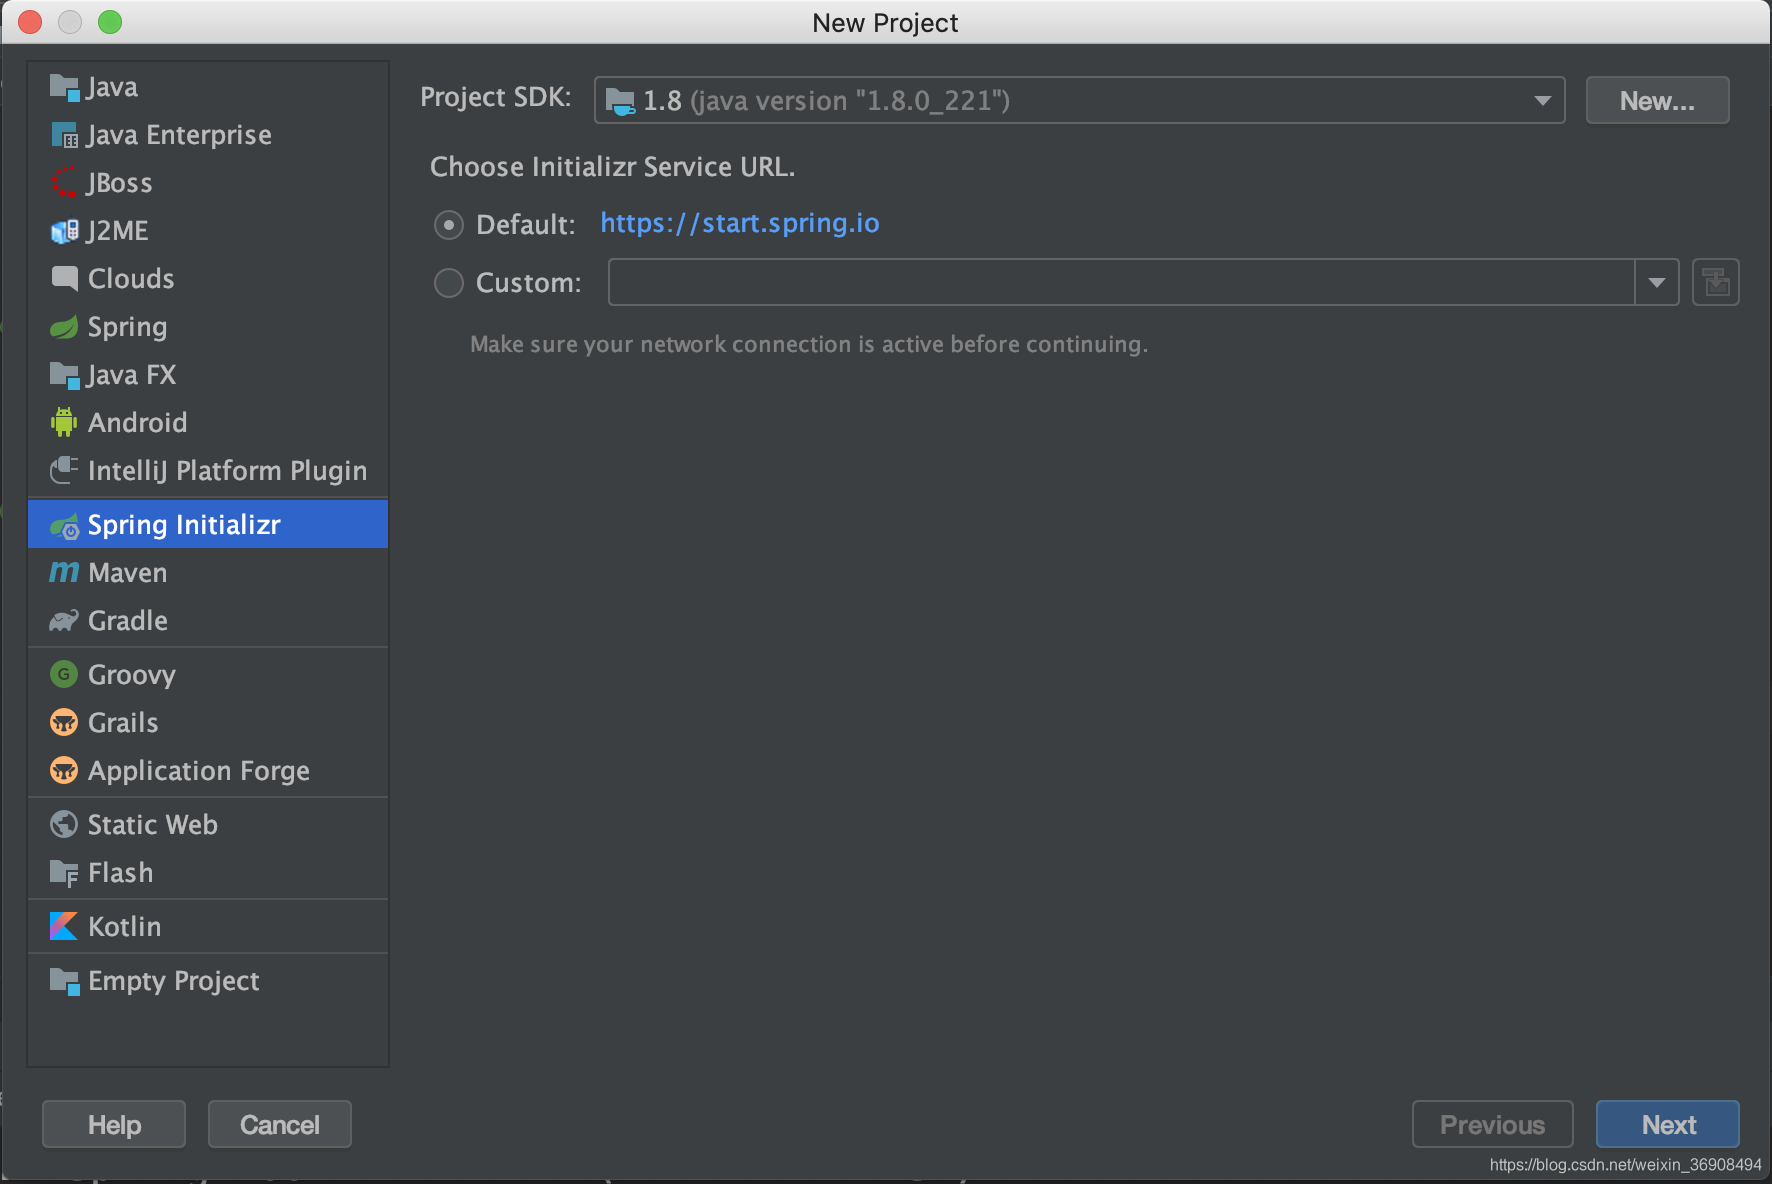

项目结构说明:
- 主程序已经生成好了,我们只需要写具体的业务逻辑(Controller、Service、Dao层等)。
- resources 文件夹中的目录结构
- static:保存所有的静态资源;js、css、html 等。
- templates:保存所有的模版页面;(Spring Boot 默认 jar 包使用嵌入式的 tomcat ,默认不支持 jsp 页面,可以使用模版引擎-free marker、thymeleaf等)。
- application.properties:Spring Boot 应用等配置文件,可以修改一些默认配置。
- 编写主程序,启动 Spring Boot 项目。
@Controller
public class HolaController {

    @ResponseBody
    @RequestMapping("/hola")
    public String Halo(){
        return "Hola";
    }

}
- 发送请求
URL:http://127.0.0.1:8080/hola
结果:
二、HelloWorld 探究
- POM文件分析
helloworld 项目 pom 文件依赖如下:
	<dependencies>
		<dependency>
			<groupId>org.springframework.boot</groupId>
			<artifactId>spring-boot-starter-web</artifactId>
		</dependency>
		<dependency>
			<groupId>org.springframework.boot</groupId>
			<artifactId>spring-boot-starter-test</artifactId>
			<scope>test</scope>
			<exclusions>
				<exclusion>
					<groupId>org.junit.vintage</groupId>
					<artifactId>junit-vintage-engine</artifactId>
				</exclusion>
			</exclusions>
		</dependency>
	</dependencies>
父项目 pom 依赖是:
   <dependencies>
        <dependency>
            <groupId>org.springframework.boot</groupId>
            <artifactId>spring-boot-starter</artifactId>
        </dependency>

        <dependency>
            <groupId>org.springframework.boot</groupId>
            <artifactId>spring-boot-starter-test</artifactId>
            <scope>test</scope>
            <exclusions>
                <exclusion>
                    <groupId>org.junit.vintage</groupId>
                    <artifactId>junit-vintage-engine</artifactId>
                </exclusion>
            </exclusions>
        </dependency>
    </dependencies>
Spring Boot 启动器
		<dependency>
			<groupId>org.springframework.boot</groupId>
			<artifactId>spring-boot-starter-web</artifactId>
		</dependency>

# spring-boot-starter: spring-boot场景启动器,自动导入 web 模块正常运行所依赖的组件
# Spring Boot 将所有功能场景都抽取出来,做成一个个的 starters(启动器),只需要在项目中引入这些 starter 相关场景的依赖都会导入进来,需要什么功能,就导入什么场景启动器即可。
- 主程序类,主入口类分析
/**
 * @SpringBootApplication 来标注一个主程序类,说明这是一个Spring Boot应用
 */
@SpringBootApplication
public class HelloworldApplication {
	public static void main(String[] args) {
		// 启动 Spring 应用
		SpringApplication.run(HelloworldApplication.class, args);
	}
}
@SpringBootApplication:Spring Boot 应用标注在某个类上说明这个类是 SpringBoot 的主配置类,Spring Boot 需要运行这个类的 main 方法来启动 Spring Boot 项目。
@Target({ElementType.TYPE})
@Retention(RetentionPolicy.RUNTIME)
@Documented
@Inherited
@SpringBootConfiguration
@EnableAutoConfiguration
@ComponentScan(
    excludeFilters = {@Filter(
    type = FilterType.CUSTOM,
    classes = {TypeExcludeFilter.class}
), @Filter(
    type = FilterType.CUSTOM,
    classes = {AutoConfigurationExcludeFilter.class}
)}
)
public @interface SpringBootApplication {
@SpringBootConfiguration :Spring Boot 配置类,标注在某个类上,表示这是一个 Spring Boot 的配置类。
@Configuration:配置类上需要标注这个注解;配置类也是 Spring 容器的一个组件(@Componet)。
@EnableAutoConfiguration:开启自动配置功能;Spring Boot 帮我们自动配置好了默认的配置,但是需要使用 @EnableAutoConfiguration 注解来开启自动配置功能,这样一些自动的默认配置才生效。
@Target({ElementType.TYPE})
@Retention(RetentionPolicy.RUNTIME)
@Documented
@Inherited
@AutoConfigurationPackage
@Import({AutoConfigurationImportSelector.class})
public @interface EnableAutoConfiguration {
@AutoConfigurationPackage:自动配置包
@Import({AutoConfigurationImportSelector.class}):Spring 底层注解@Import,向容器中导入一个组件。
- 配置文件
Spring Boot 使用一个全局的配置文件,配置文件的名称是固定的。
- application.properties
- application.yml (也可写作 application.yaml)
配置文件的作用:修改 Spring Boot 自动配置的默认值;
