文章目录
1. Spring Boot 简介
简化Spring应用开发的一个框架;
整个Spring技术栈的一个大整合;
J2EE开发的一站式解决方案。
-
Spring Boot的优点:
- 快速创建独立运行的 Spring项目以及与主流框架集成
- 使用嵌入式的Servlet容器,应用无需打成WAR包
- starters自动依赖与版本控制
- 大量的自动配置,简化开发,也可修改默认值
- 无需配置XML,无代码生成,开箱即用
- 准生产环境的运行时应用监控
- 与云计算的天然集成
-
缺点:
- 入门容易,精通难
2. 微服务简介

微服务:一种架构风格
一个应用应该是一组小型服务;可以通过HTTP的方式进行互通;把每个元素放进一个独立的服务中。与传统的单体应用相比像是活字印刷与雕版印刷的区别。
环境准备
MAVEN设置
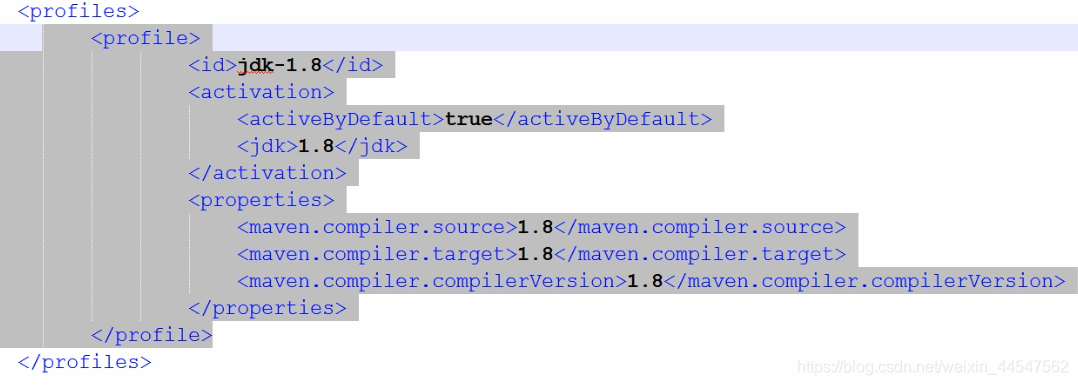
我使用的时JDK1.8版本
<profile>
    <id>jdk-1.8</id>
    <activation>
        <activeByDefault>true</activeByDefault>
        <jdk>1.8</jdk>
    </activation>
    <properties>
        <maven.compiler.source>1.8</maven.compiler.source>
        <maven.compiler.target>1.8</maven.compiler.target>
        <maven.compiler.compilerVersion>1.8</maven.compiler.compilerVersion>
    </properties>
</profile>
粘贴地方如下图所示
3. Spring Boot HelloWorld
功能:浏览器发送hello请求,服务器接受请求并处理,响应Hello world宇符串
1. 创建一个maven工程
2. 导入Spring Boot 相关的依赖
<parent>
    <groupId>org.springframework.boot</groupId>
    <artifactId>spring-boot-starter-parent</artifactId>
    <version>1.5.9.RELEASE</version>
</parent>
<dependencies>
    <dependency>
        <groupId>org.springframework.boot</groupId>
        <artifactId>spring-boot-starter-web</artifactId>
    </dependency>
</dependencies>
3. 编写一个主程序;启动Spring应用
/*
 * @SpringBootApplication 来标注一个主程序类,说明这是一个spring boot应用
 */
@SpringBootApplication
public class HelloWorldApplication {

    public static void main(String[] args) {

        // Spring应用启动起来
        SpringApplication.run(HelloWorldApplication.class,args);
    }
}
4. 编写相关的Controller和Service
@Controller
public class HelloController {

    @ResponseBody
    @RequestMapping("/hello") //接受来自浏览器的hello请求
    public String hello(){
        return "Hello world";
    }
}
5. 运行主程序测试
在浏览器地址栏输入localhost:8080/hello即可看到页面显示Hello world。
遇到问题:提示8080端口被占
解决方法:
- 打开cmd命令窗口,输入如下指令查看所有端口和PID
netstat -ano
- 找到对应端口的PID,输入指令找到对应的进程
tasklist | findstr "8080端口的PID码"
- 结束该进程,再次启动就好了
taskkill /f /t /im xxx.exe
使用过程中一般占用的就是ApplicationWebServer,在任务管理器里关闭该任务即可
6. 简化部署
在pom.xml文件中添加如下语句
<!--  这个插件,可以将应用打包成一个可执行的jar包  -->
<build>
    <plugins>
        <plugin>
            <groupId>org.springframework.boot</groupId>
            <artifactId>spring-boot-maven-plugin</artifactId>
        </plugin>
    </plugins>
</build>
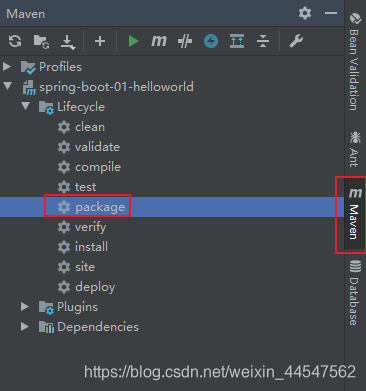
将这个应用打成jar包
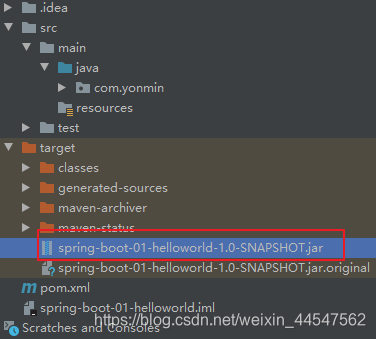
然后可以找到 jar 包
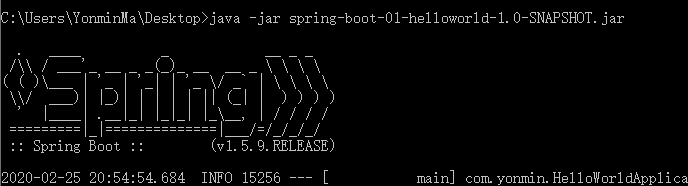
复制到桌面上用命令行工具运行jar包
注:遇到问题:提示could not open "D:\Program Files\Java\jdk1.8.0_181\jre1.8.0_181\lib\amd64\jvm.cfg"
解决办法:在系统环境变量中先选中%JAVA_HOME%\jre\bin然后点击上移,移到顶端即可。如果不是这种界面可以把%JAVA_HOME%\jre\bin截取到最前面。